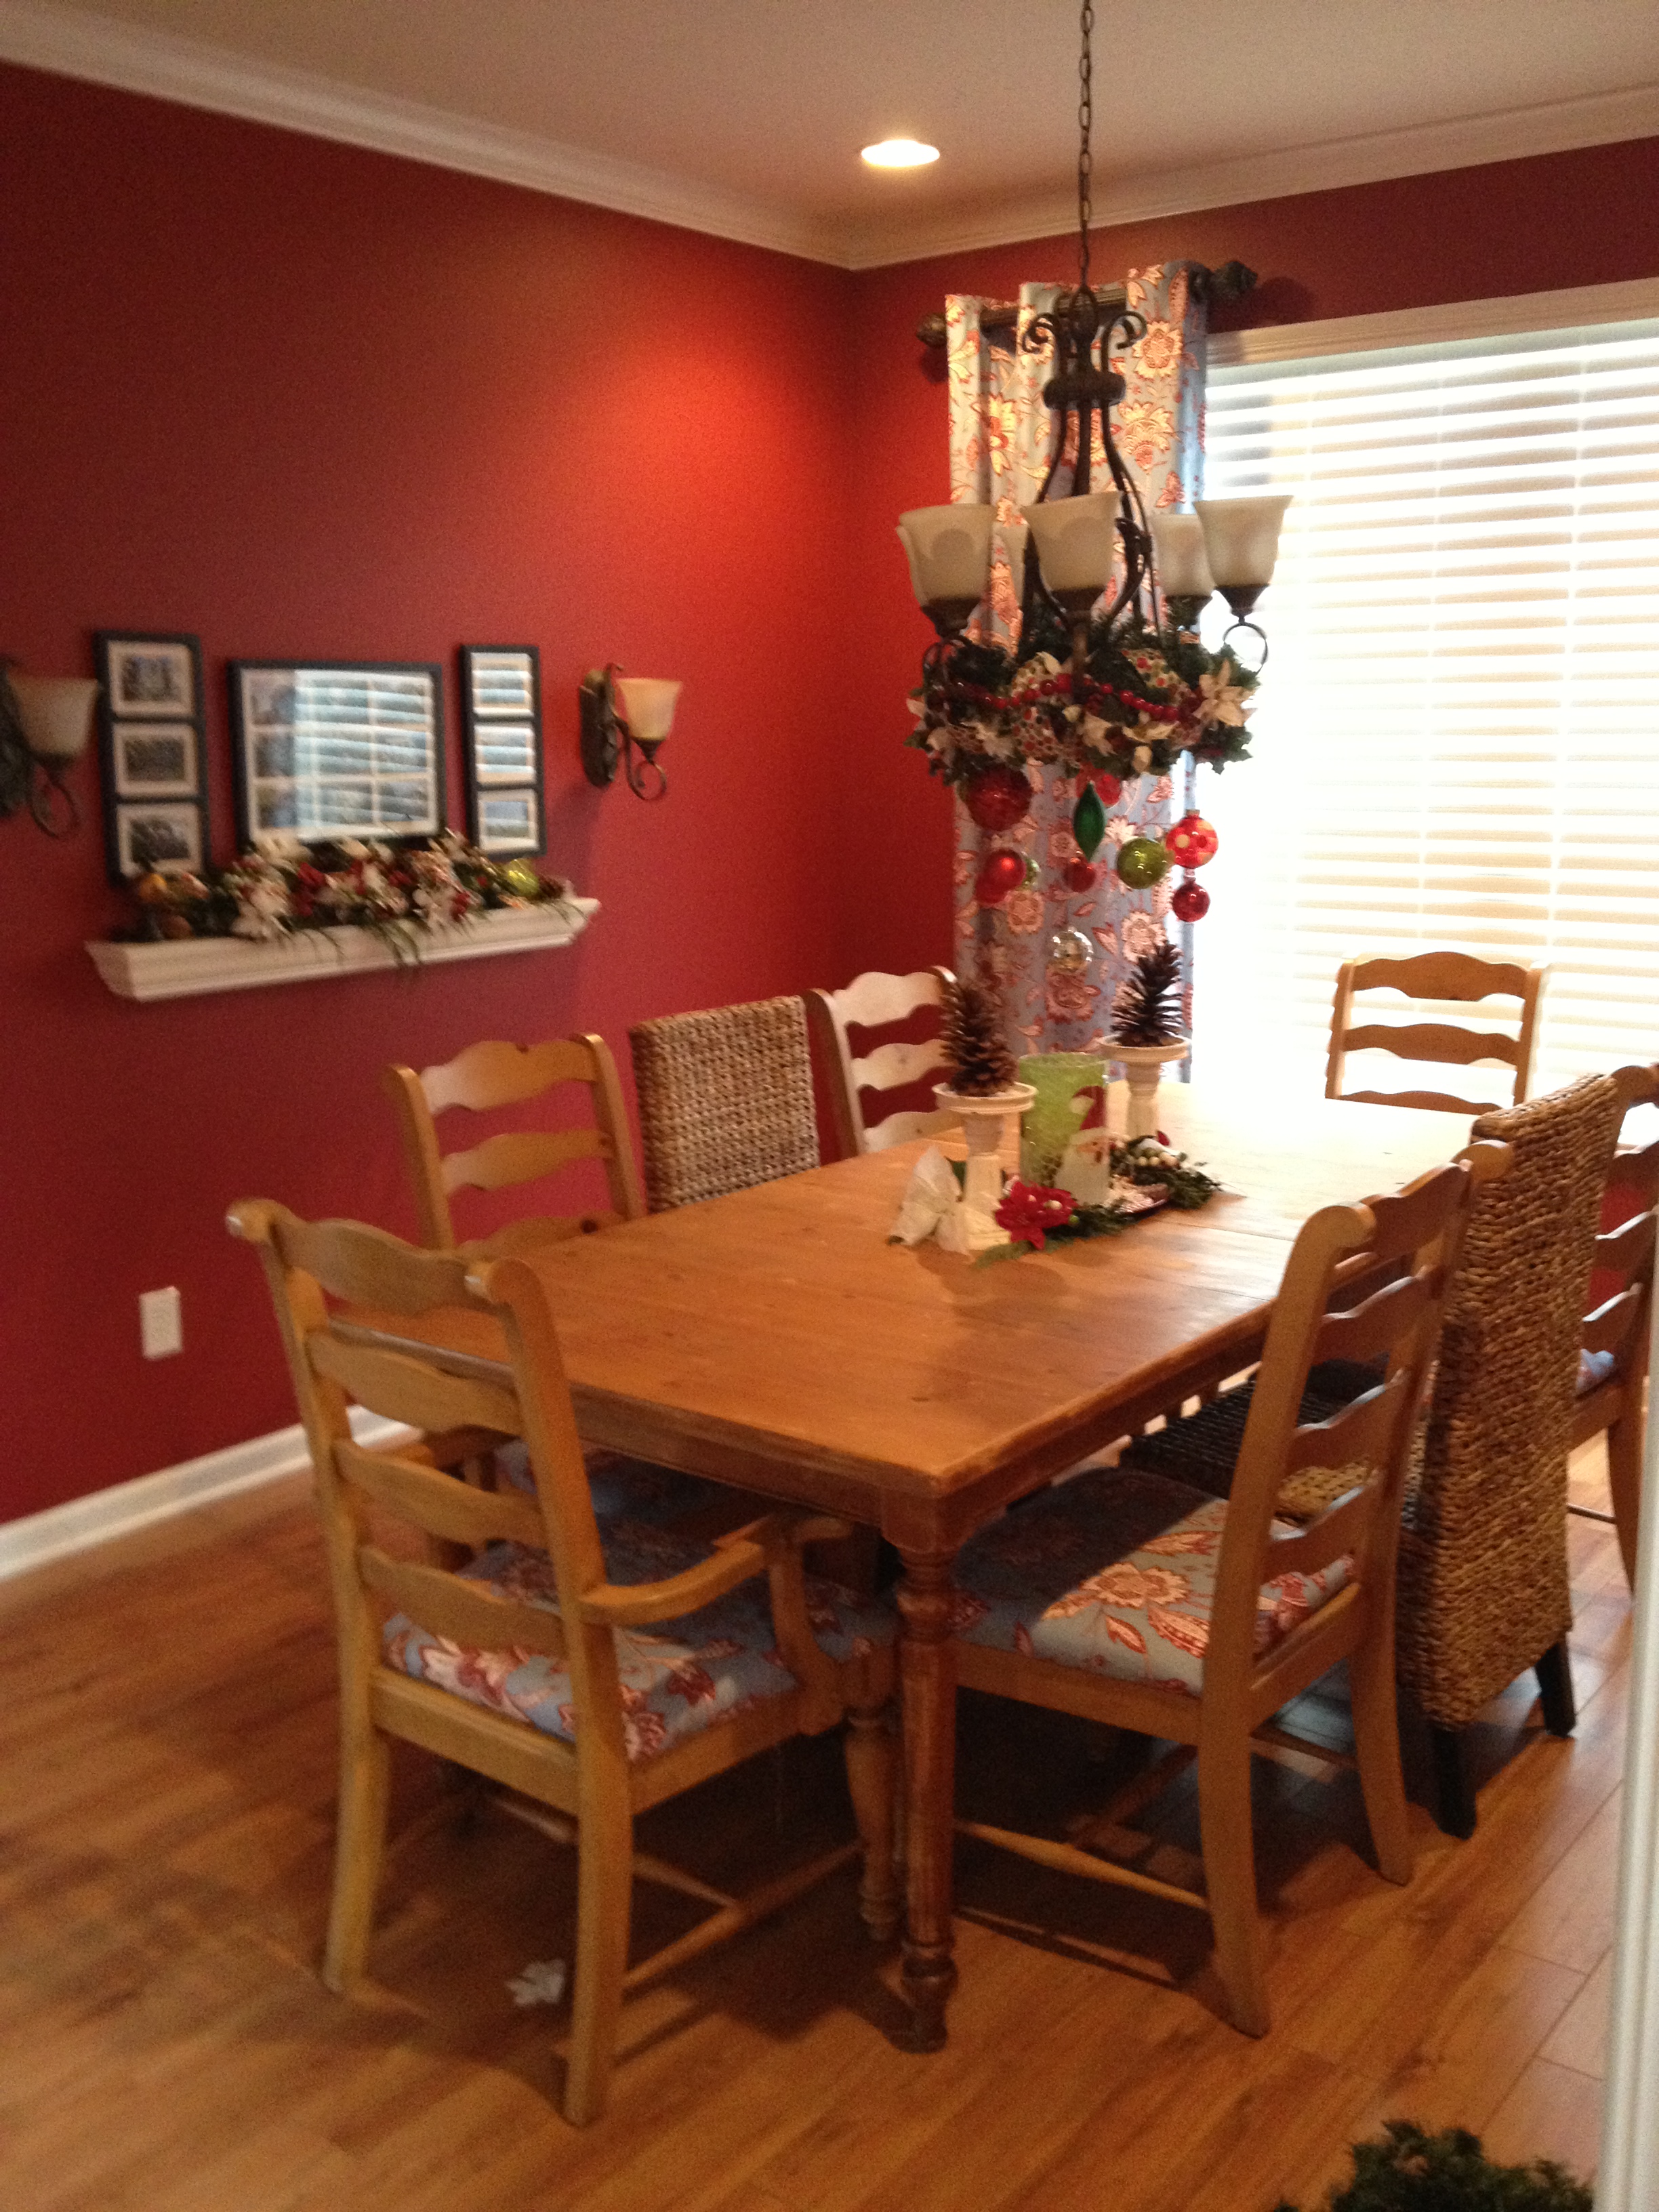
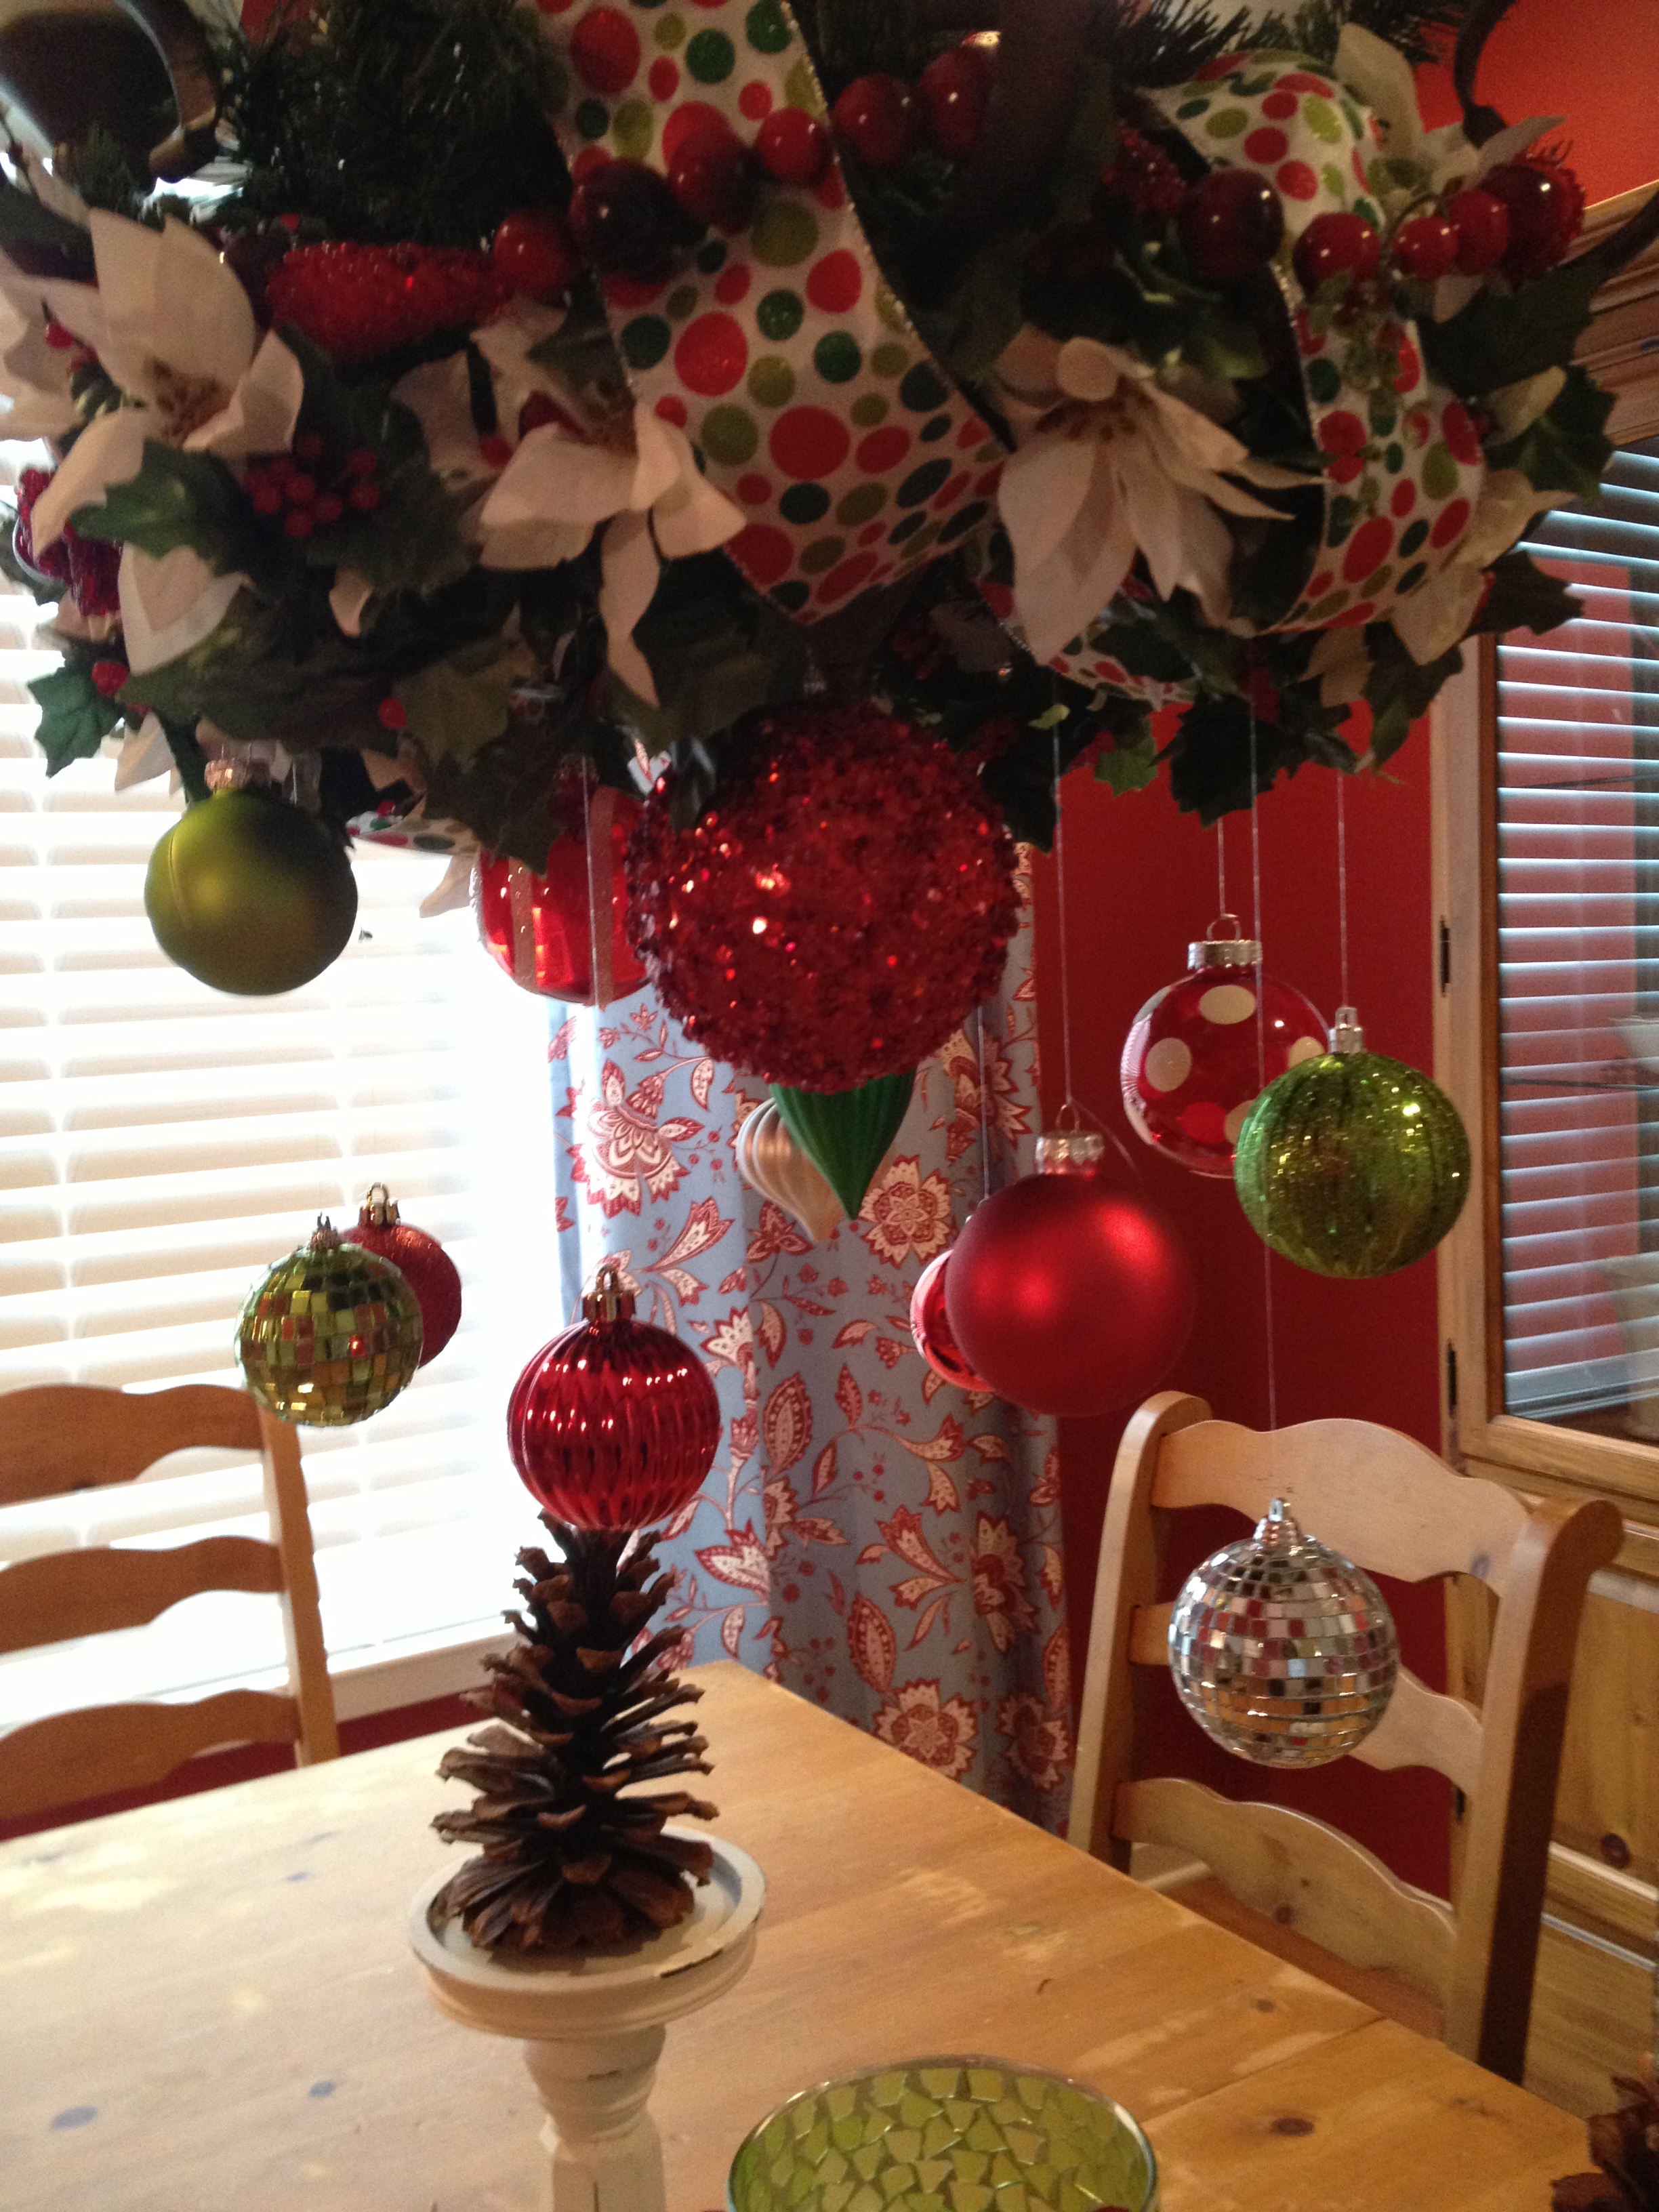
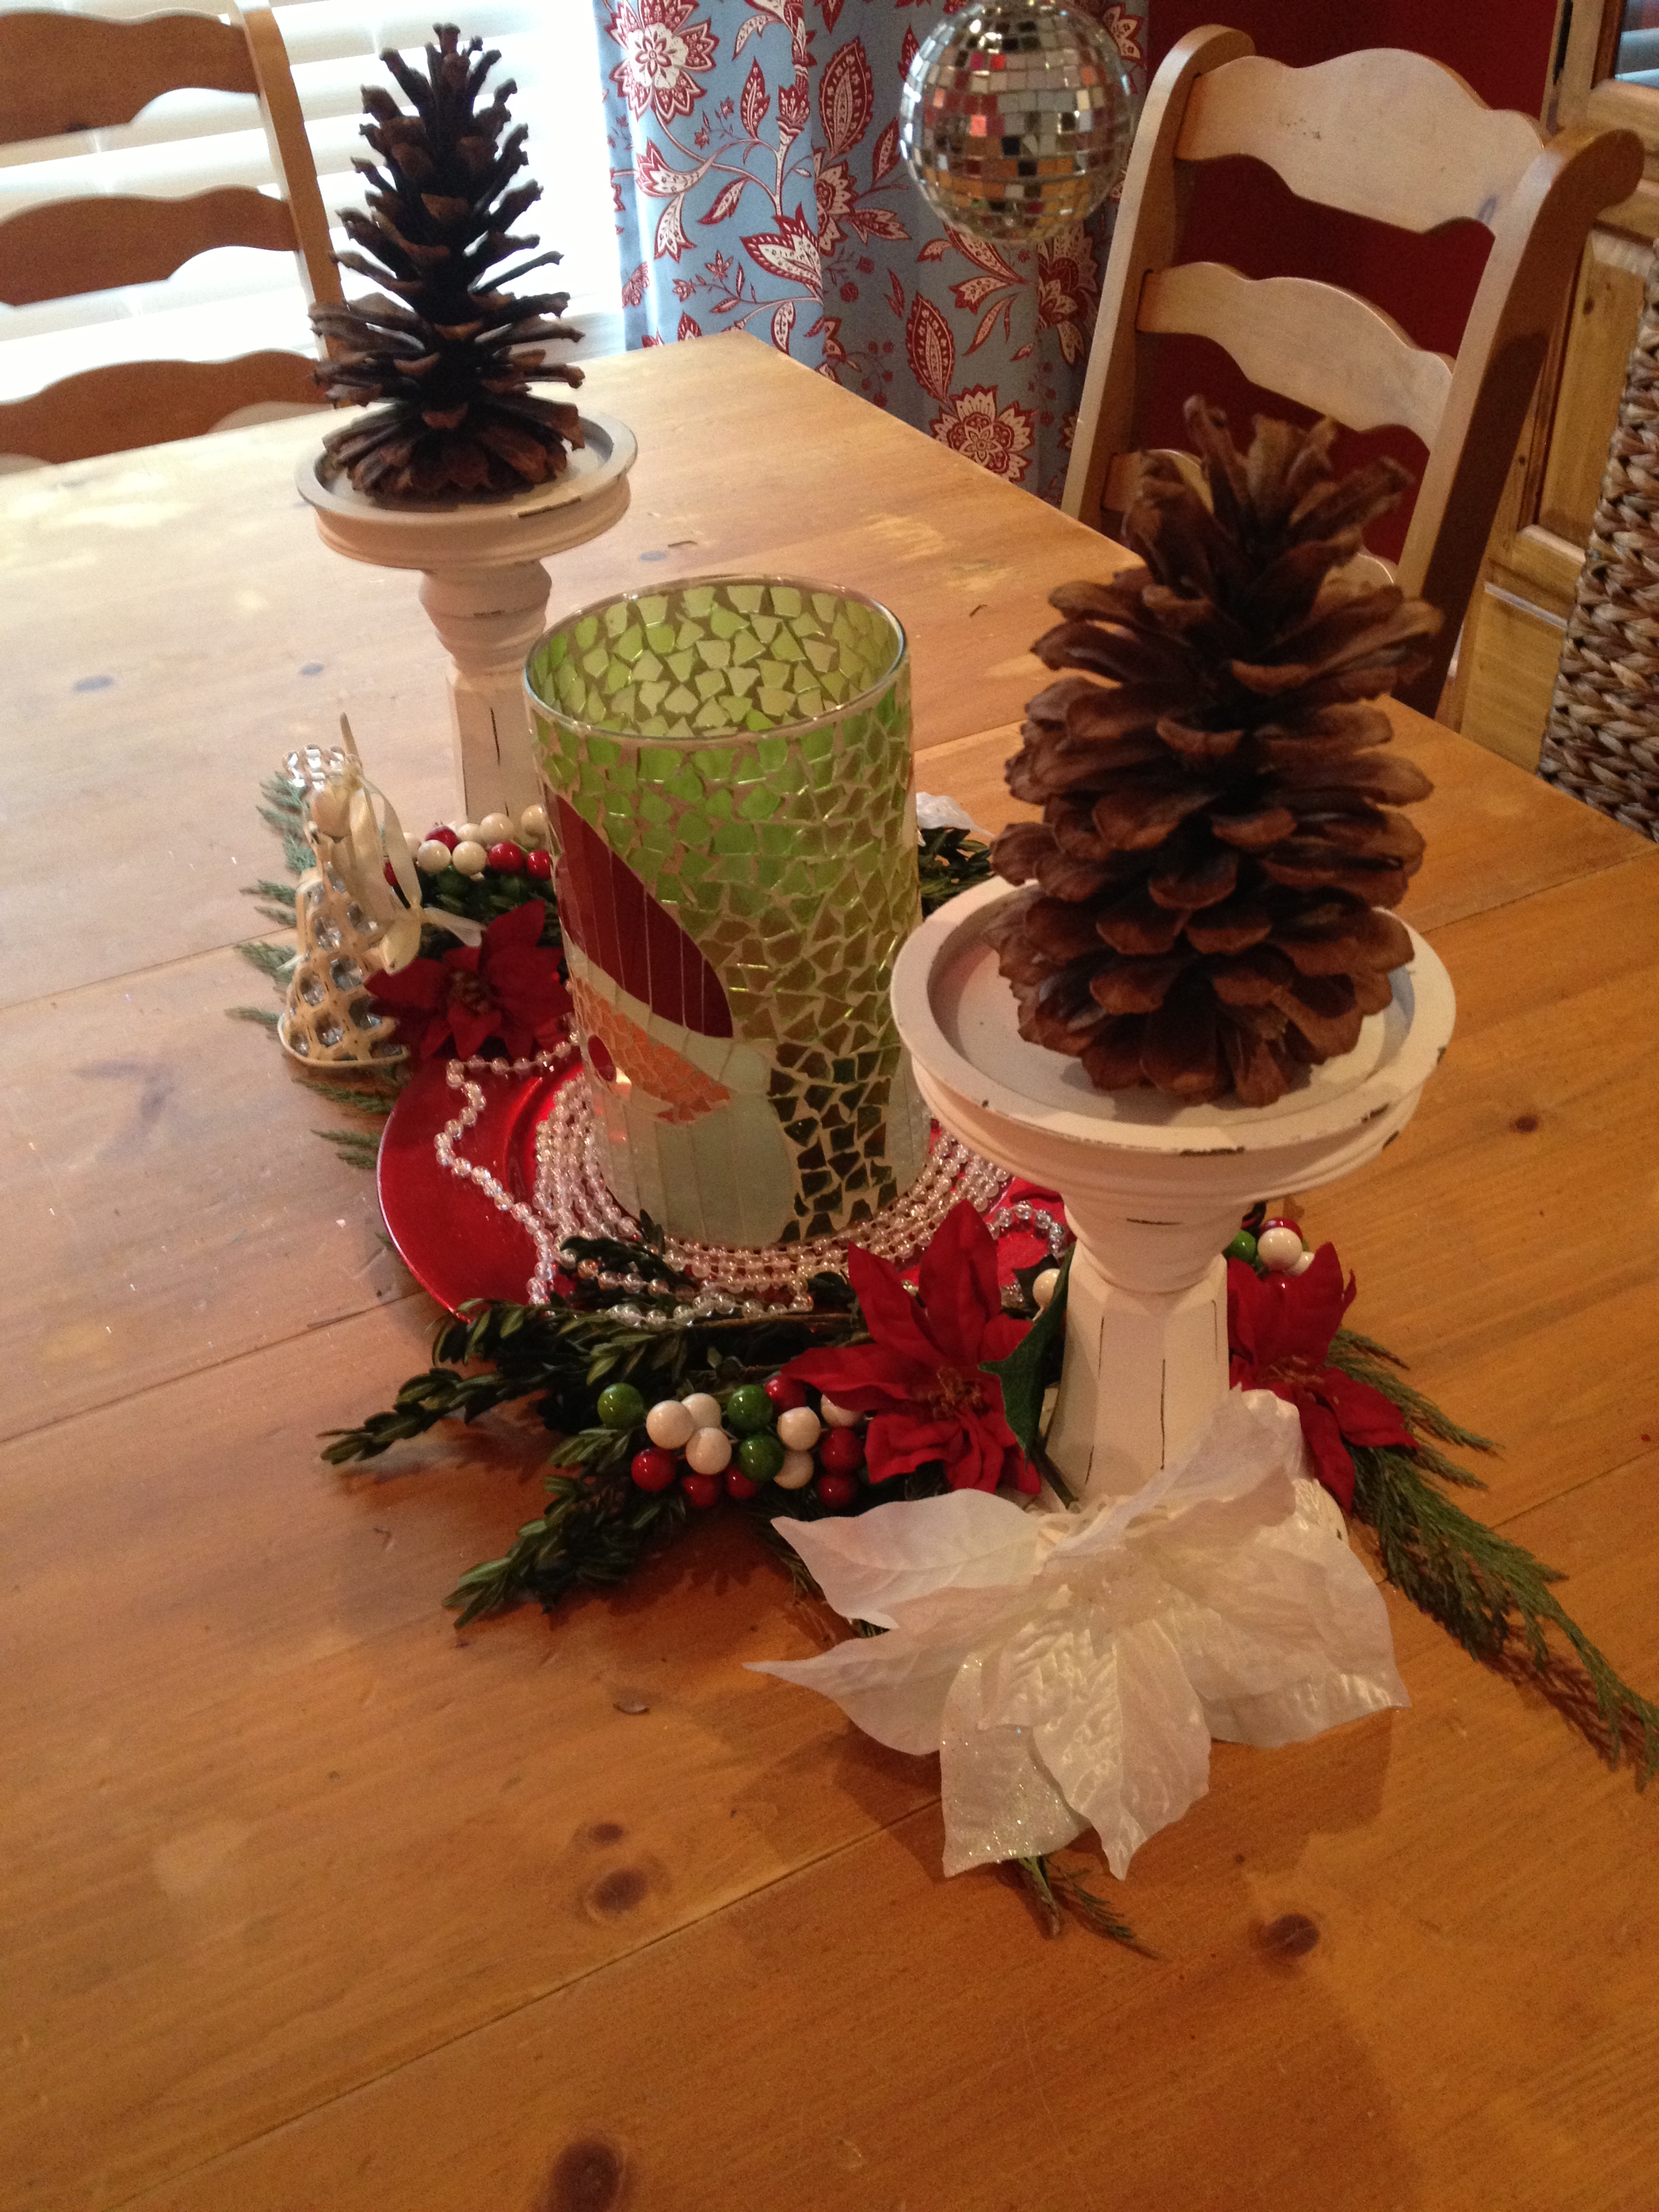
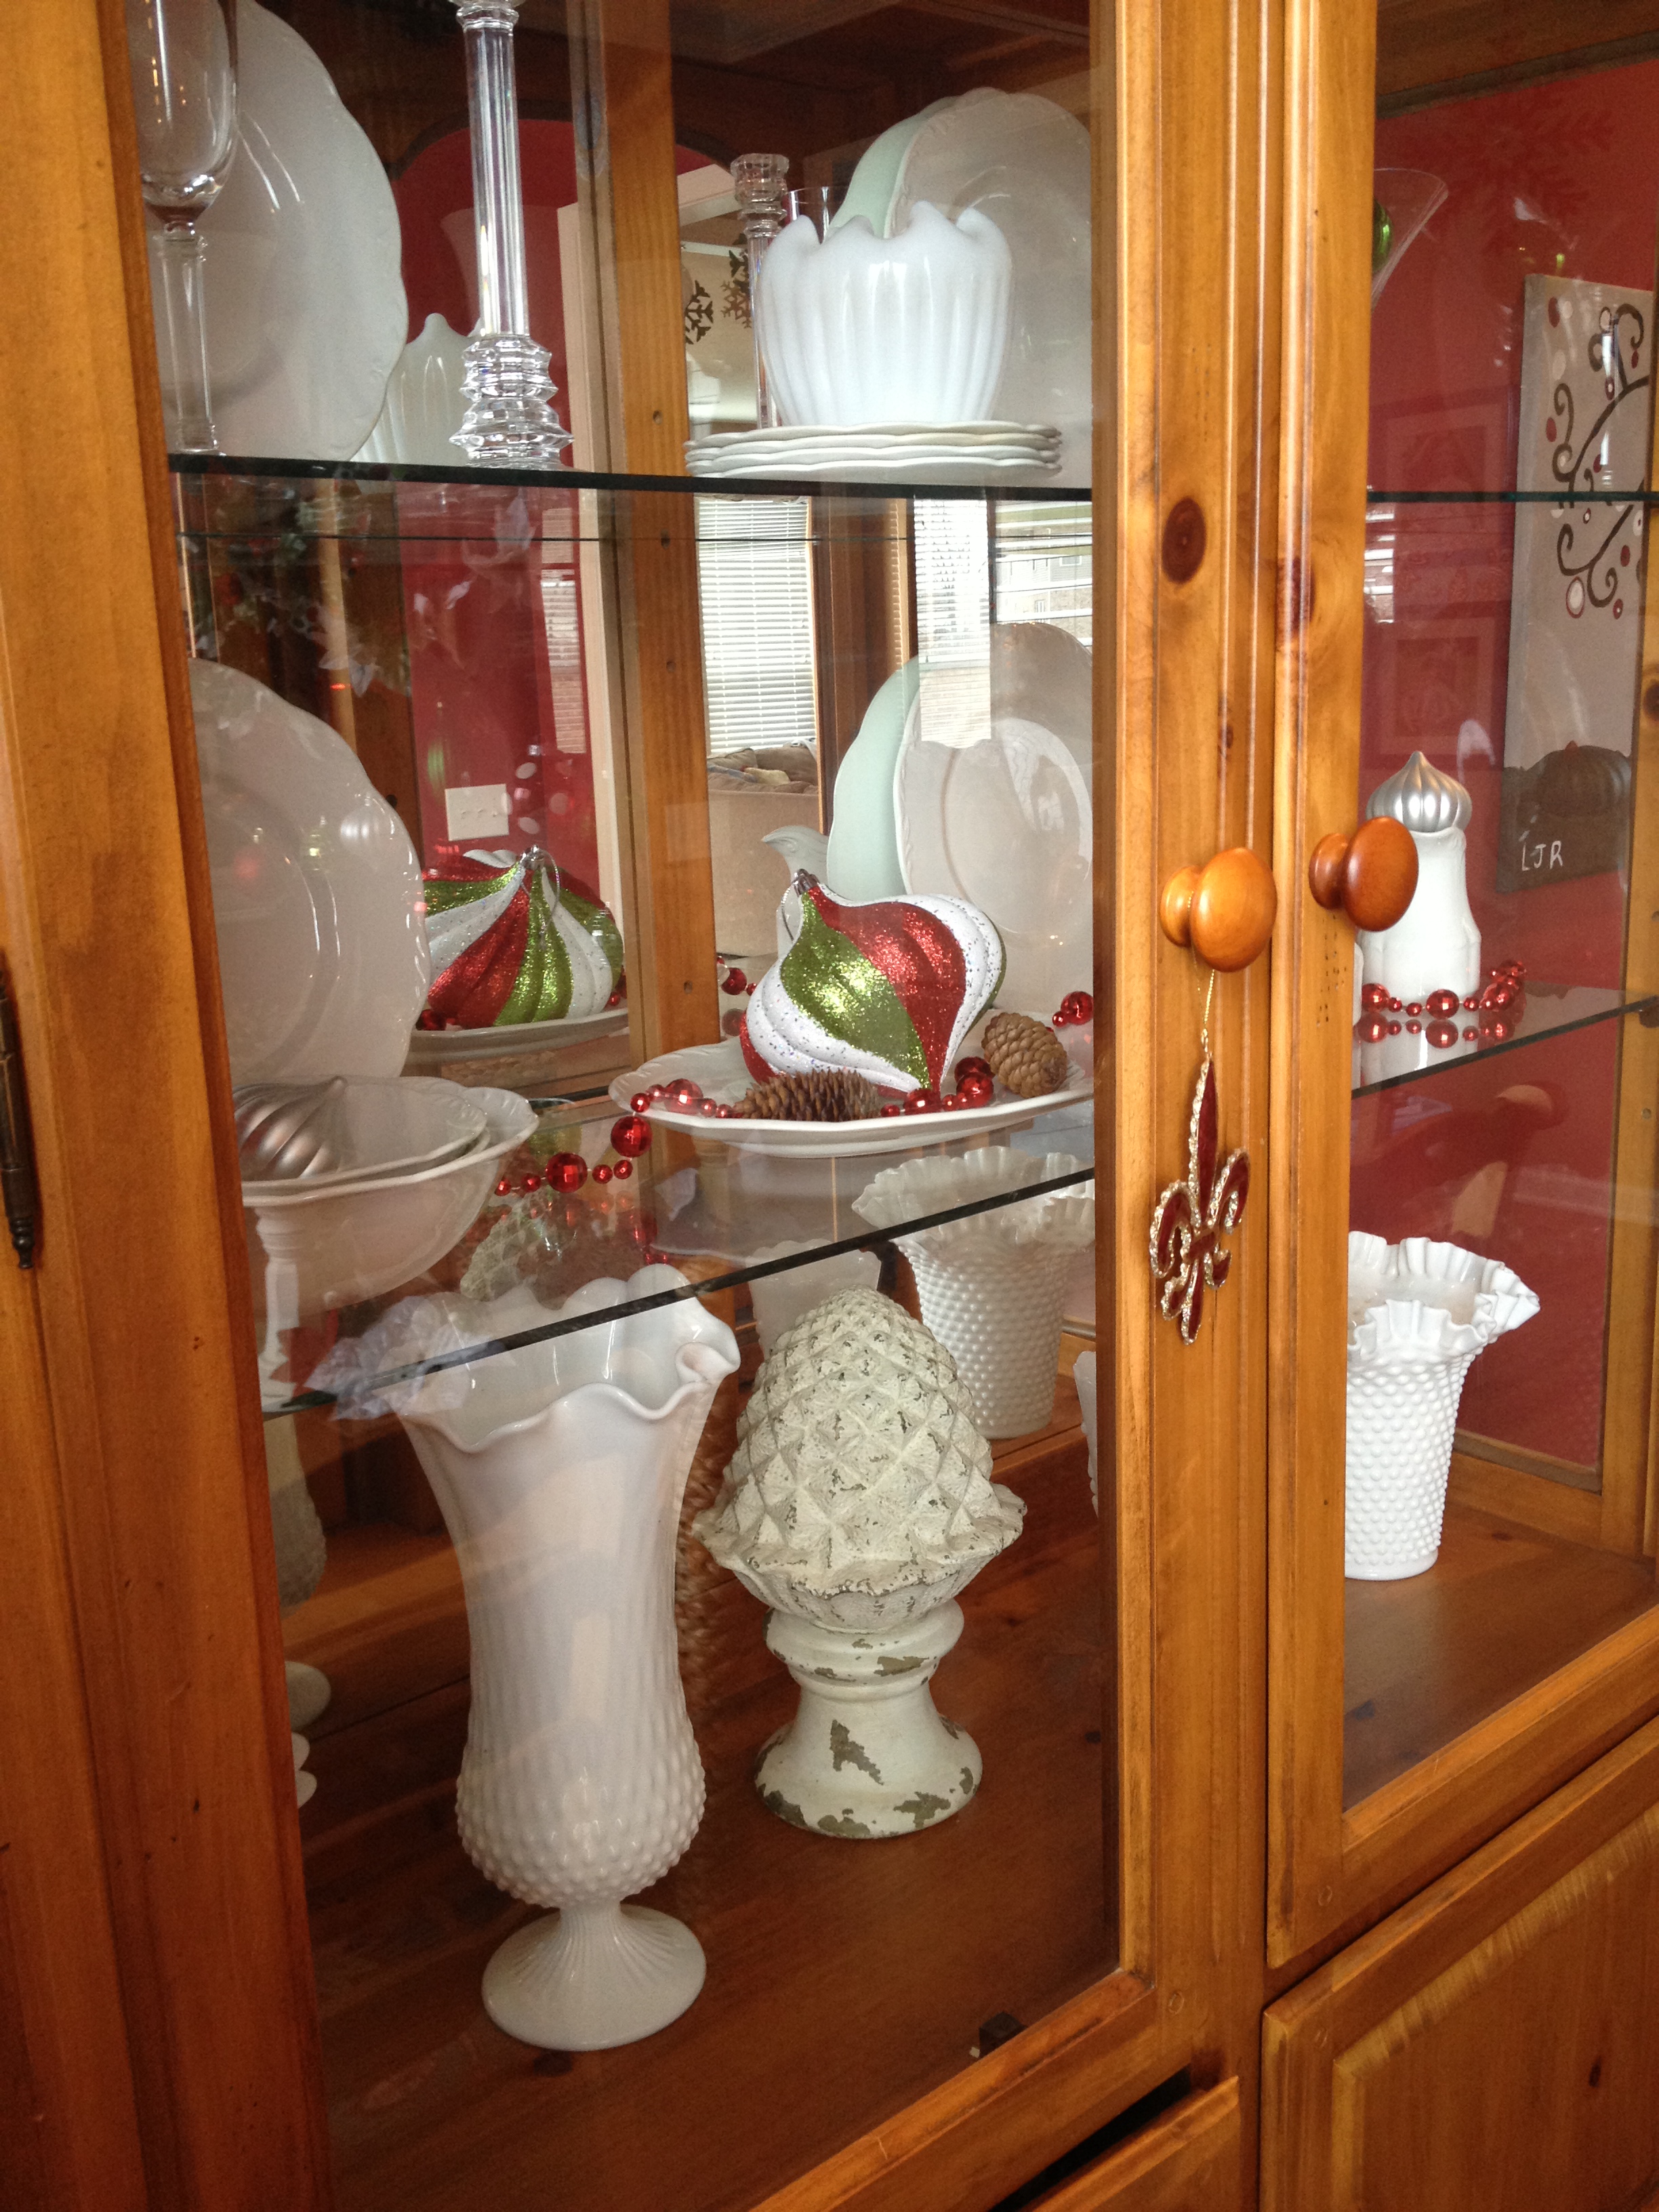
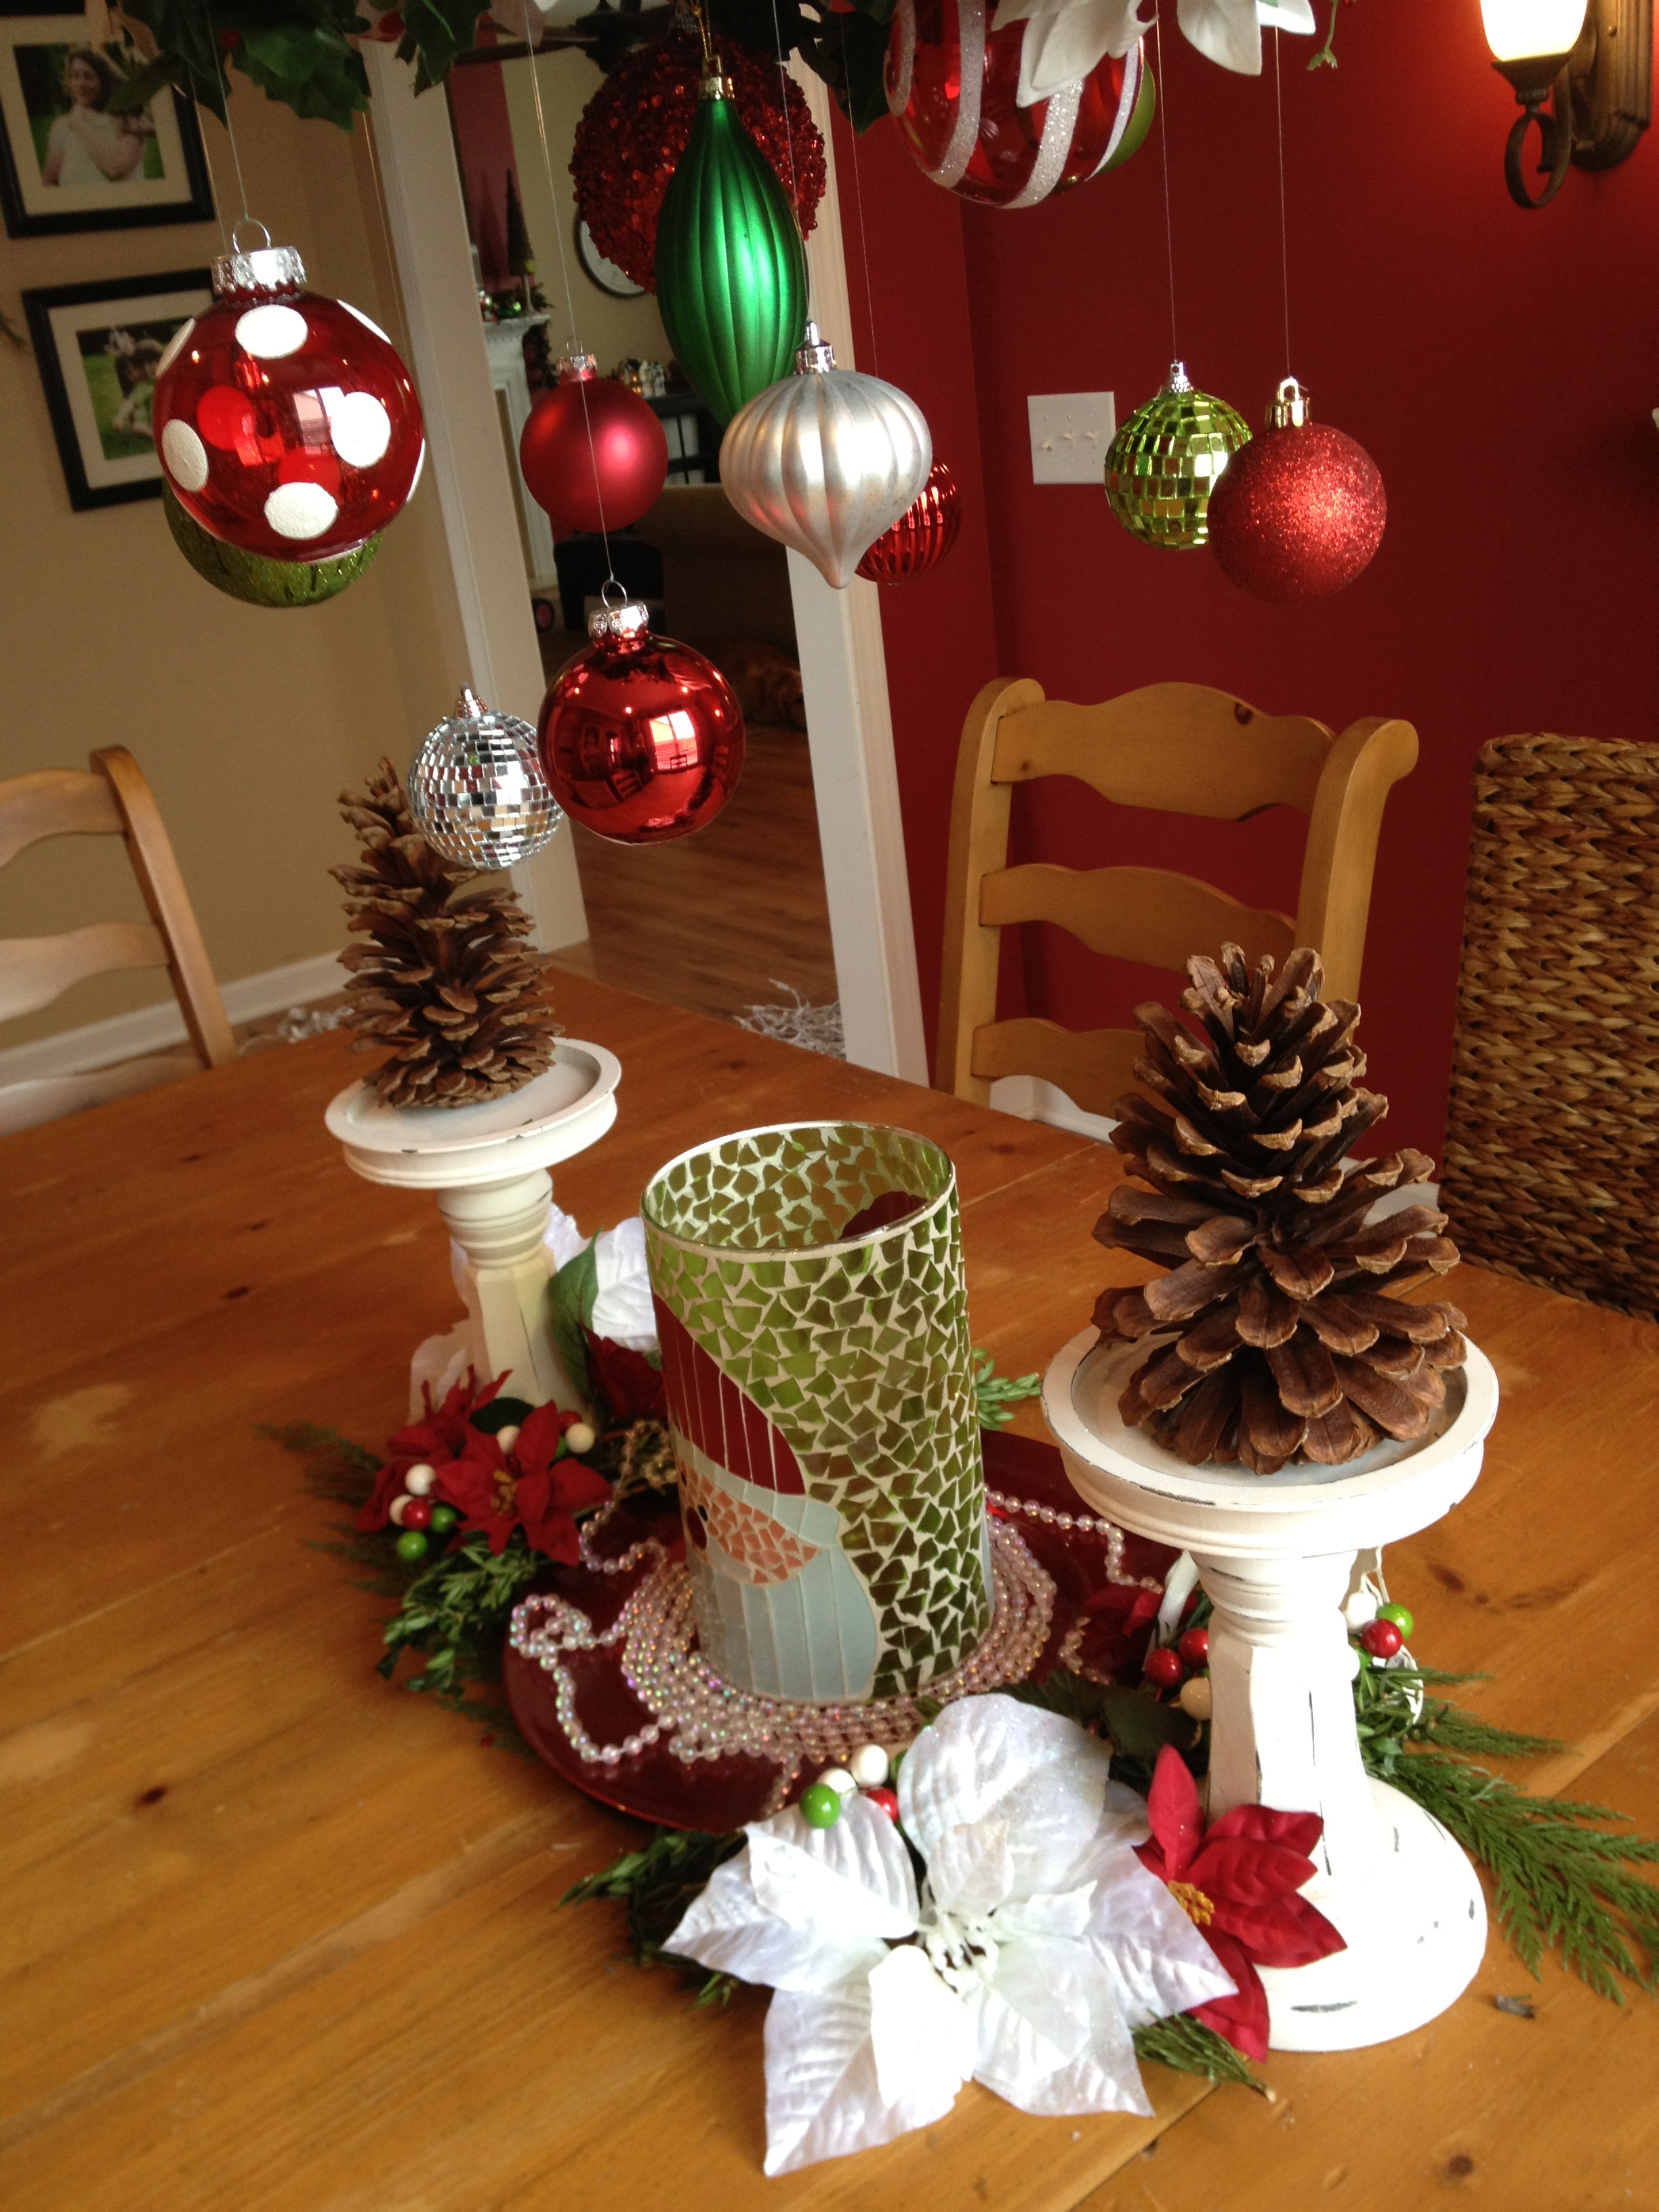
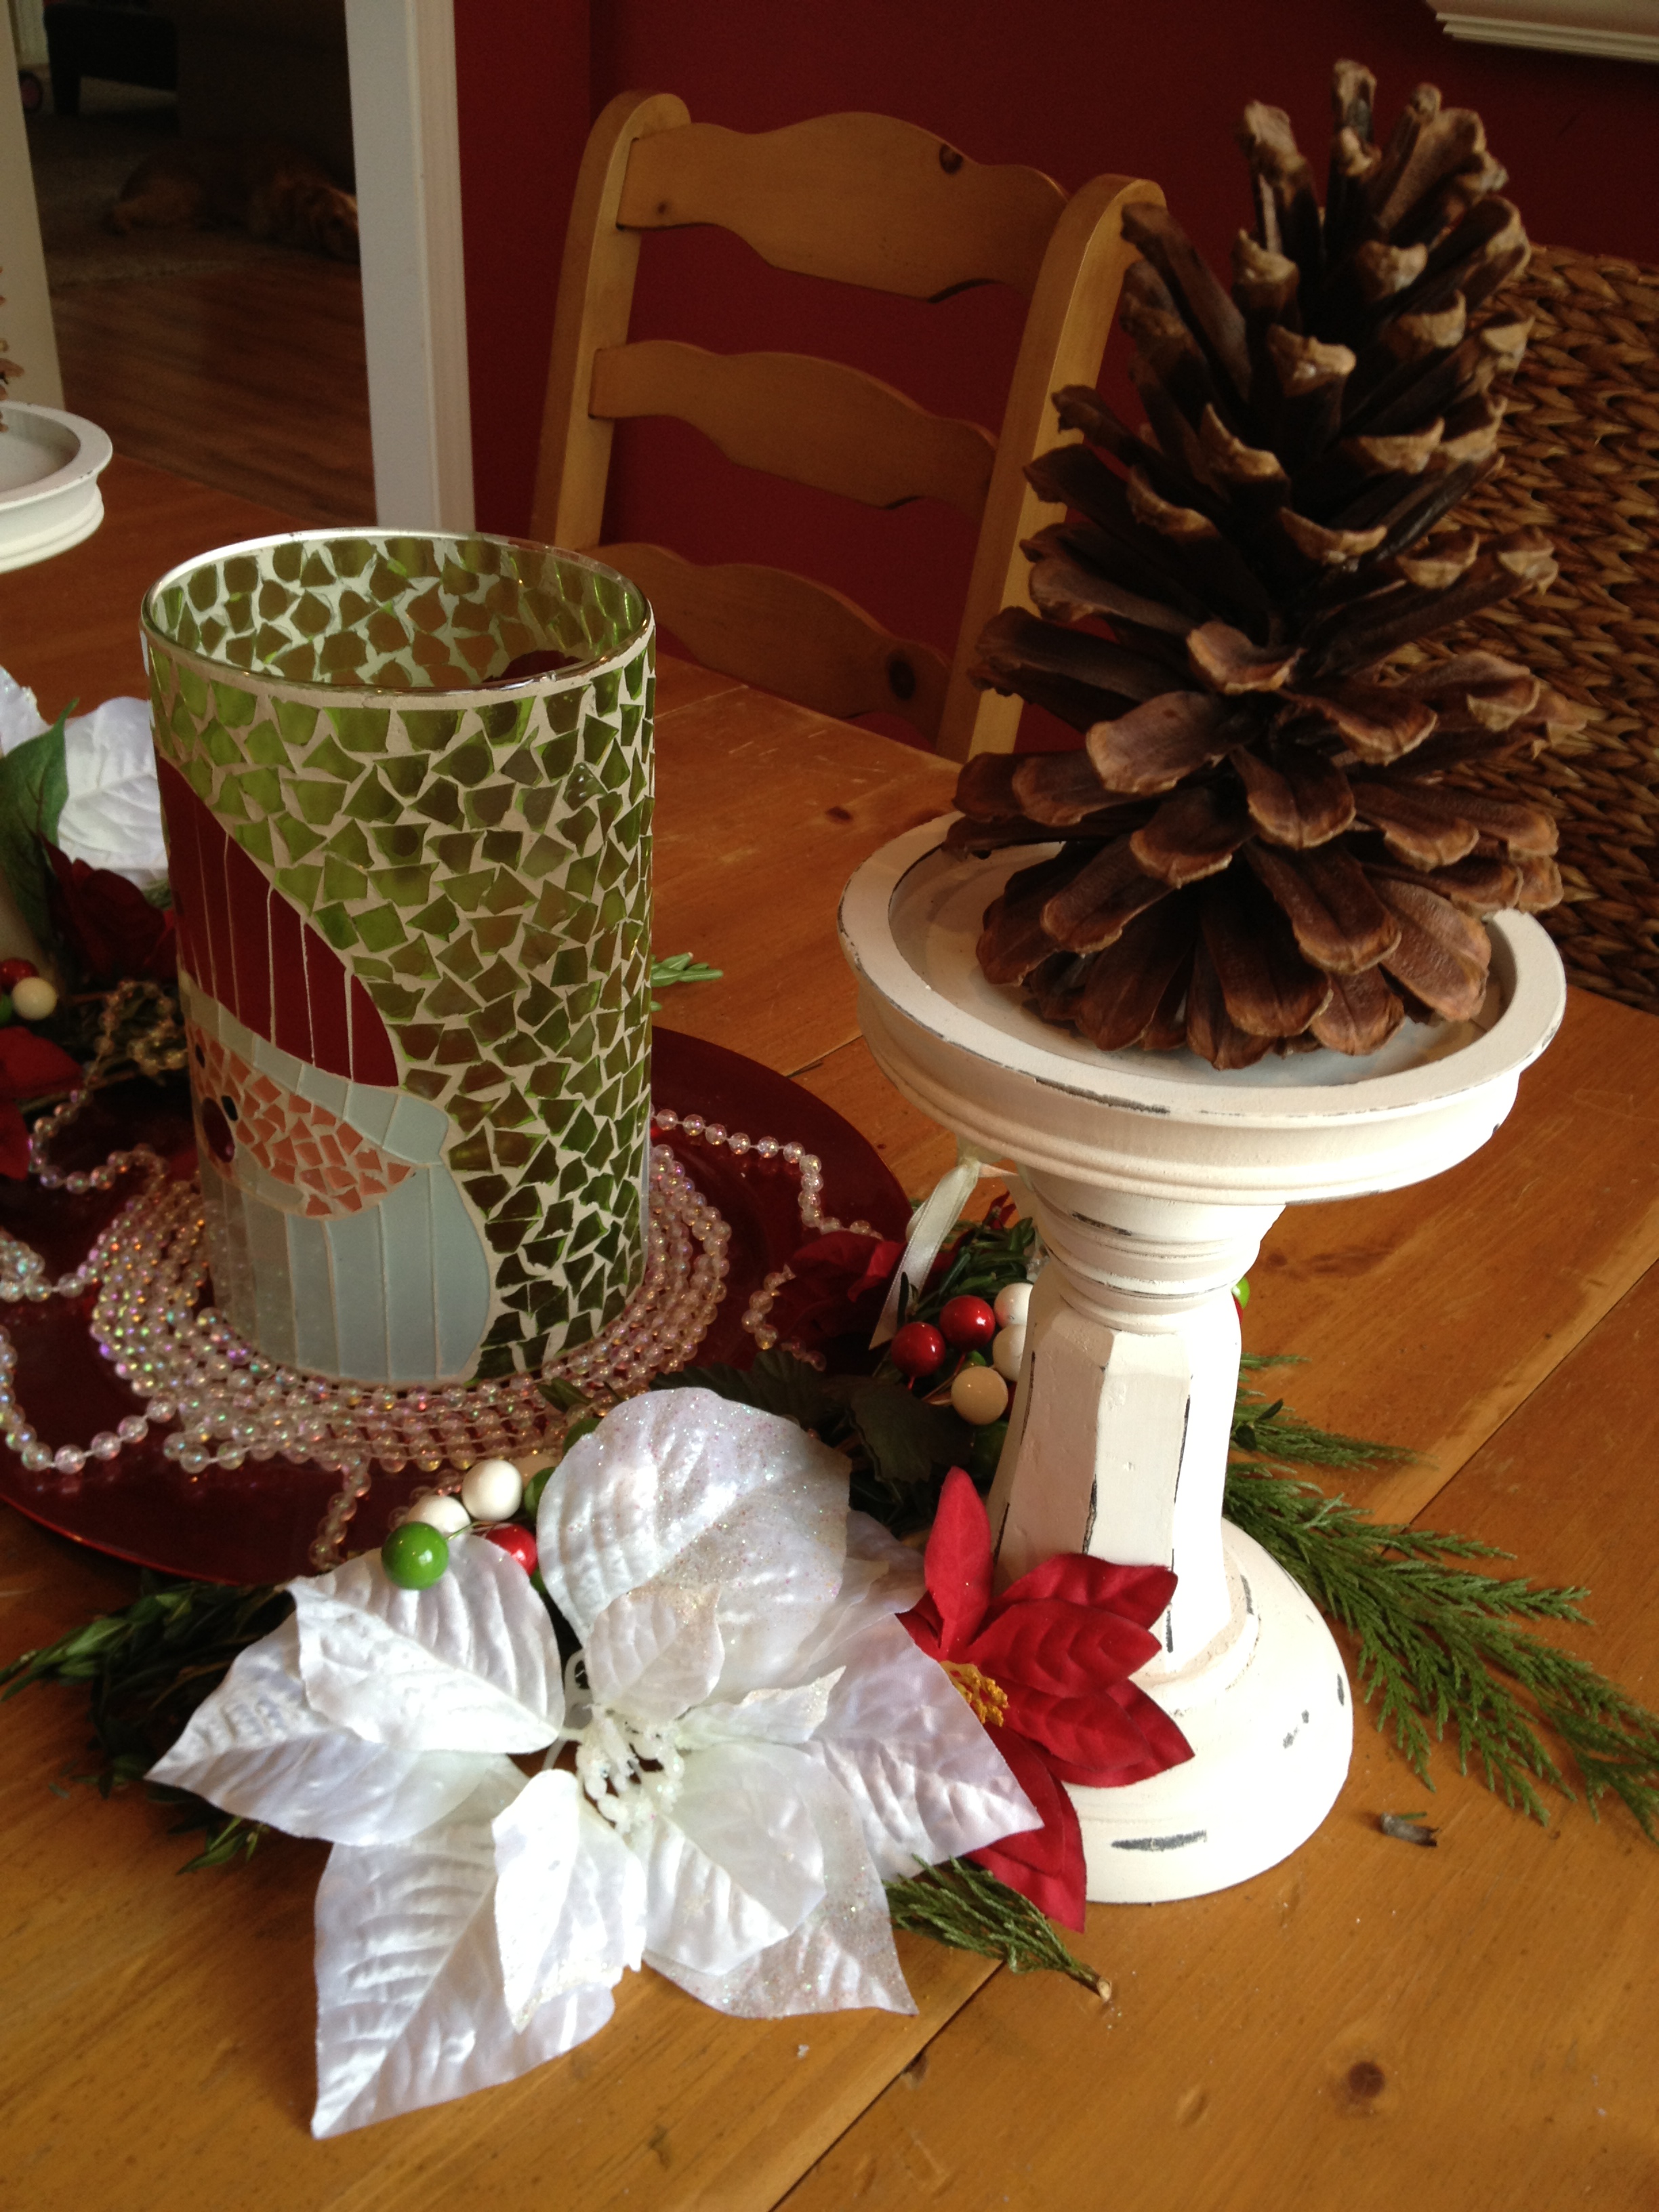
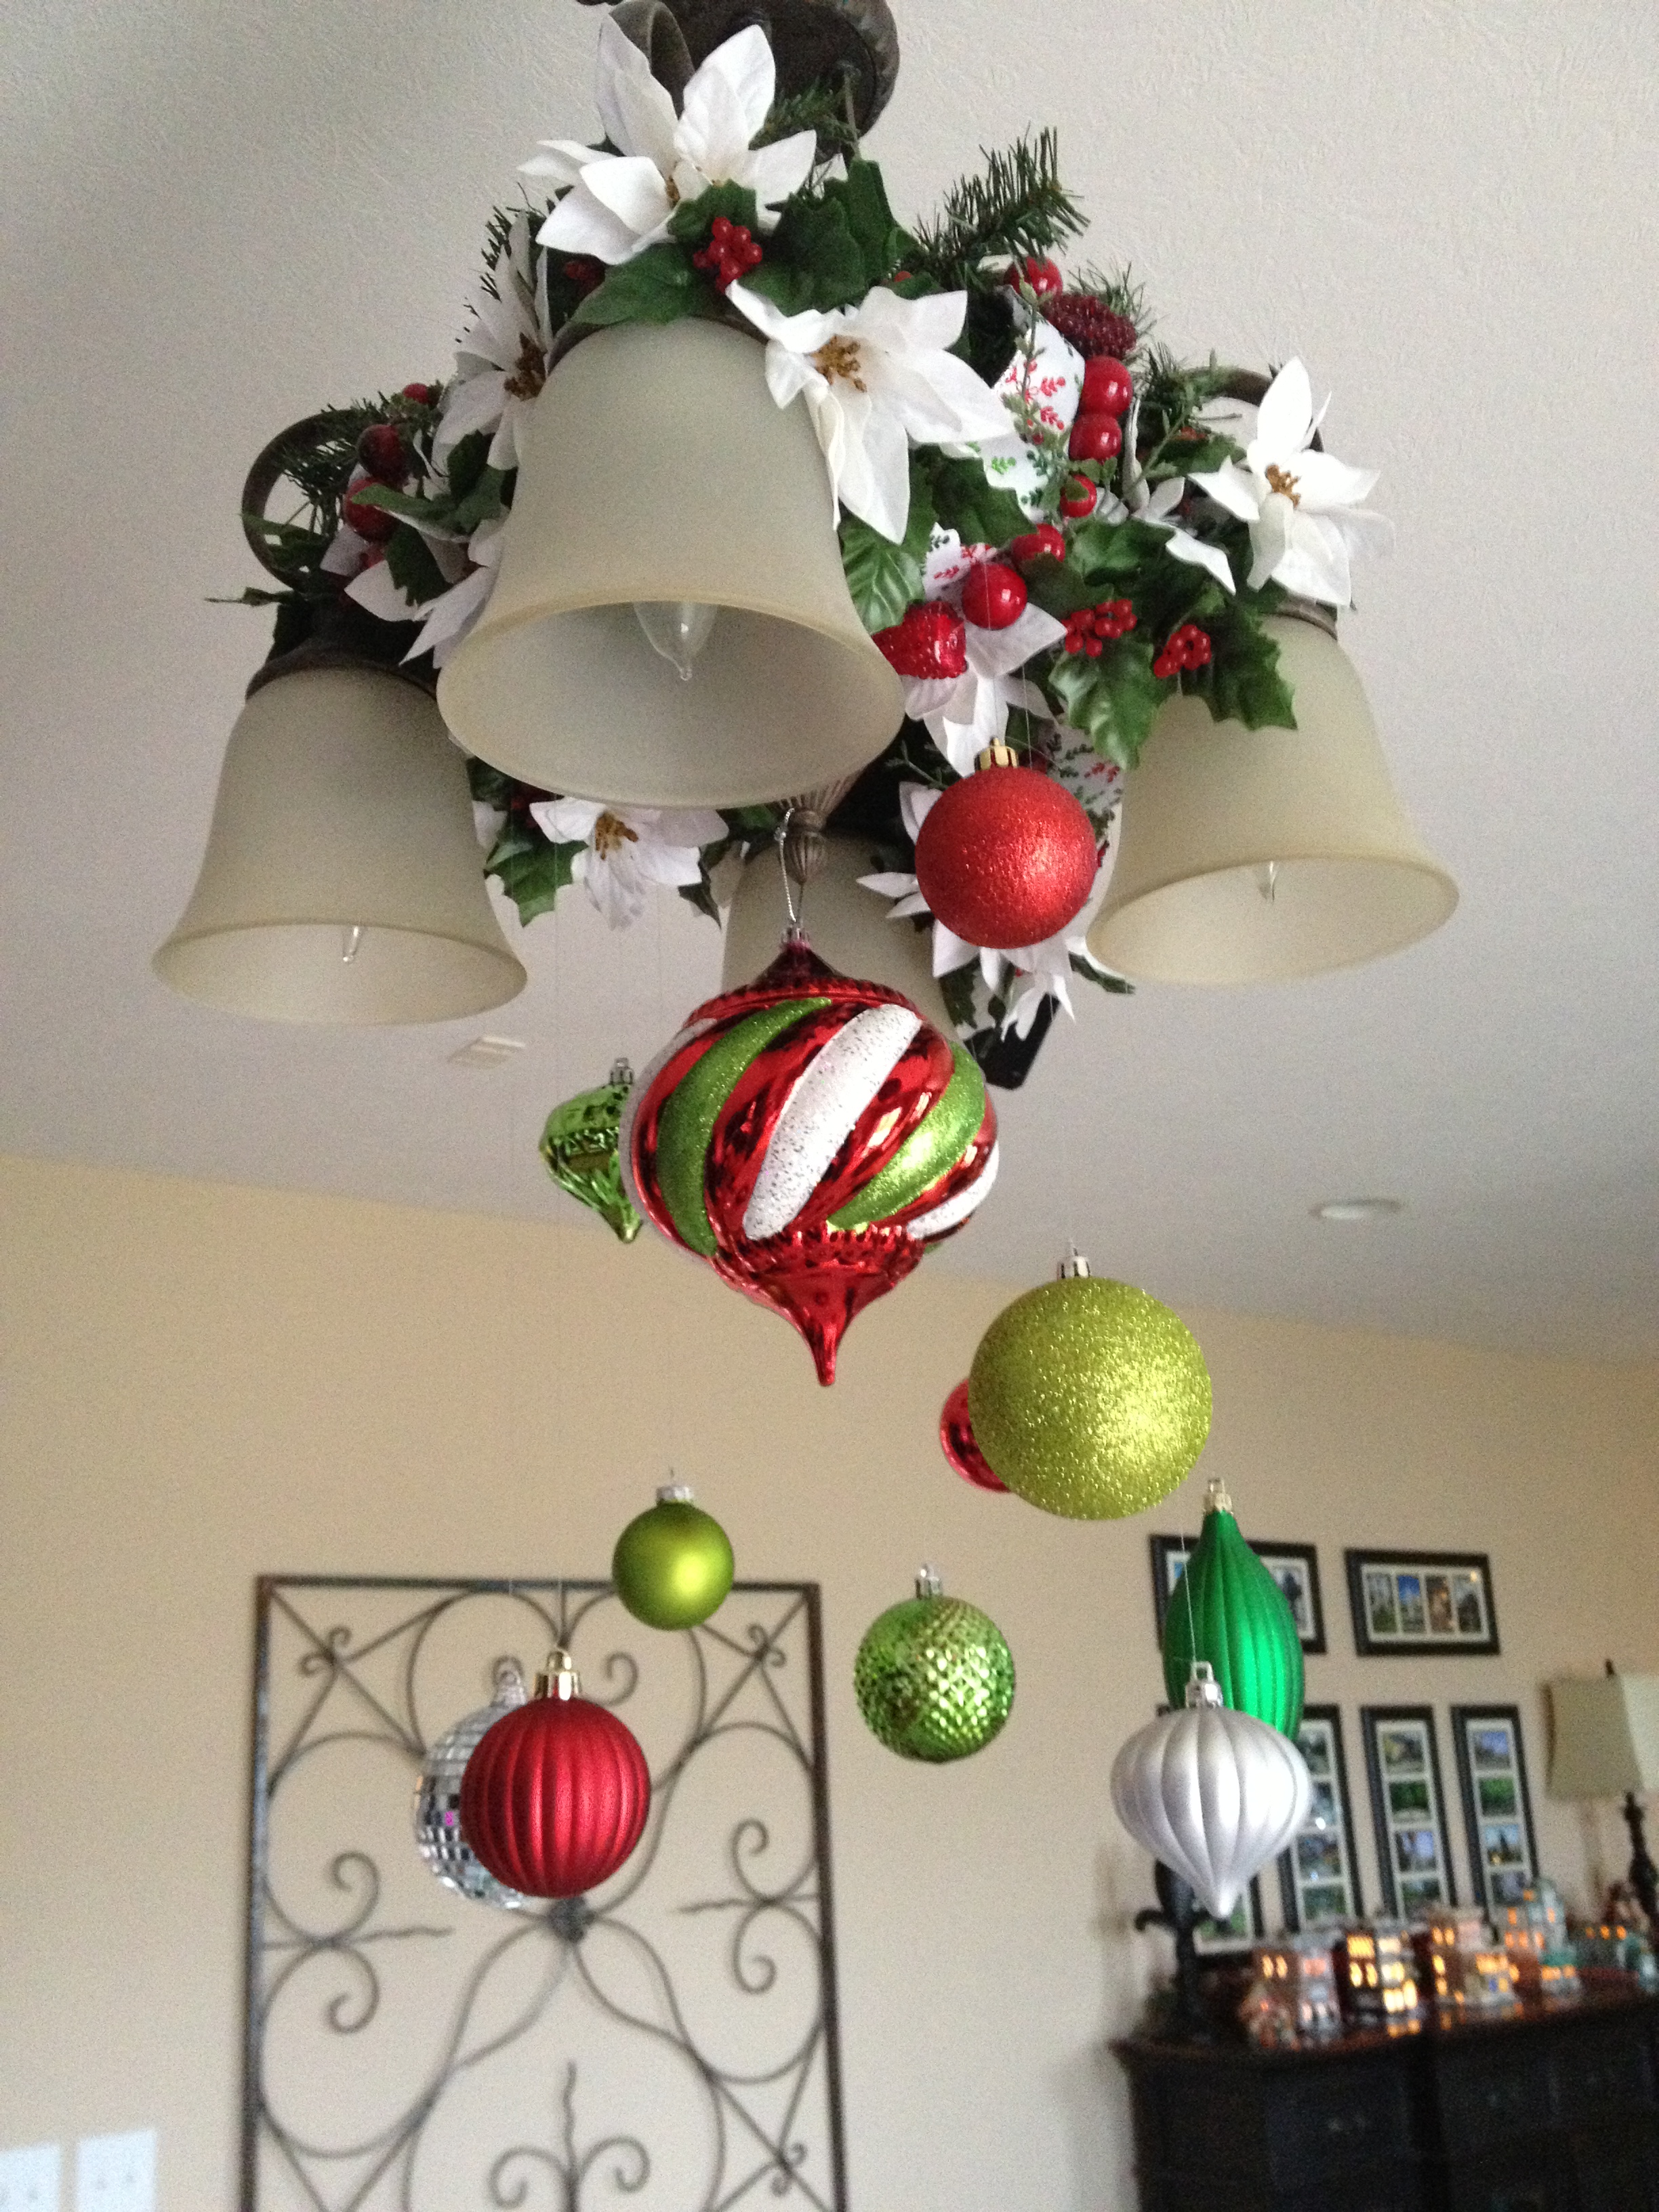
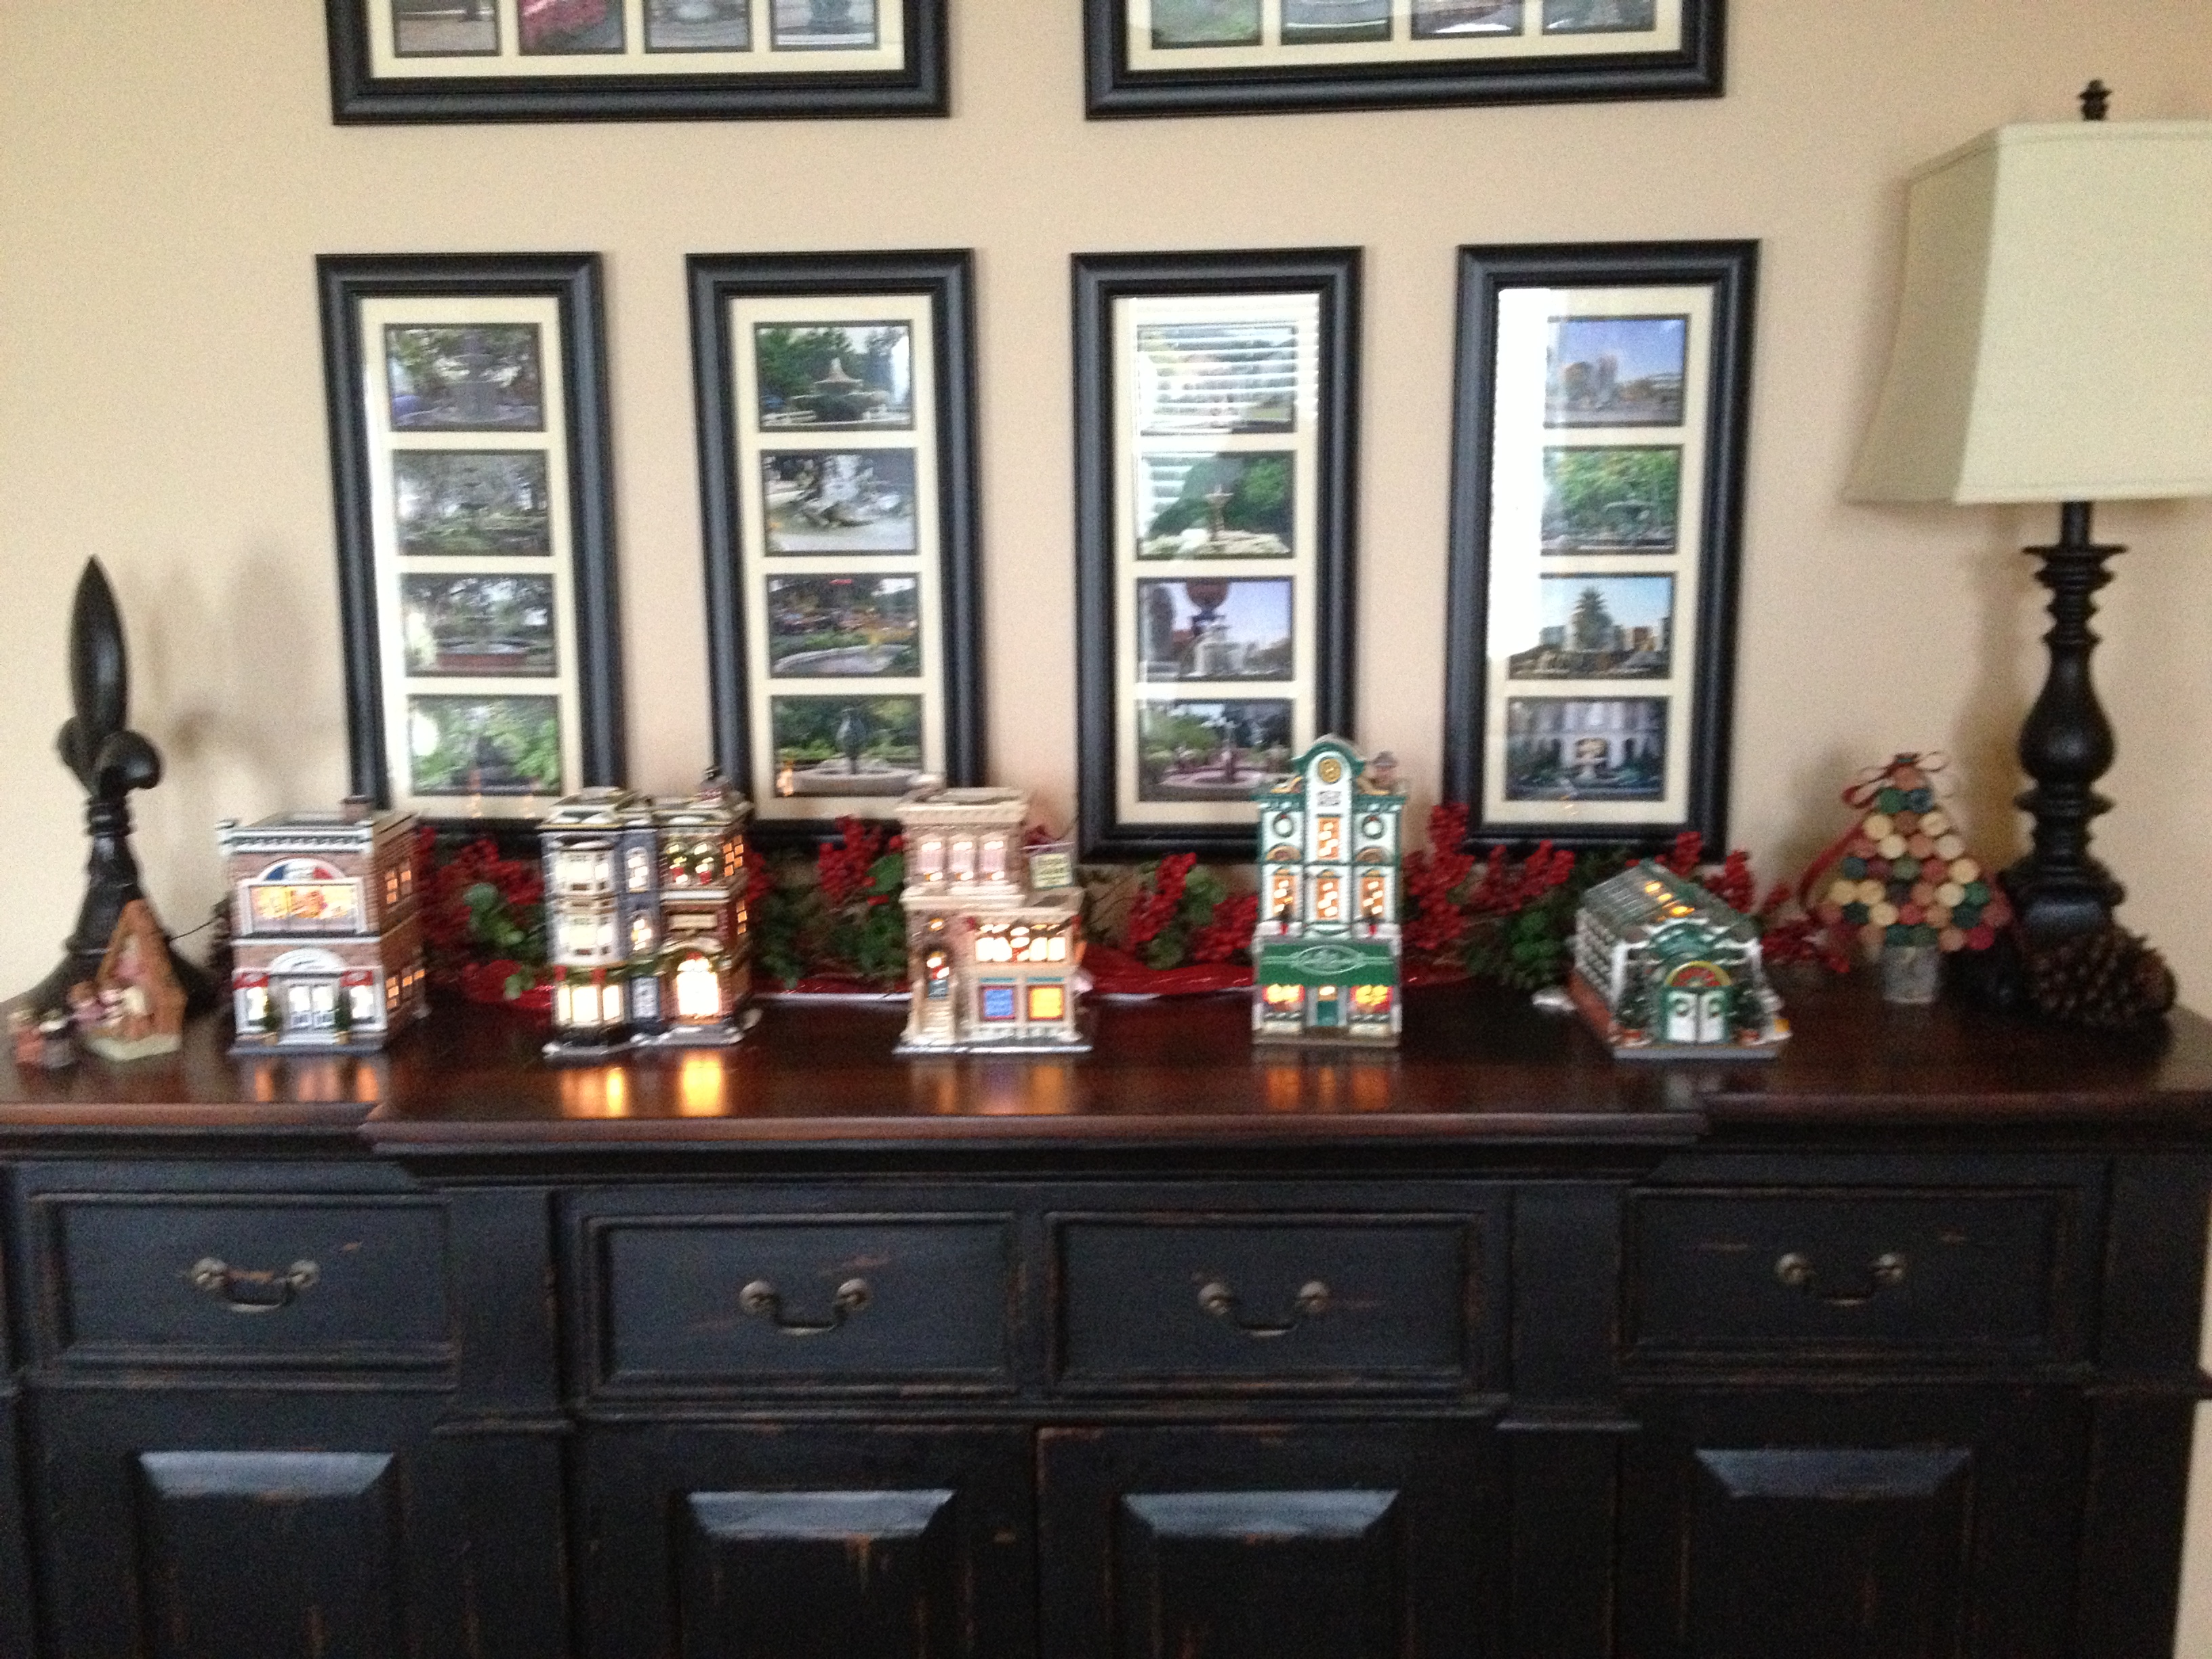
Lola’s Christmas Decor 2012: First set of Pics
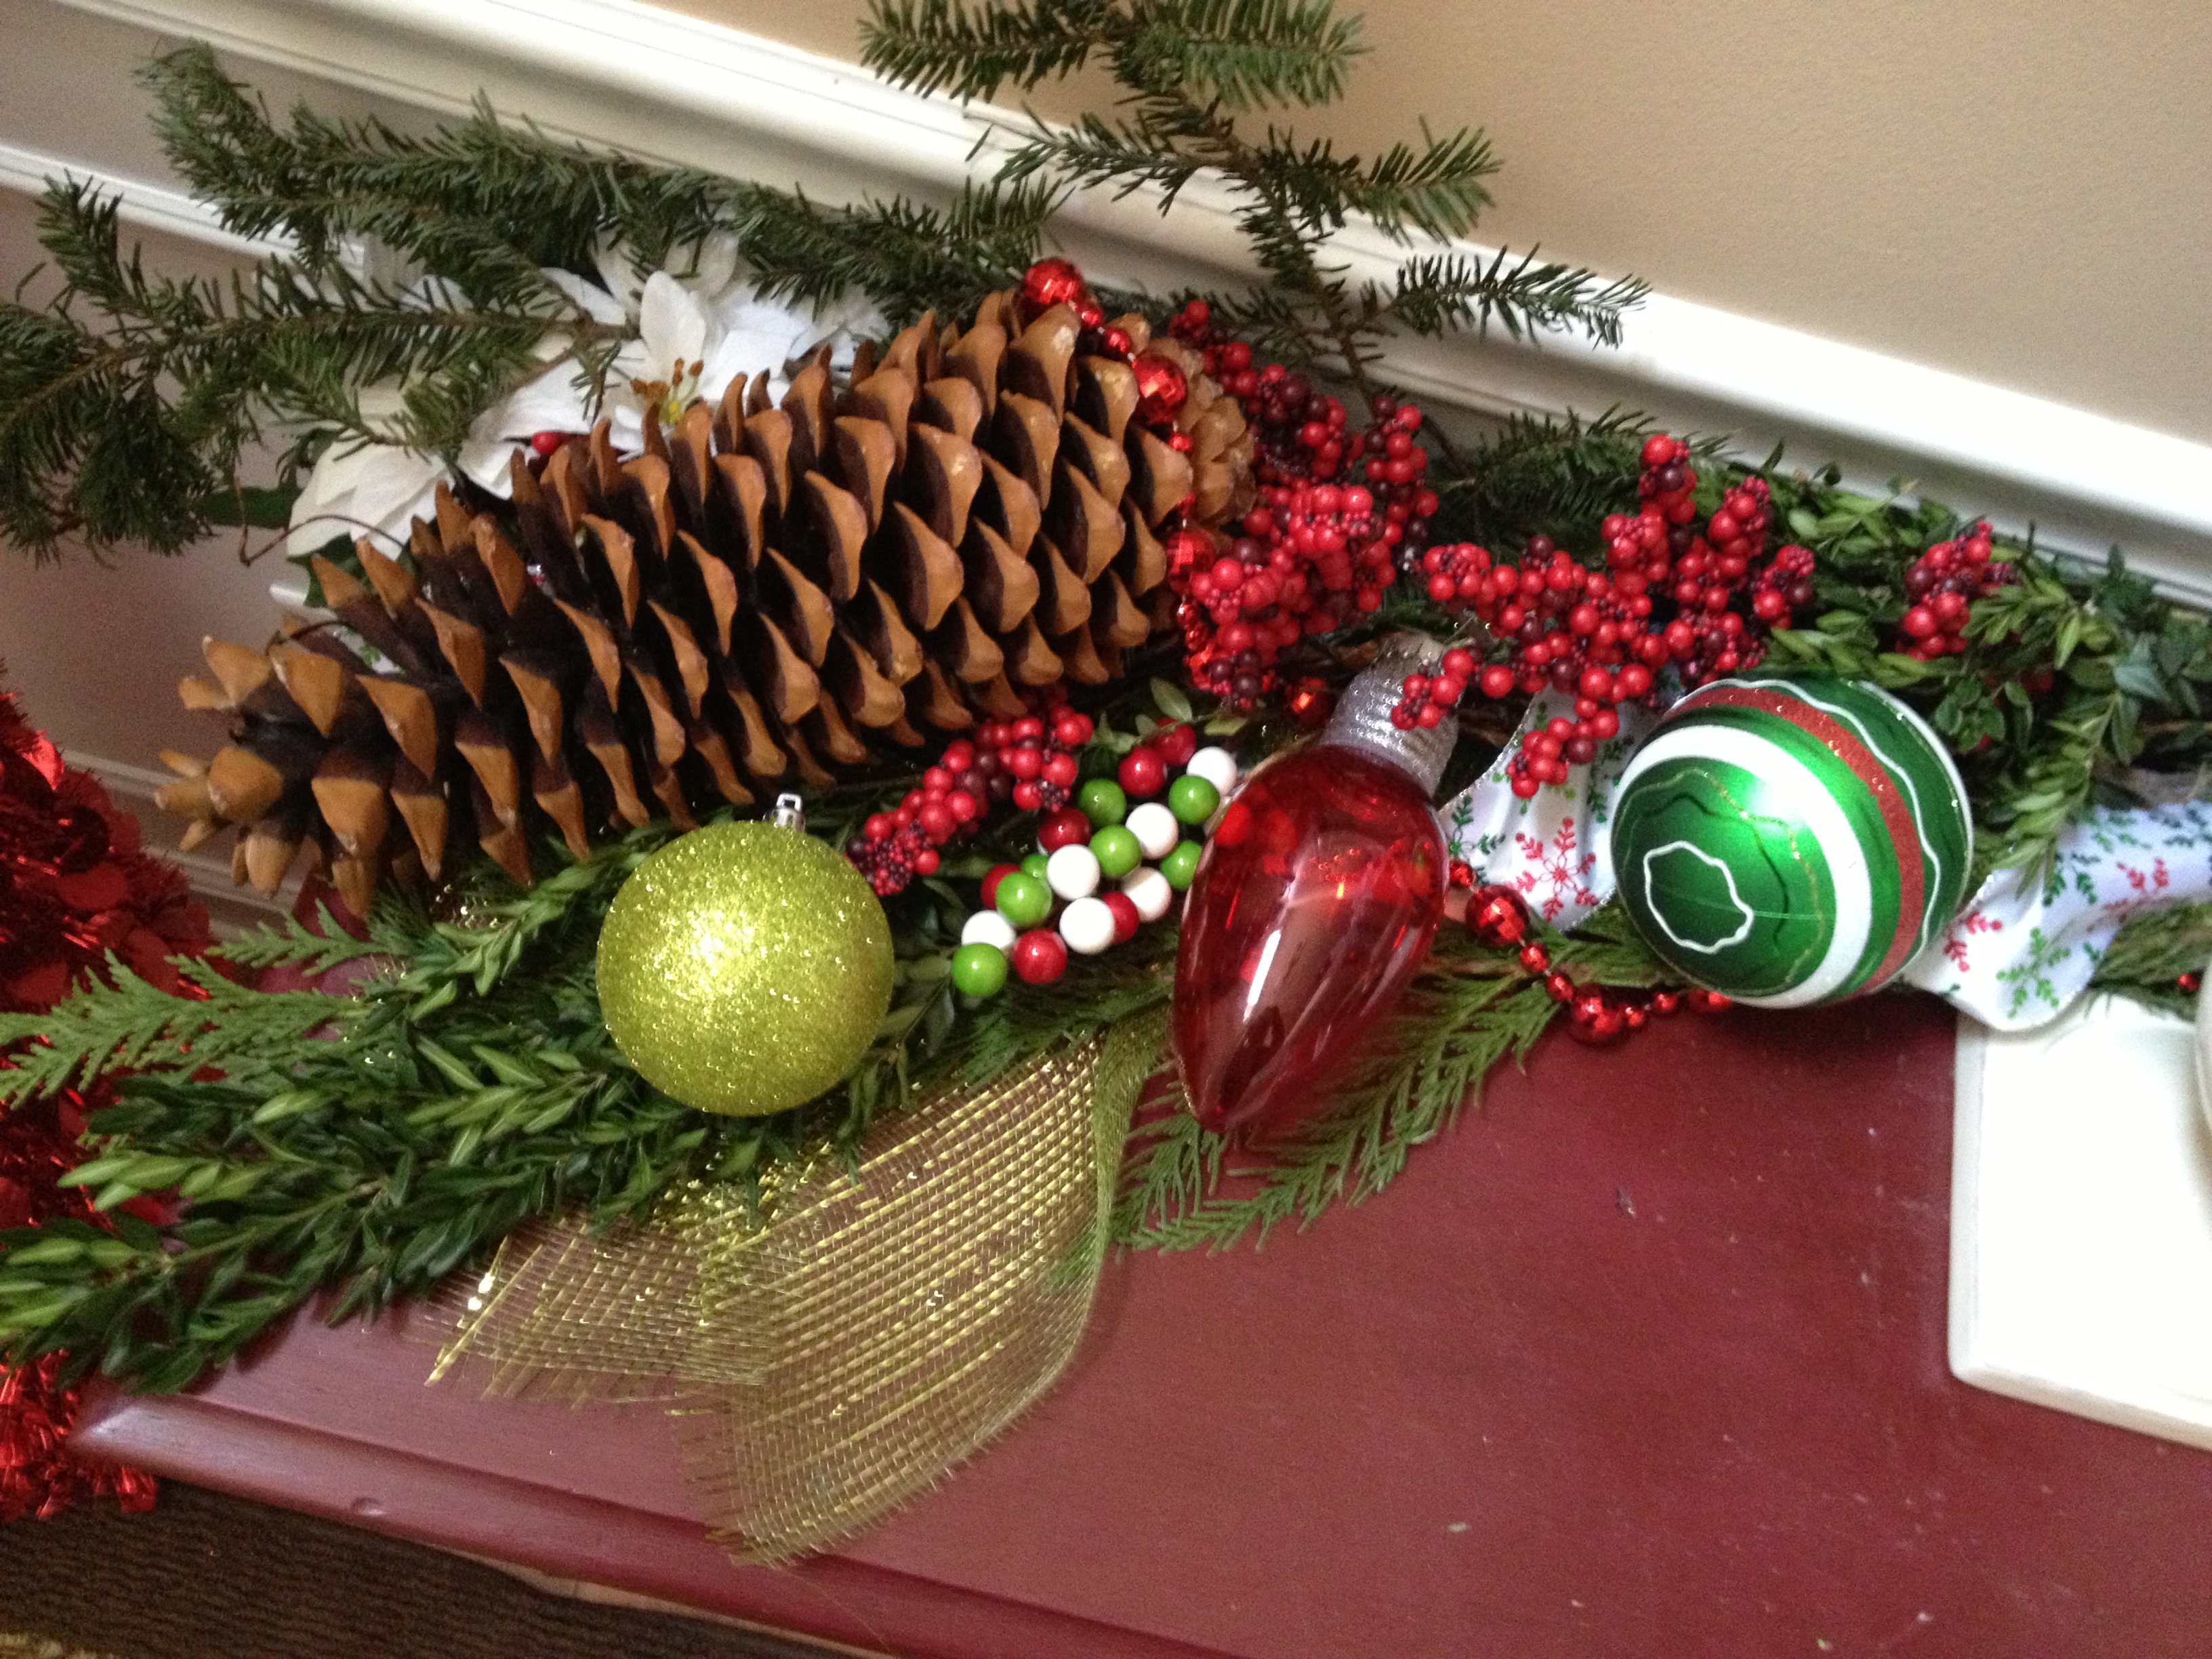
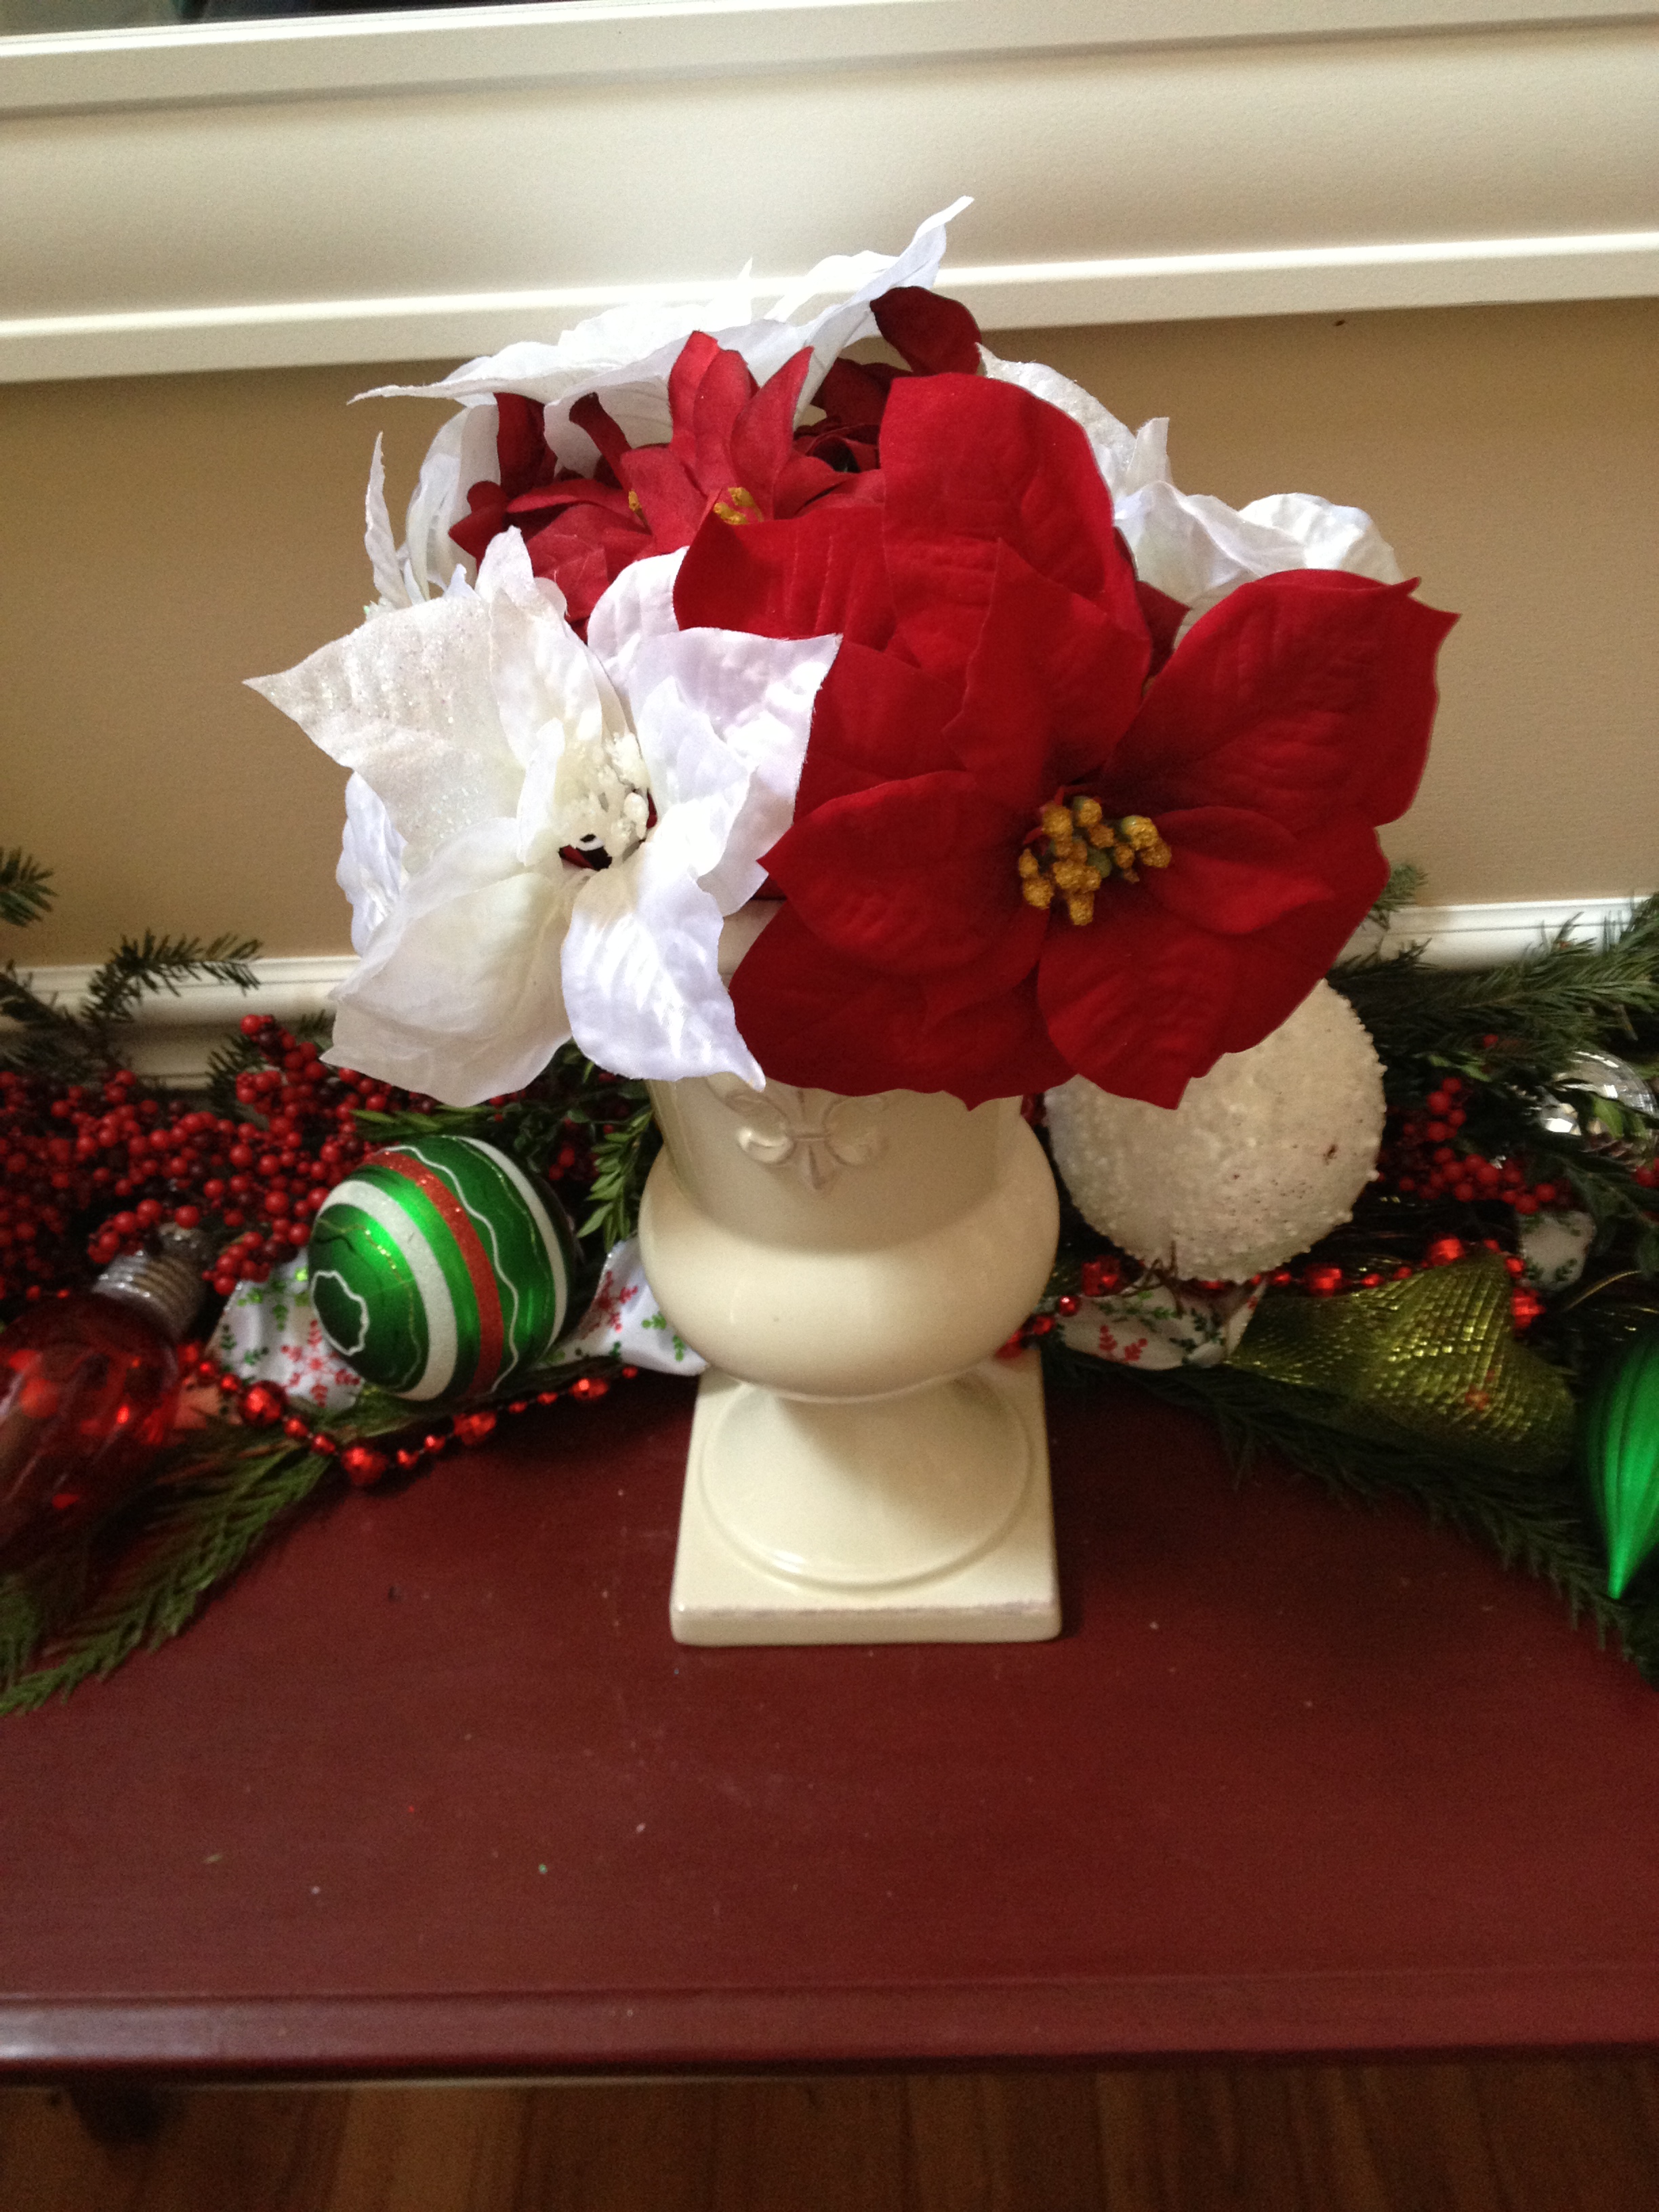
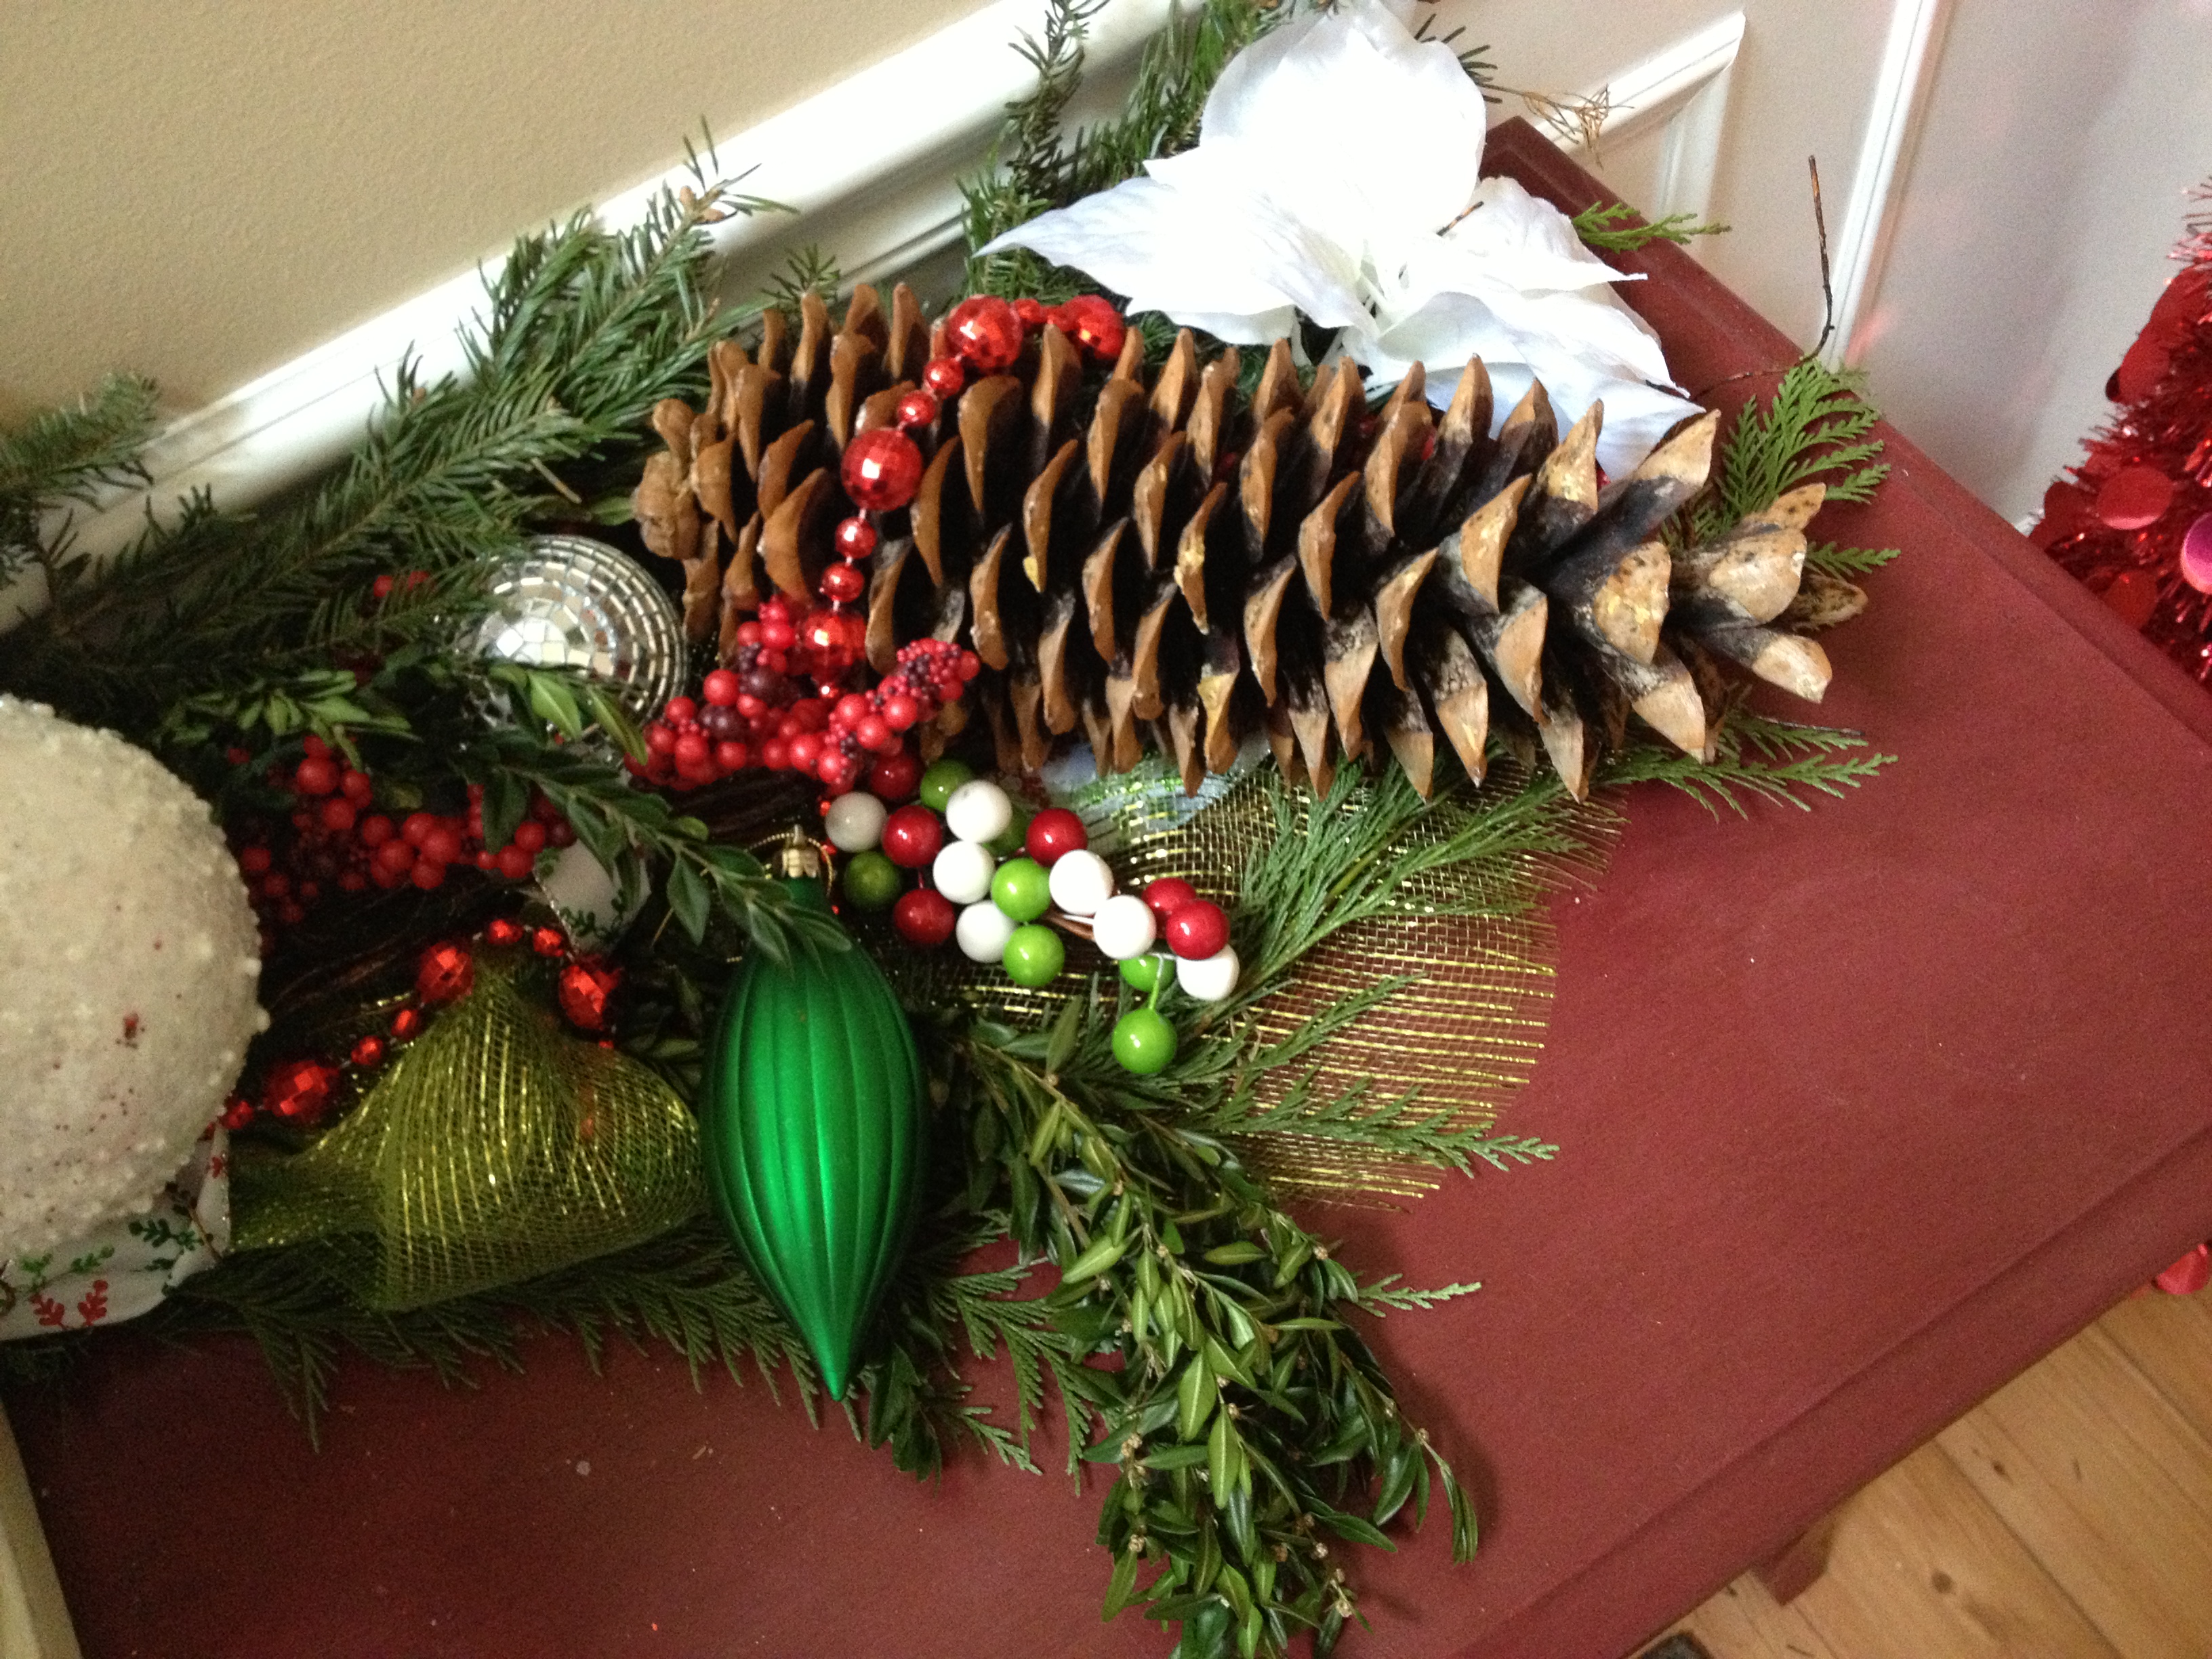
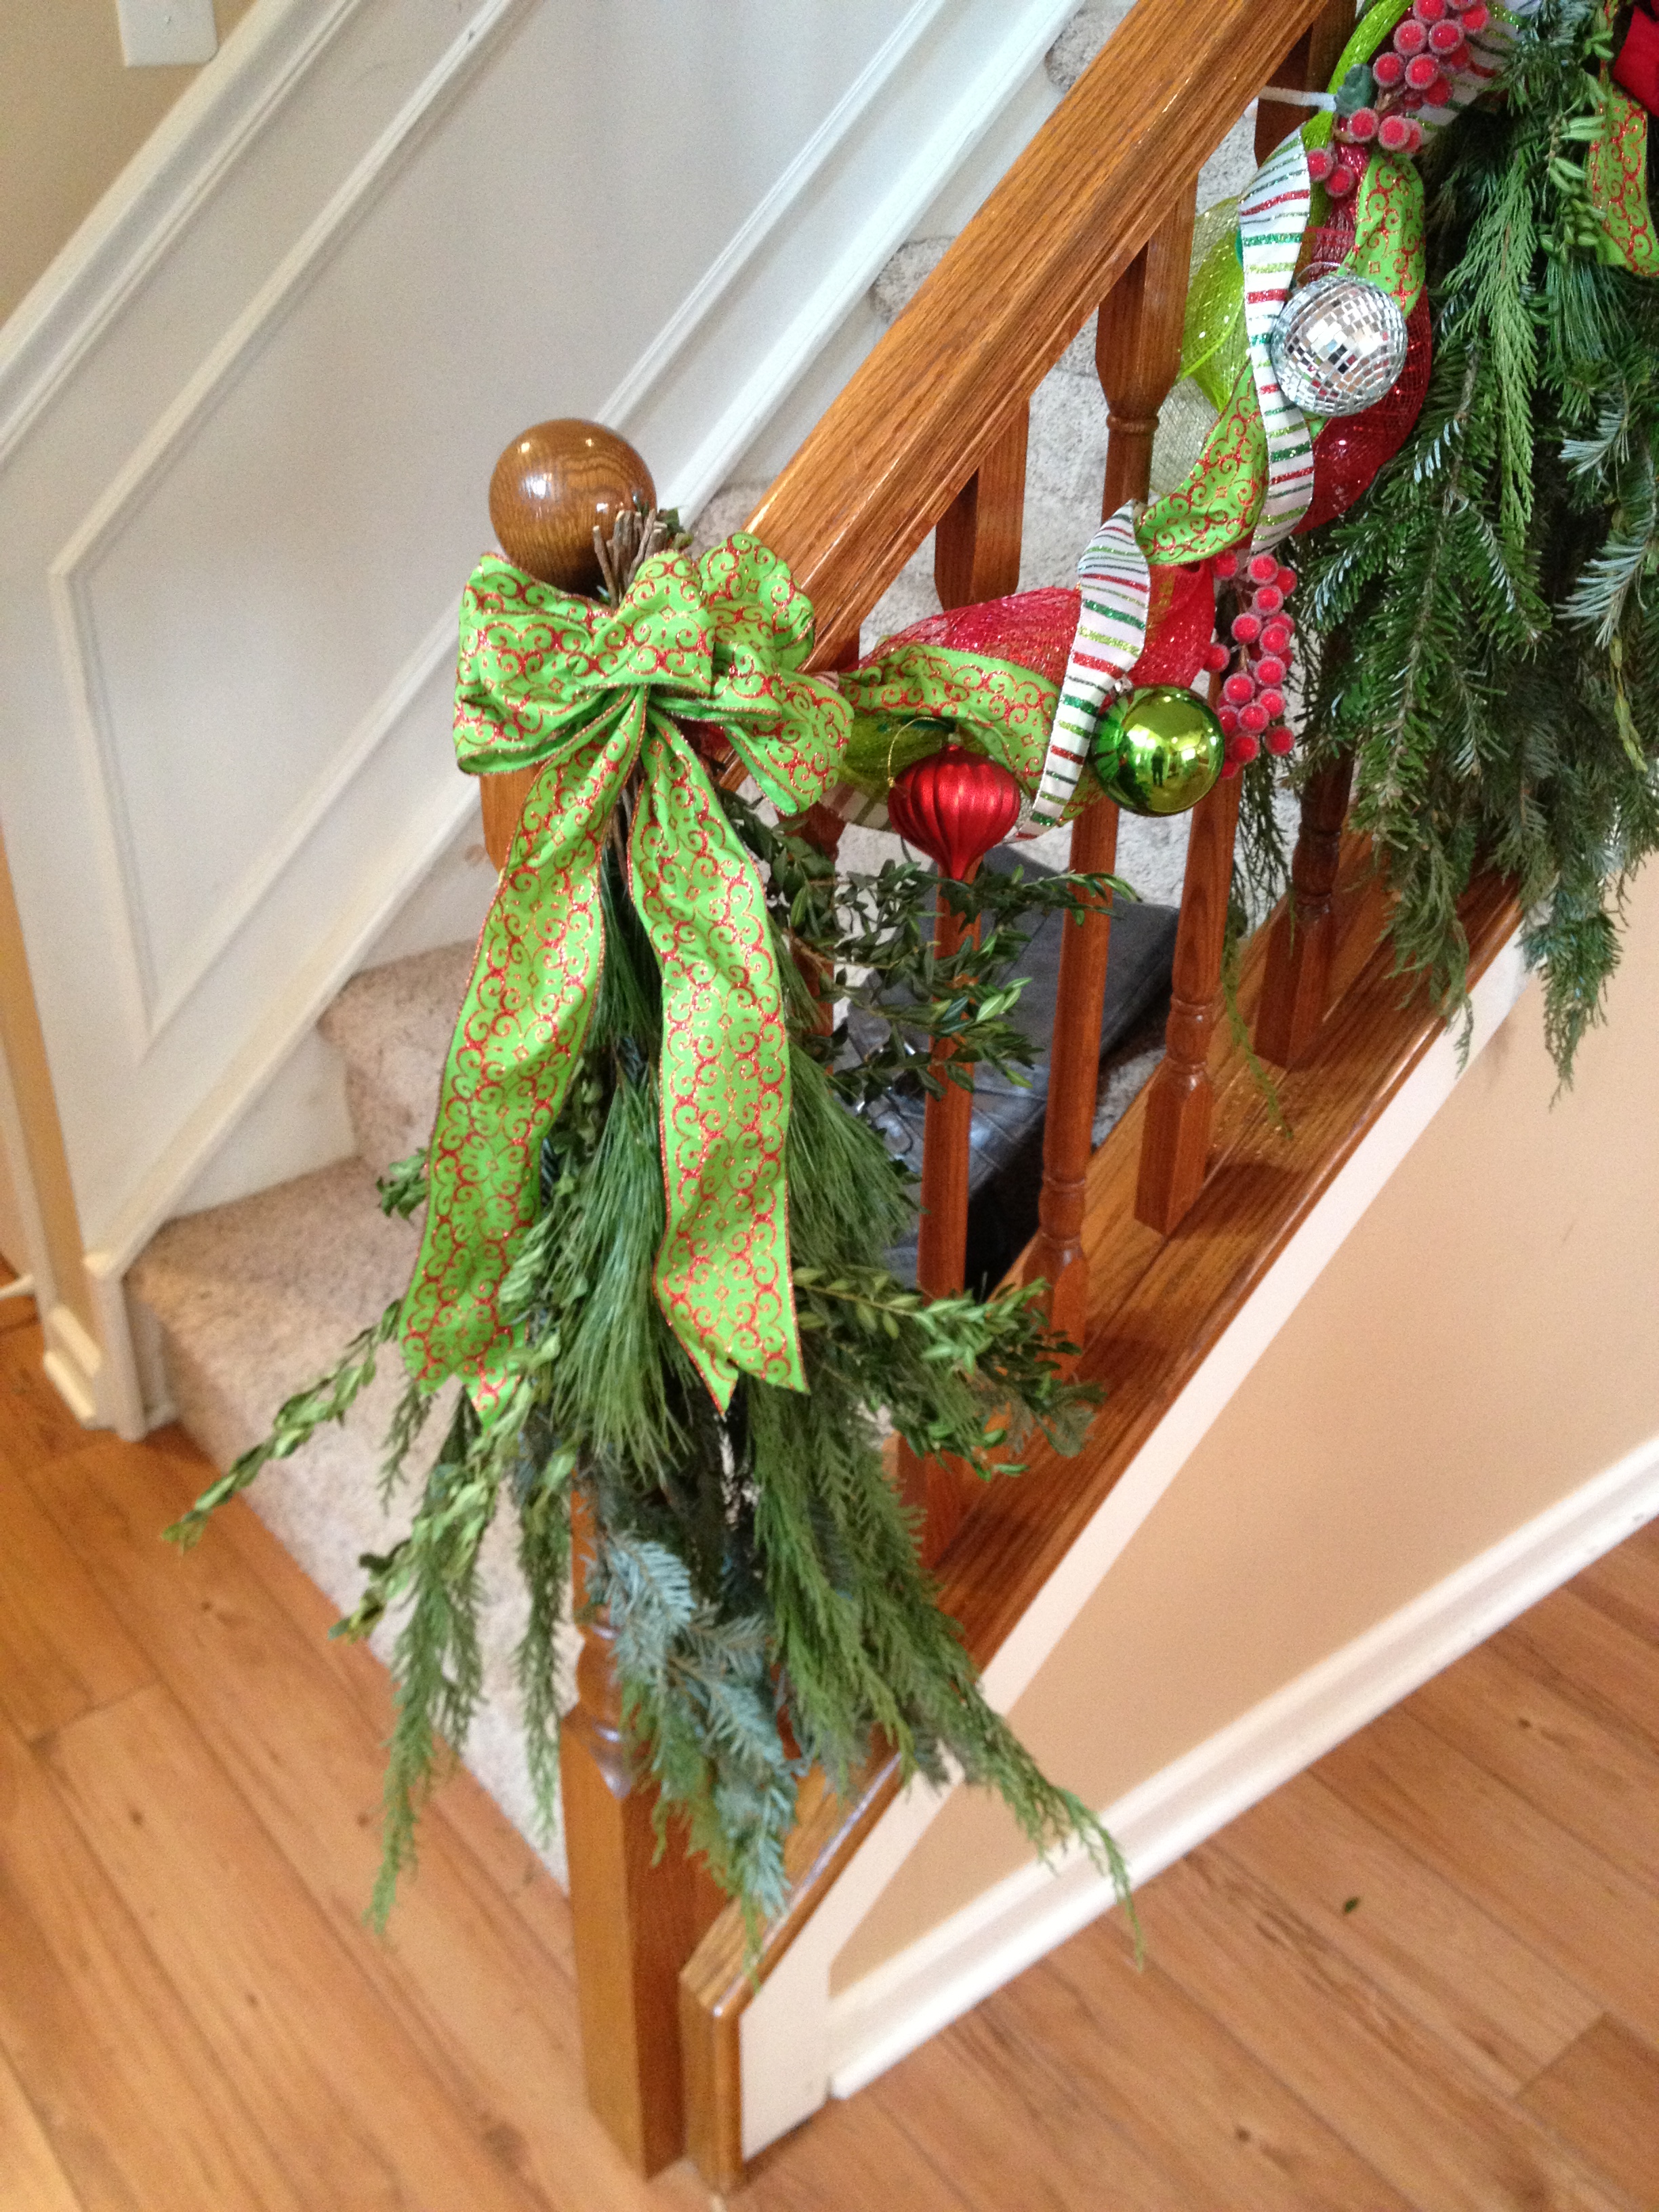
Posted: 2012/12/02 Filed under: Decorating | Tags: Chandelier with ornaments hanging, Christmas, Christmas Decor, Christmas Swags, Christmas Window boxes, Holiday Decorating, Ornament decorating, Pine cone decorating, PInterest Leave a commentI’ve got lots to say about the projects I took on this year, as soon as they all are done I will get the details, tips and tricks written up, hopefully. I may have taken on a but much this year plus work is crazy right now. This is what is photo sharing ready. 🙂


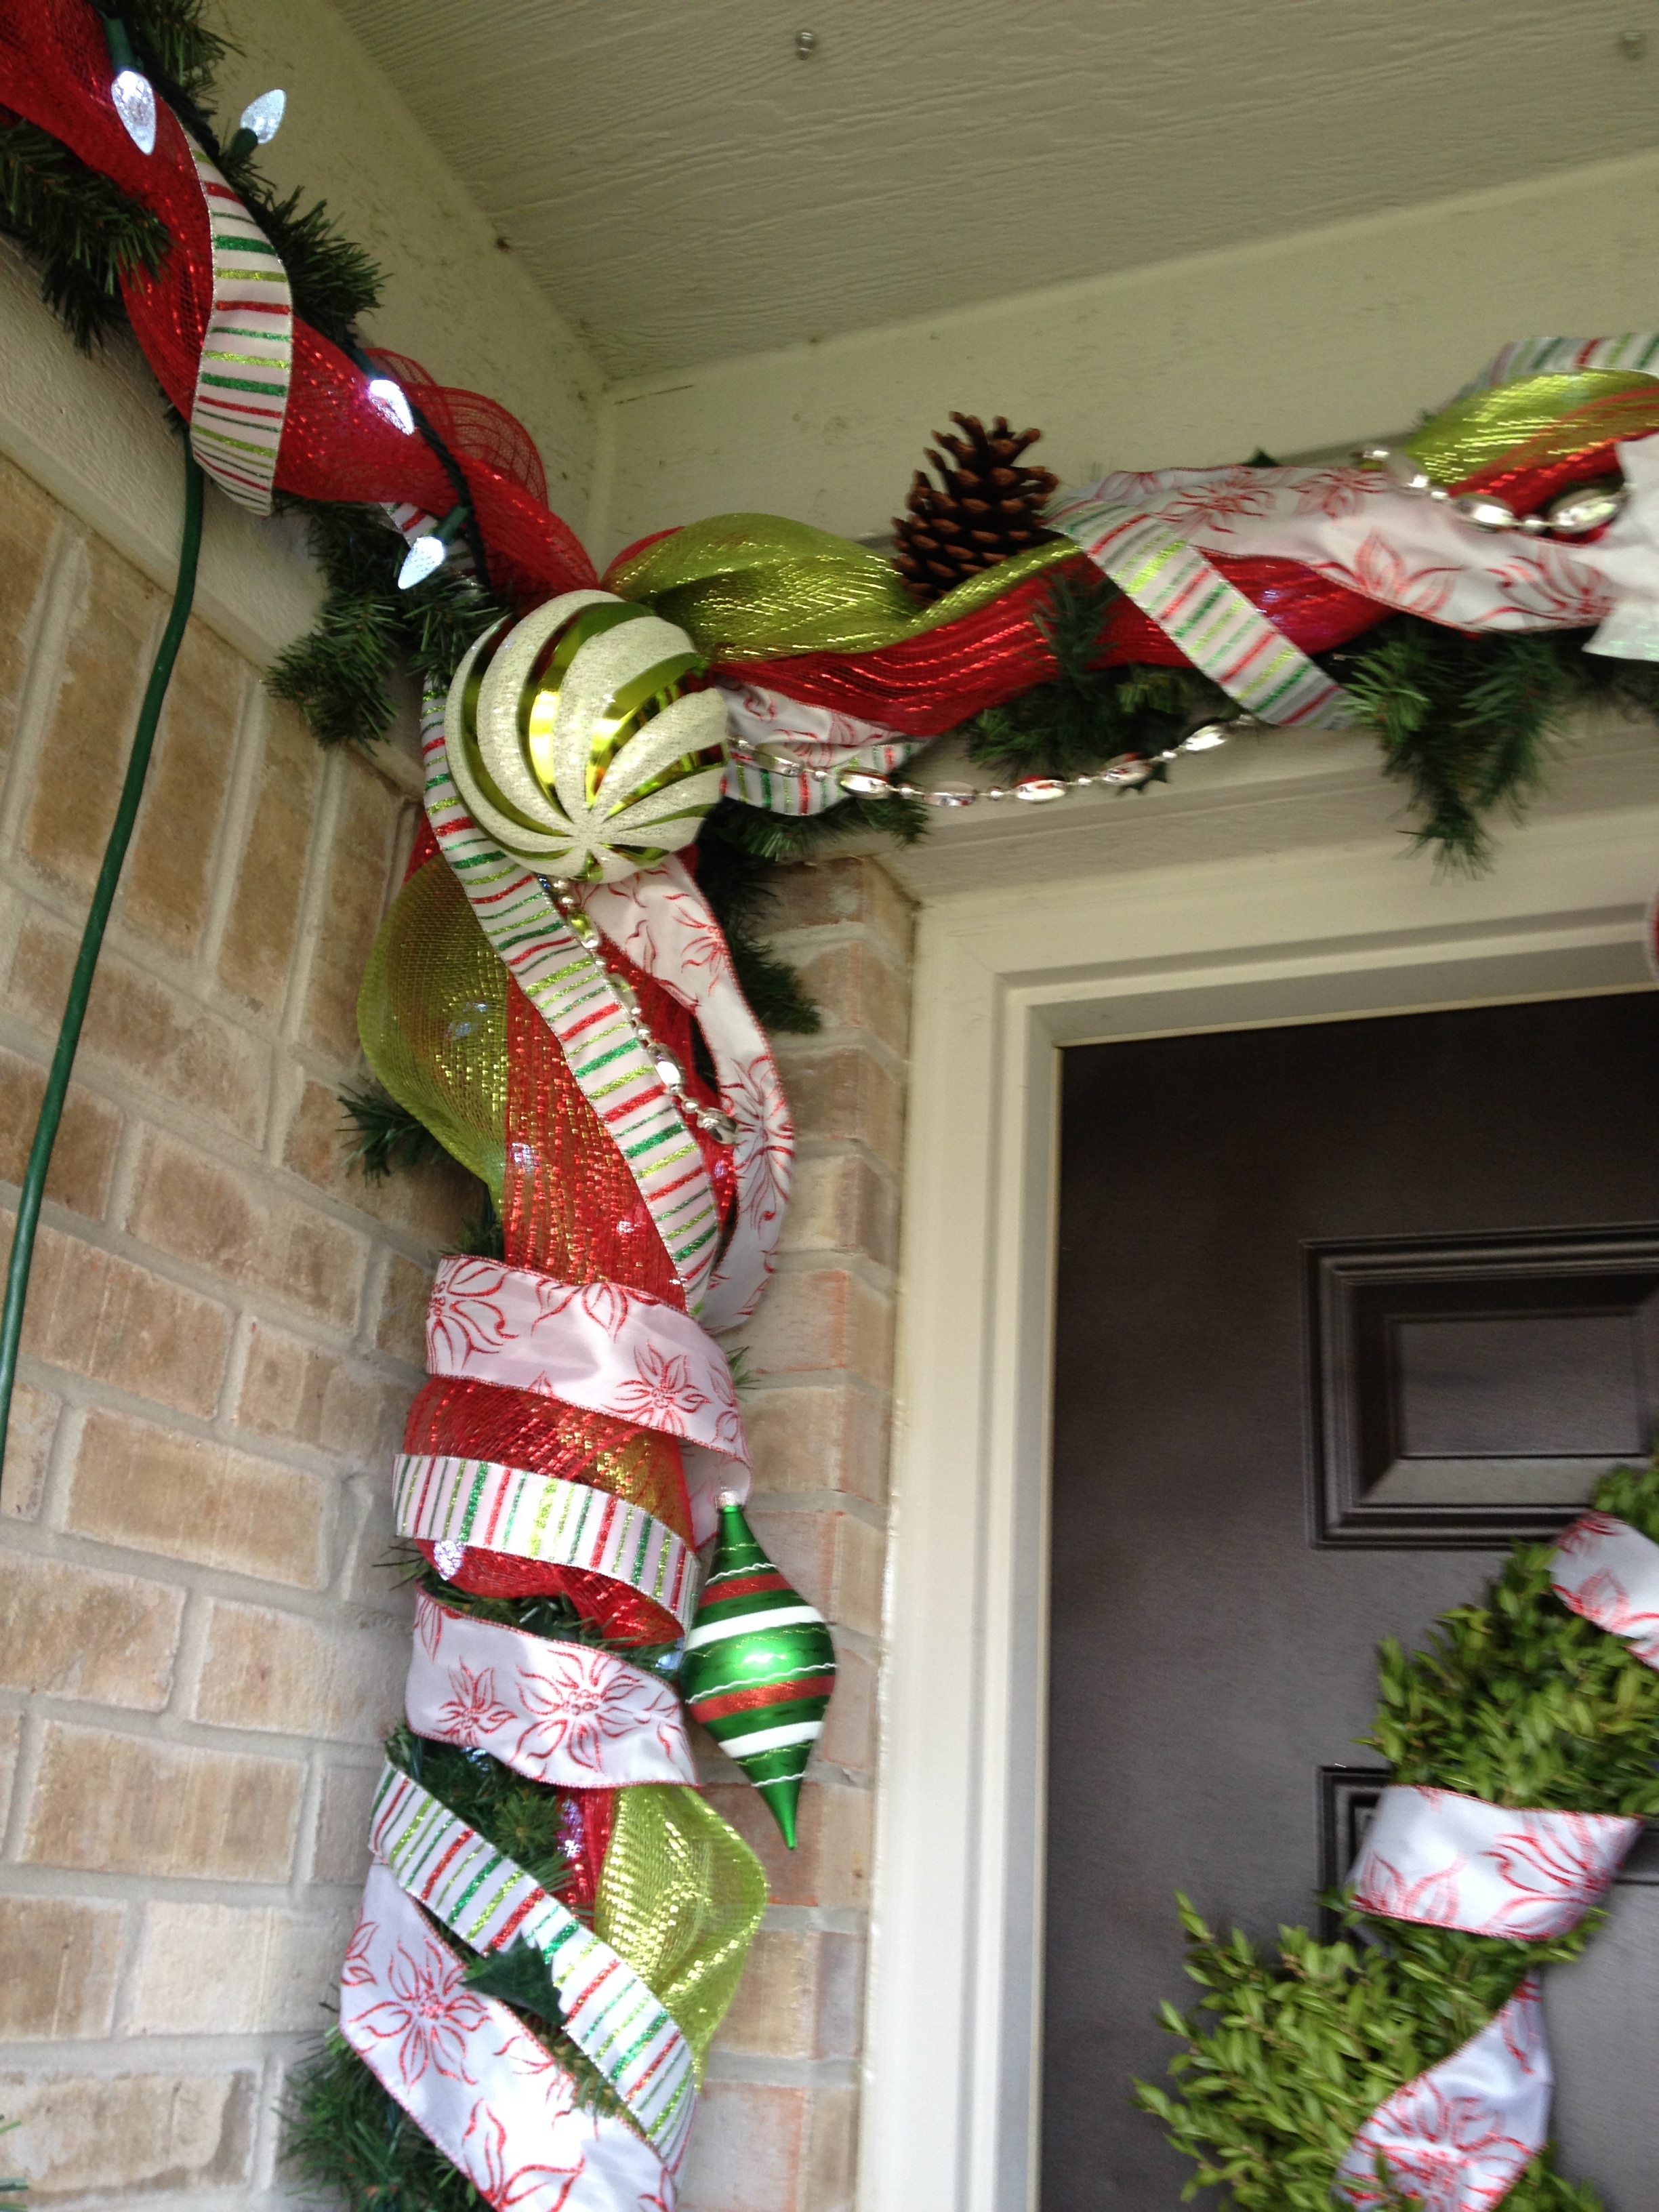


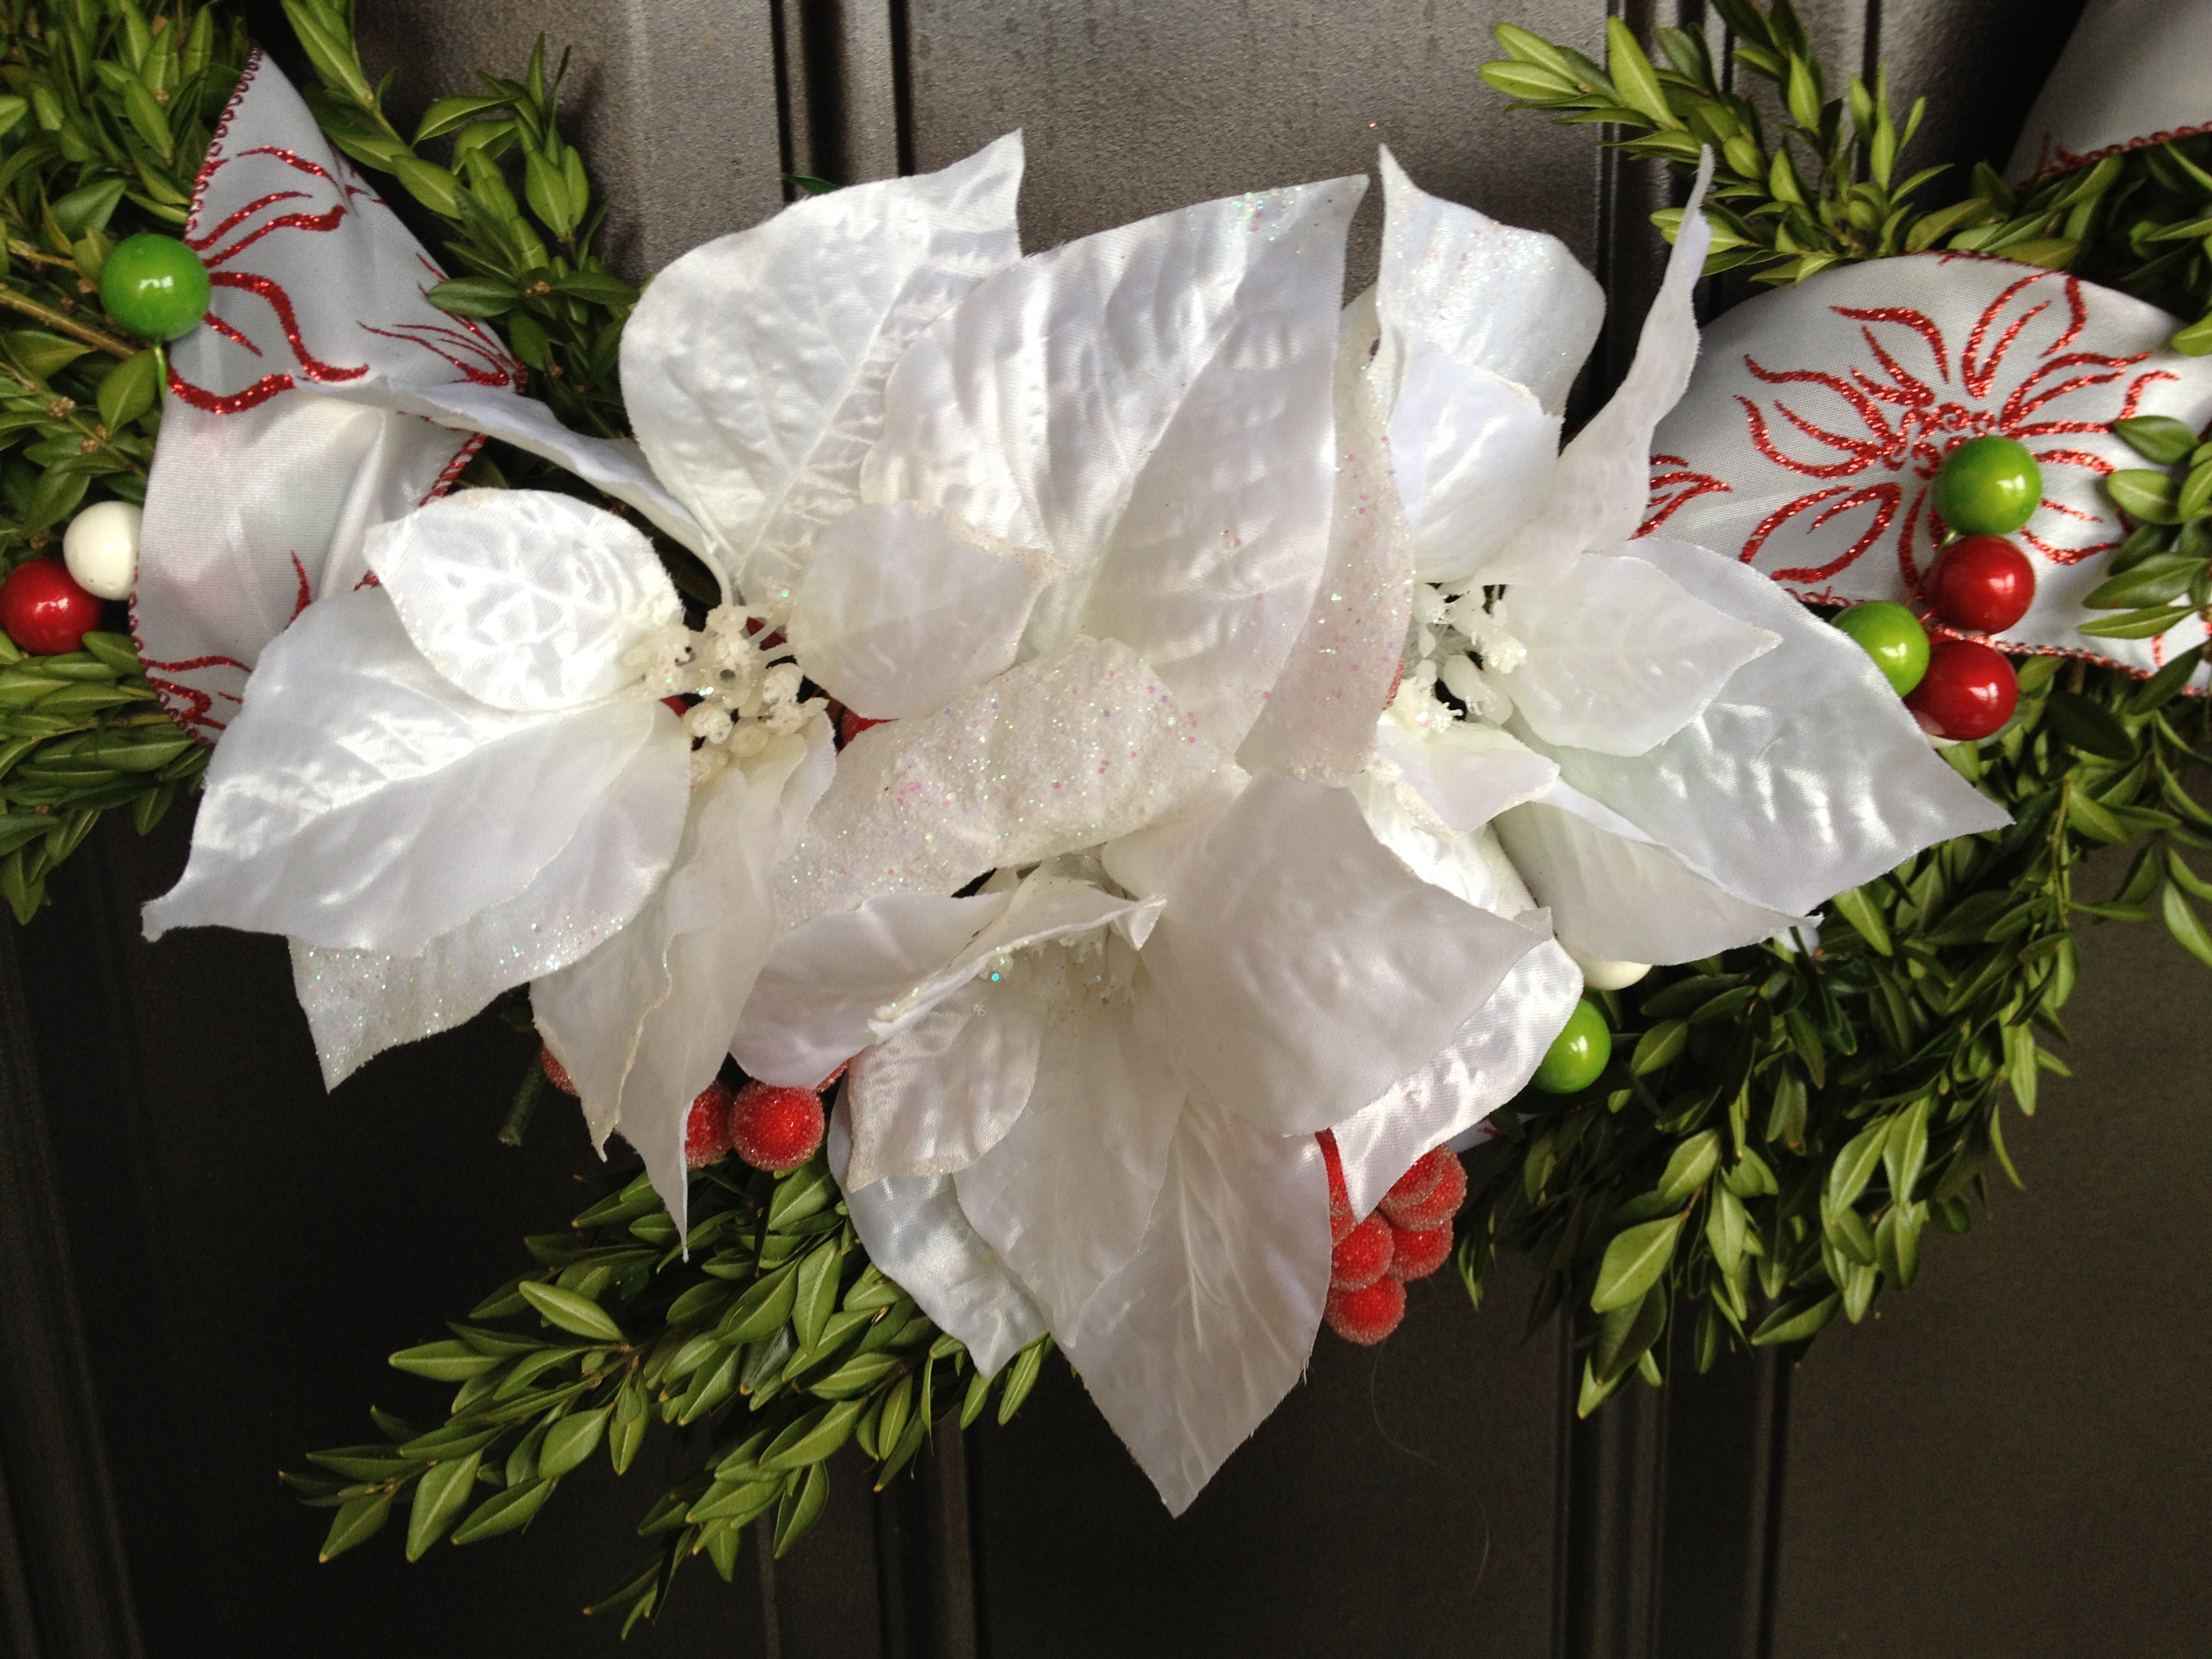


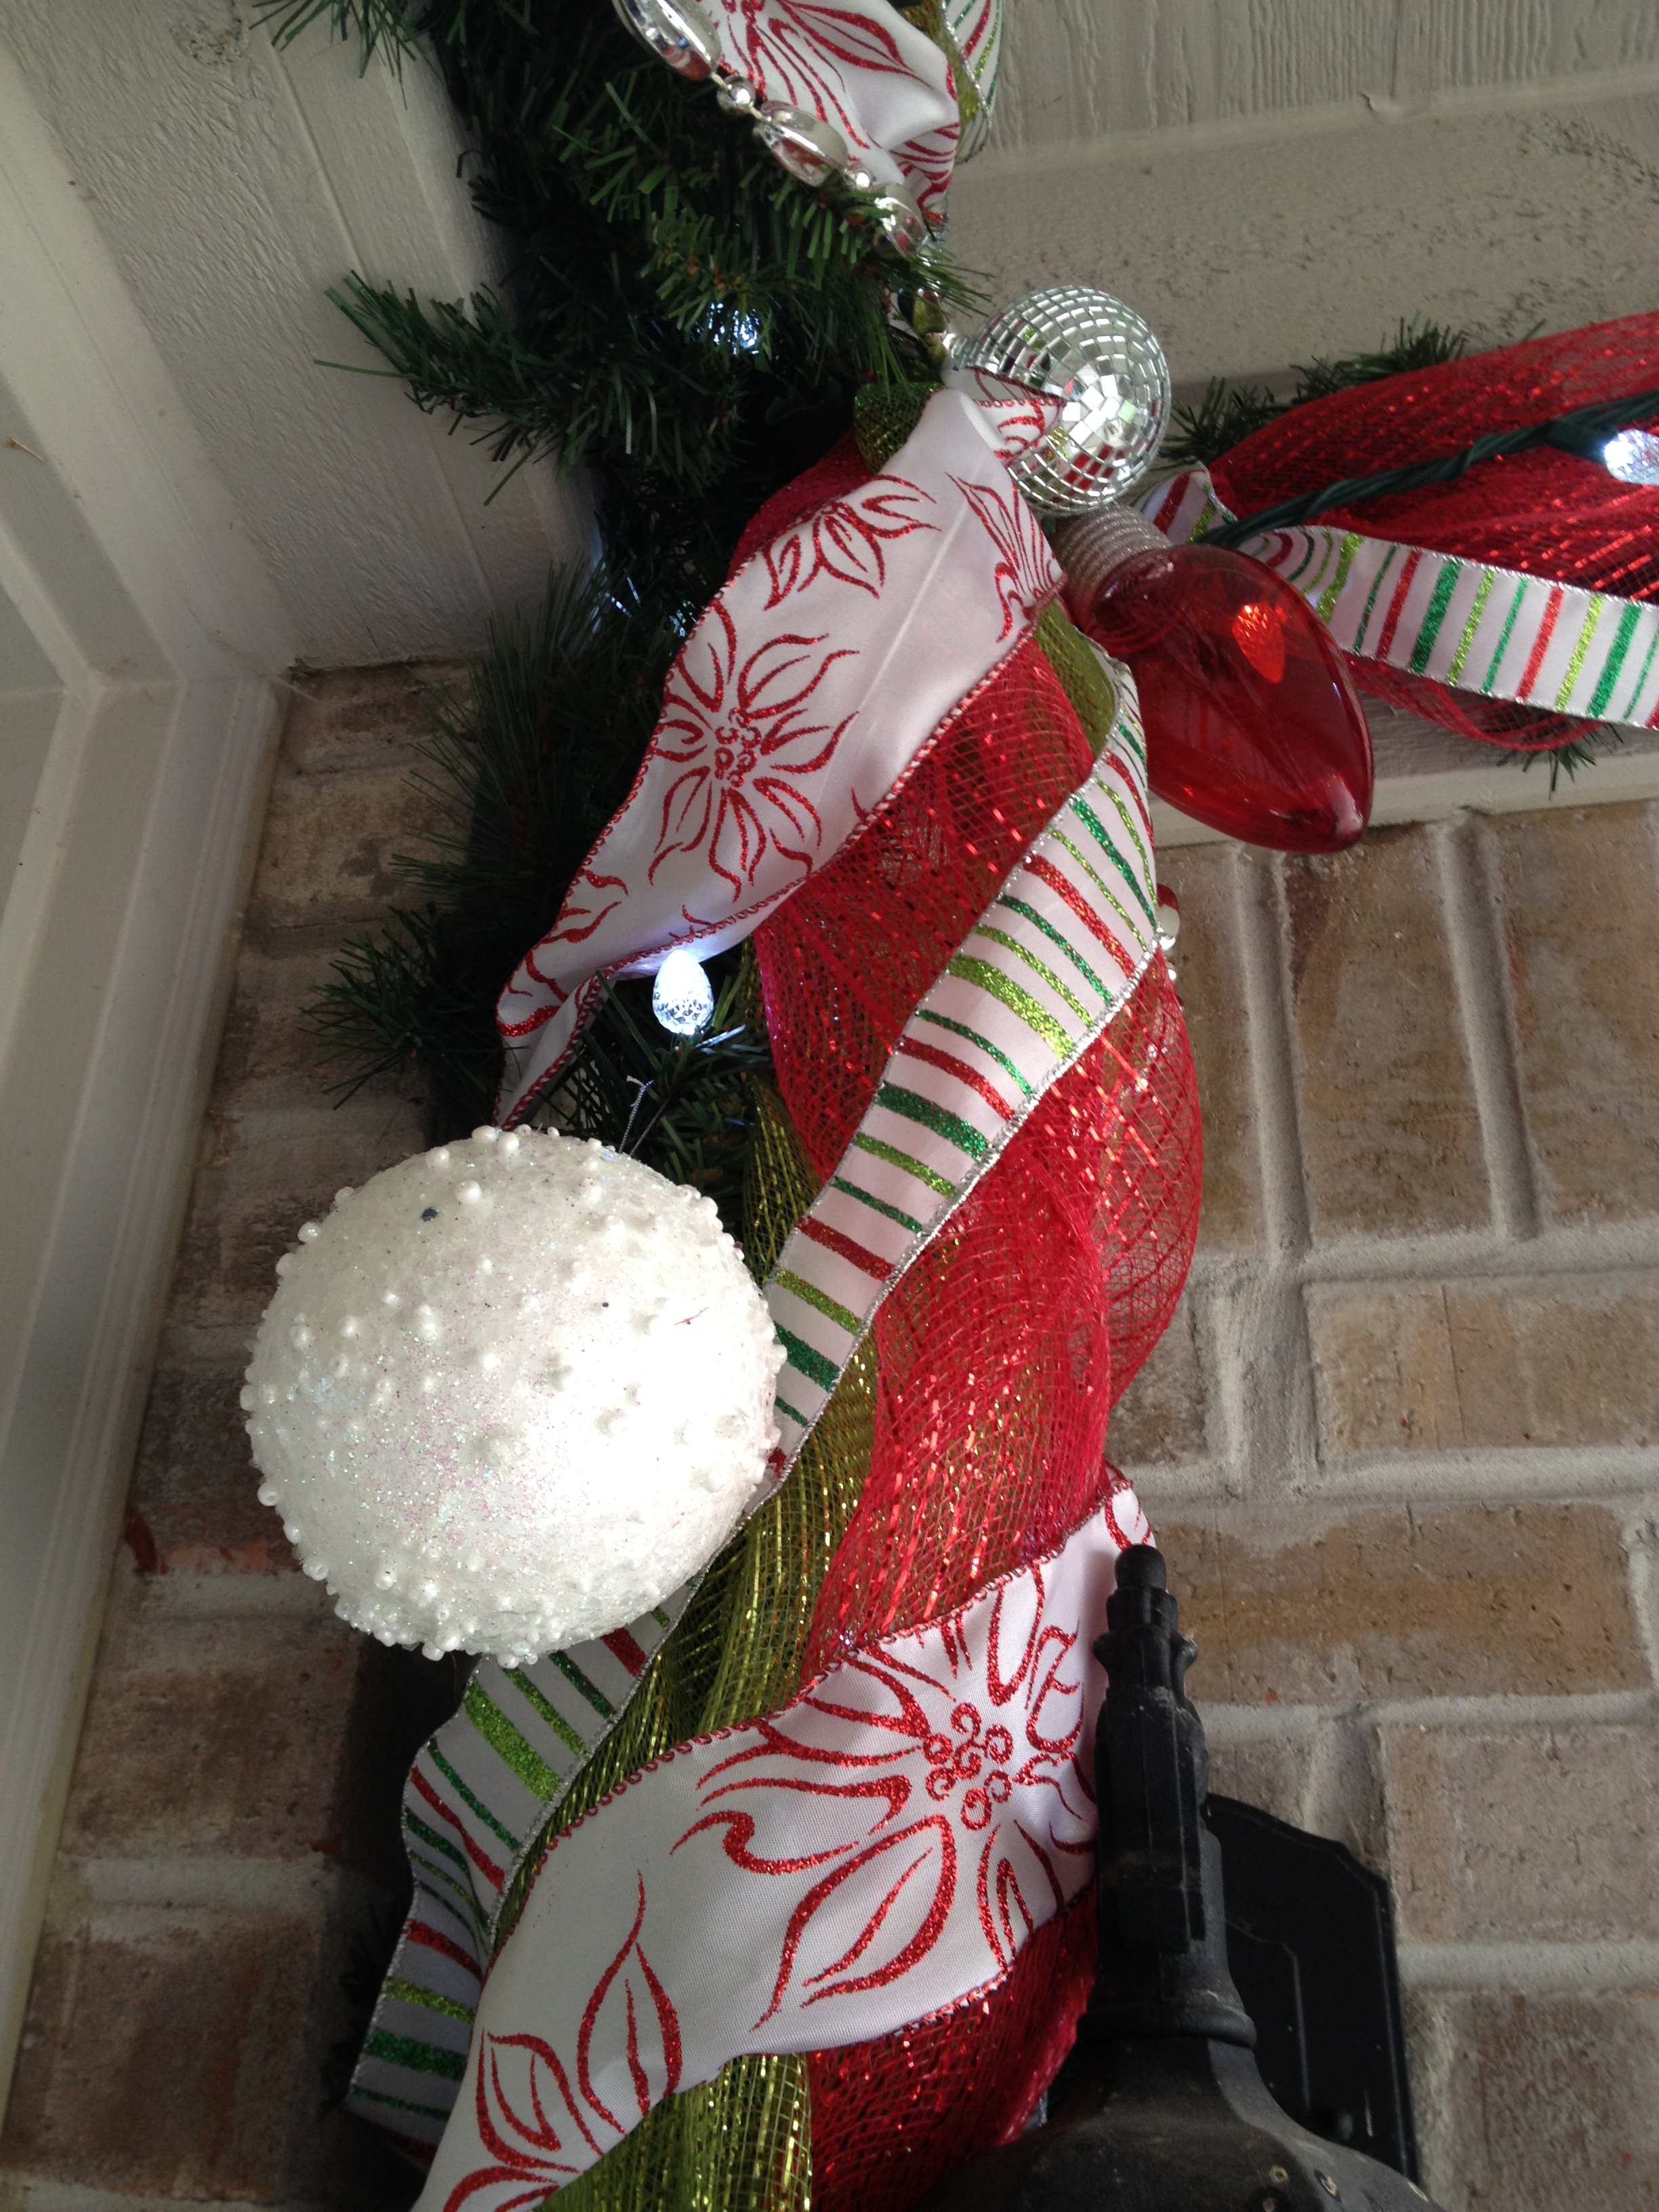


Lola’s Christmas Porch redo
Posted: 2012/12/02 Filed under: Decorating | Tags: Christmas garland, Christmas Porch, Deco mesh garland, mesh garland, ornament garland, PInterest Leave a comment
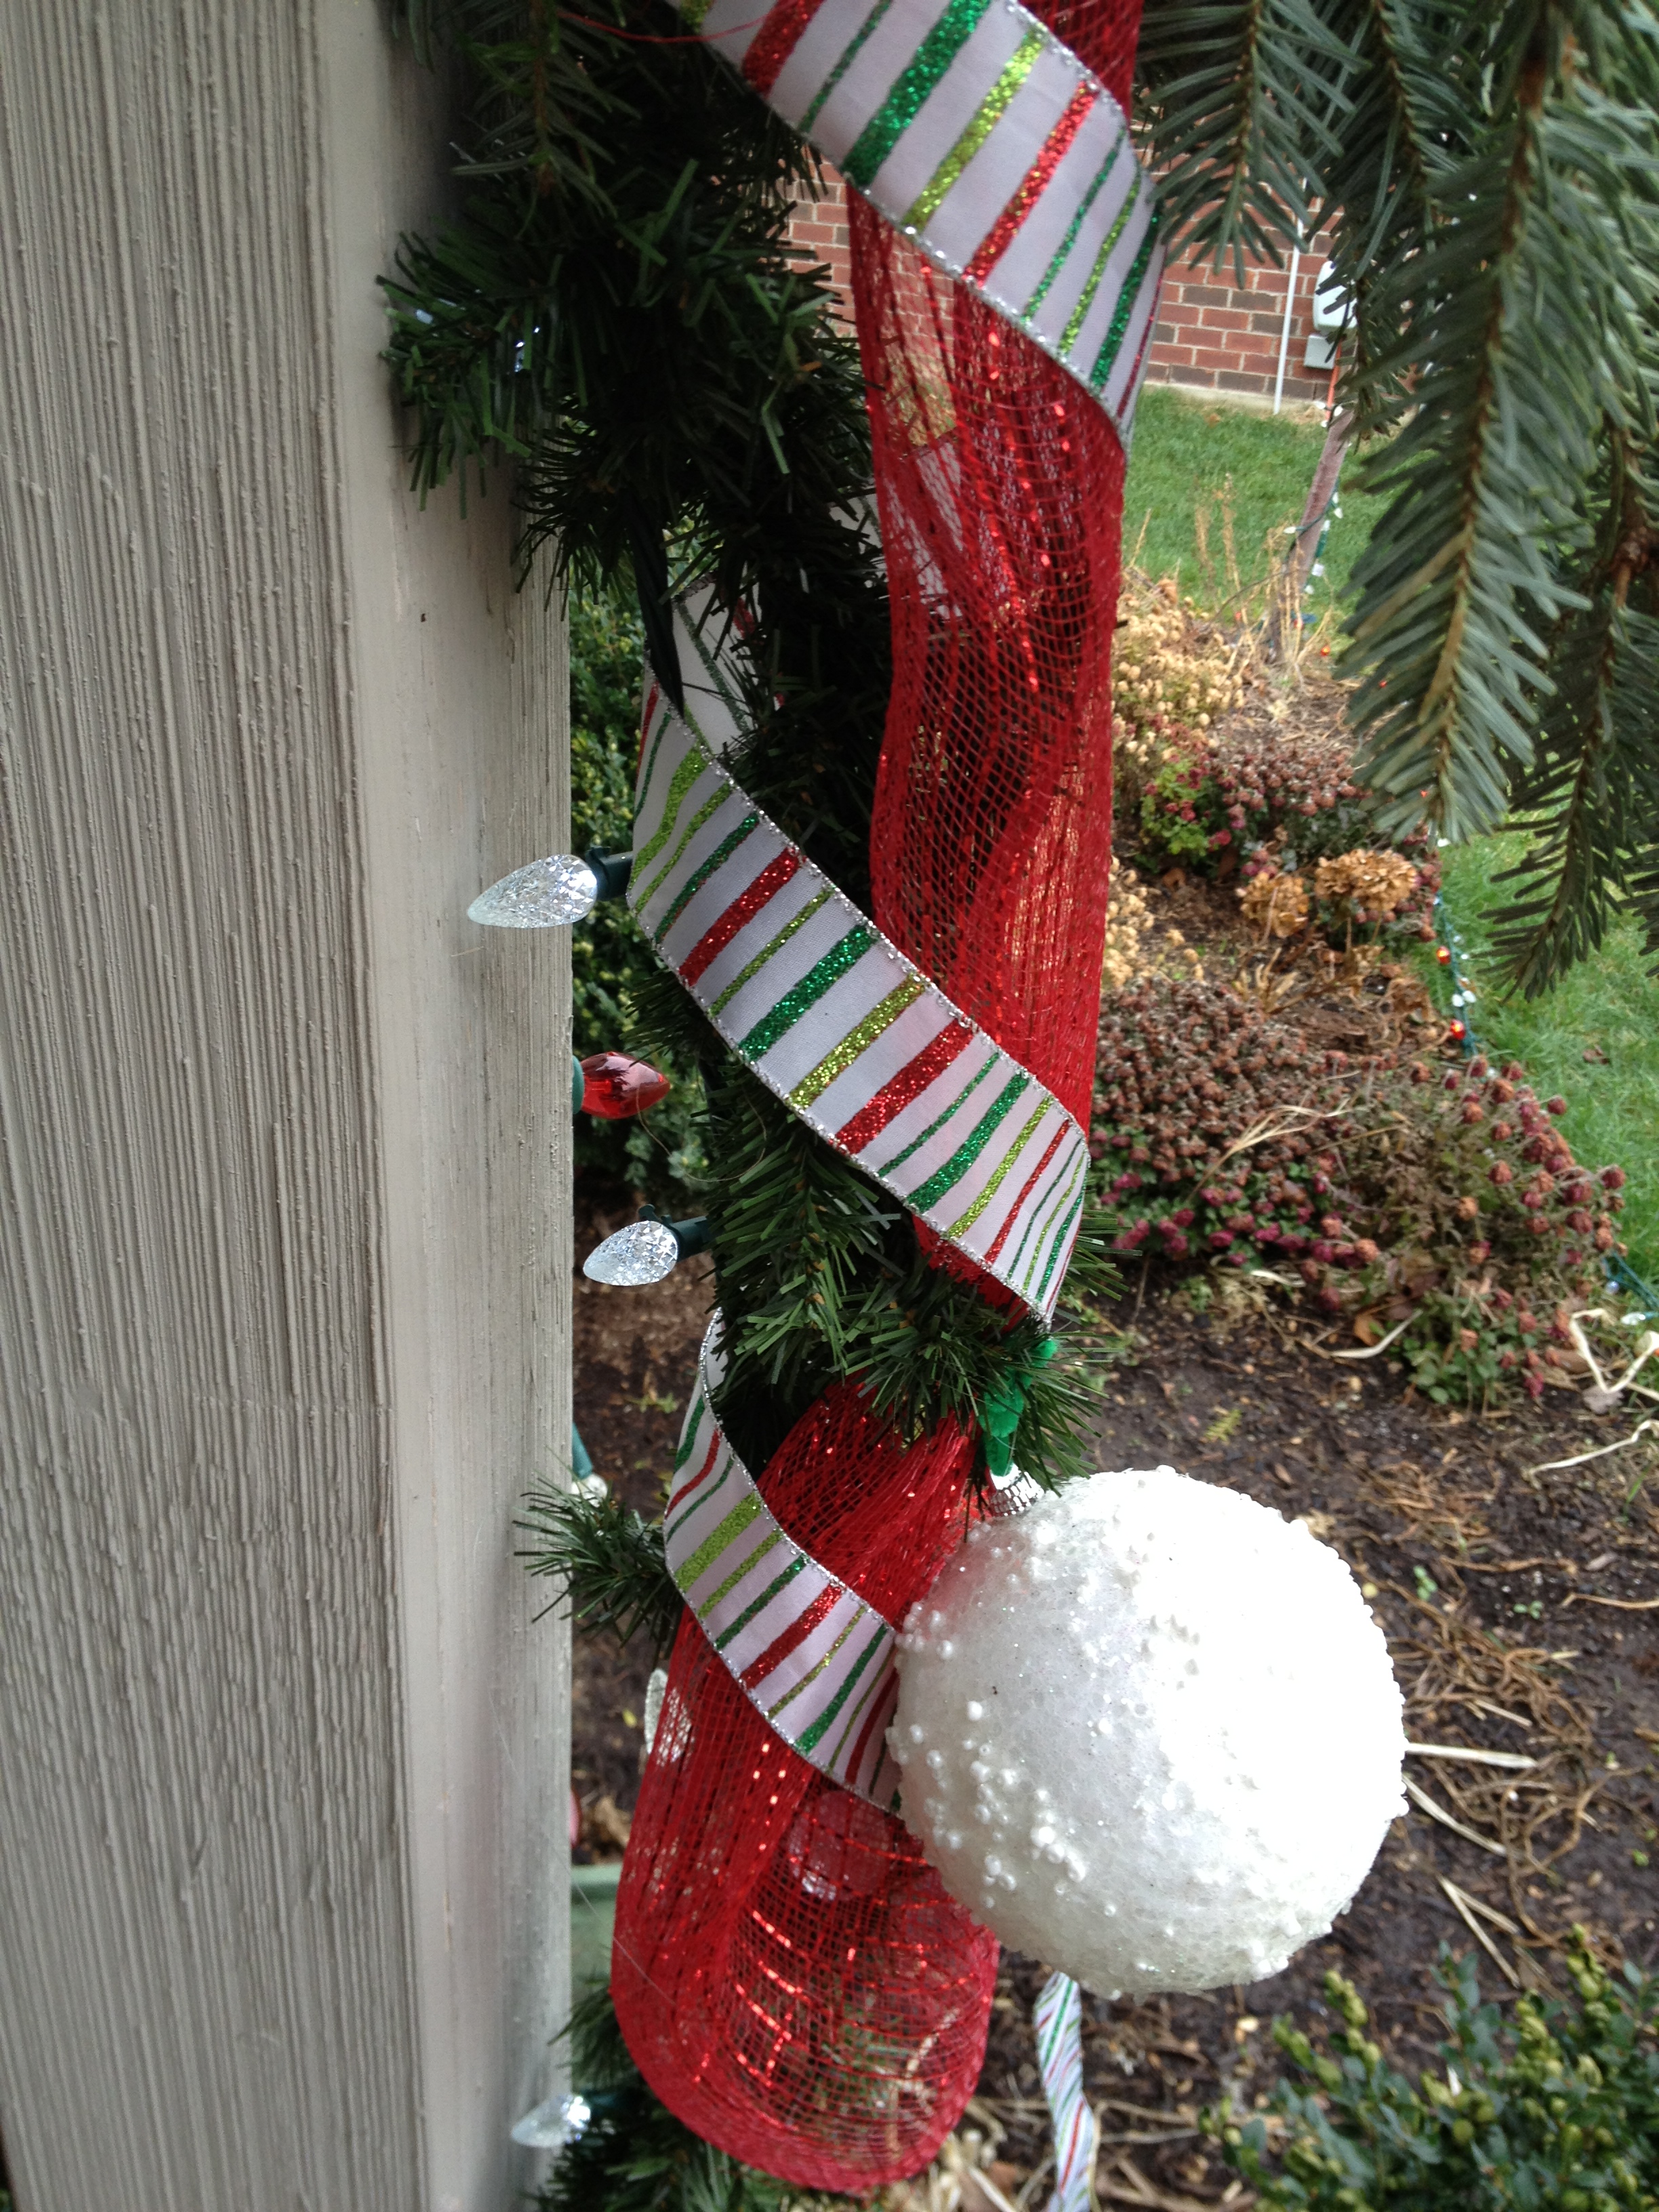
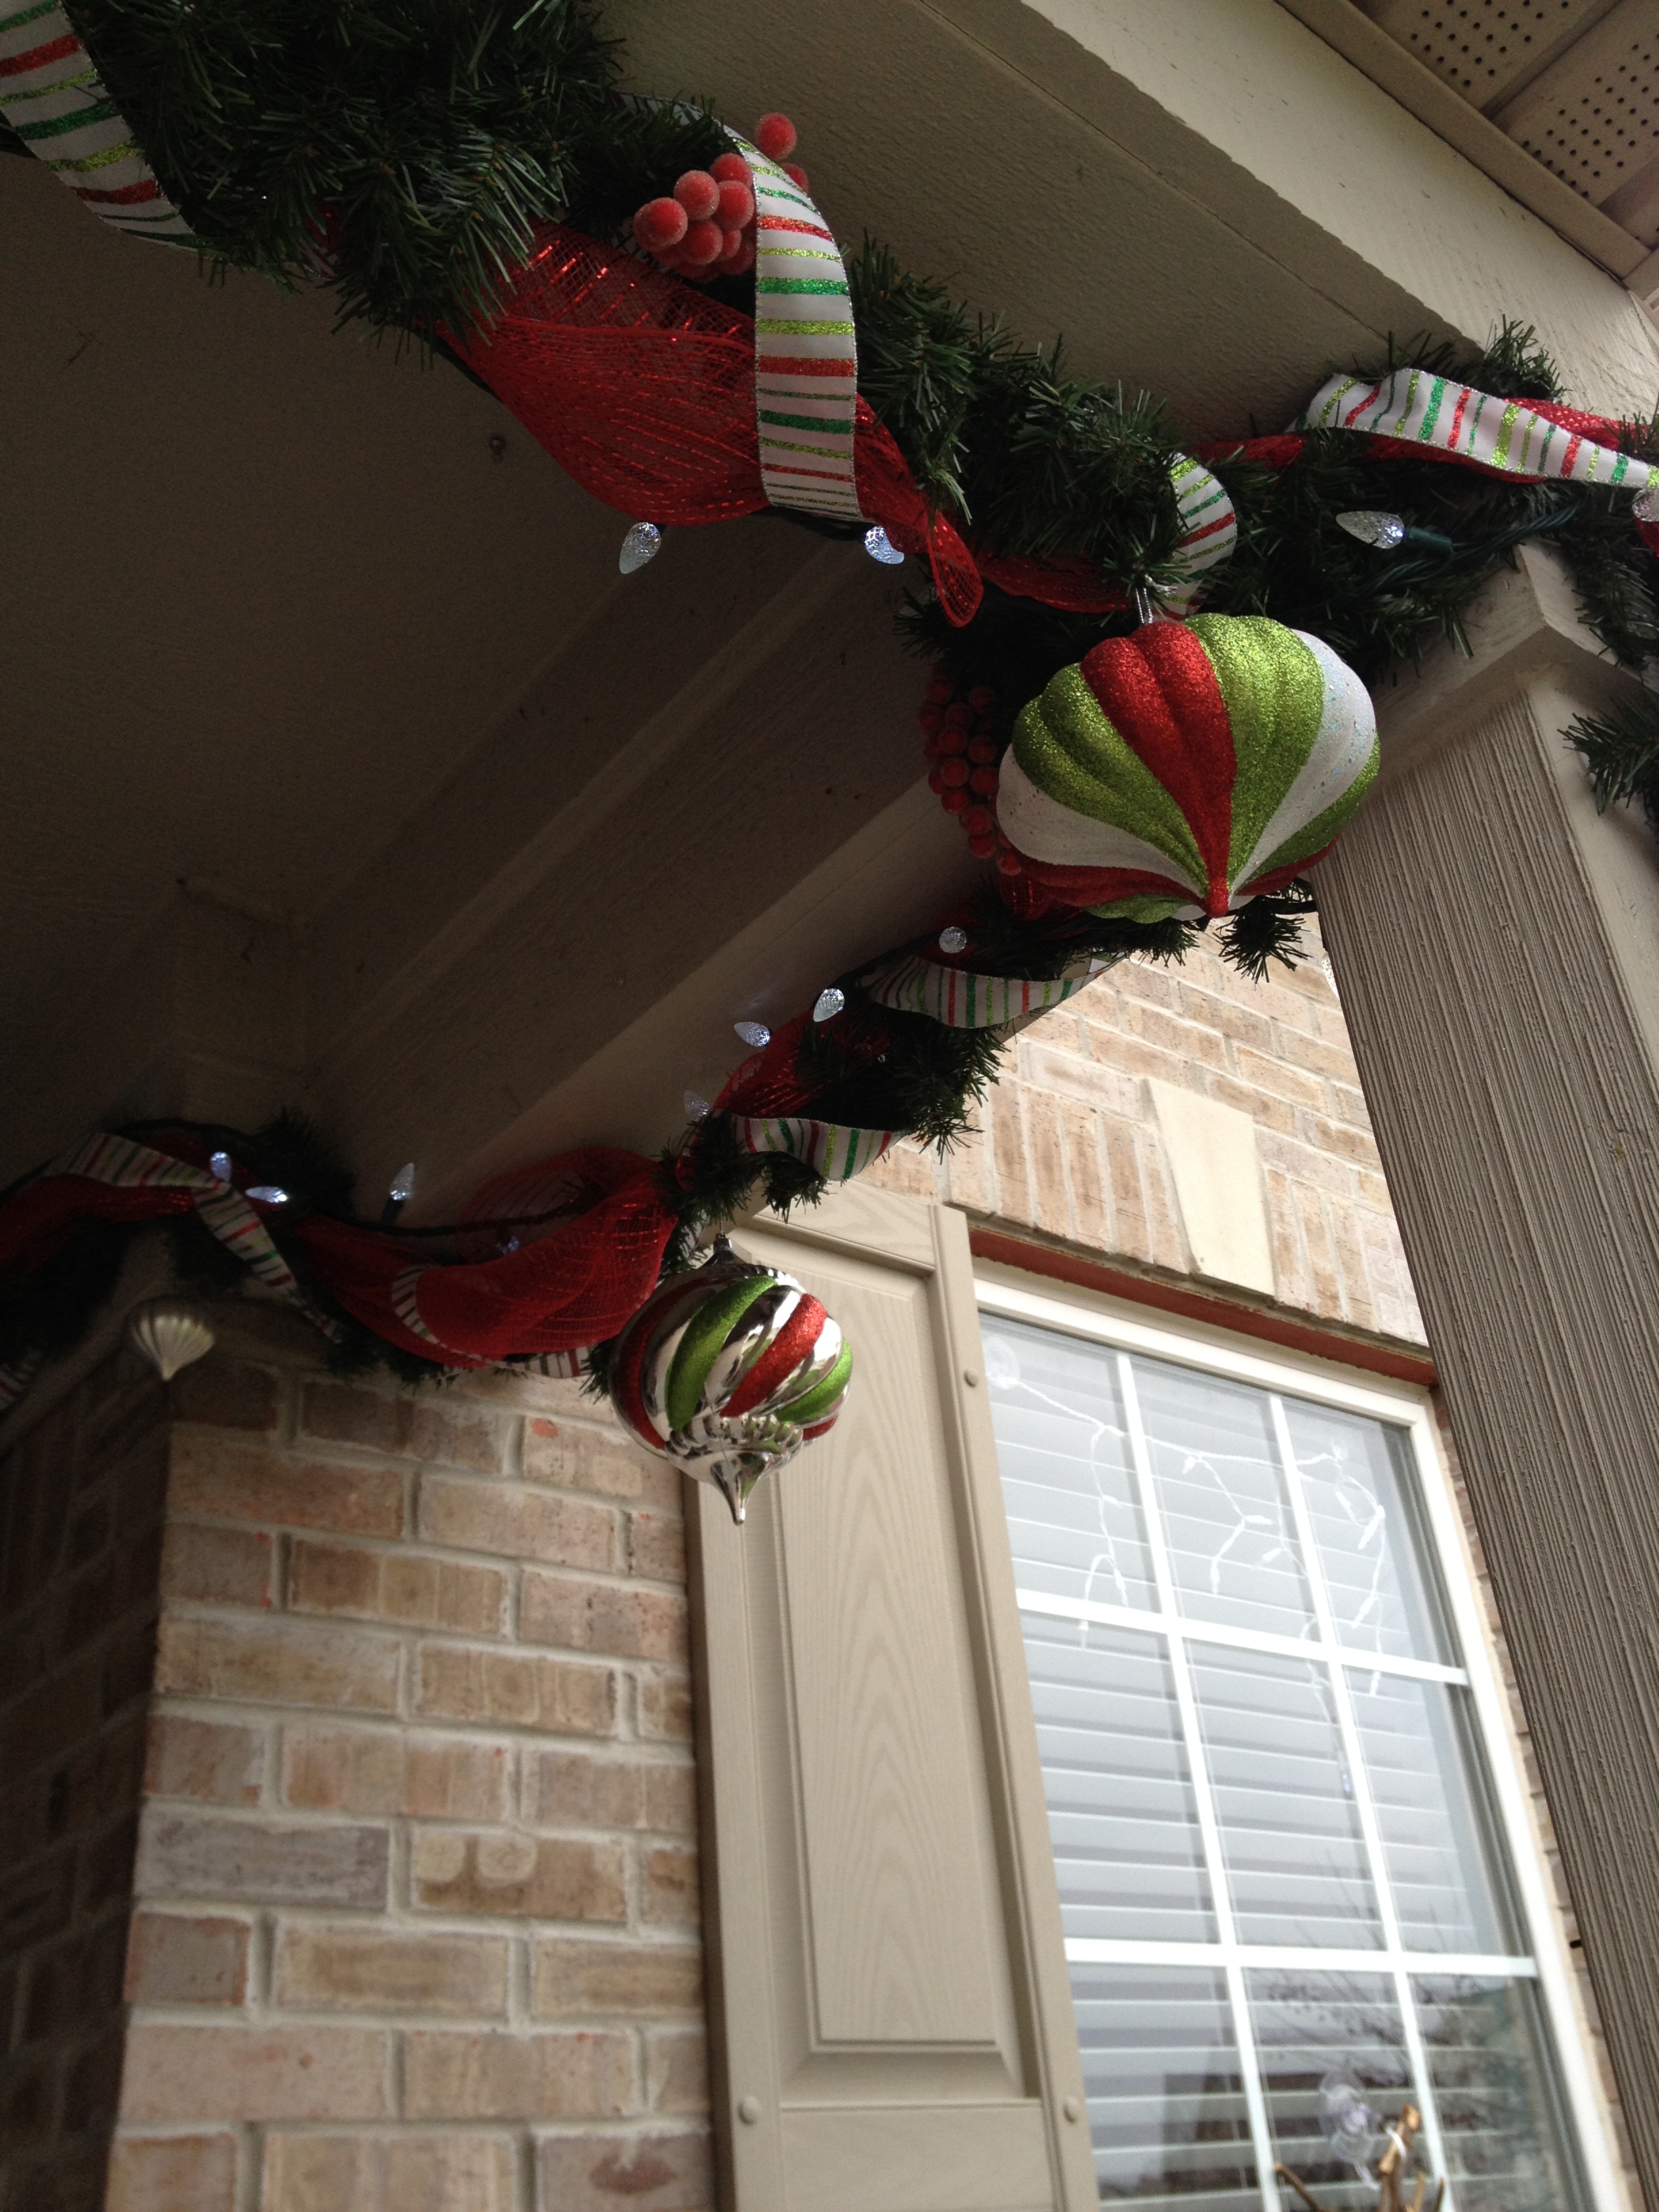
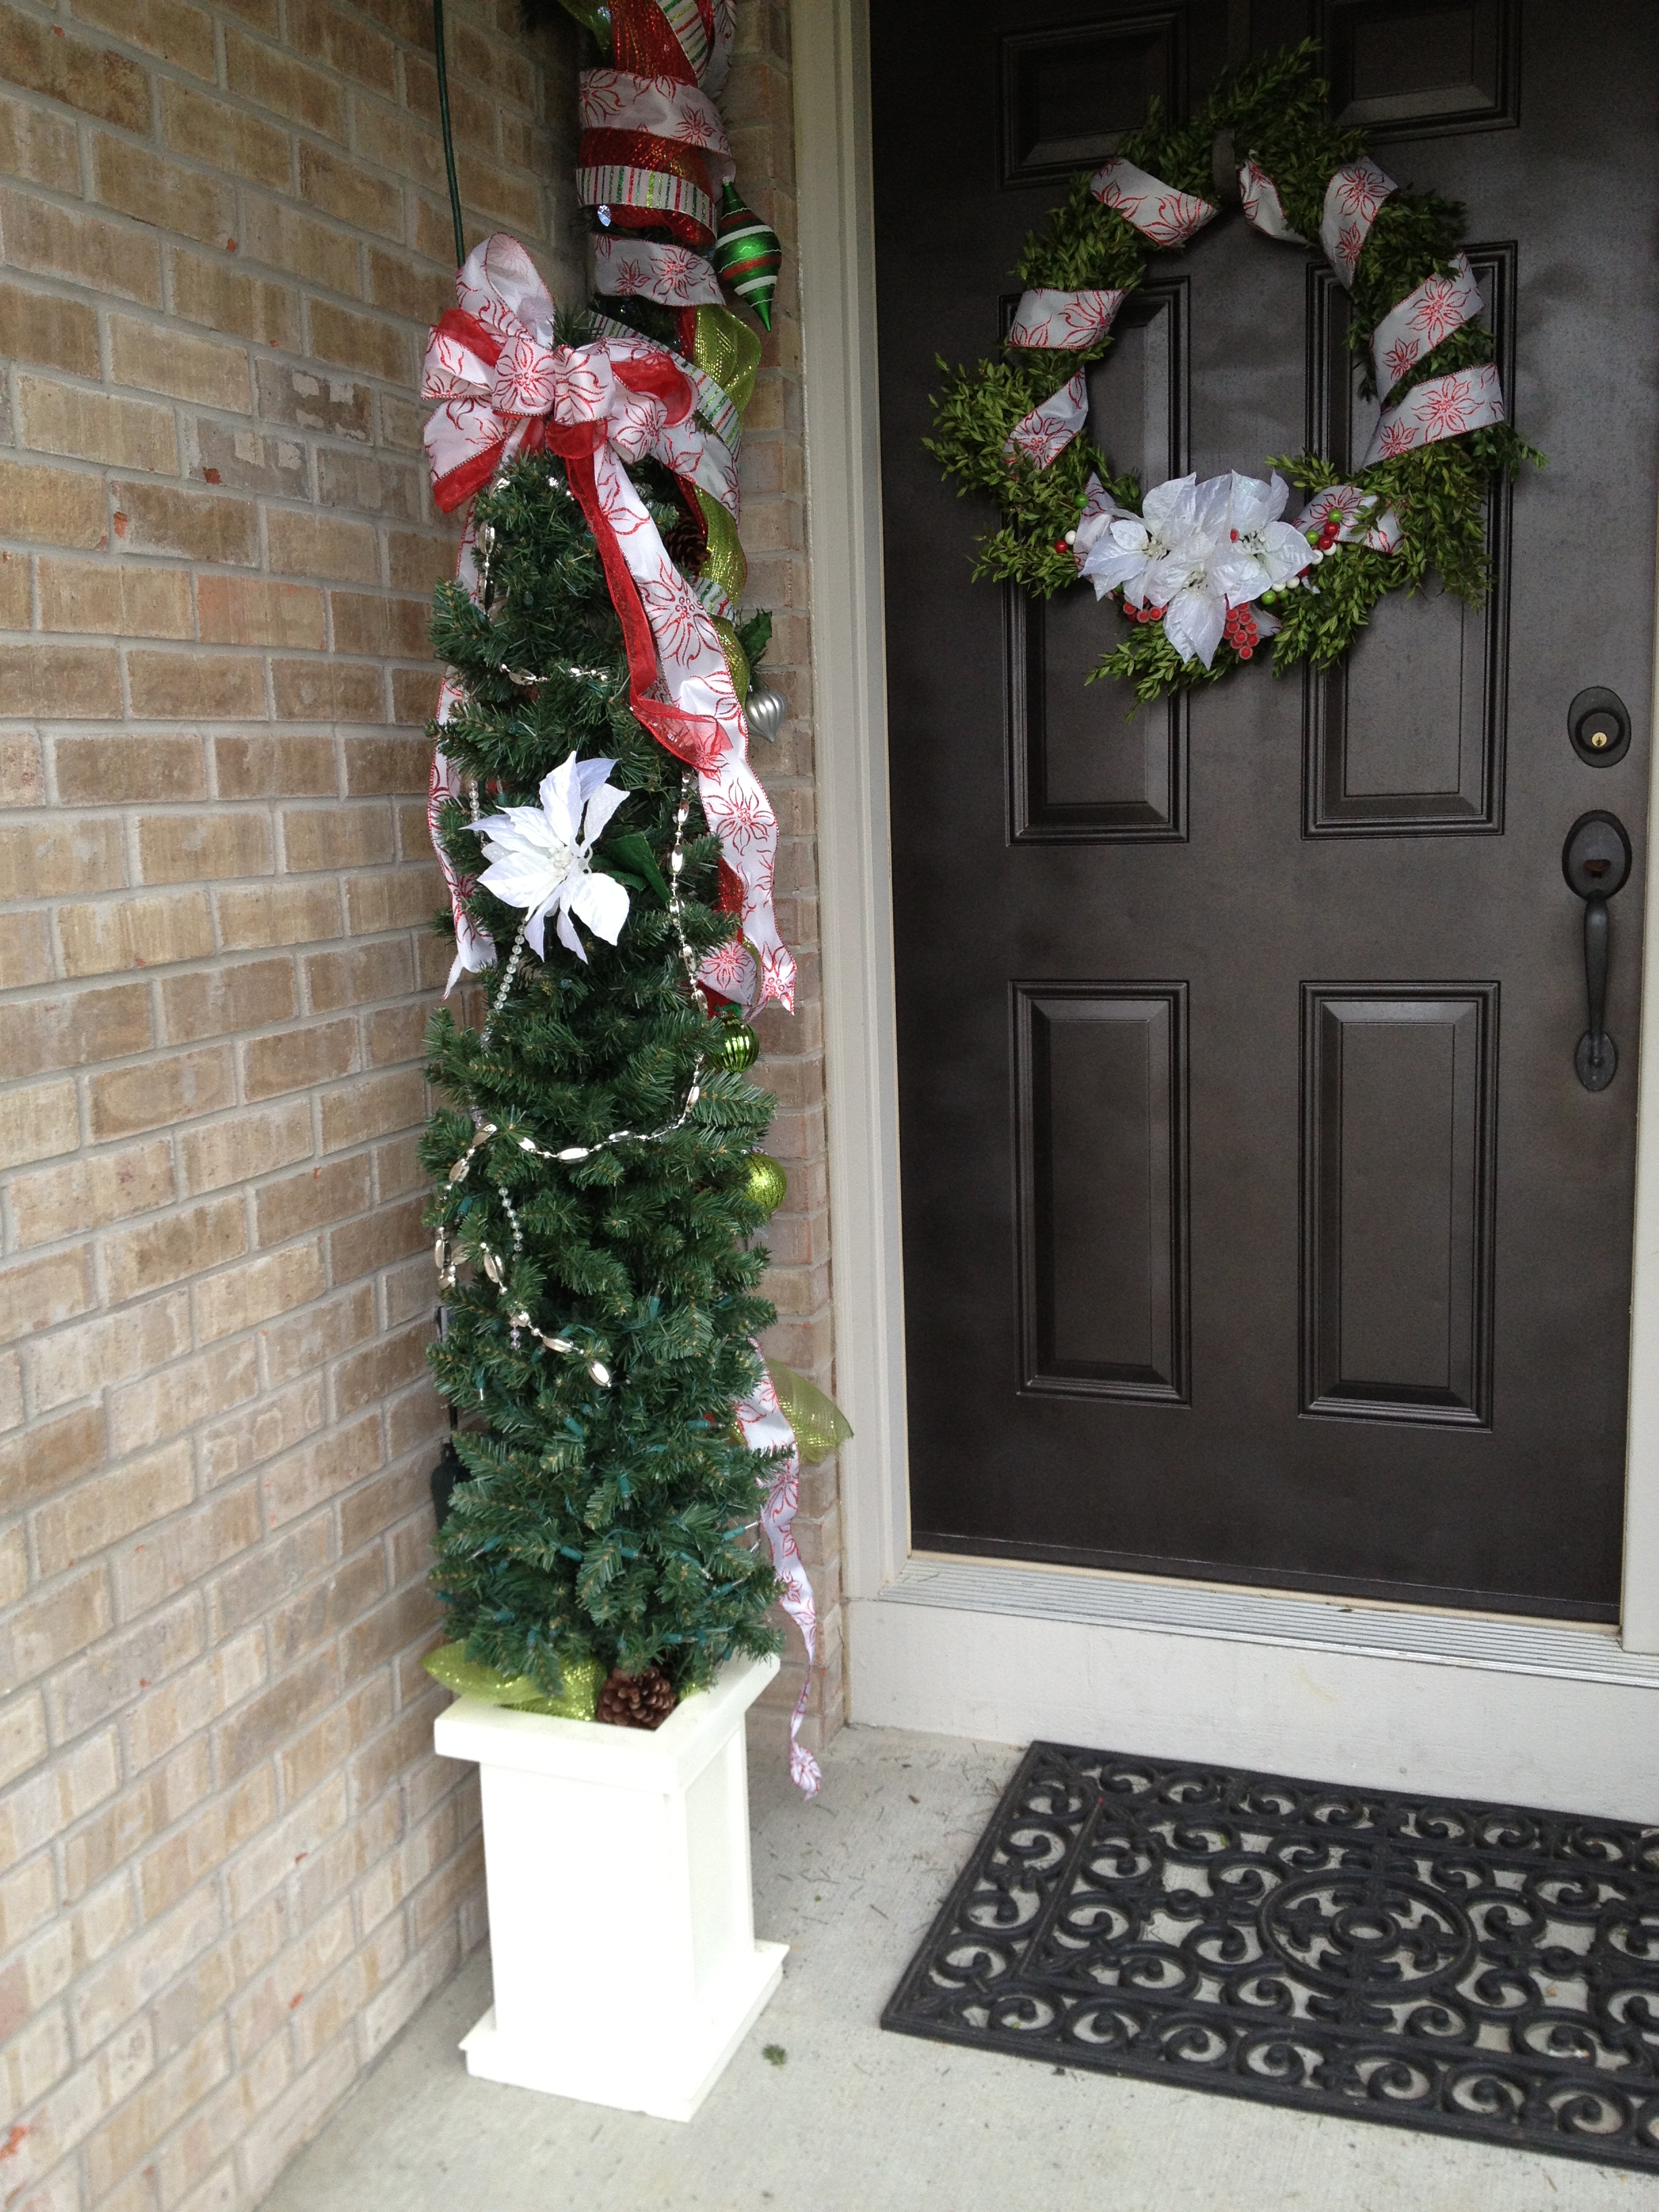
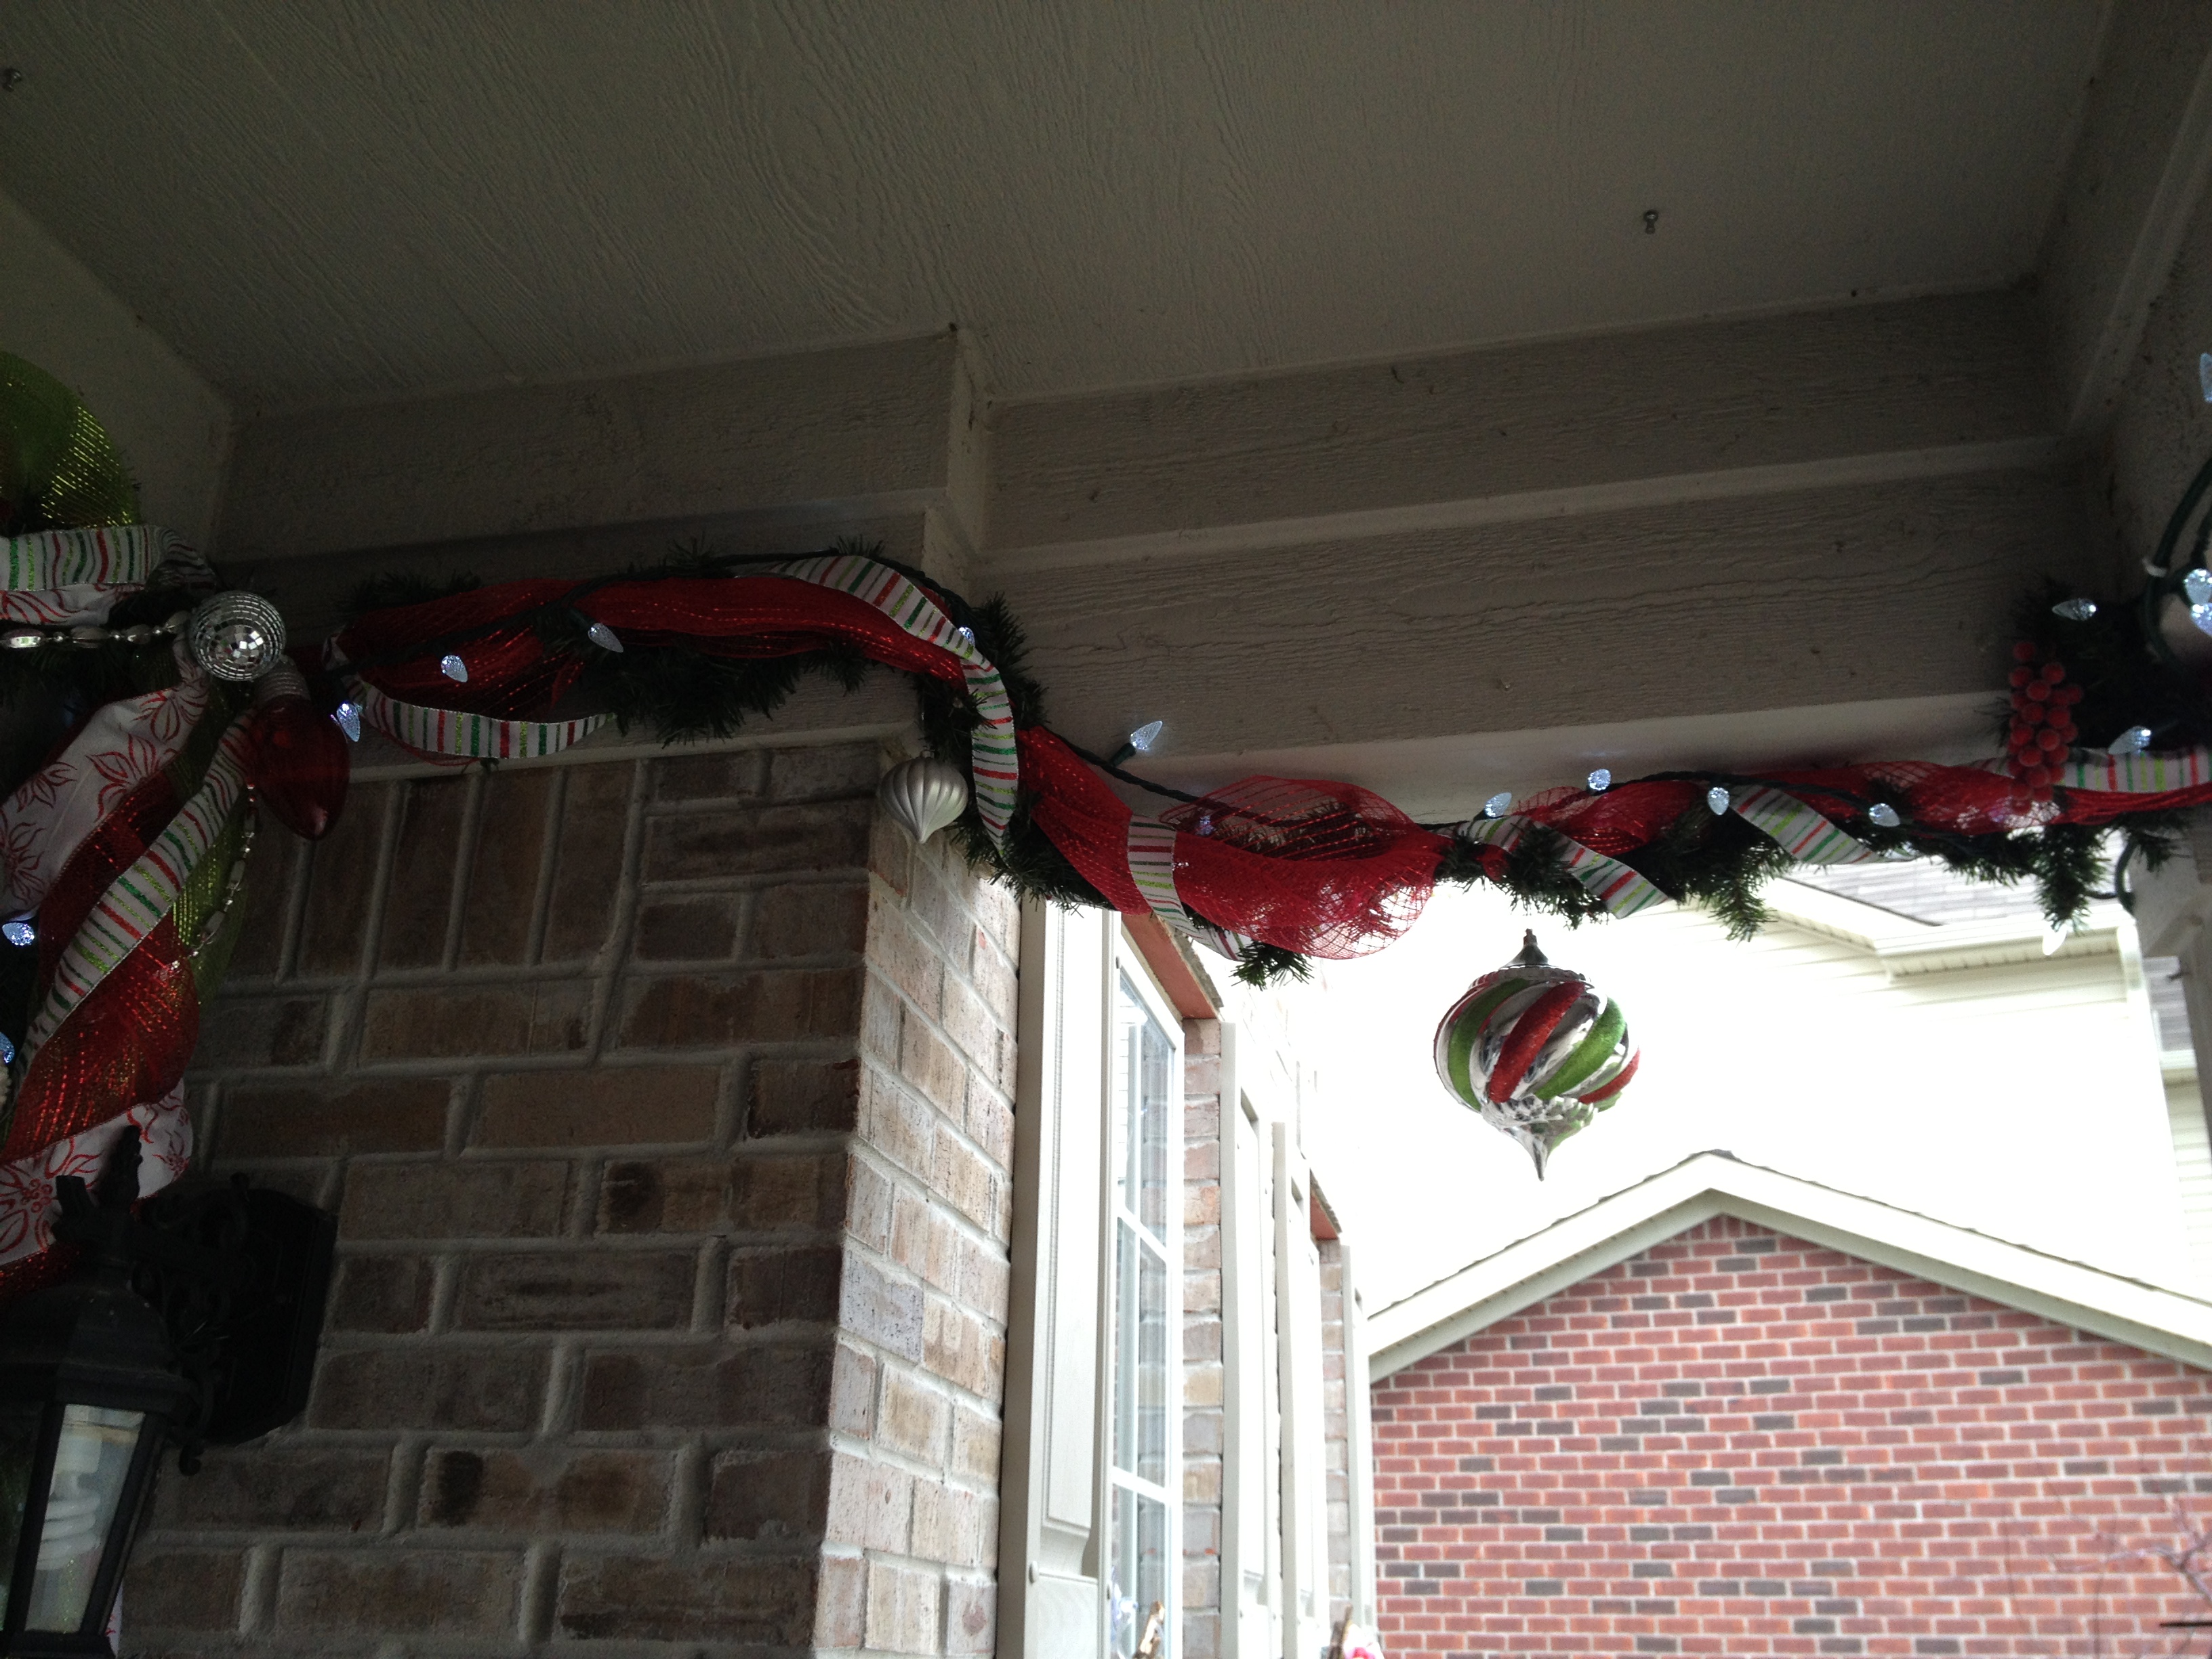
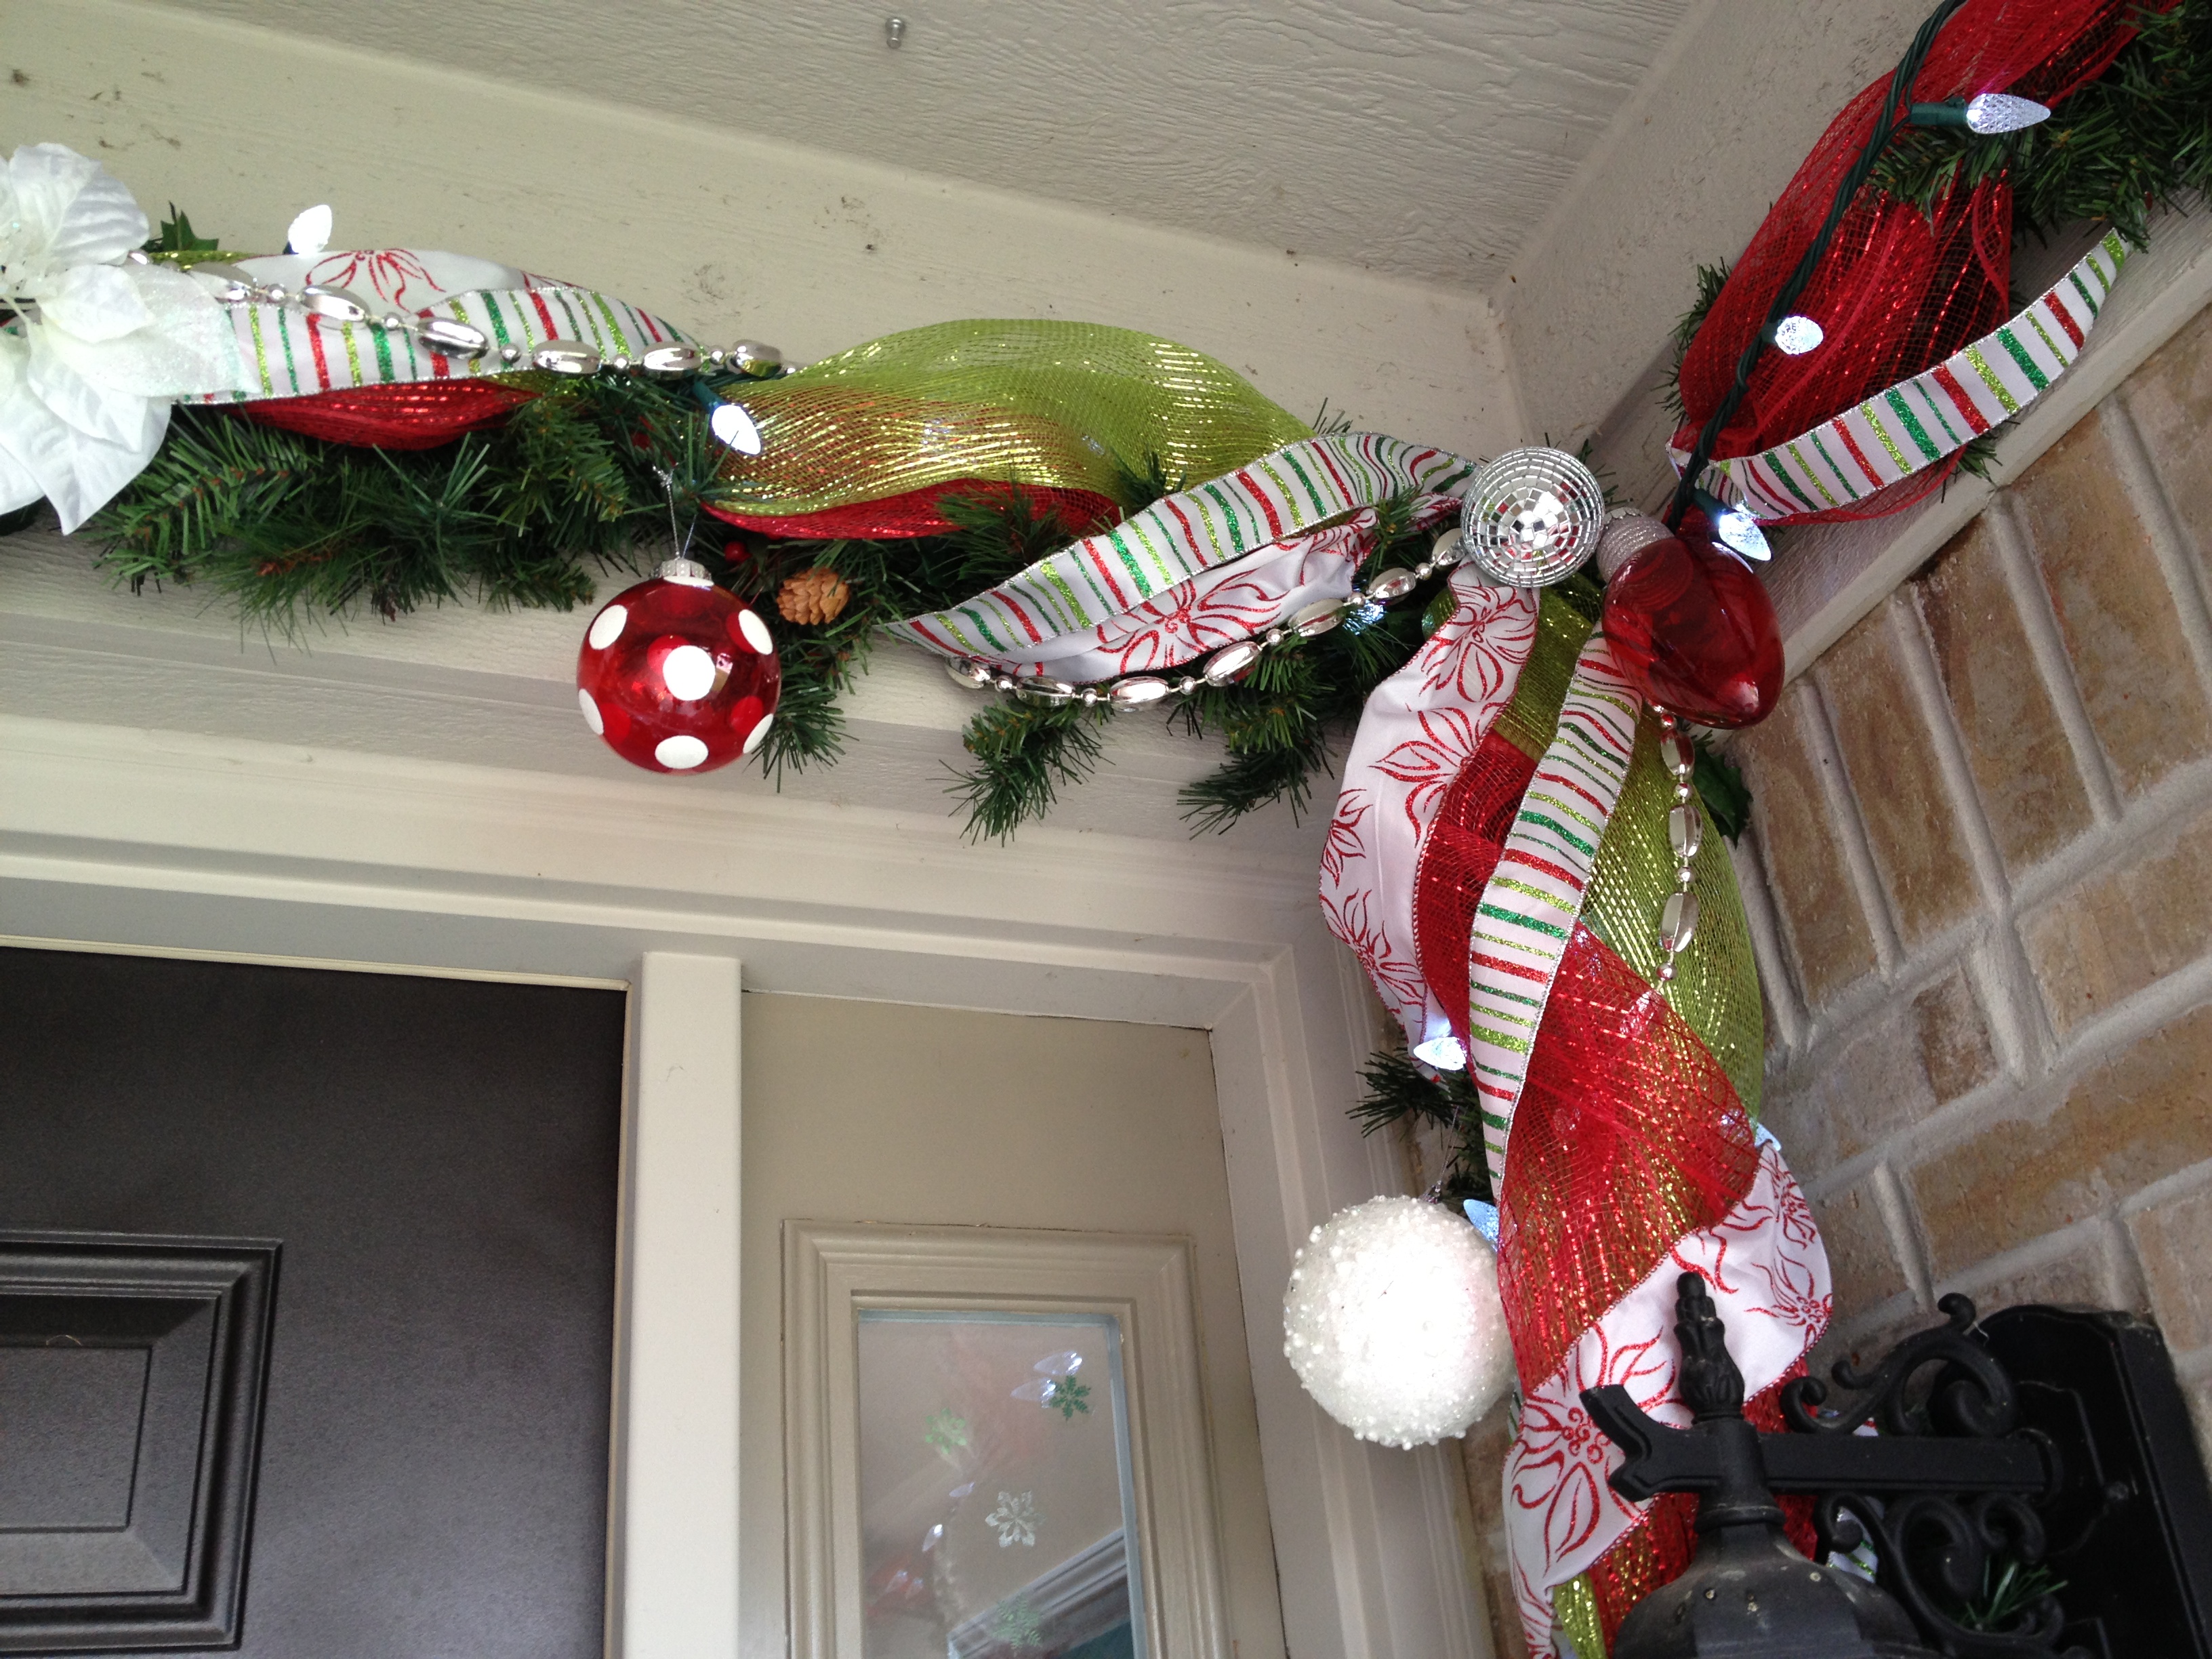
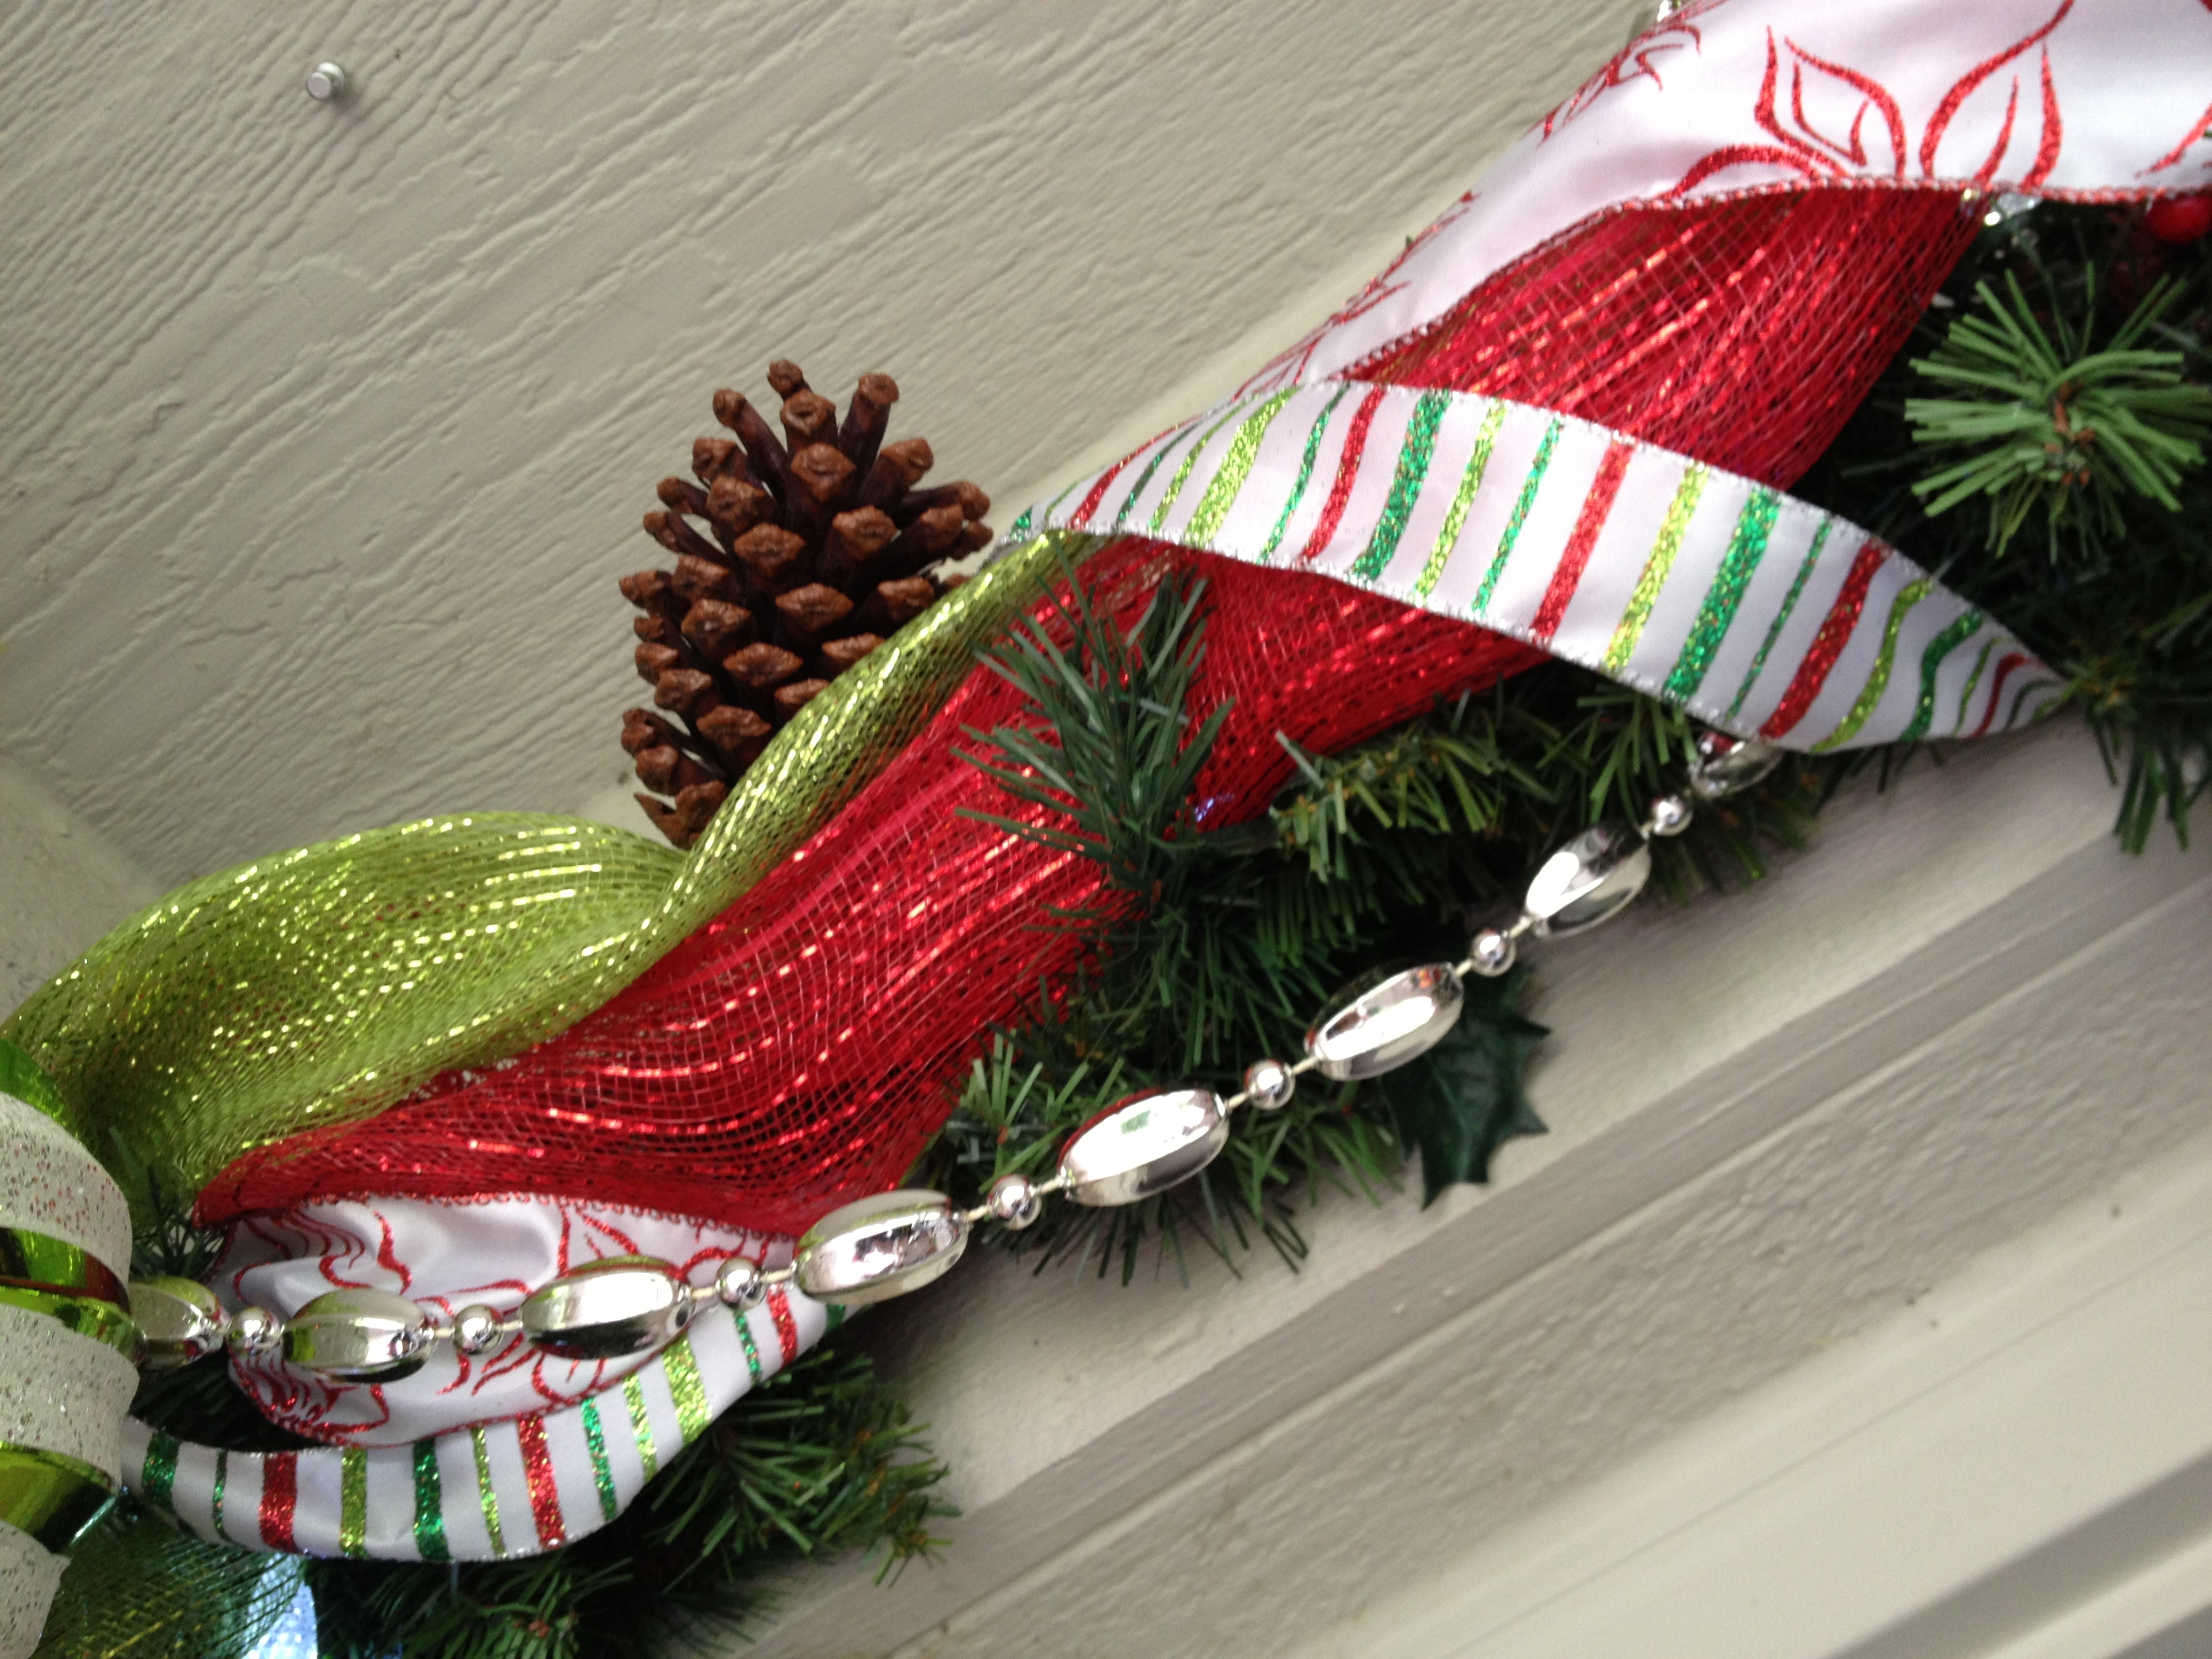
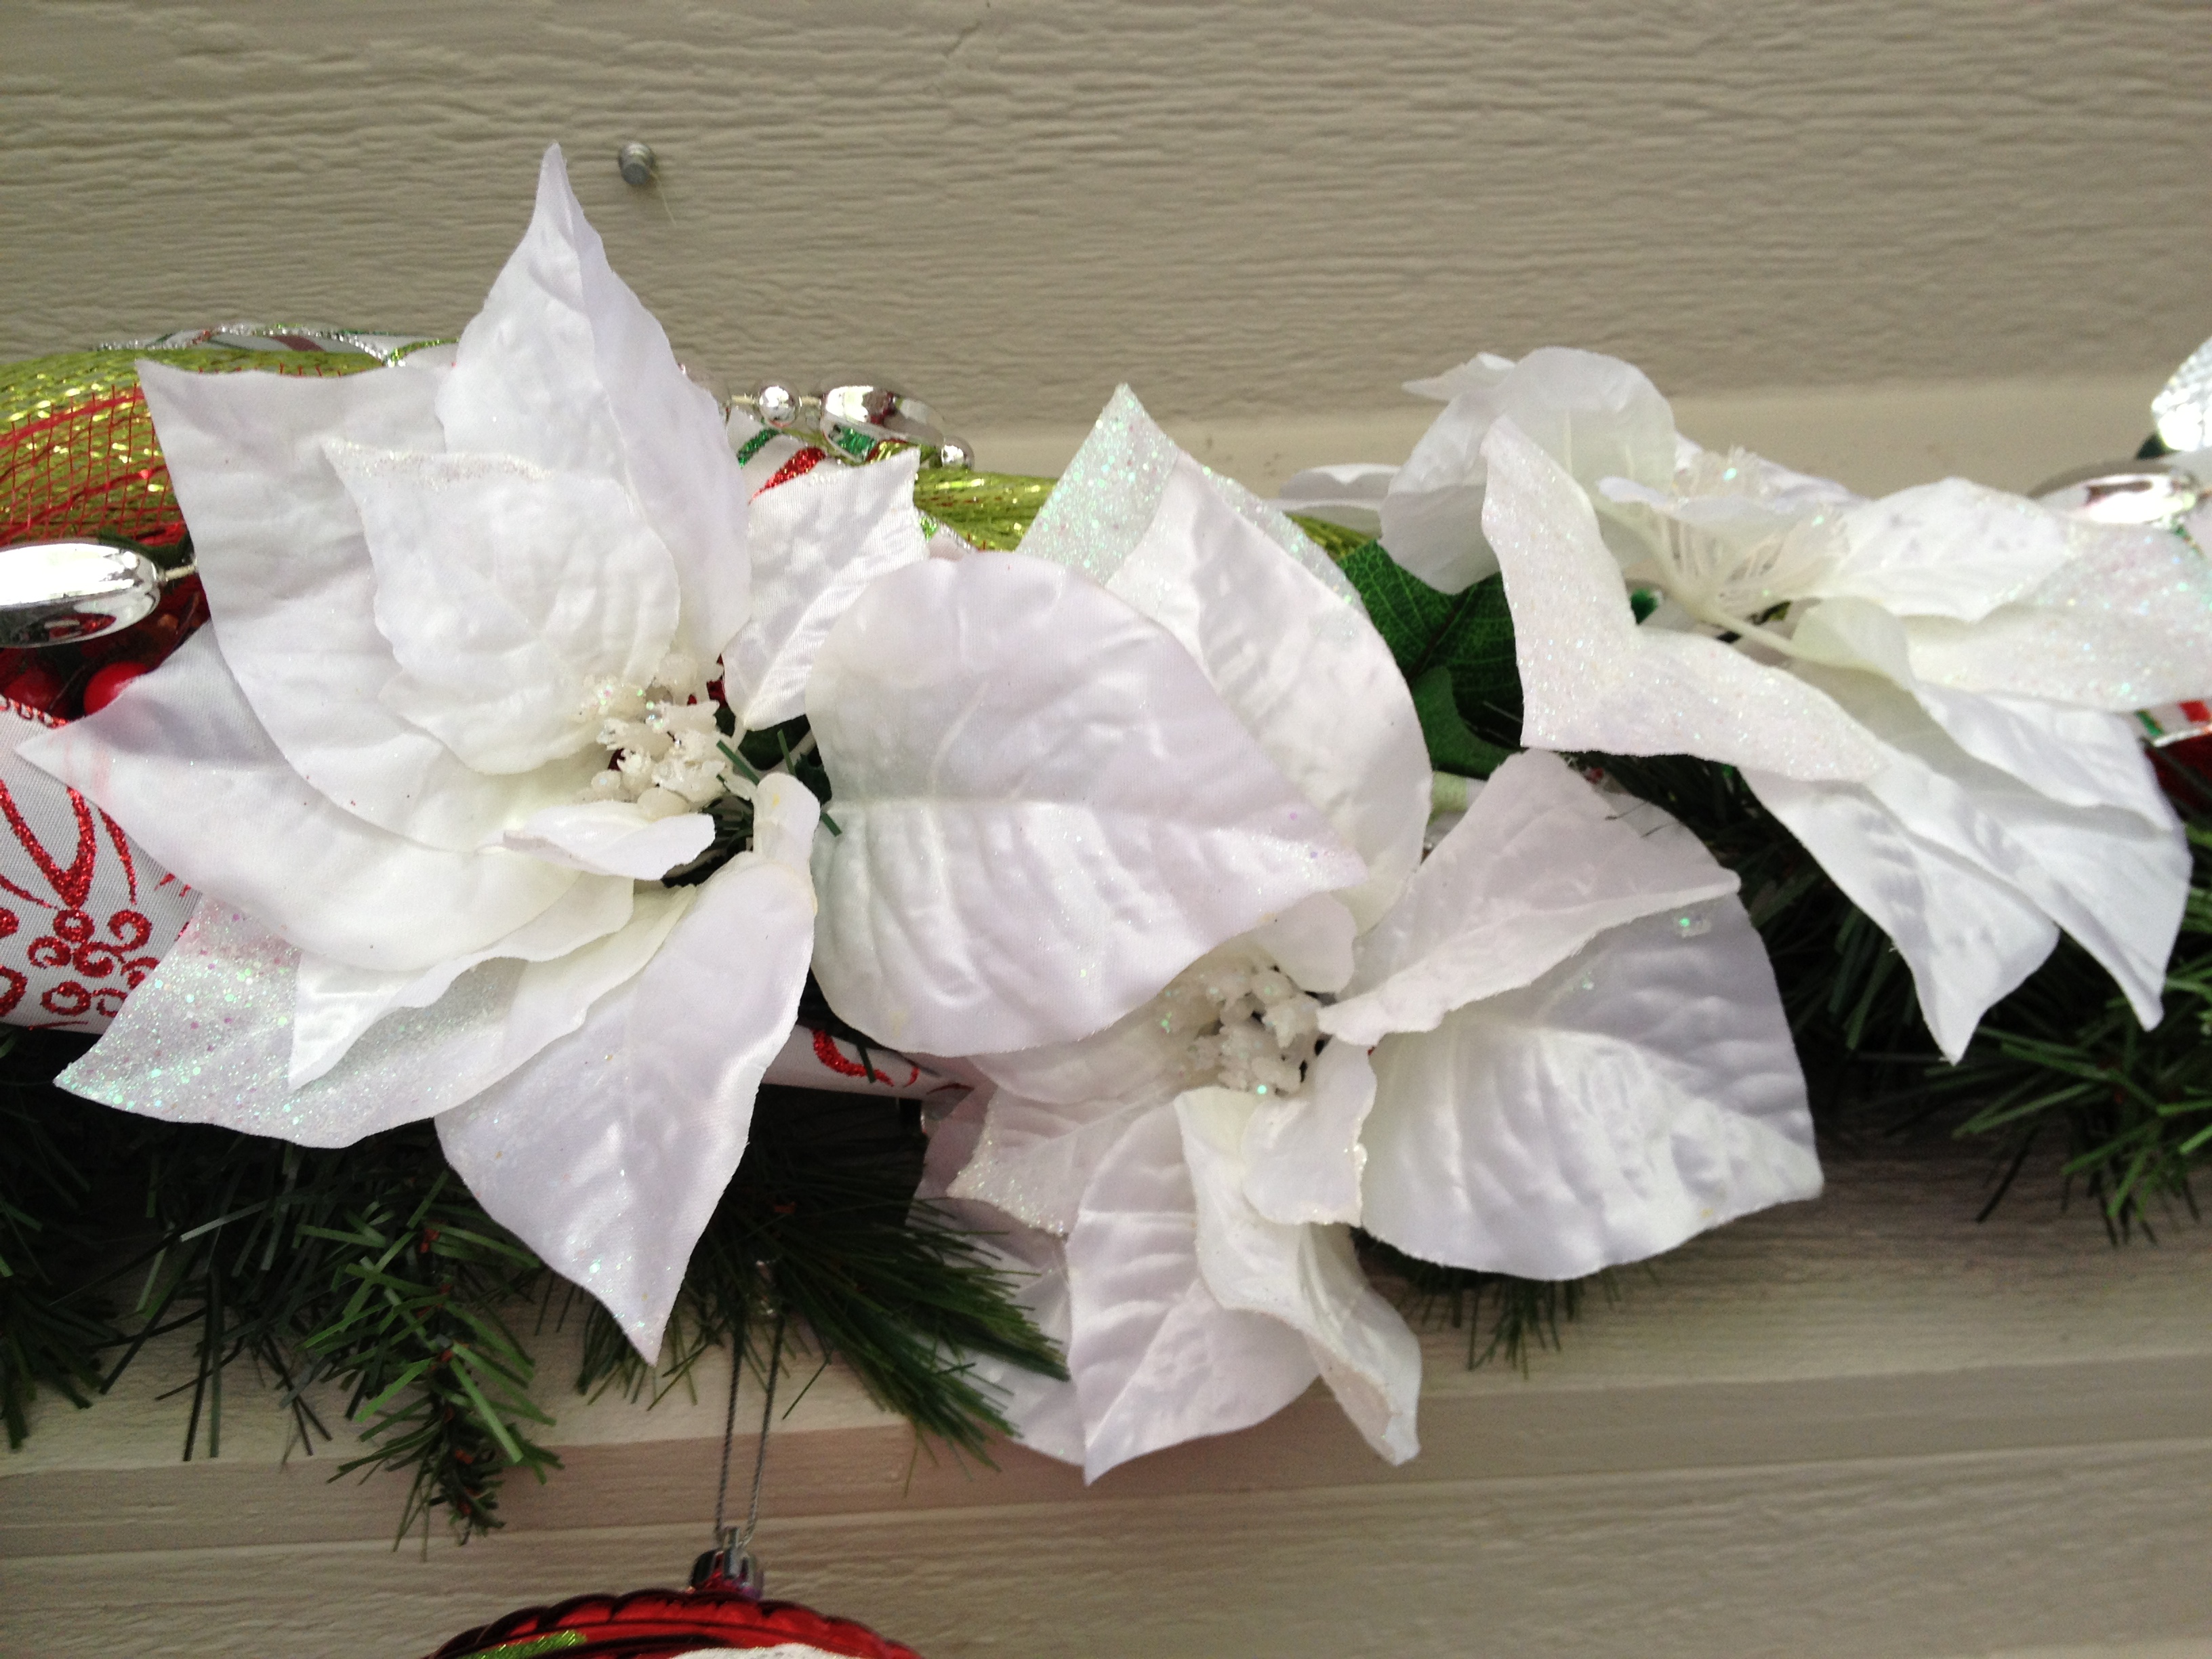
I really didn’t like the way the deco mesh porch decorations looked so I redid them. I’ve been decorating up a storm this year and thinking of all kinds of life posts I need to write. Let’s hope I get done with all my projects soon. Many more pictures to come. For now here is the front porch redo. Less Christmas vomited more simple and classy yet still colorful and hopefully fun. What new decorating projects are you taking on this year? I’m up to my eyeballs in mesh, greenery, glitter ribbon, snowflakes and ornaments.
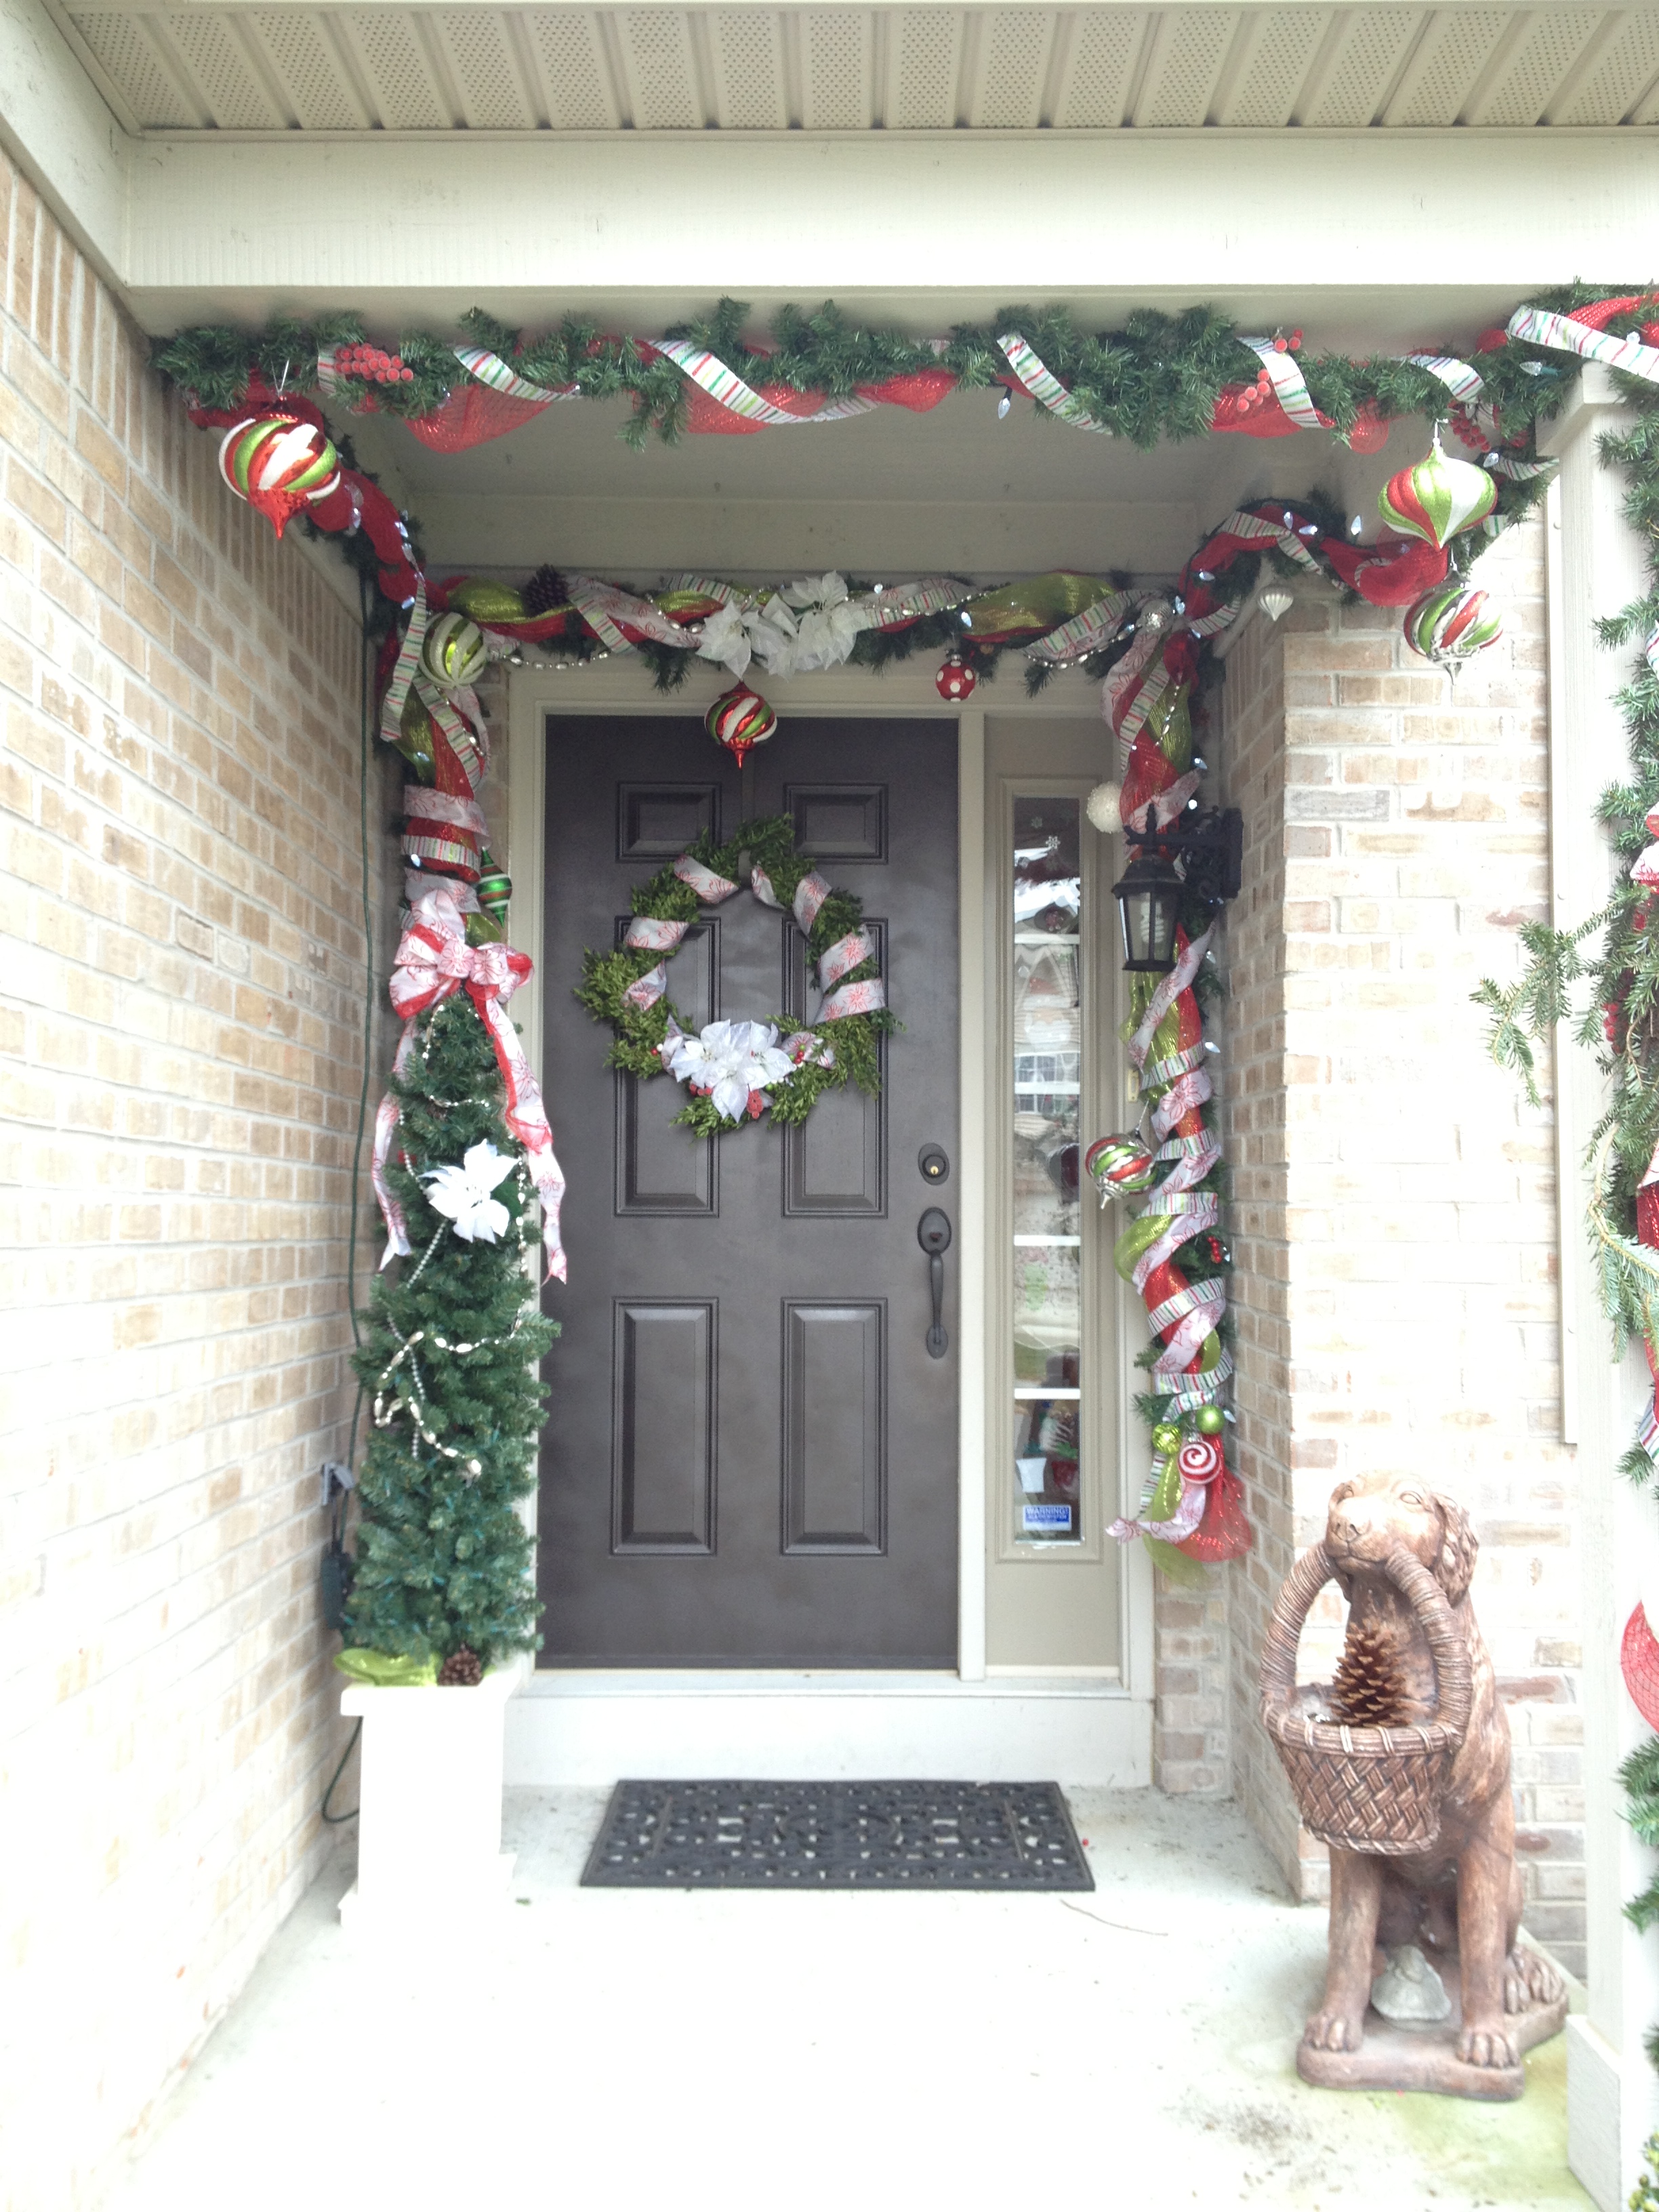
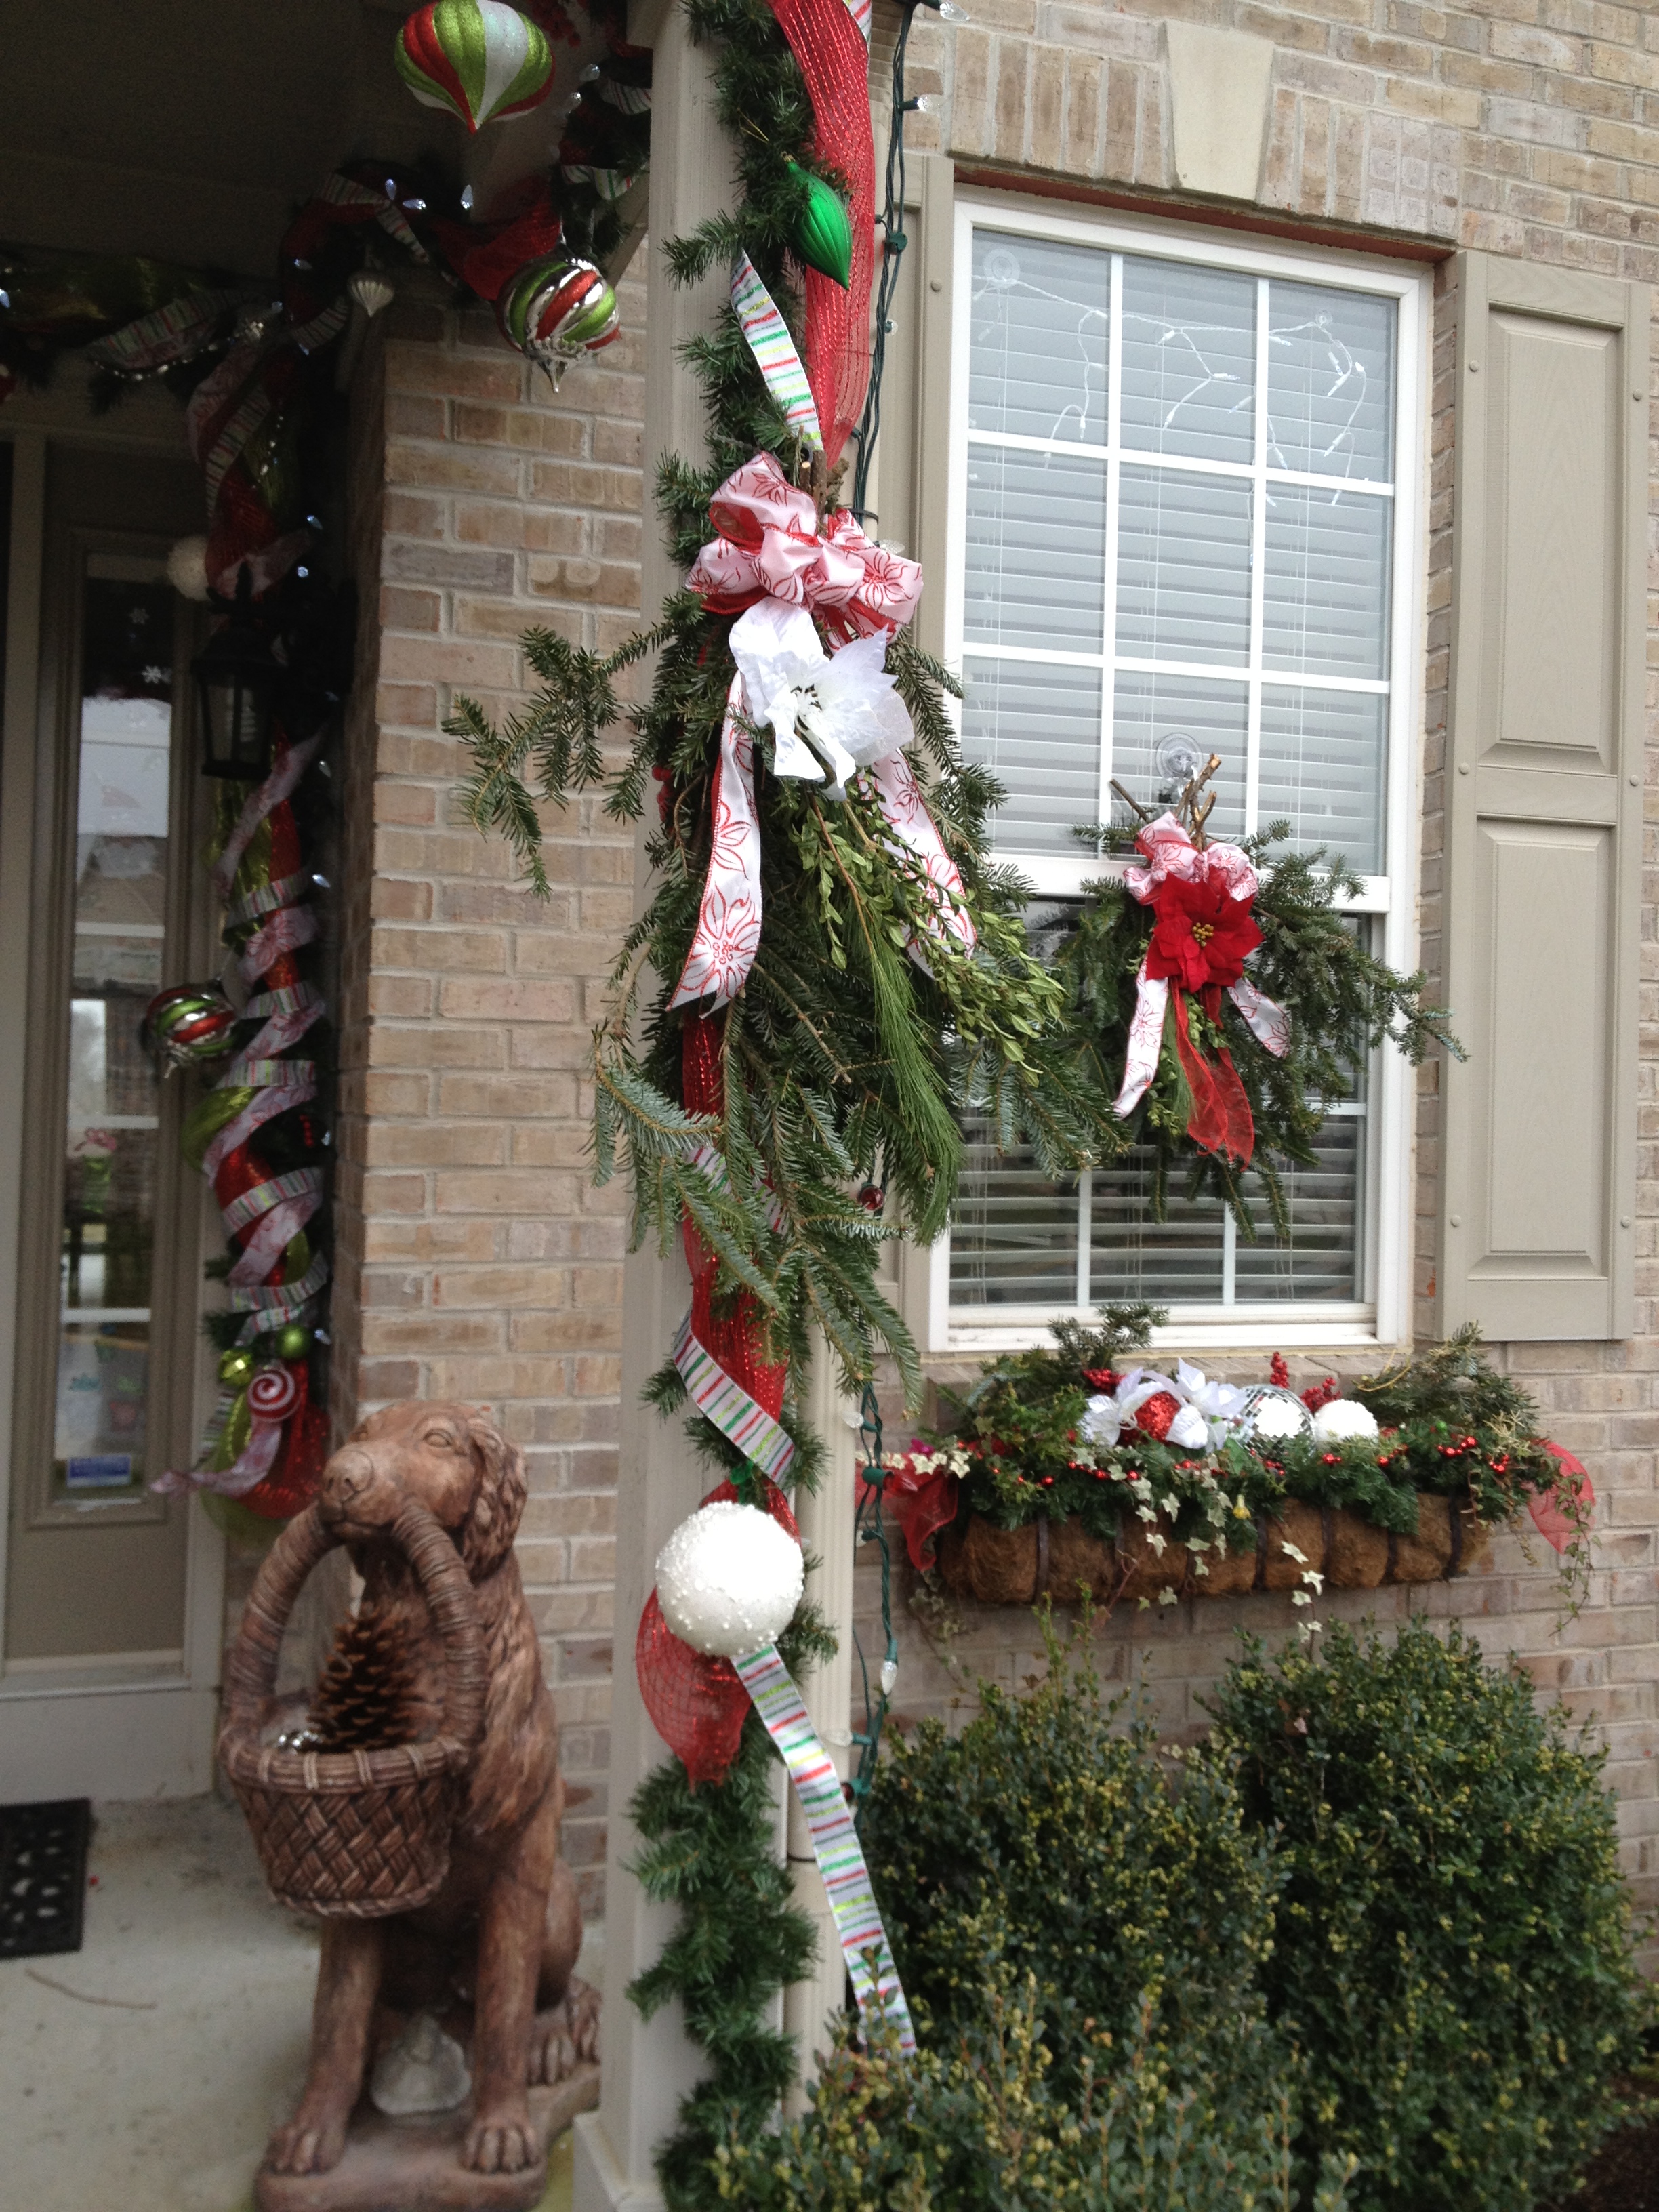
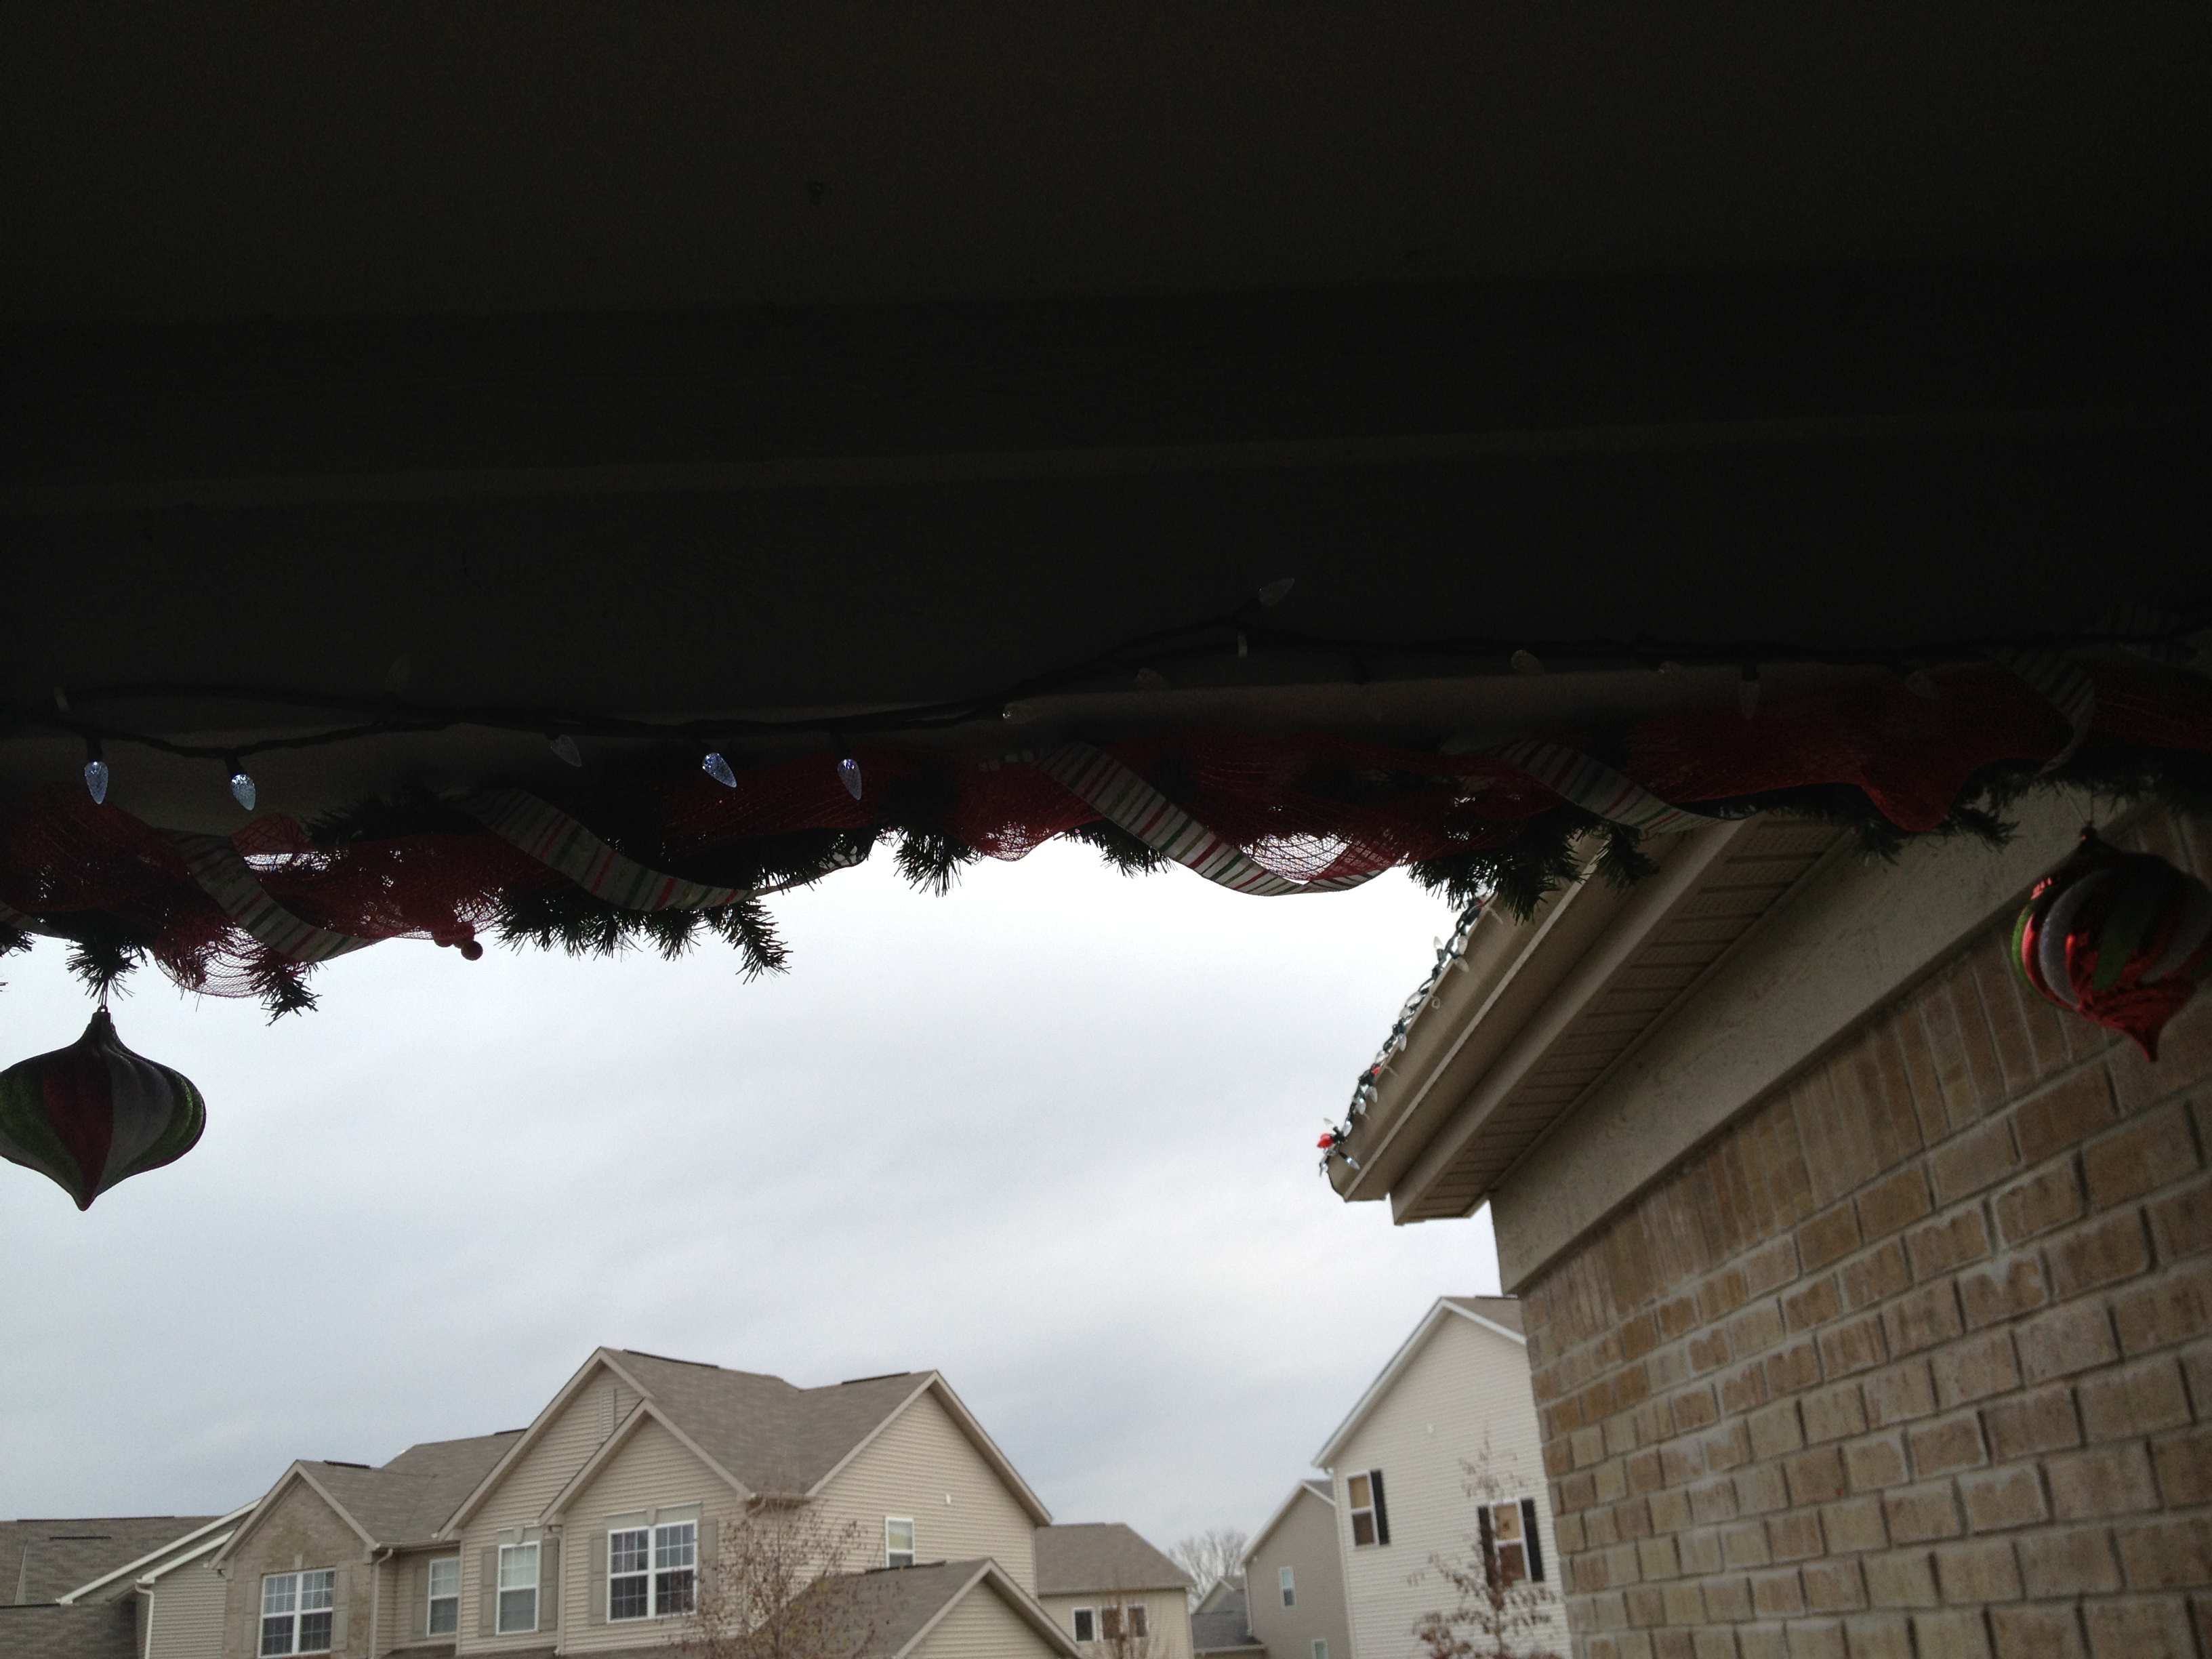
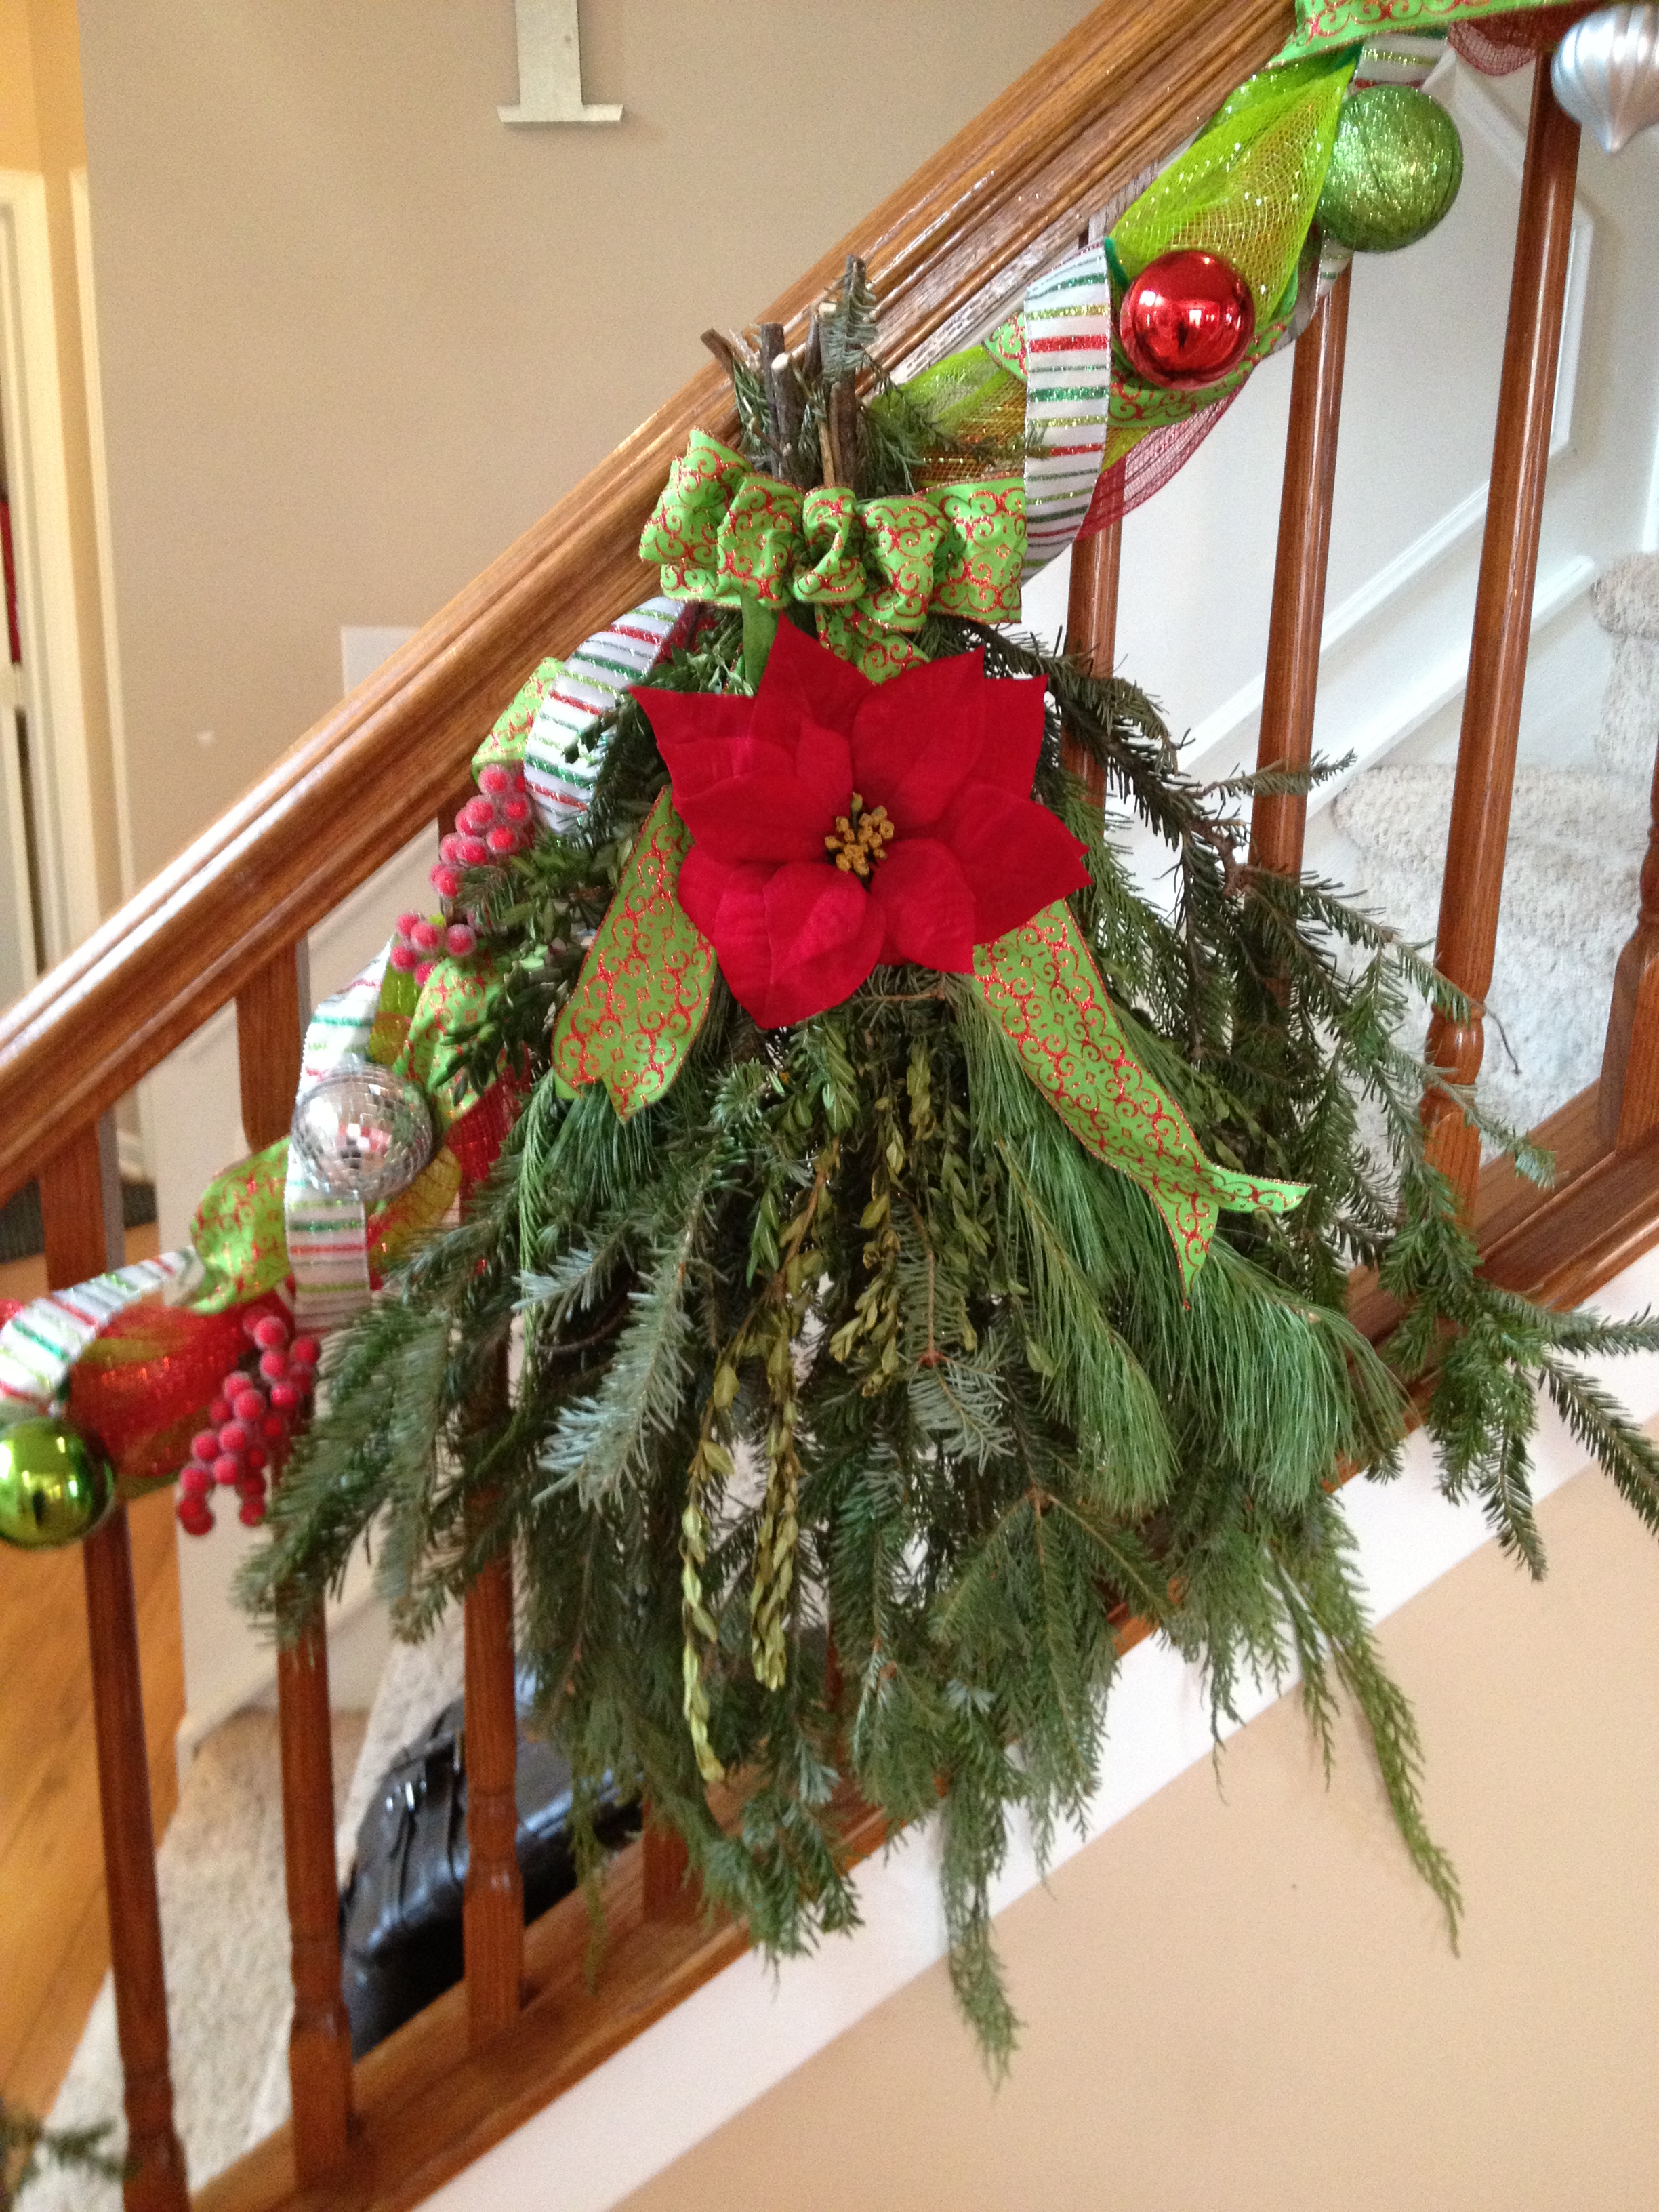
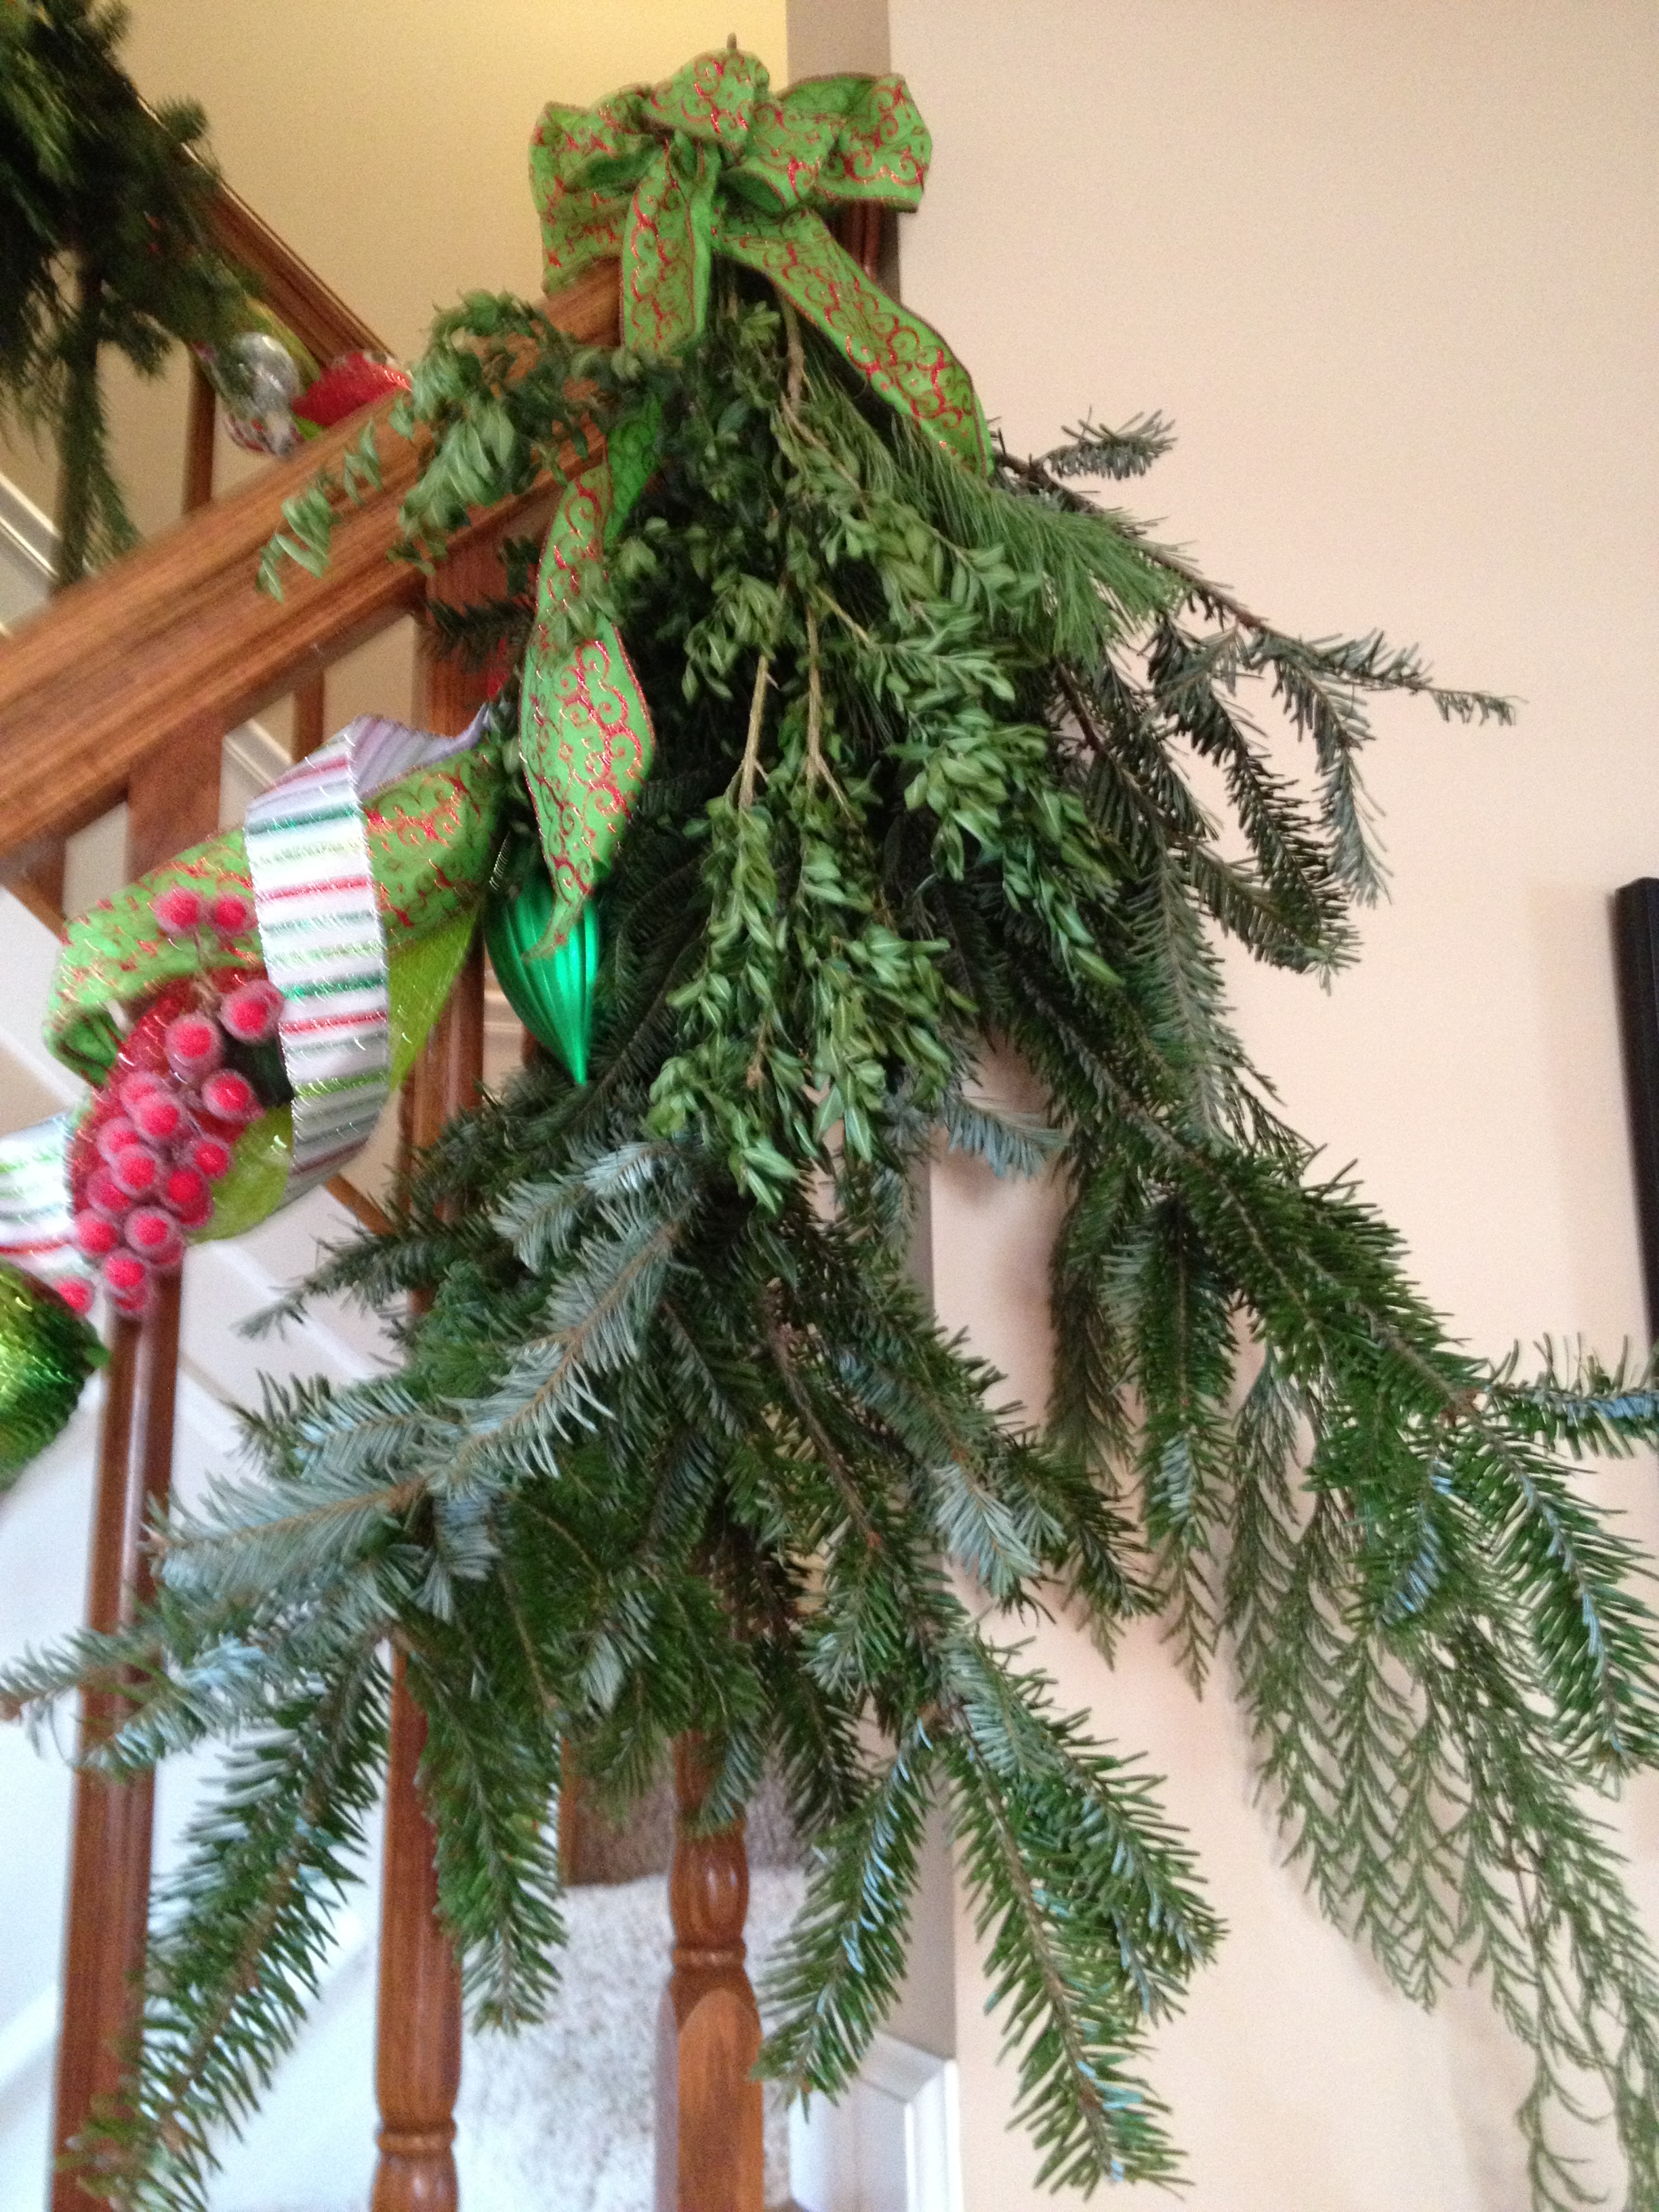
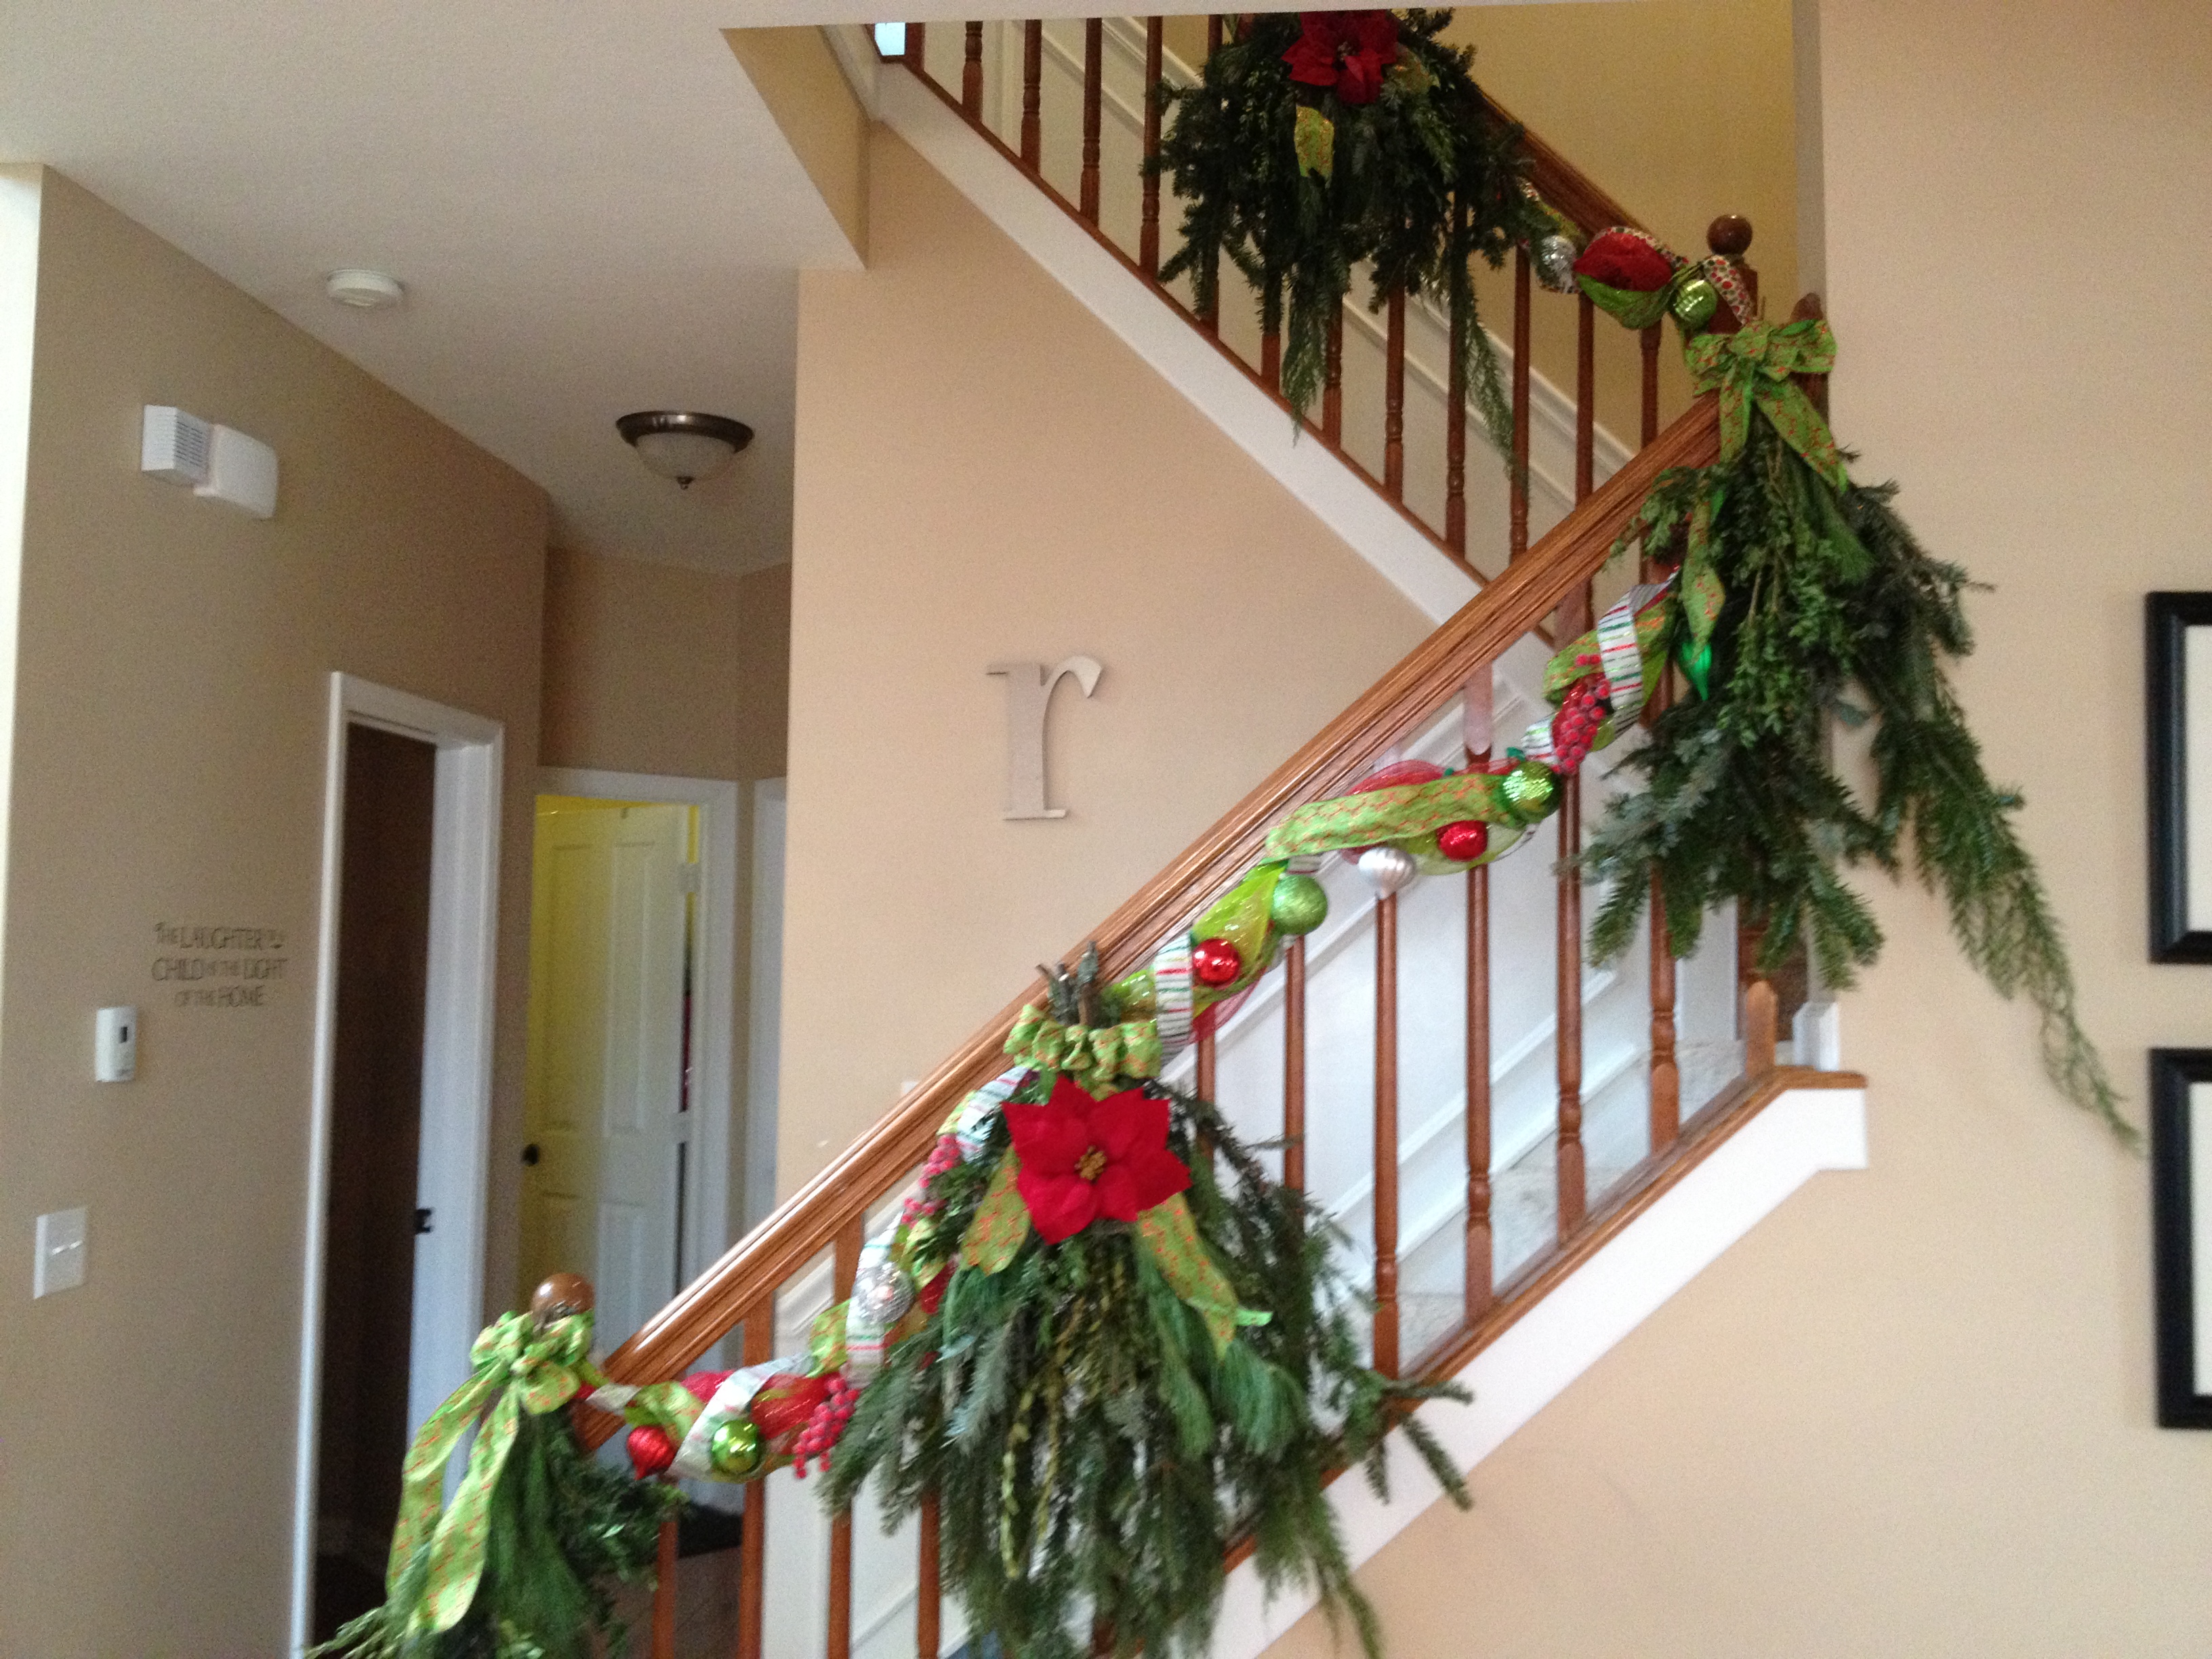
Lola’s Christmas front porch
Posted: 2012/11/25 Filed under: Decorating | Tags: Deco mesh, garland, ornament garland, PInterest, ribbon garland Leave a comment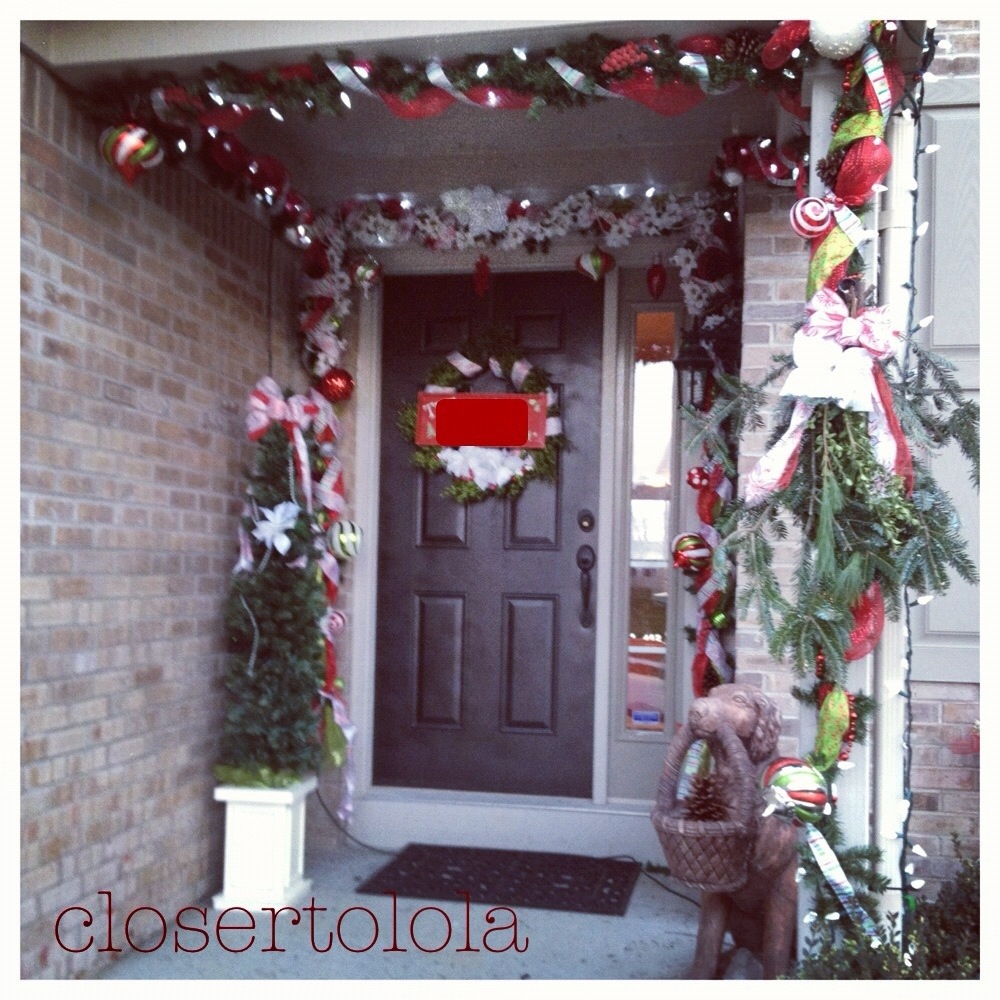
Update: This was round one. It was my first attempt at the deco mesh garland and I didn’t really like how it looked from far away once done. I sort of think this version looks like Christmas vomited all over my porch. So I did a redo..next post 🙂
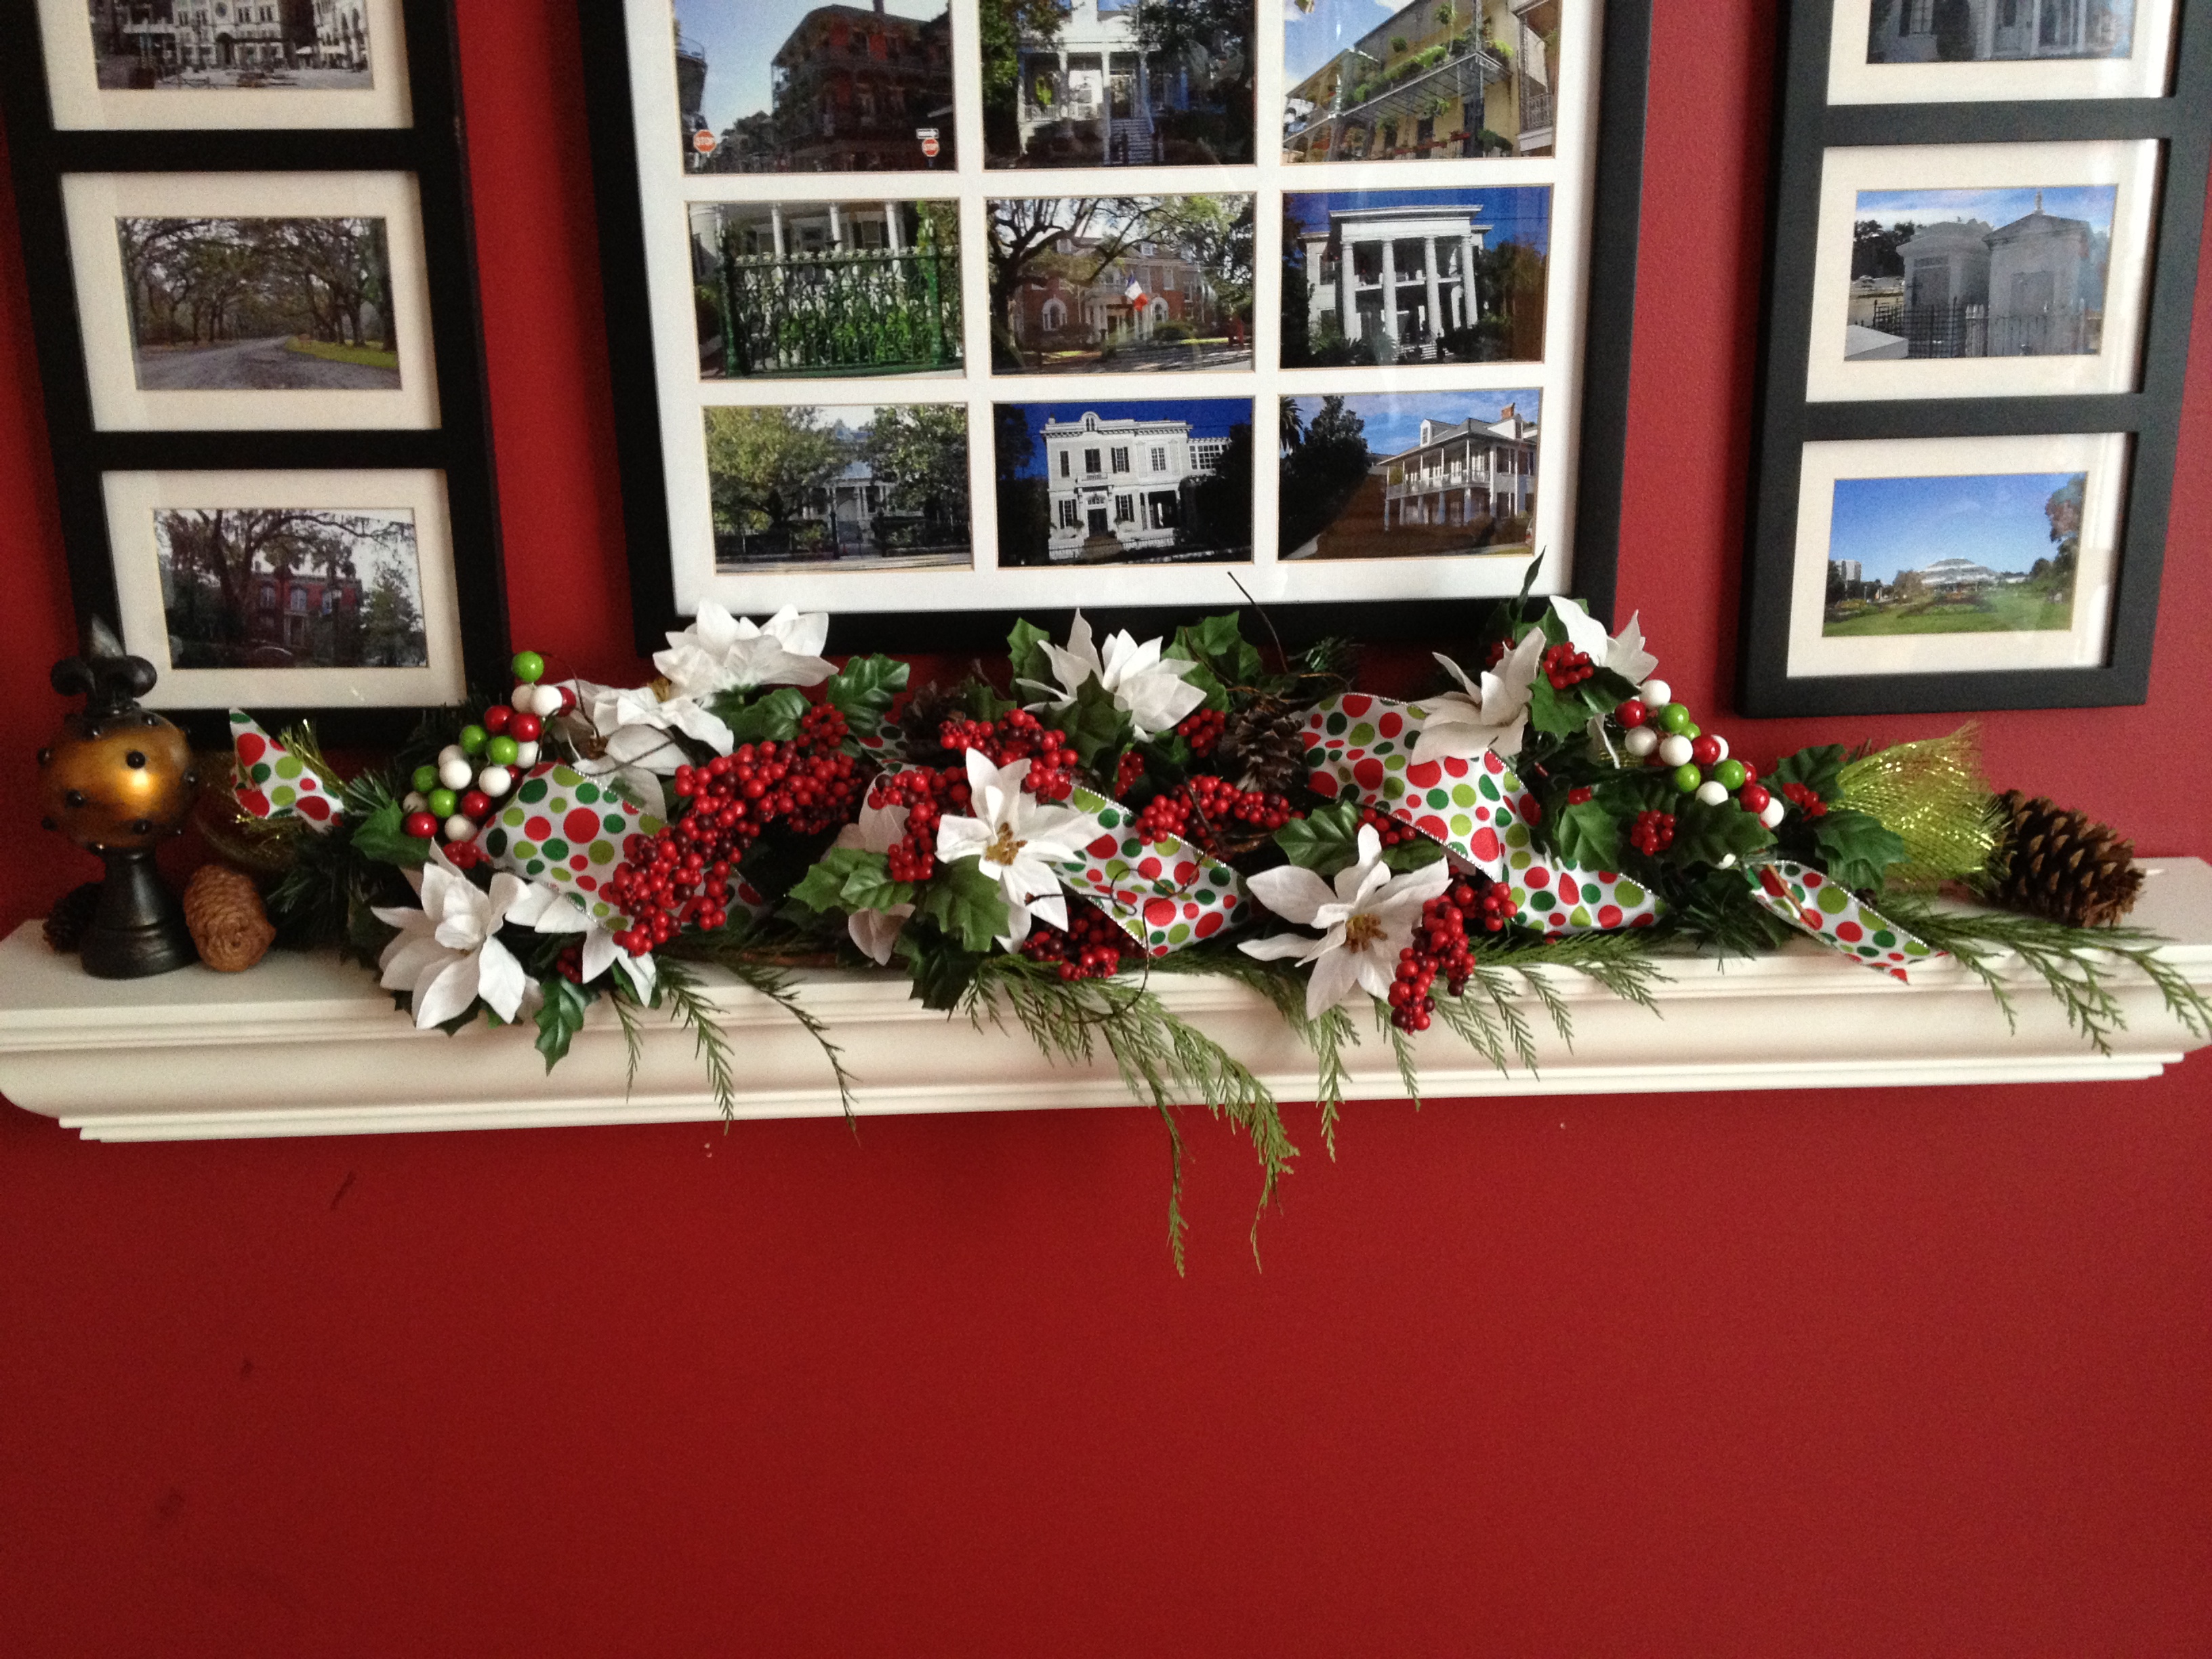
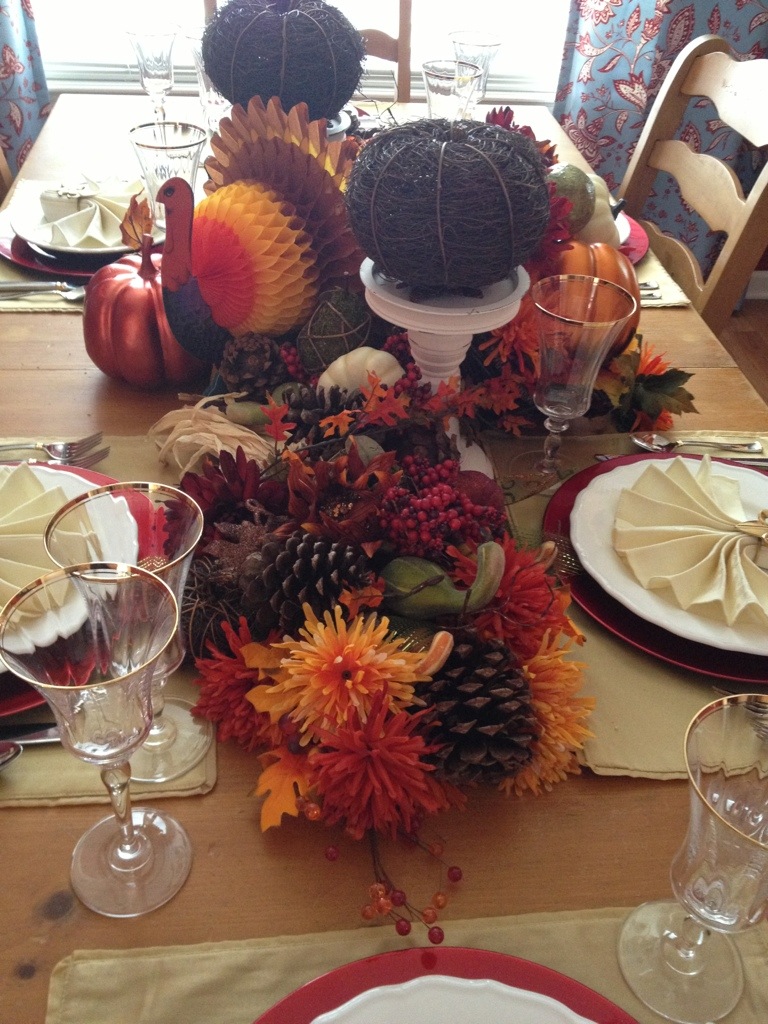
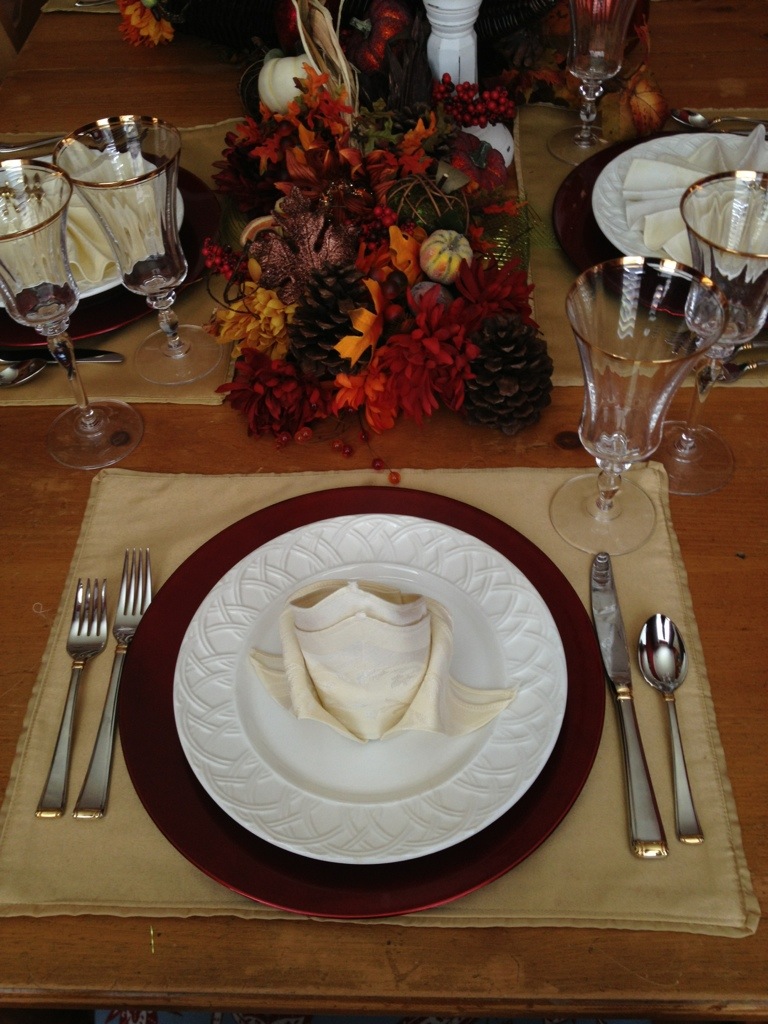
Adventures in Decorating. It’s late but here was my Thanksgiving Table decor
Posted: 2012/11/22 Filed under: Decorating | Tags: cornucopia, PInterest, thanksgiving long centerpiece, Thanksgiving table decor 1 CommentI was busy this year and didn’t get the table ready until last night. I spent about 2 hours and I tore it all down after the meal today. We found the napkin folding on Pinterest. I made one of those deco mesh ribbon small garland things, but I’ve got so much on top of it you can hardly tell it or the two kinds of ribbon are there. Lesson learned for next year. We decided we liked the tall big wide centerpiece because it divided the table creating some intimacy and privacy without completely blocking the view of each other. Down side was dinner has to be served buffet style with this big a centerpiece.
I’ve got lots of ideas and possible new things I’m doing for Christmas this year so I’ll be at Michaels at 7am tomorrow. Happy Thanksgiving!!


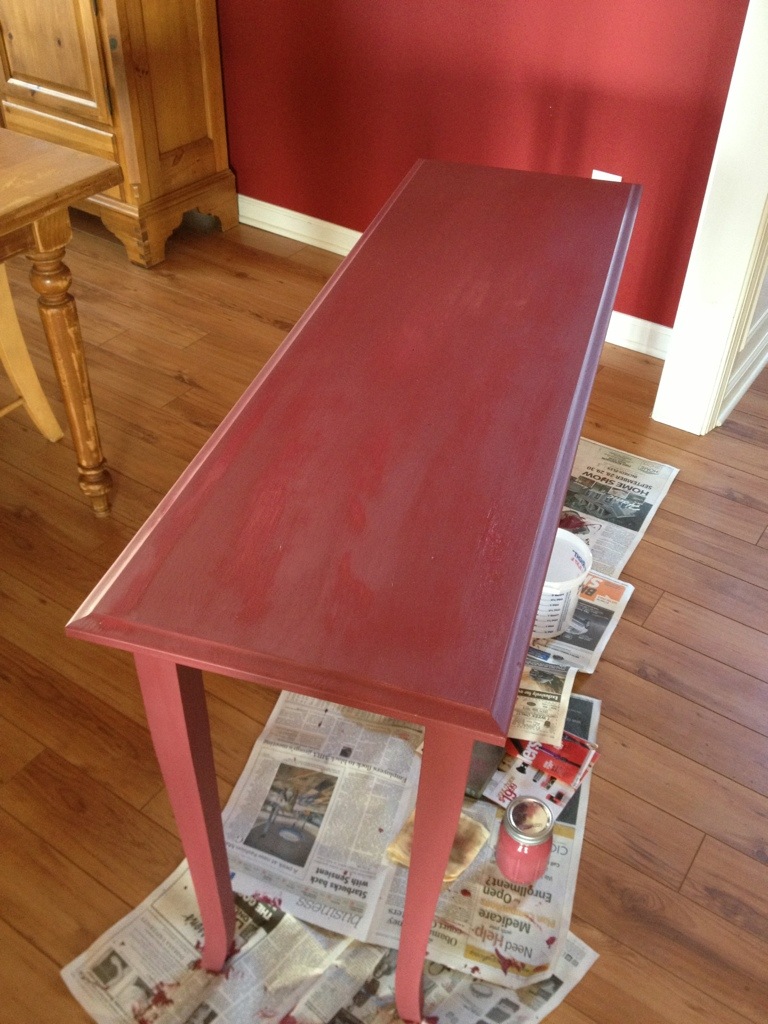
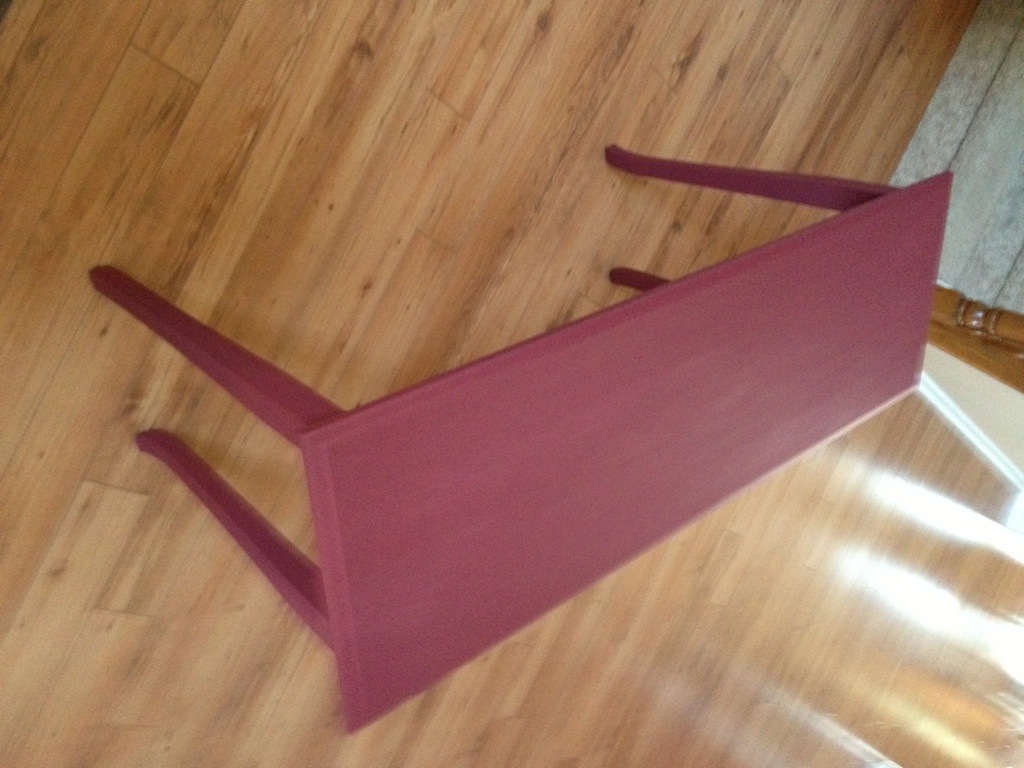
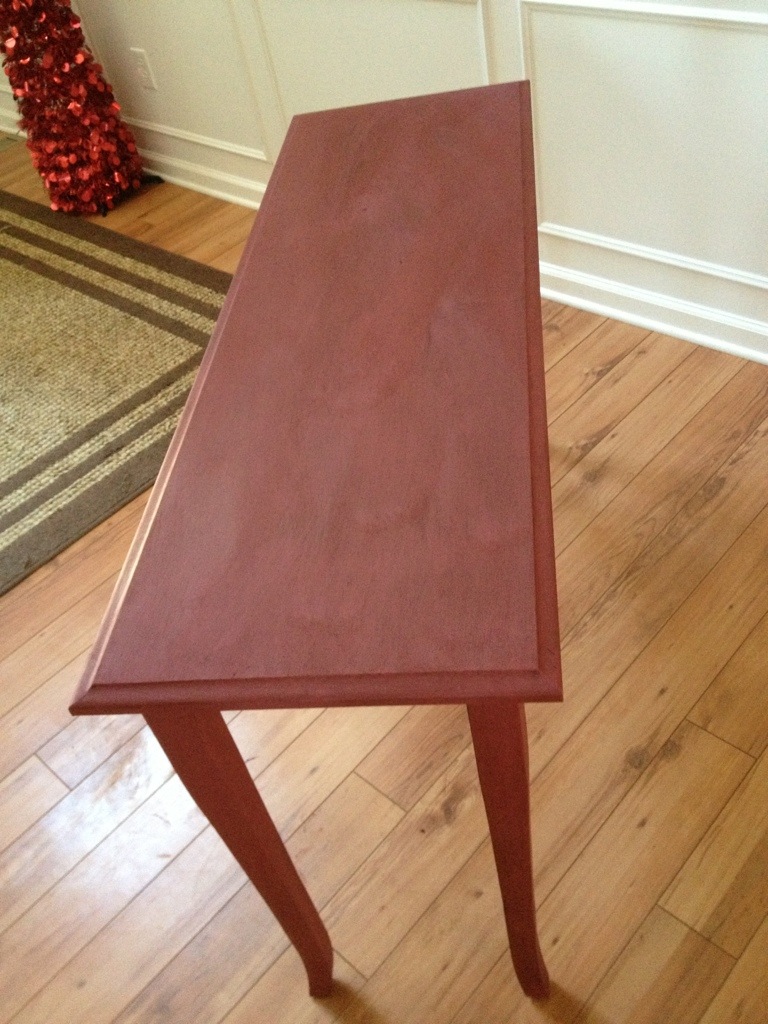
Adventures in decorating. My first chalk paint project
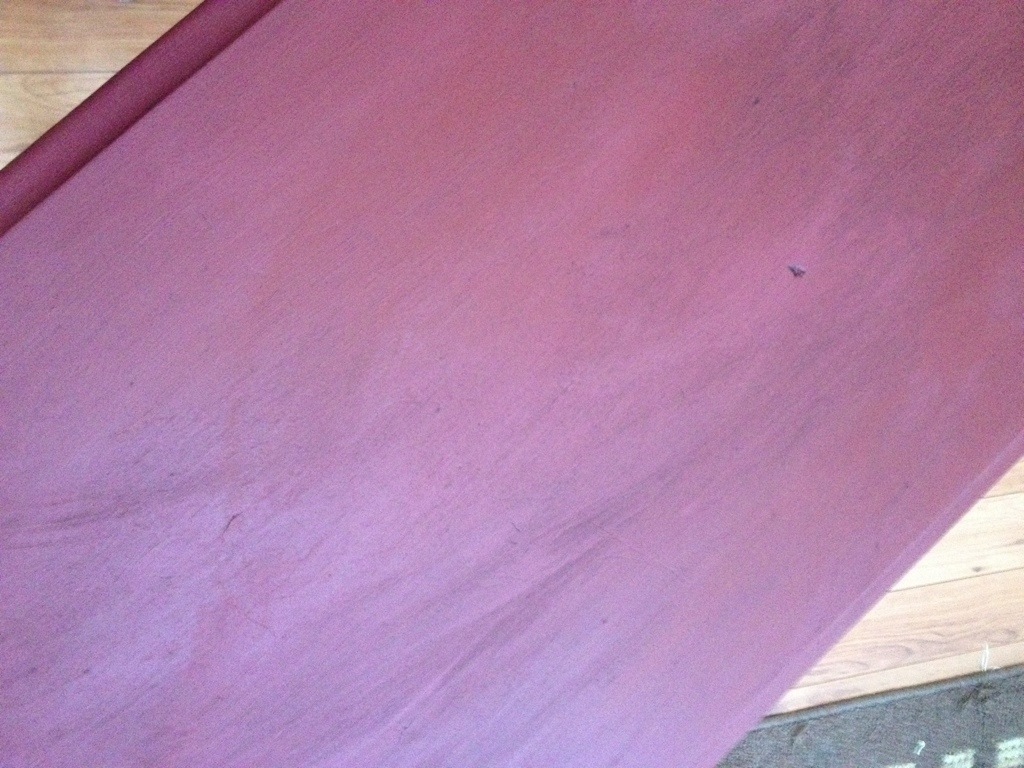
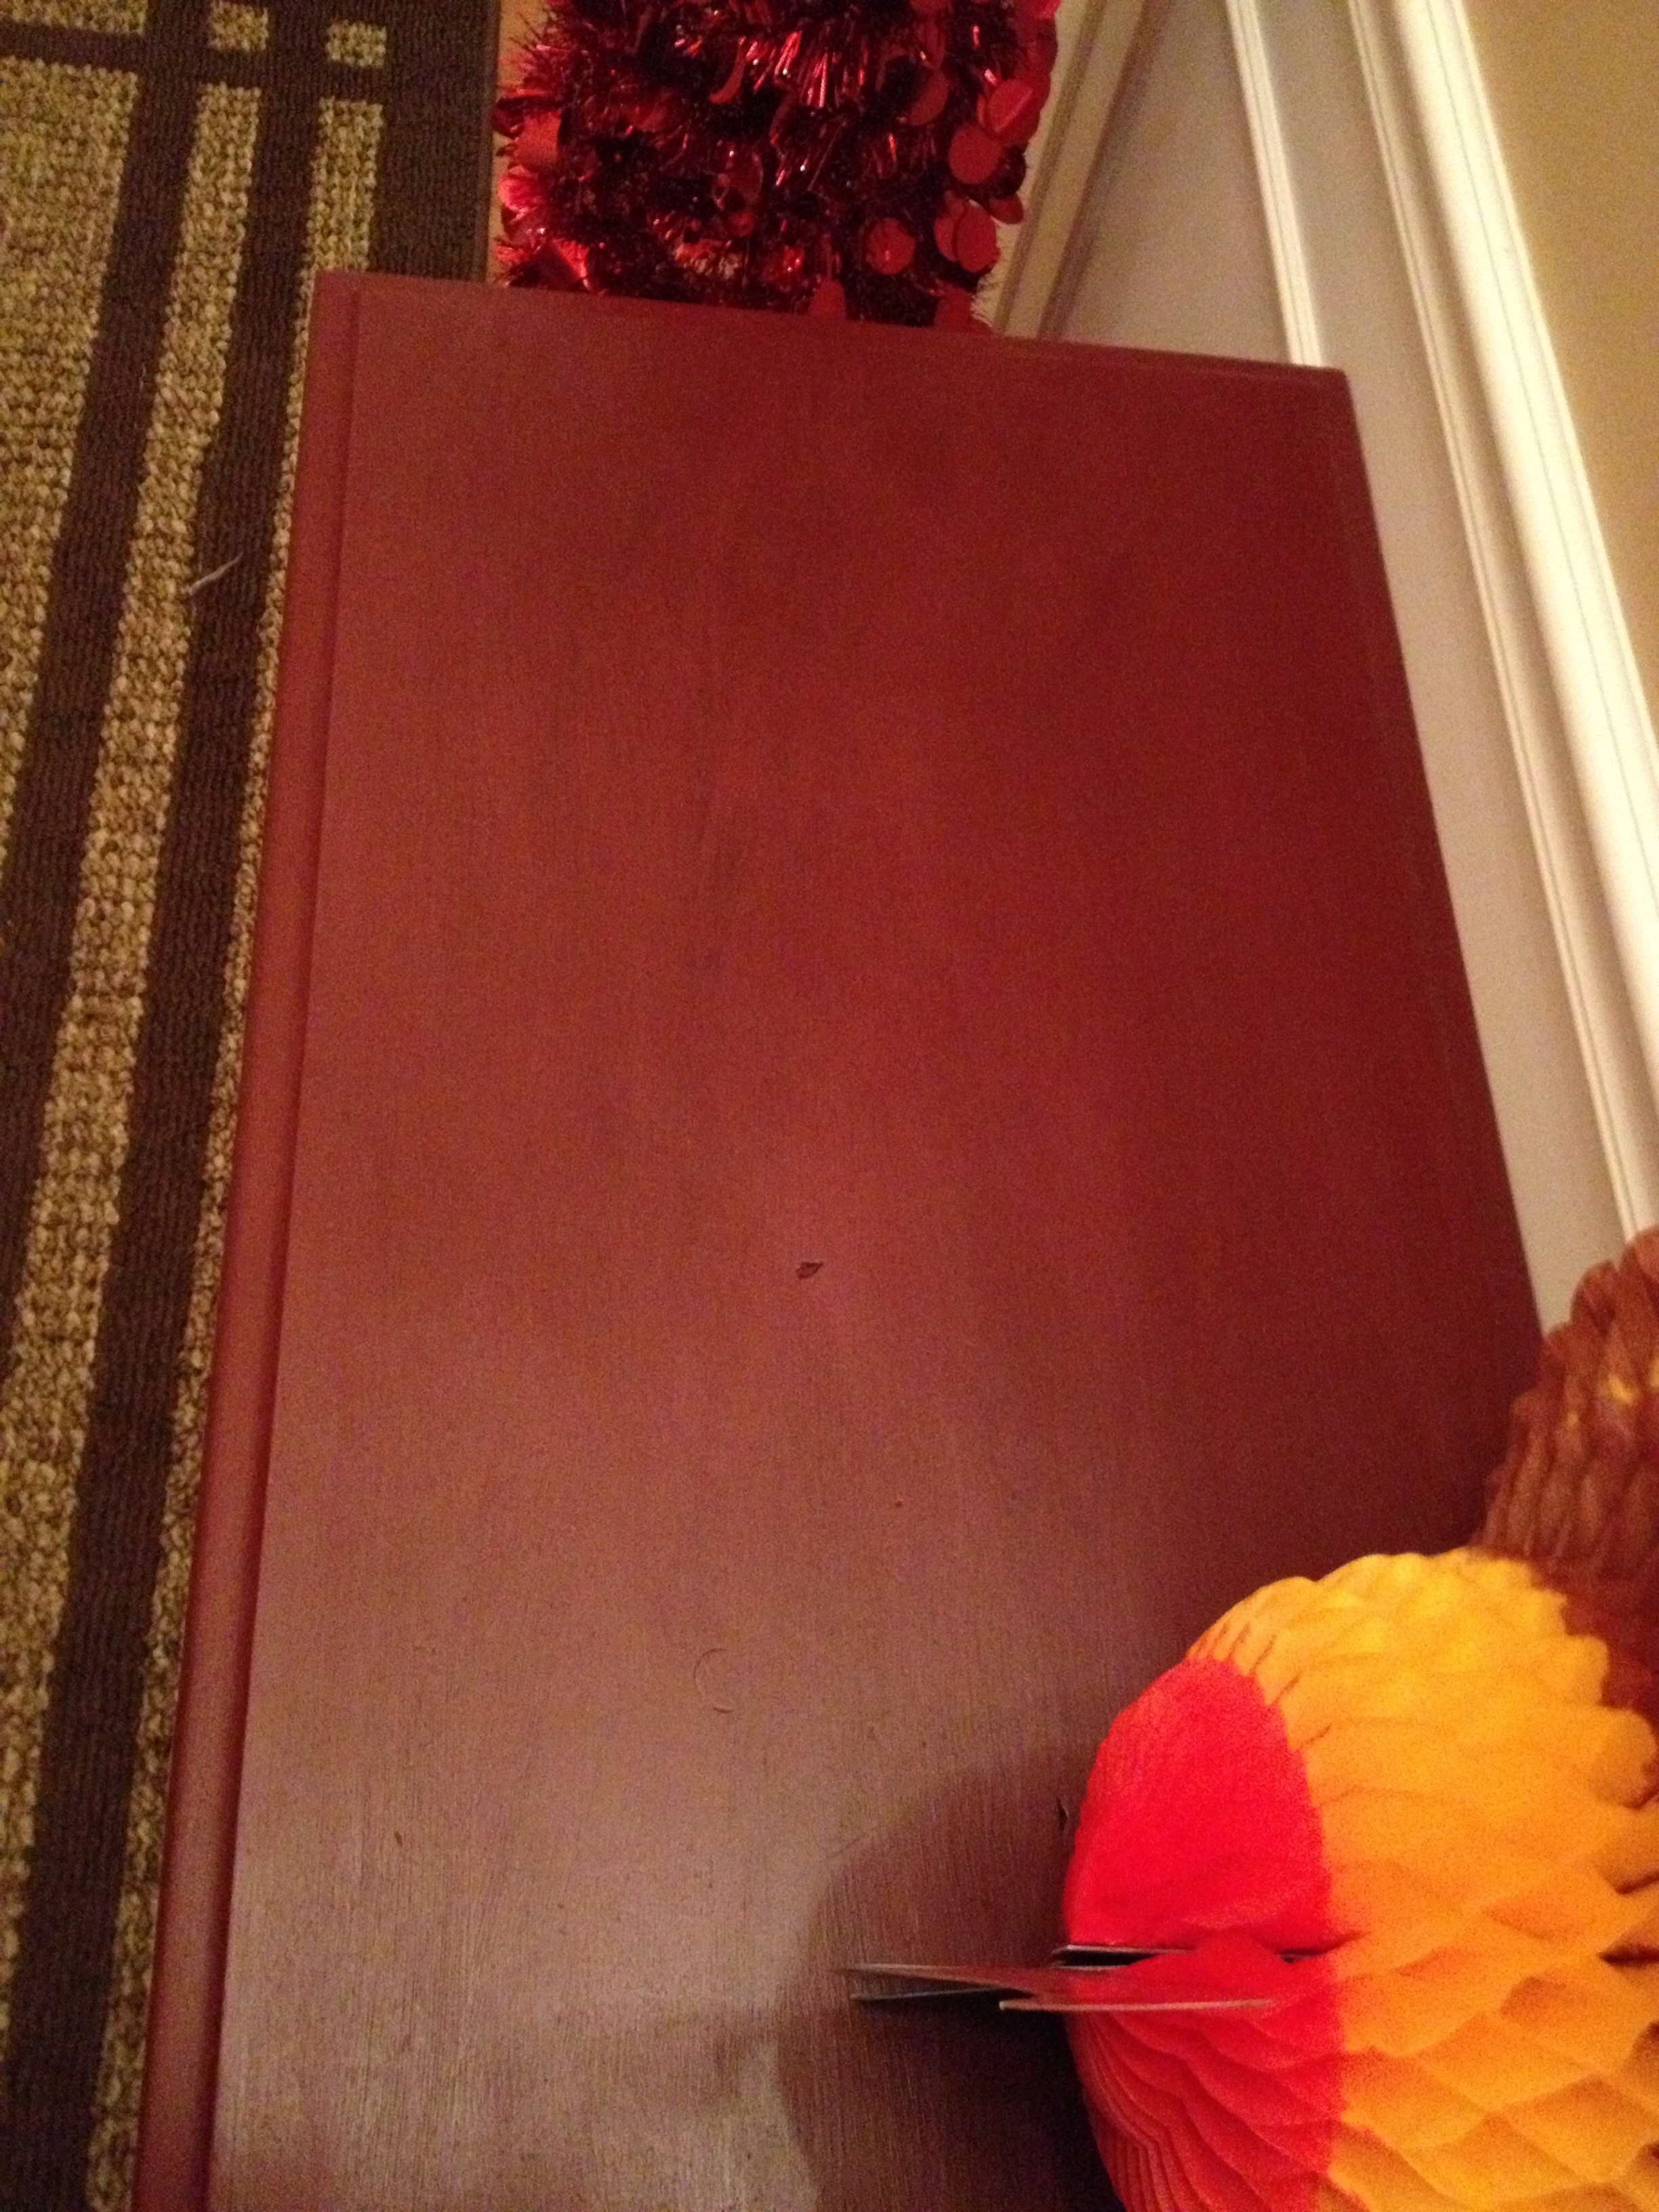
Posted: 2012/11/22 Filed under: Decorating | Tags: black primer under red, chalk paint refinish, DIY chalk paint, Do it yourself, painting with red, PInterest, Porter Paints Apple a Day 1 CommentChalk paint is all the rage around here right now. I love the look and the promise of no prep, easy coverage, easy distressing, and durability with wax. I recently scored a desk vanity for MiniMe and want to chalk paint it, but I didn’t want it to be my first attempt. I decided I wanted to try the DIY paint first before choosing to buy Annie Sloan Chalk Paint. I was looking for something, anything small I could use as a pilot project. The other day while showing MiniBoobs my new sparkly red pop up target tree I got a wild hair to paint the entry table red. It was a honey pine color and originally a put together table I bought at Lowes in the 90’s.
I’d give my work a 7 overall. I should of used deglosser on the table because when I didn’t get my 1 part plaster of Paris smooth enough it left little bumps of hard plaster in places and when rubbed off they pulled off right to the original finish. I was able to mostly work around or fix it though. I was in a hurry and didn’t want to distress this piece so I chose to rub an ample amount of dark walnut wax into the finish and buff it to a soft sheen. I got the project done in under 24 hours and put 3 coats of chalk paint on it. It does dry very quickly and coverage was awesome. I made my mixture in a glass mason jar and sealed it up well when I was done because I had a ton of the 2 cups I made left. I went with the 1 part plaster of Paris to 3 parts paint ratio. Next time I’m upping it to 1 part plaster of Paris to 2 parts paint.
Here are pics in various stages of the project.


You must be logged in to post a comment.