These are not my words but they are my thoughts and heart
Posted: 2011/12/01 Filed under: Quotes | Tags: PInterest, quotes about apologizing, quotes about screwing things up, quotes about truth, you are beautiful quote Leave a commentThese are all goodies from http//www.pinterest.com I absolutely LOVE this site. It is invite only, so if you know me shoot me an email and I will hook you up. Hell, even if you don’t know me, shoot me an email and I’ll hook you up. I’m too tired to explain it, but here is a link to someone else who already did. It is basically an awesomely amazing online system of bulletin boards with pins=bookmarks via images of things on the internet. It is VERY helpful for researching things like decorating, quotes, cooking, crafts, costumes, recipes you name it. These images are from one of my Pinterest boards, they are not mine originally. I’m way over committed through the end of the year and I’m exhausted, but I still felt like sharing something of myself with you today. These are not my words, but they are my thoughts and heart.
Hugs ♥ Mwah XoXo
Lola
PS- OMG I’m So excited. after 5 months of blogging I FINALLY figured out how to line up multiple images all in a nice row like this. If only I had the energy to go back and fix all my previous pic posts…so not happening


Finally got started on the Thanksgiving Decor
Posted: 2011/11/14 Filed under: Decorating | Tags: Decorating, holiday decor, Holiday Decorating, Interior design, Thanksgiving Leave a commentWe won the neighborhood Halloween Decorating Contest for Best Overall Yard. It netted a $100 Gift card that we can use to dine at a cool restaurant in the arts district downtown. I hurried and got all of the indoor decor down and put away before The Ladies came to clean. They aren’t doing so hot, we are on crew number 2. In the past I would of also made the transition to Thanksgiving decor at the same time. This year I enjoyed the clean empty spaces on all my surfaces for a little bit before I dug back in. I am even thinking I’m not putting out Dept 56 Christmas Houses this year. But we will see how I feel once Thanksgiving gets here. It’s the first Thanksgiving in a while I can eat when I want, where I want and we are eating at 6 at my house. I’m buying The Husband a new fabulous electric smoker for his coming Birthday, and he is making a turkey breast and something beefier. The rest we will work out later, but I did promise homemade croutons and spinach salad. It’s nothing super special, but I’m sharing mostly because I like looking at what other people do and getting ideas.
-

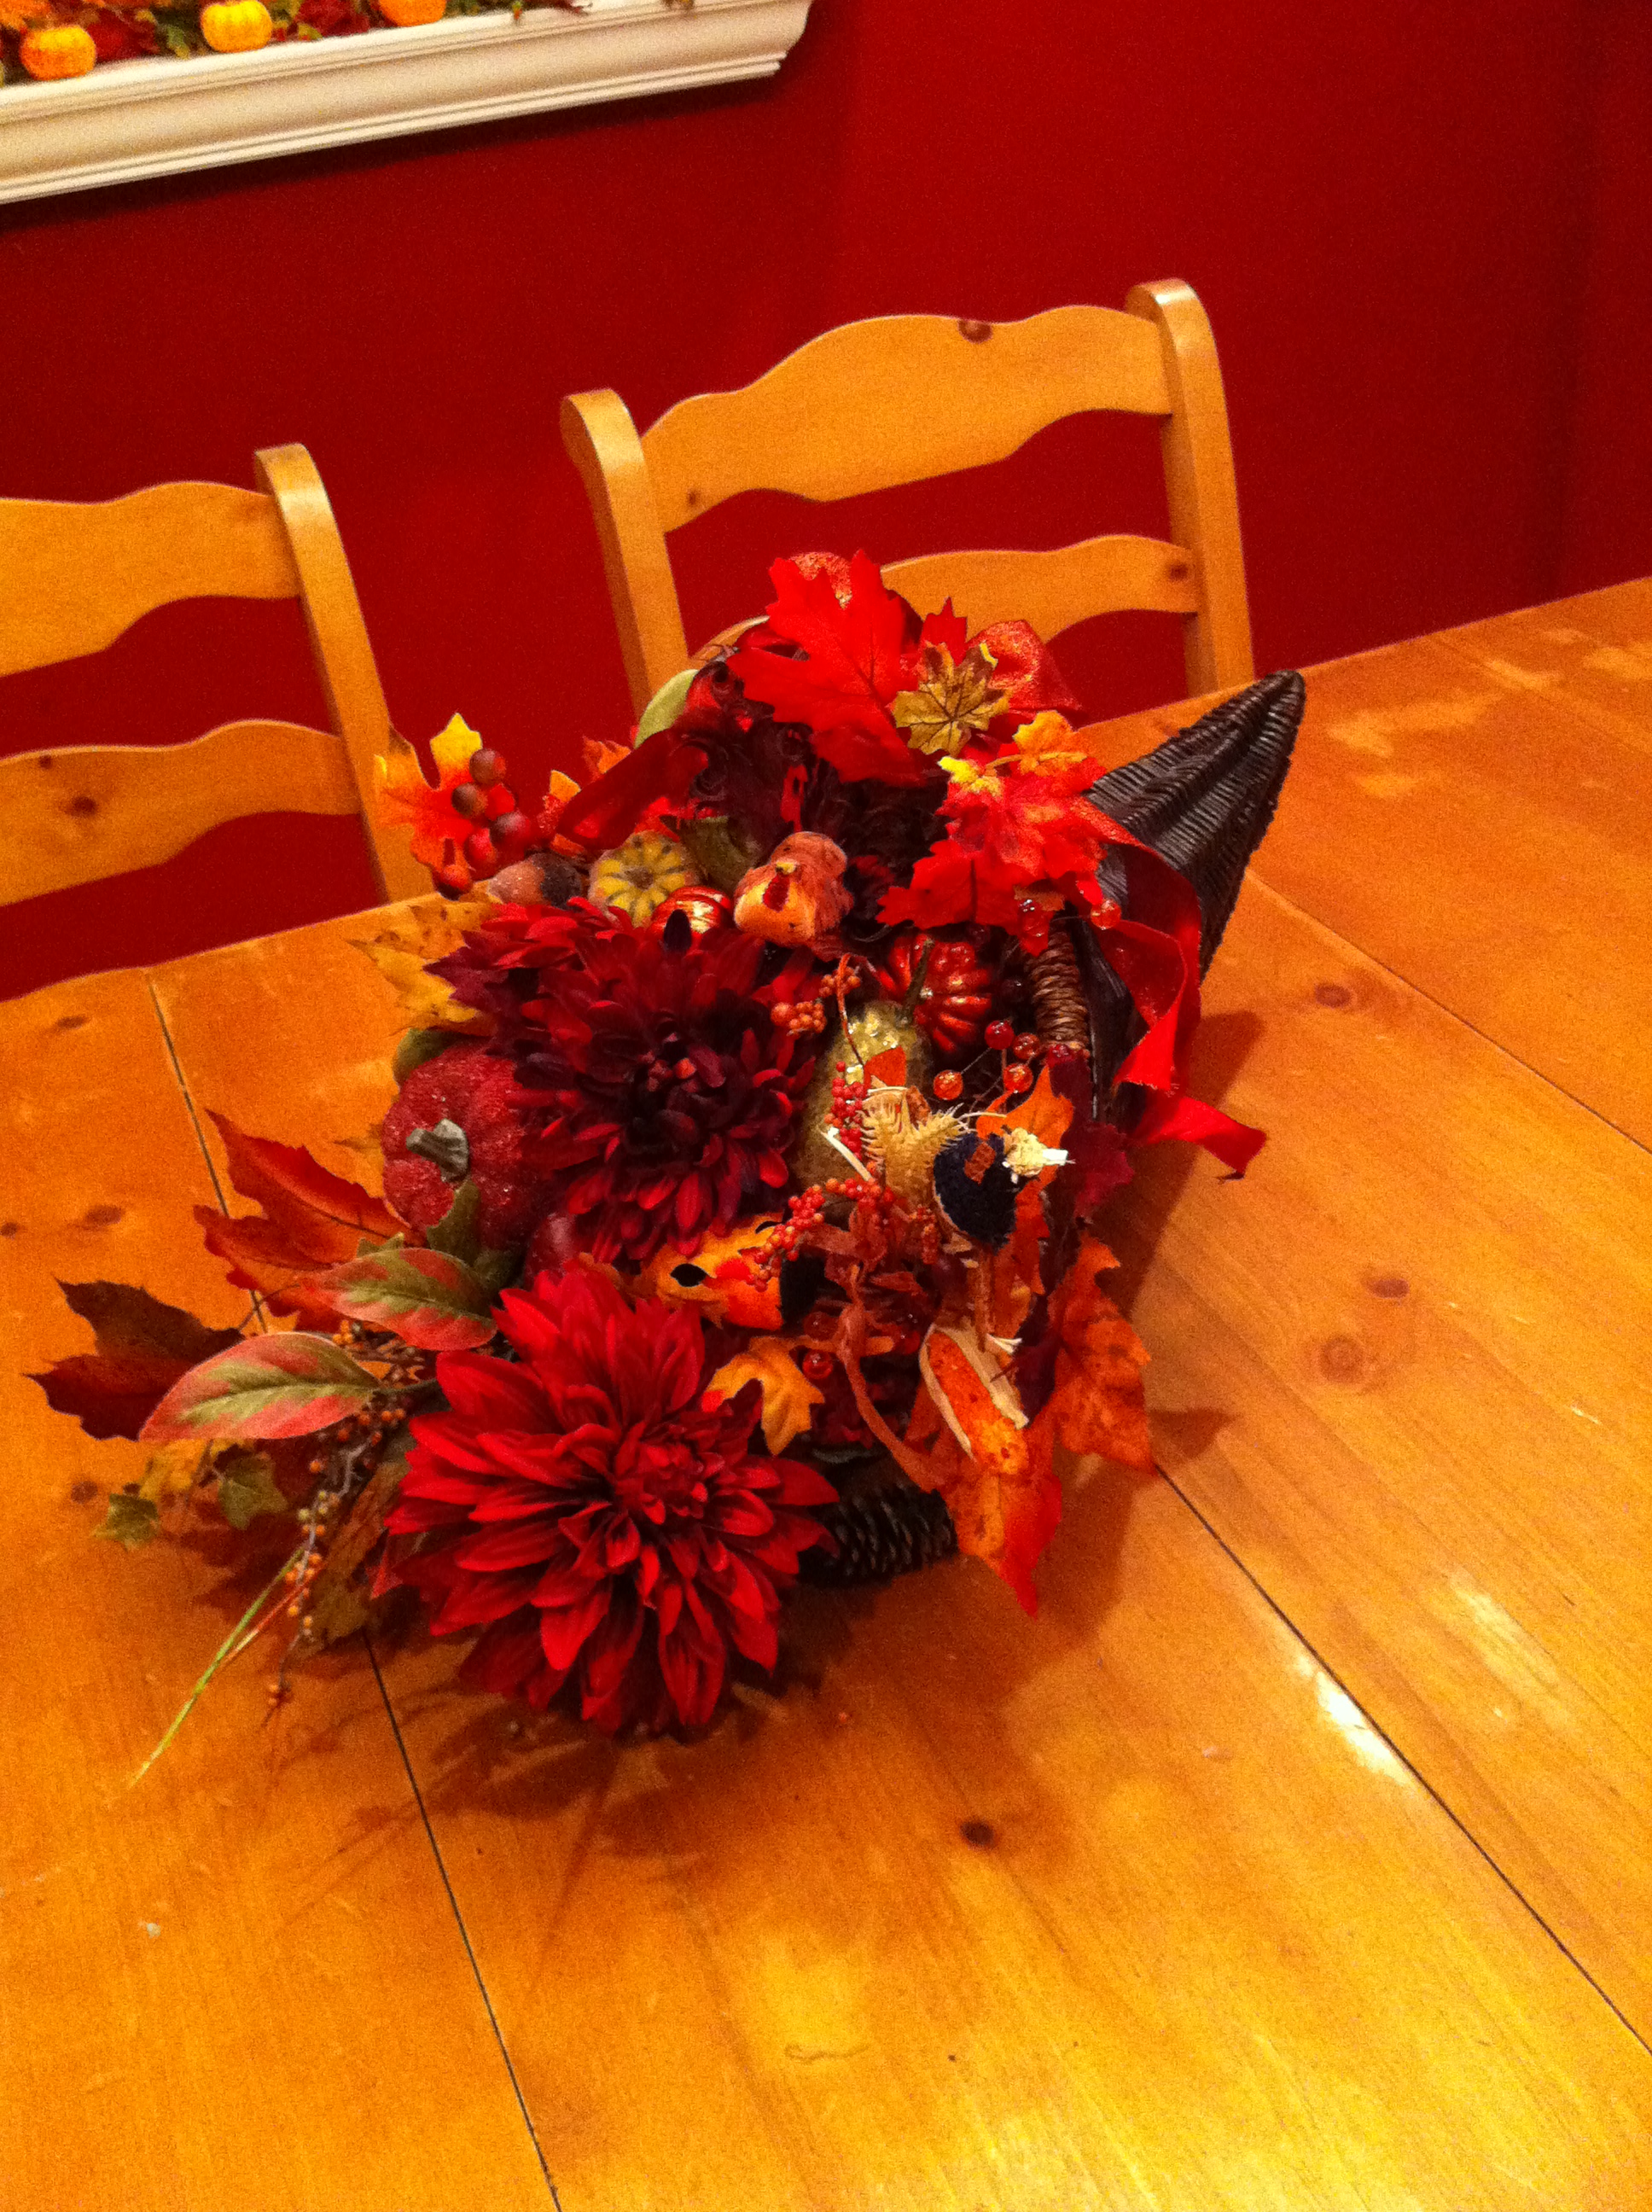
- Dining Table Cornucopia

-

- Dining Table Cornucopia
-

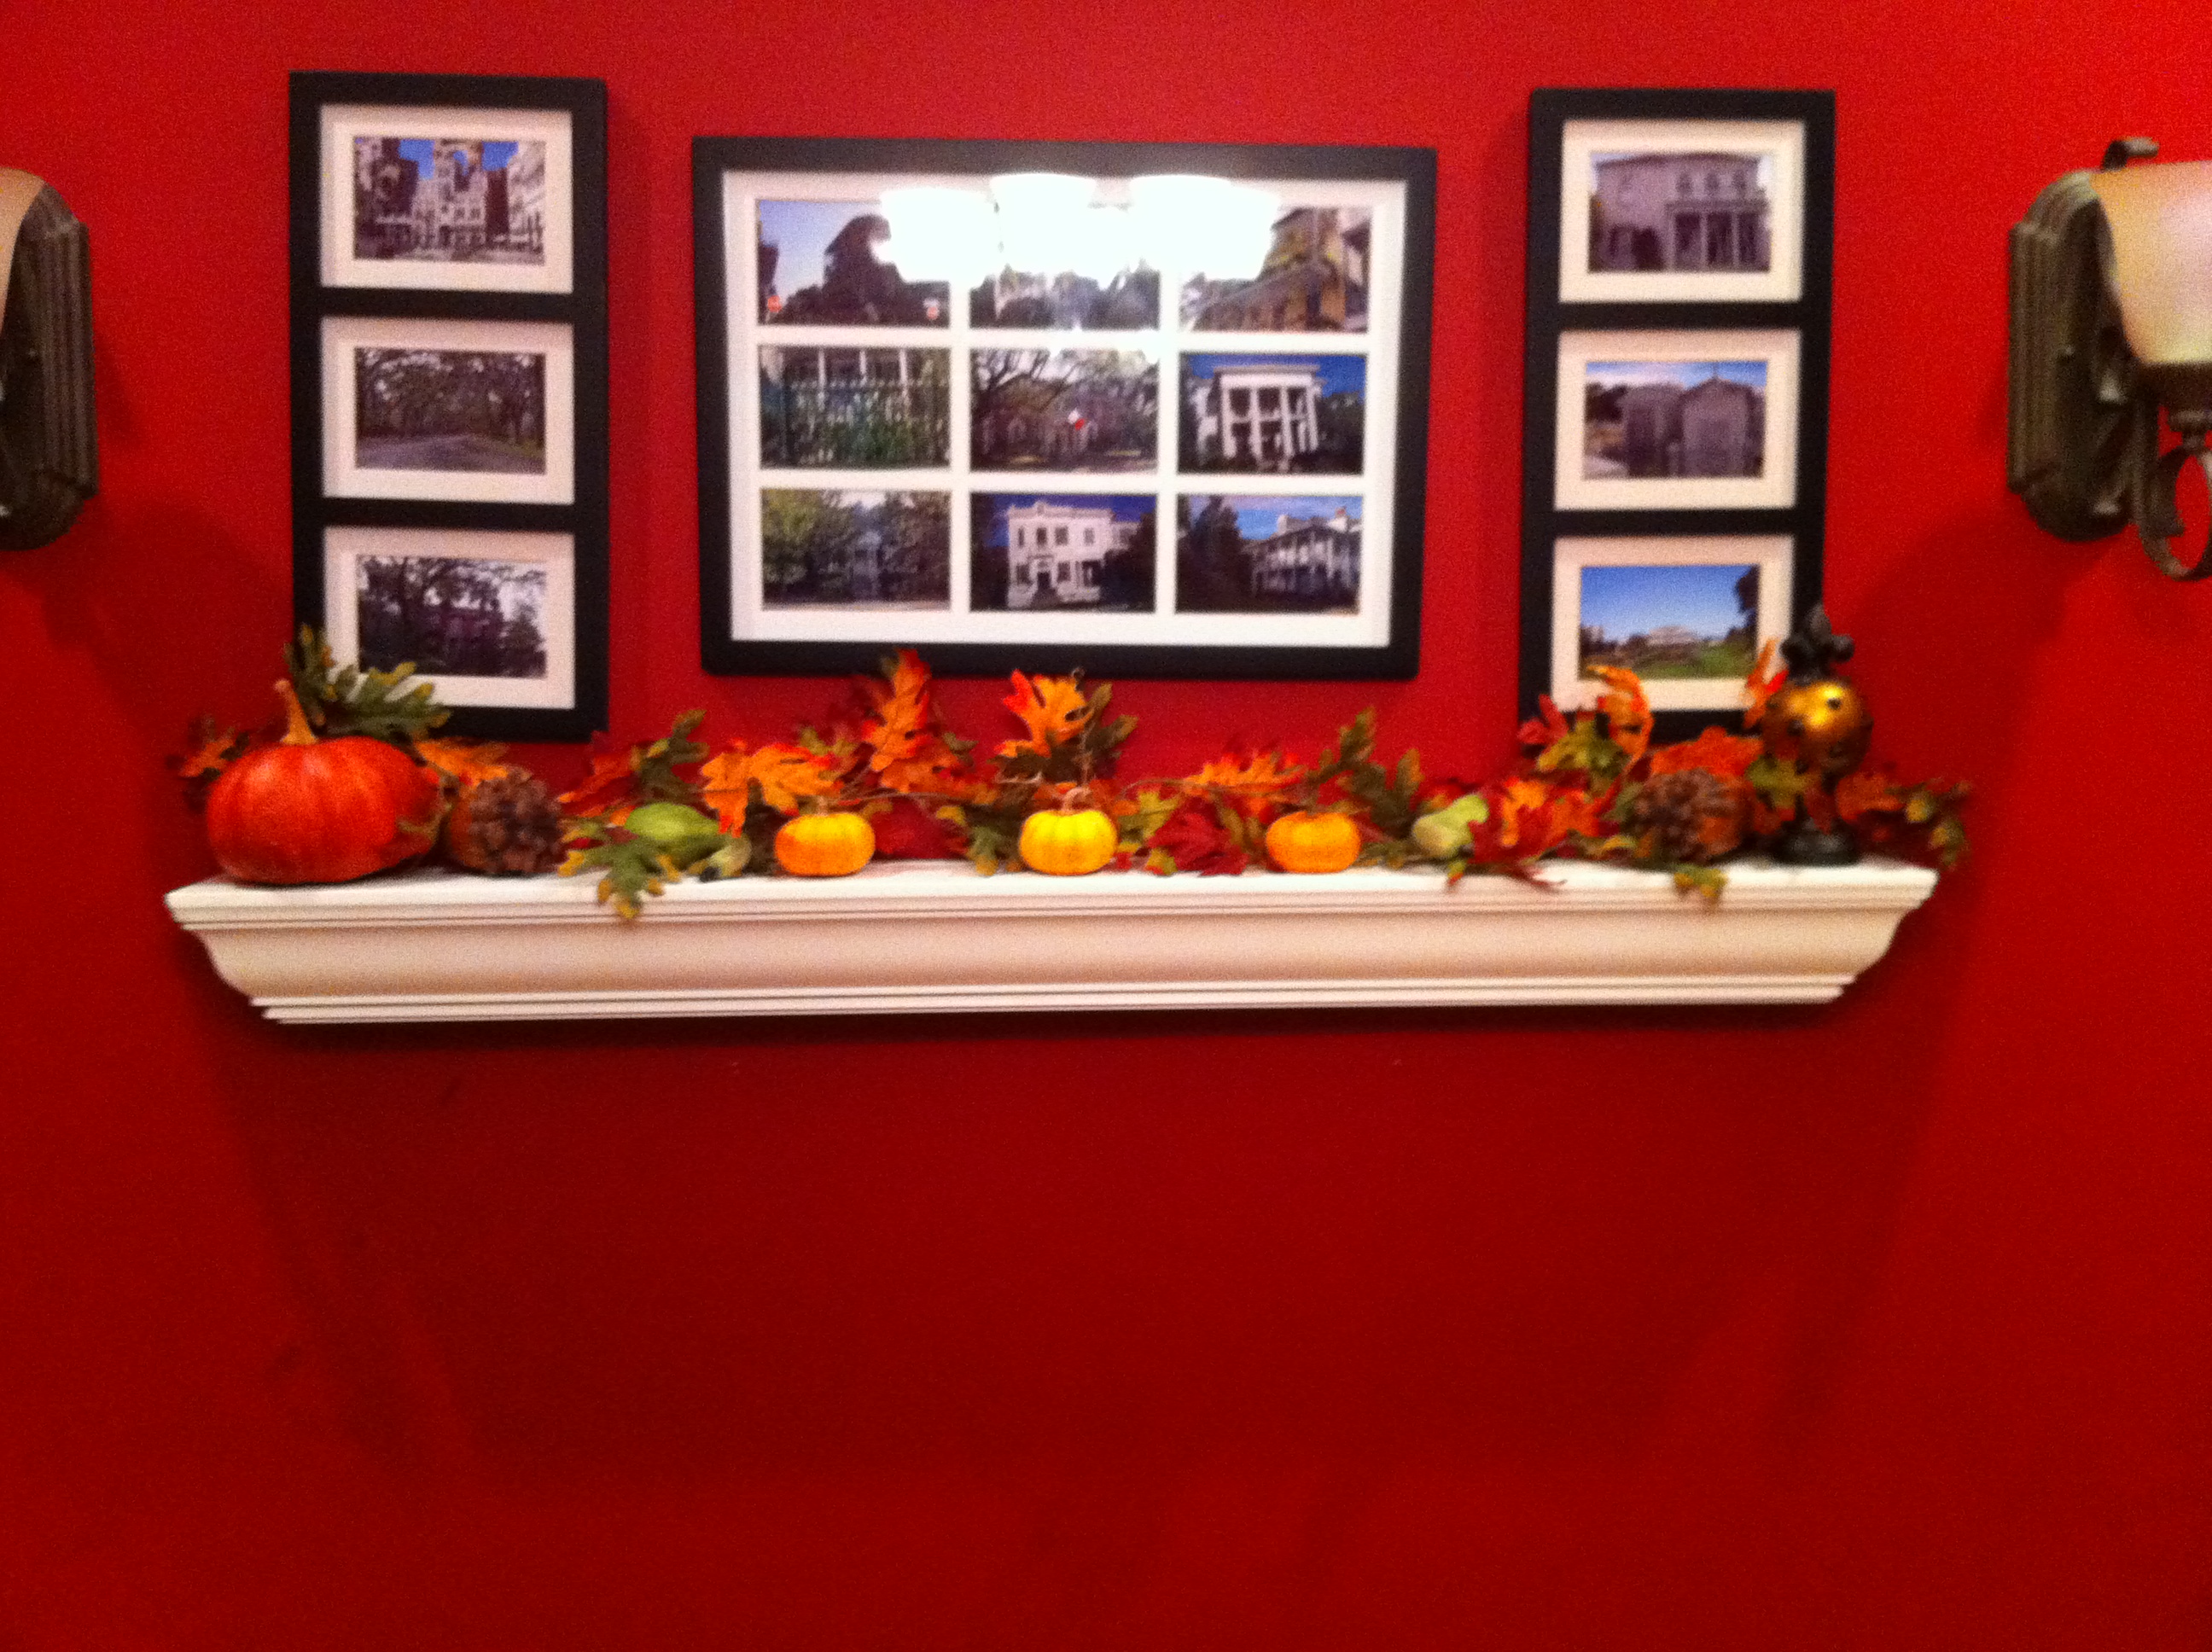
- Dining room shelf
-

- Drop table take 1

-

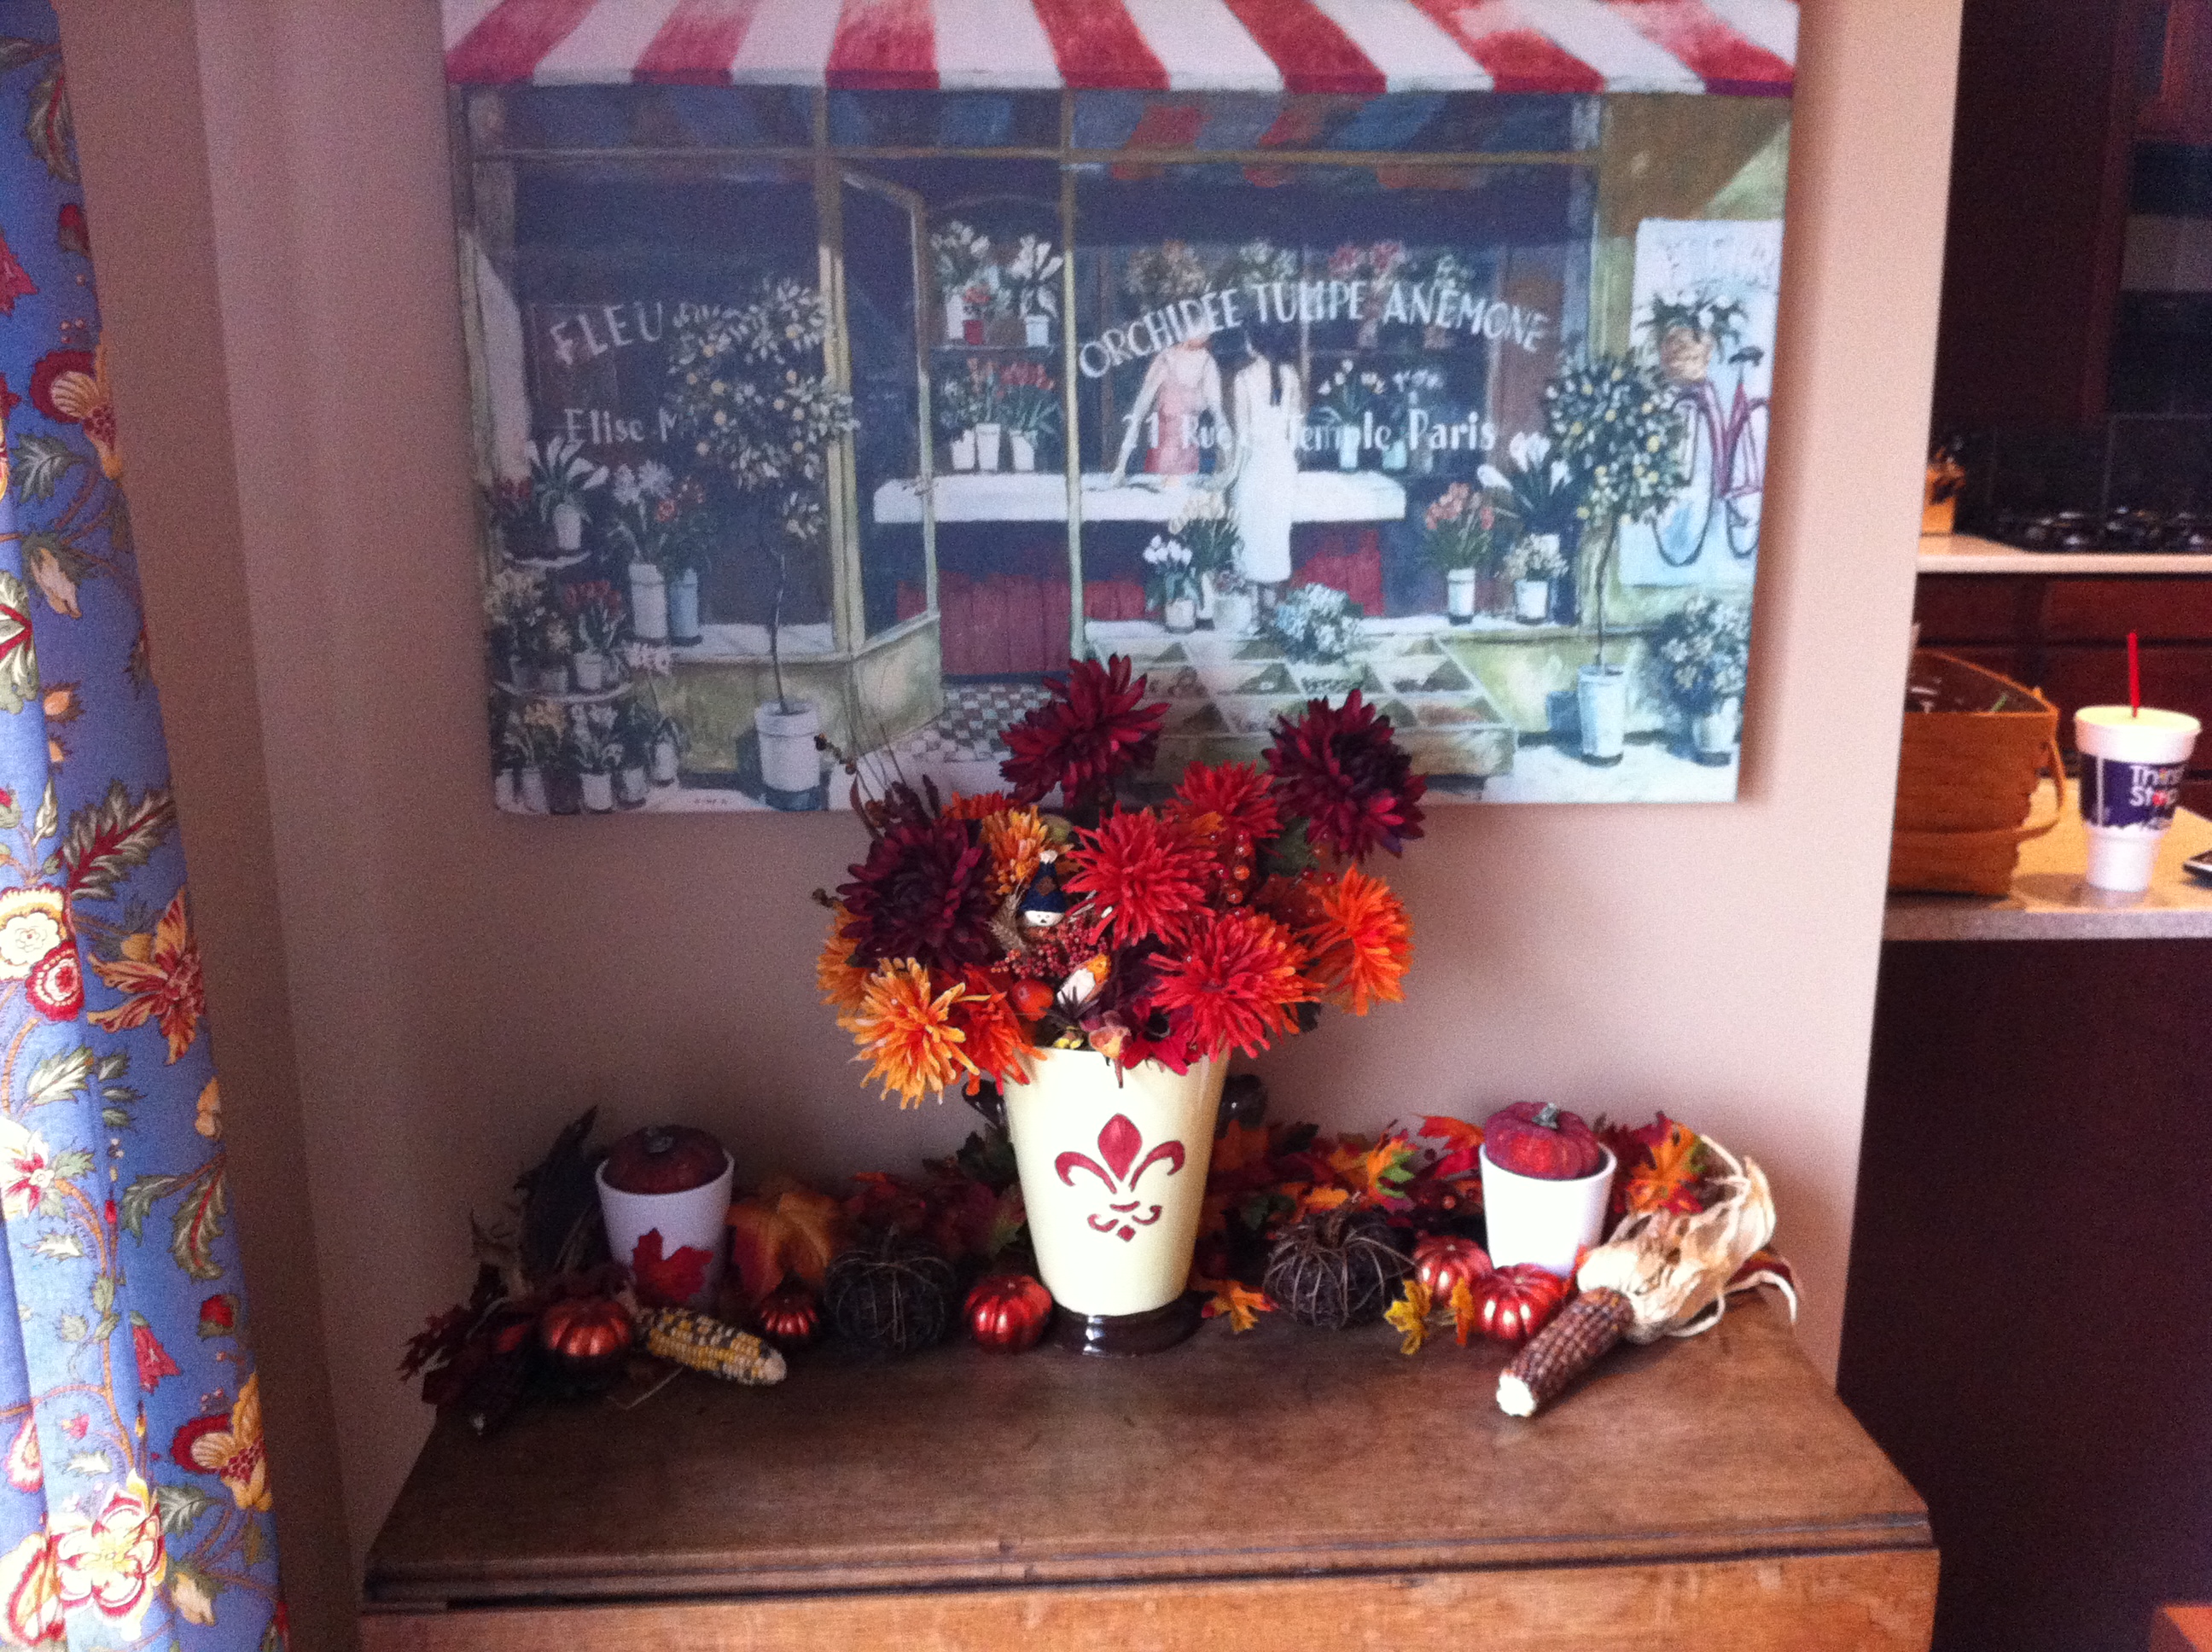
- Vase take one. The Fleur de Lis is crooked bc I painted it that way. You should see the back, it’s a hot mess.

-

- Foyer Table

-

- Drop Table arrangement take 2
-
- Pumpkins in tall skinny planters take 2

-

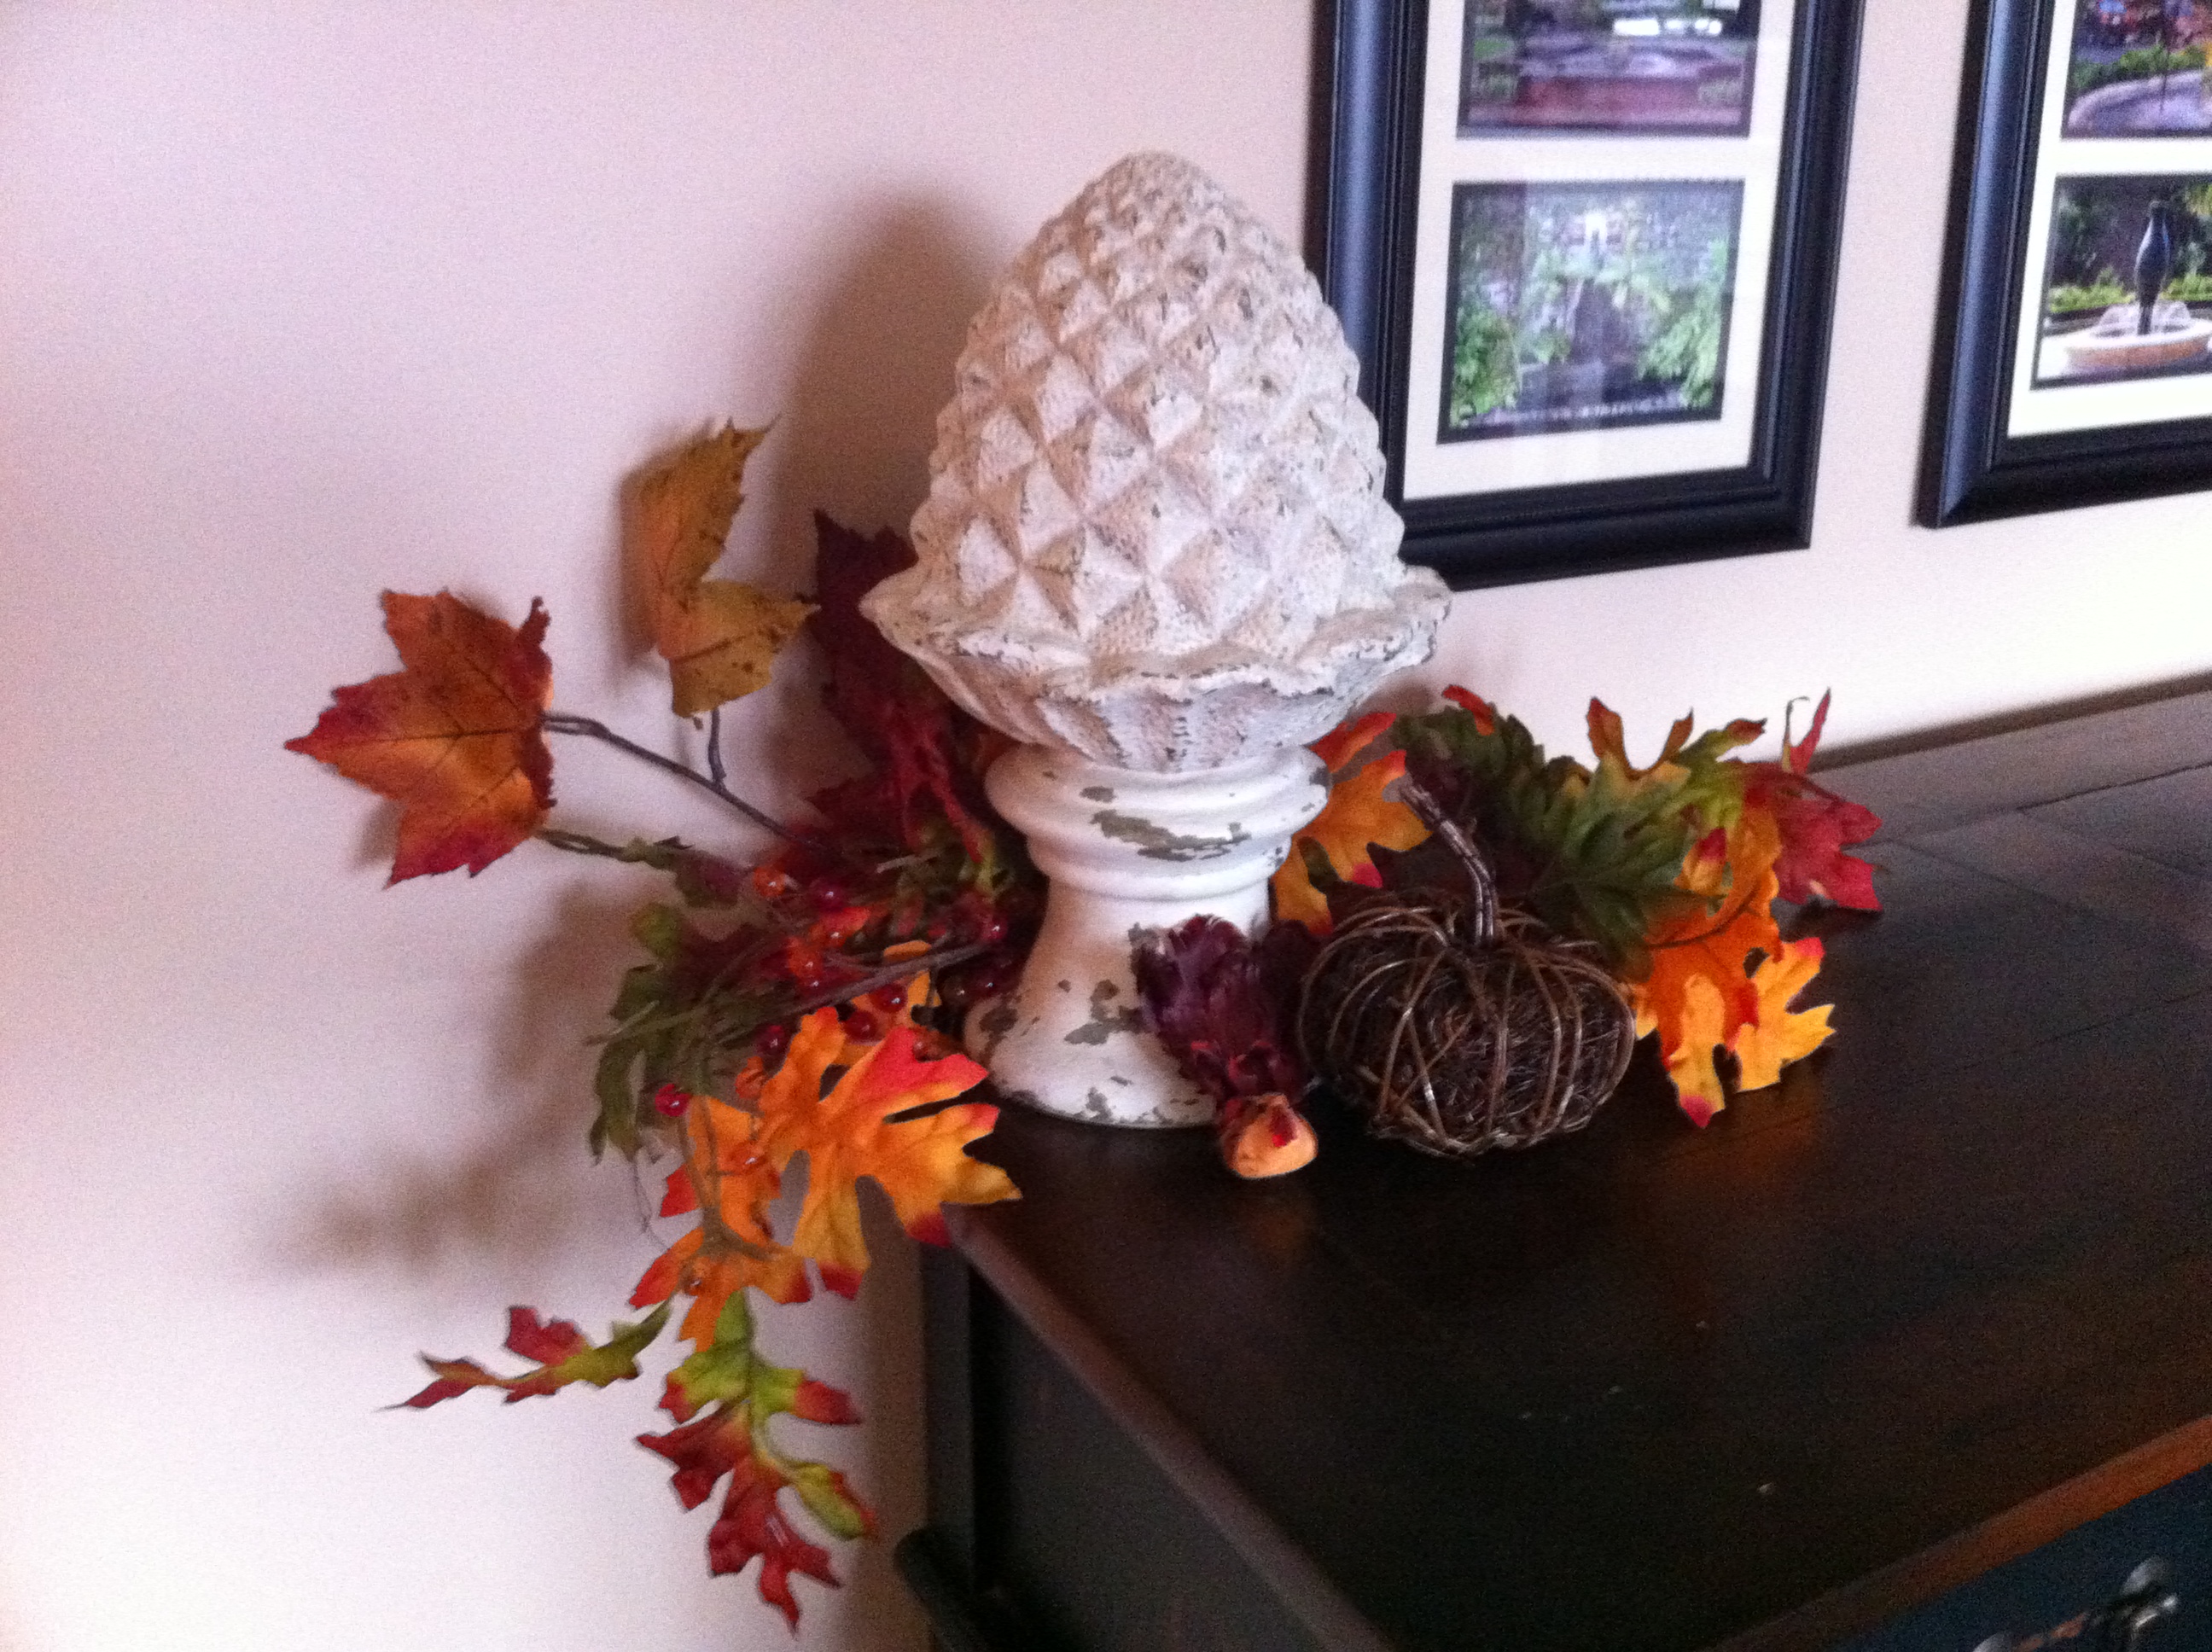
- I hardly ever get to display this Pineapple b/c I can’t find anyplace I like it long term. I think it looks pretty good here!
-

- Thanksgiving porch

-

- Thanksgiving tree closer

-

- Spider Pumpkin has morphed to Turkey Pumpkin
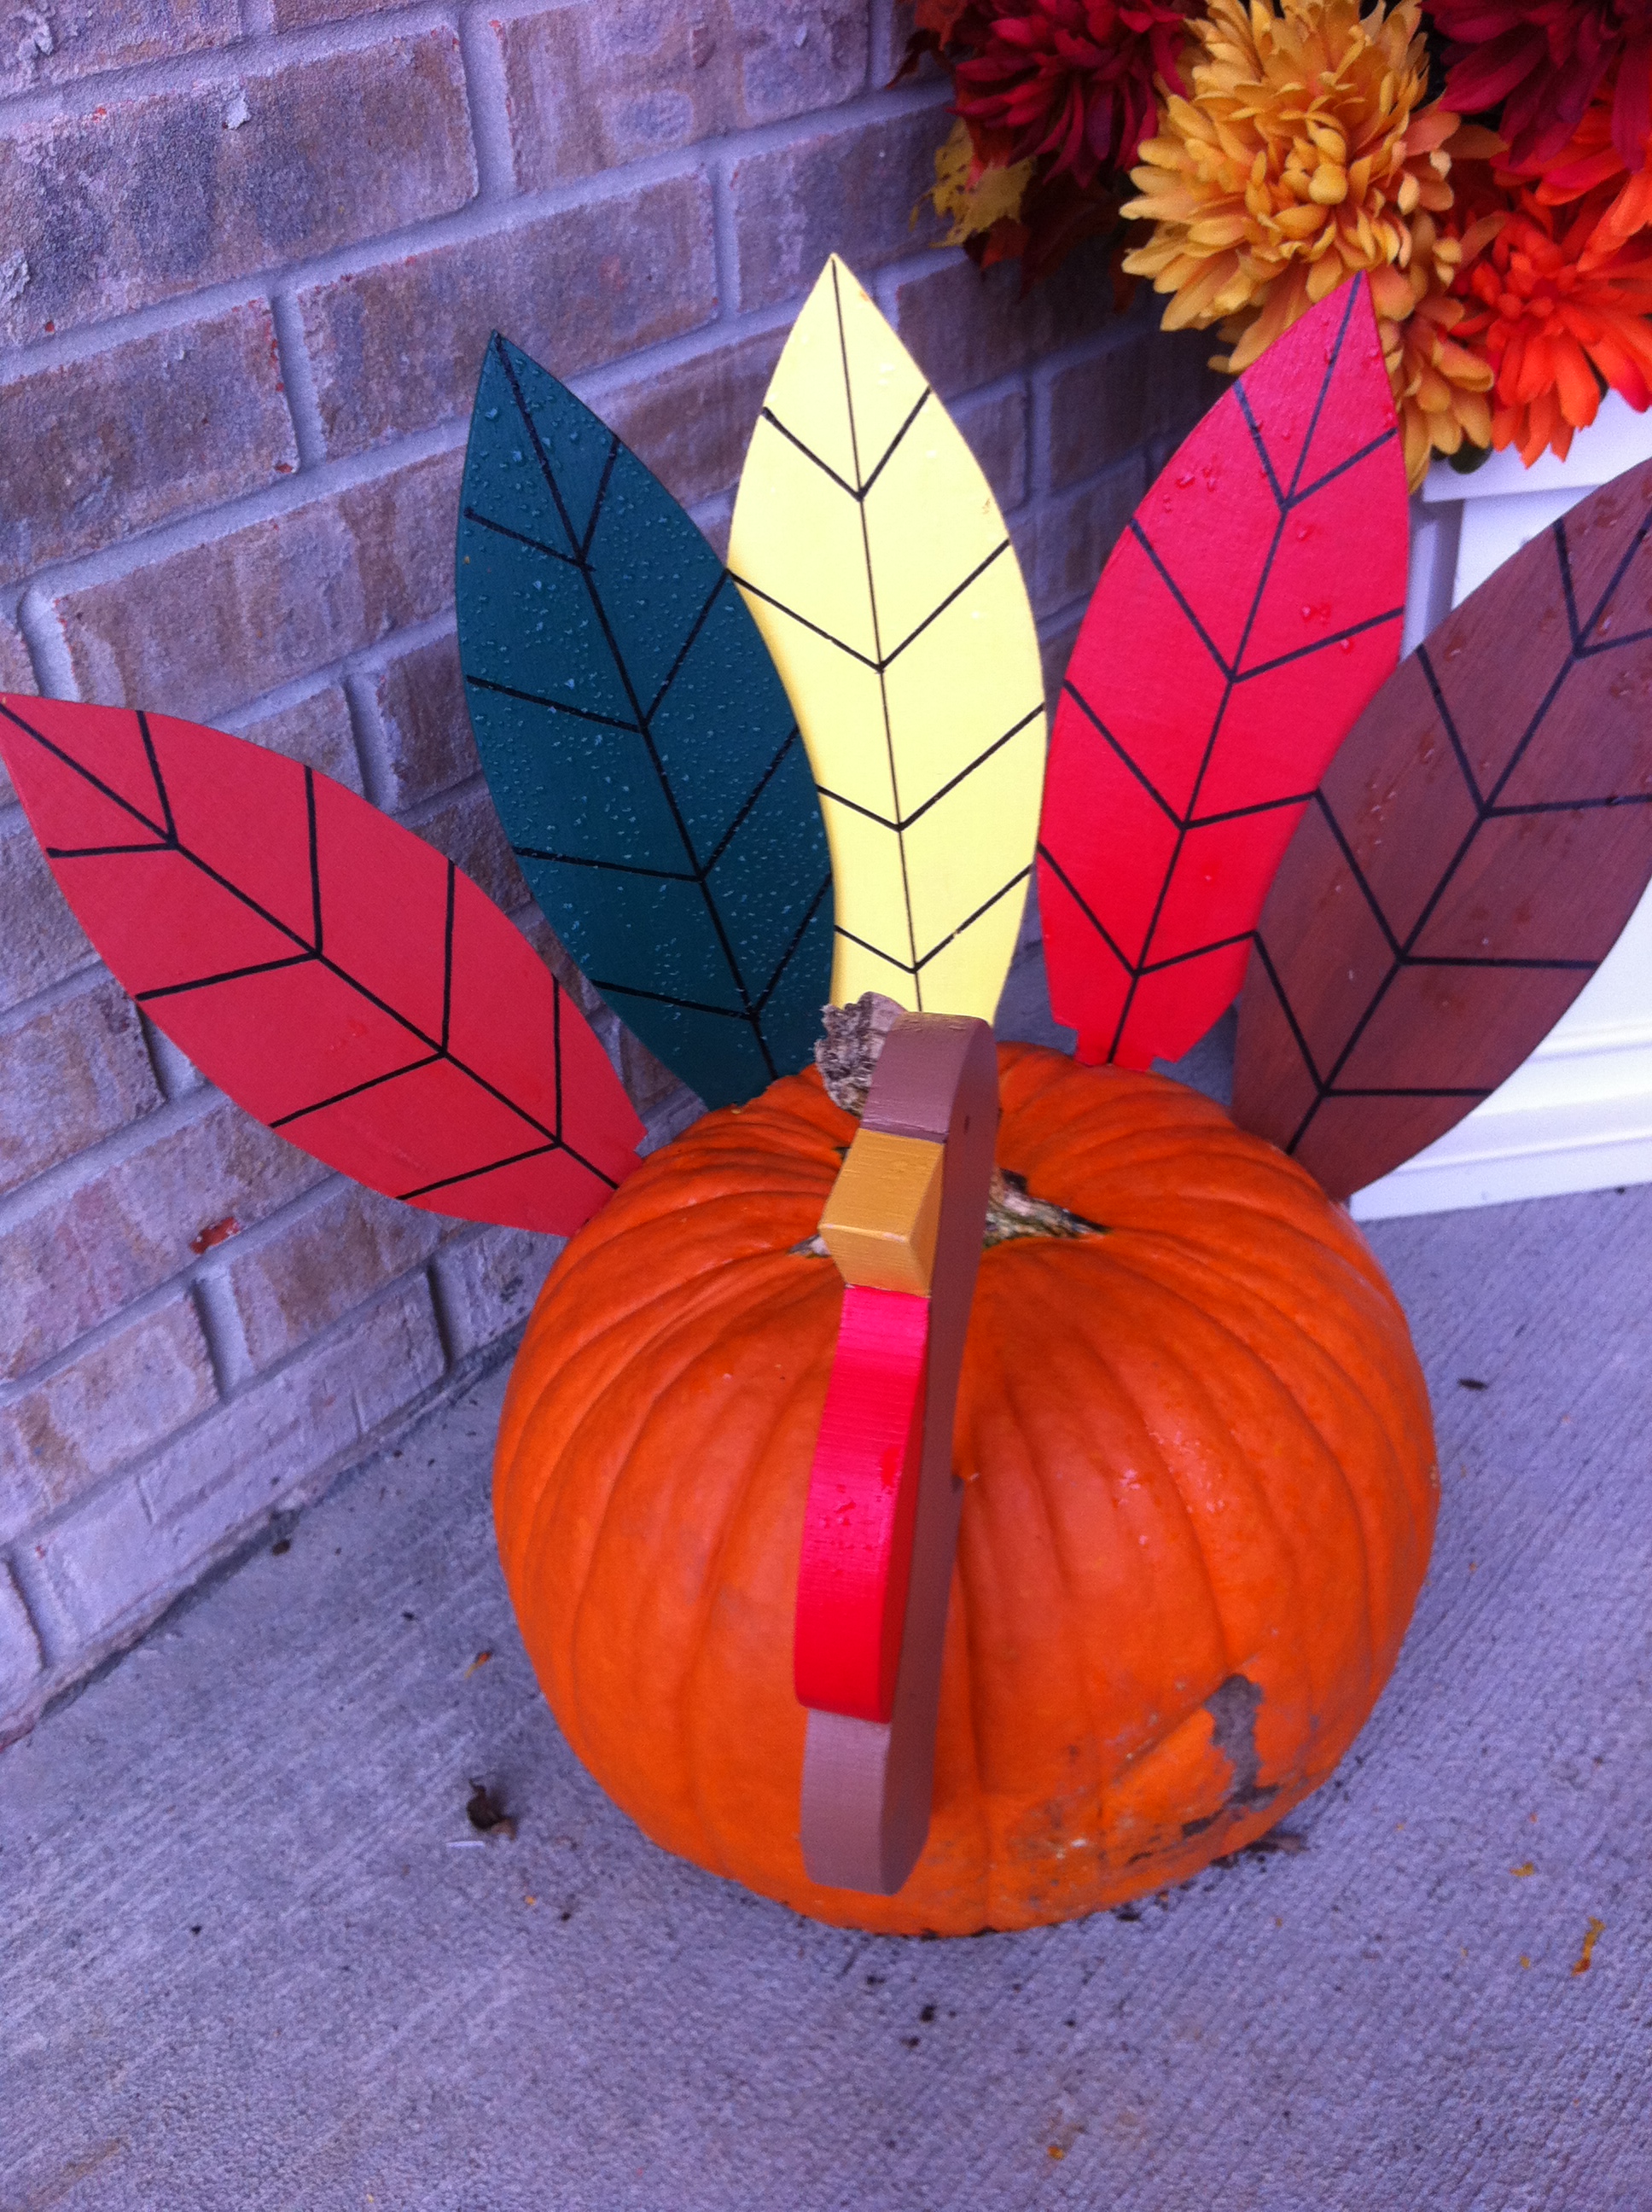
-

- My tiny little turkey

Apples and Sausage; Apple, Pear, Sausage Pancake
Posted: 2011/10/28 Filed under: Cooking | Tags: Apple, Bisquick, Bob Evans, Breakfast, Brown sugar, Cooking, Dinner, Fuji, Granny Smith, Pancake, Sausage Leave a comment
Apple, Pear, Sausage Pancake
This cooking post covers two meals I made in the last couple of weeks. We have been really busy both at work and home so Brinner aka Breakfast for Dinner has made a reappearance in our menu planning. By menu planning I mean what do I make when I am standing in the kitchen at 5:30 or 6:30 or 7:30 trying to decide what we are having for dinner.
Apples and Sausage is a meal from my childhood. It is just that, Apples and Sausage!
1 pound roll of Sausage, we use spicy.
Let’s talk about the Sausage. You MUST USE BOB EVANS! You must use Bob Evans because throughout the years The Husband and I have made a lot of things with rolled sausage. And Bob Evans not only tastes the best, especially if you like spicy, but it is the leanest. You can cook an entire 1 pound roll of Bob Evans Sausage in your pan and not have an ungodly greasy mess to deal with after. You will also have just enough sausage grease left over for frying your apples. If you have a brand you are loyal to, by all means don’t let me sway you. But Bob Evans in the best.
When we were growing up, my Mom sliced the sausage into patties and fried it that way. So for this meal that is what I did. Plus I didn’t know how down MiniMe and the Destroyer were going to be about this. They miss out on so much good food because of their nasty kiddie attitudes about it and some nights I am just not up to fighting the battle.
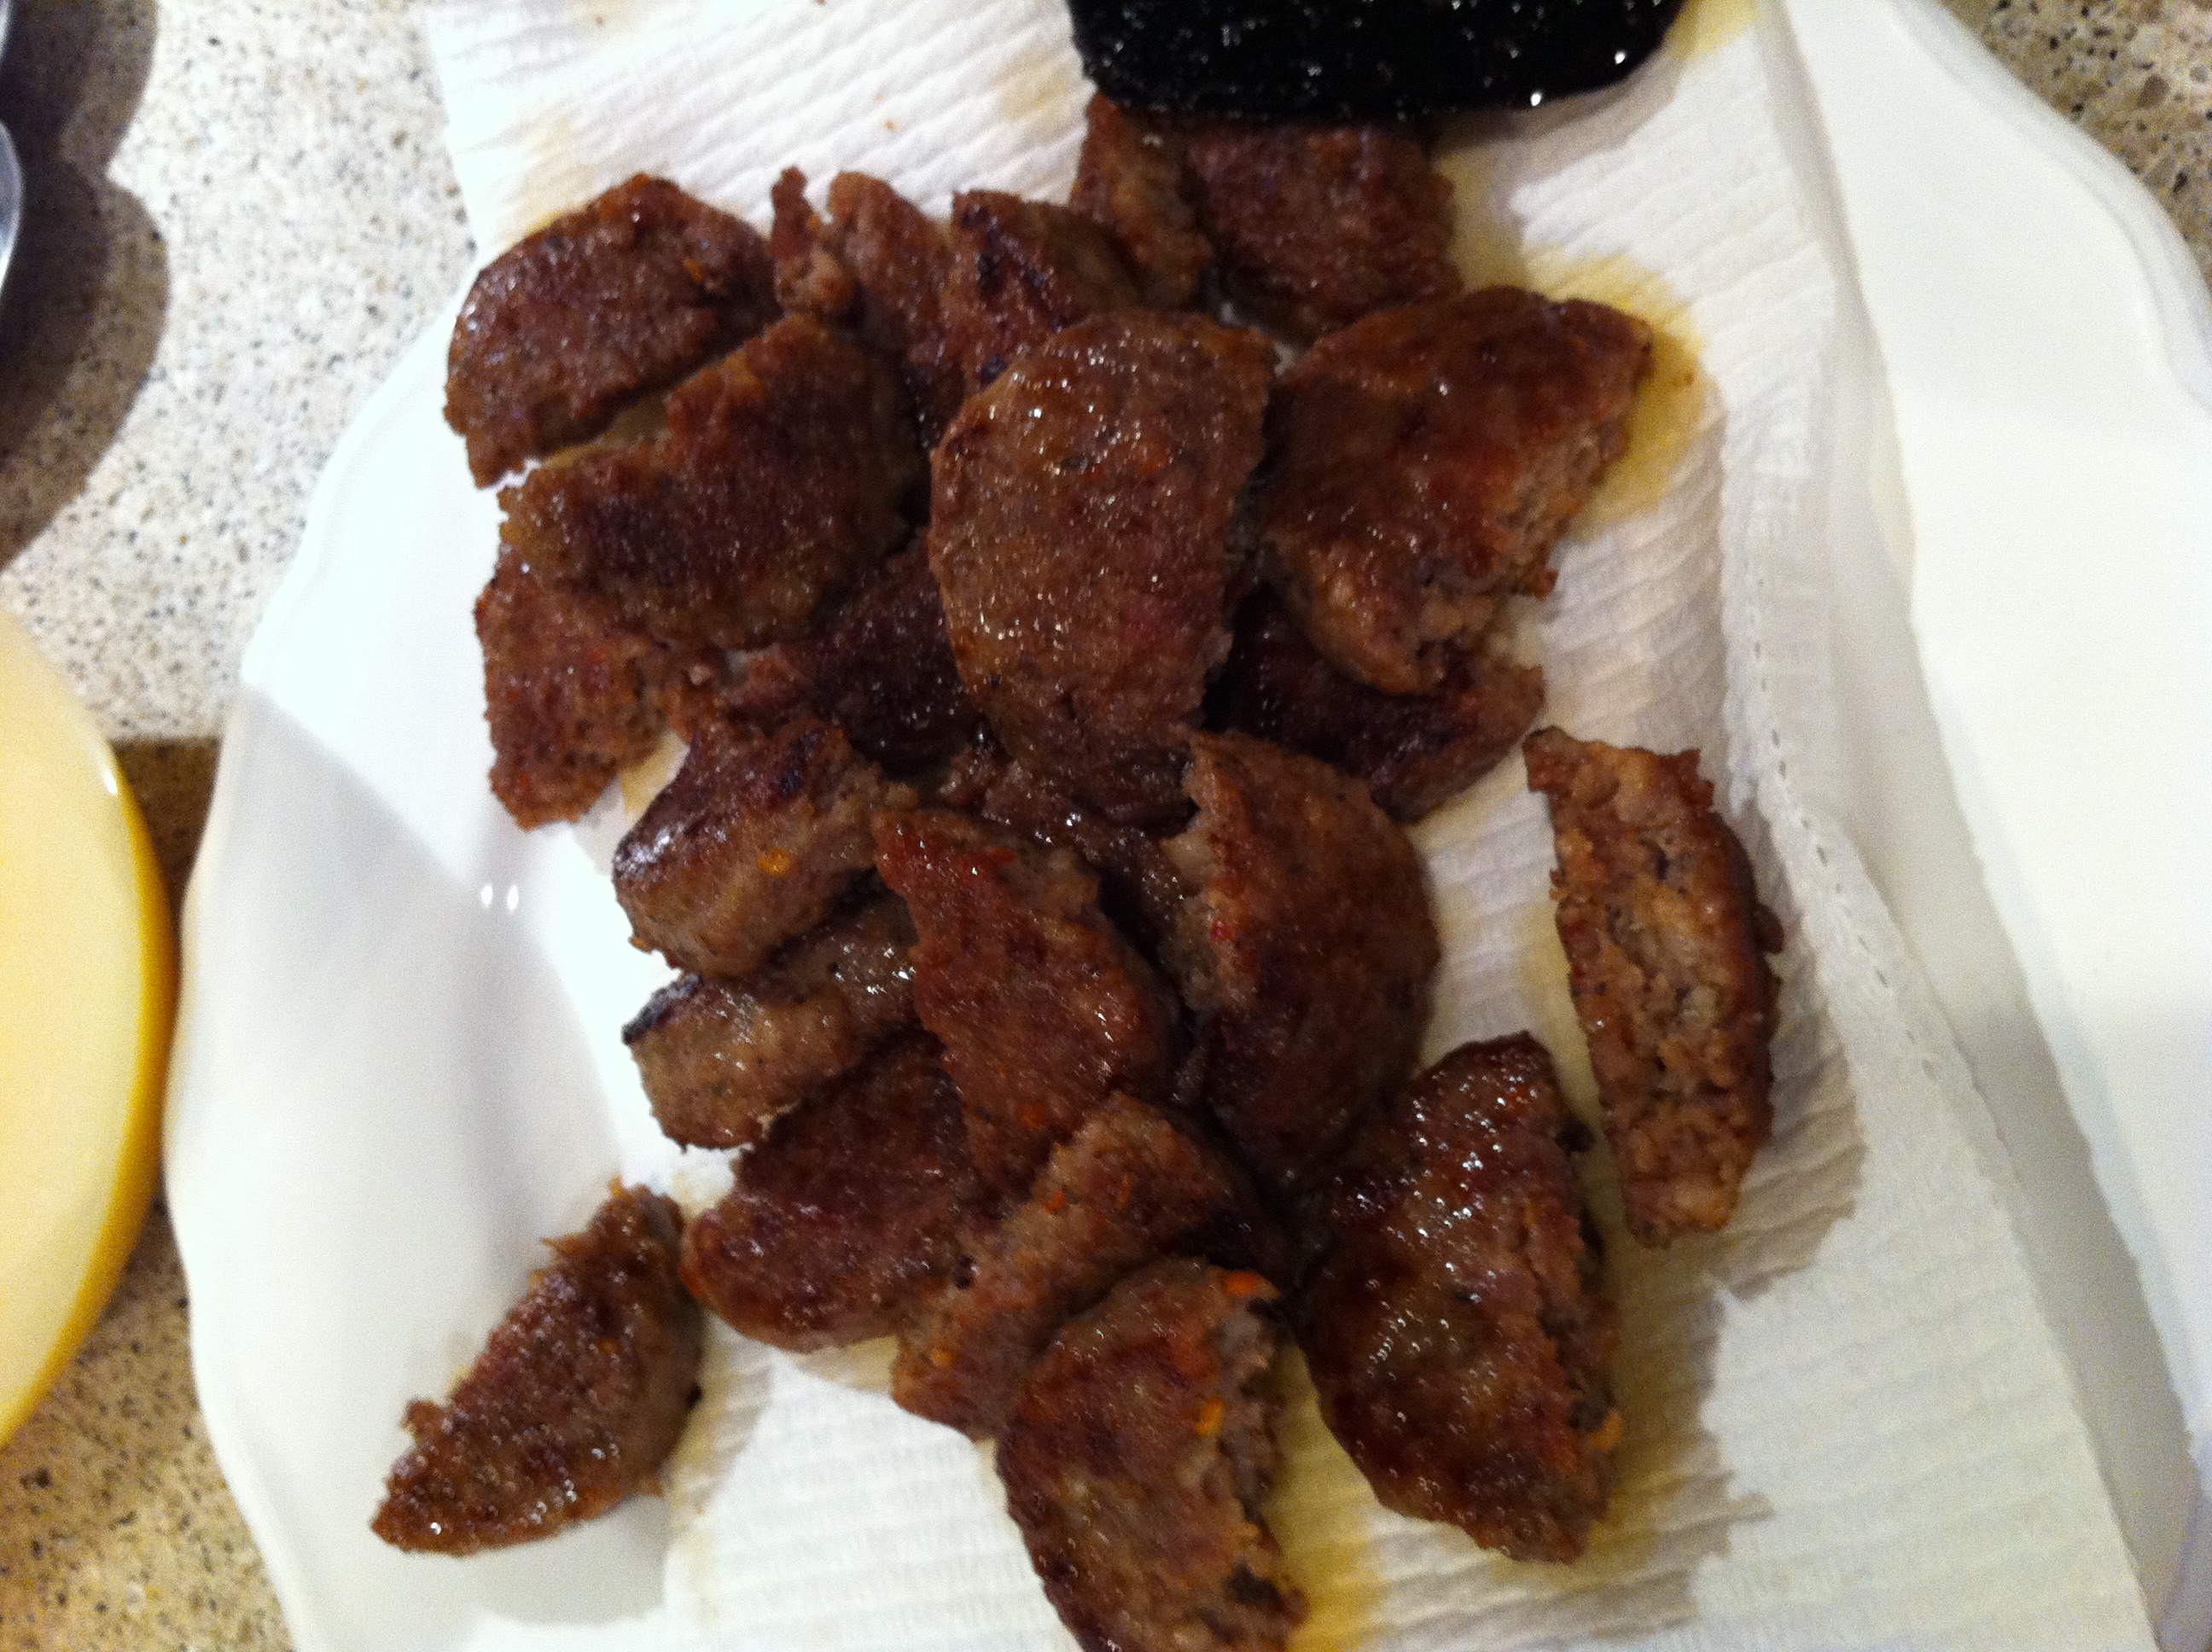
Brown on medium to medium low until just about done on both sides. I usually not only press them down with my spatula when flipping, but also end up cutting them in half before they come out. Hi, my name is Lola and I am OCD about underdone sausage. I like my sausage quite brown. Remove all of it from a pan and set aside on paper towels to drain.
2-6 apples of your choice. We like Gala, Granny Smith, Fuji, whatever really.
This is really a matter of your preference on amount and serving sizes. I core them and cut them medium thin. But you could dice them, or slice them really thin.
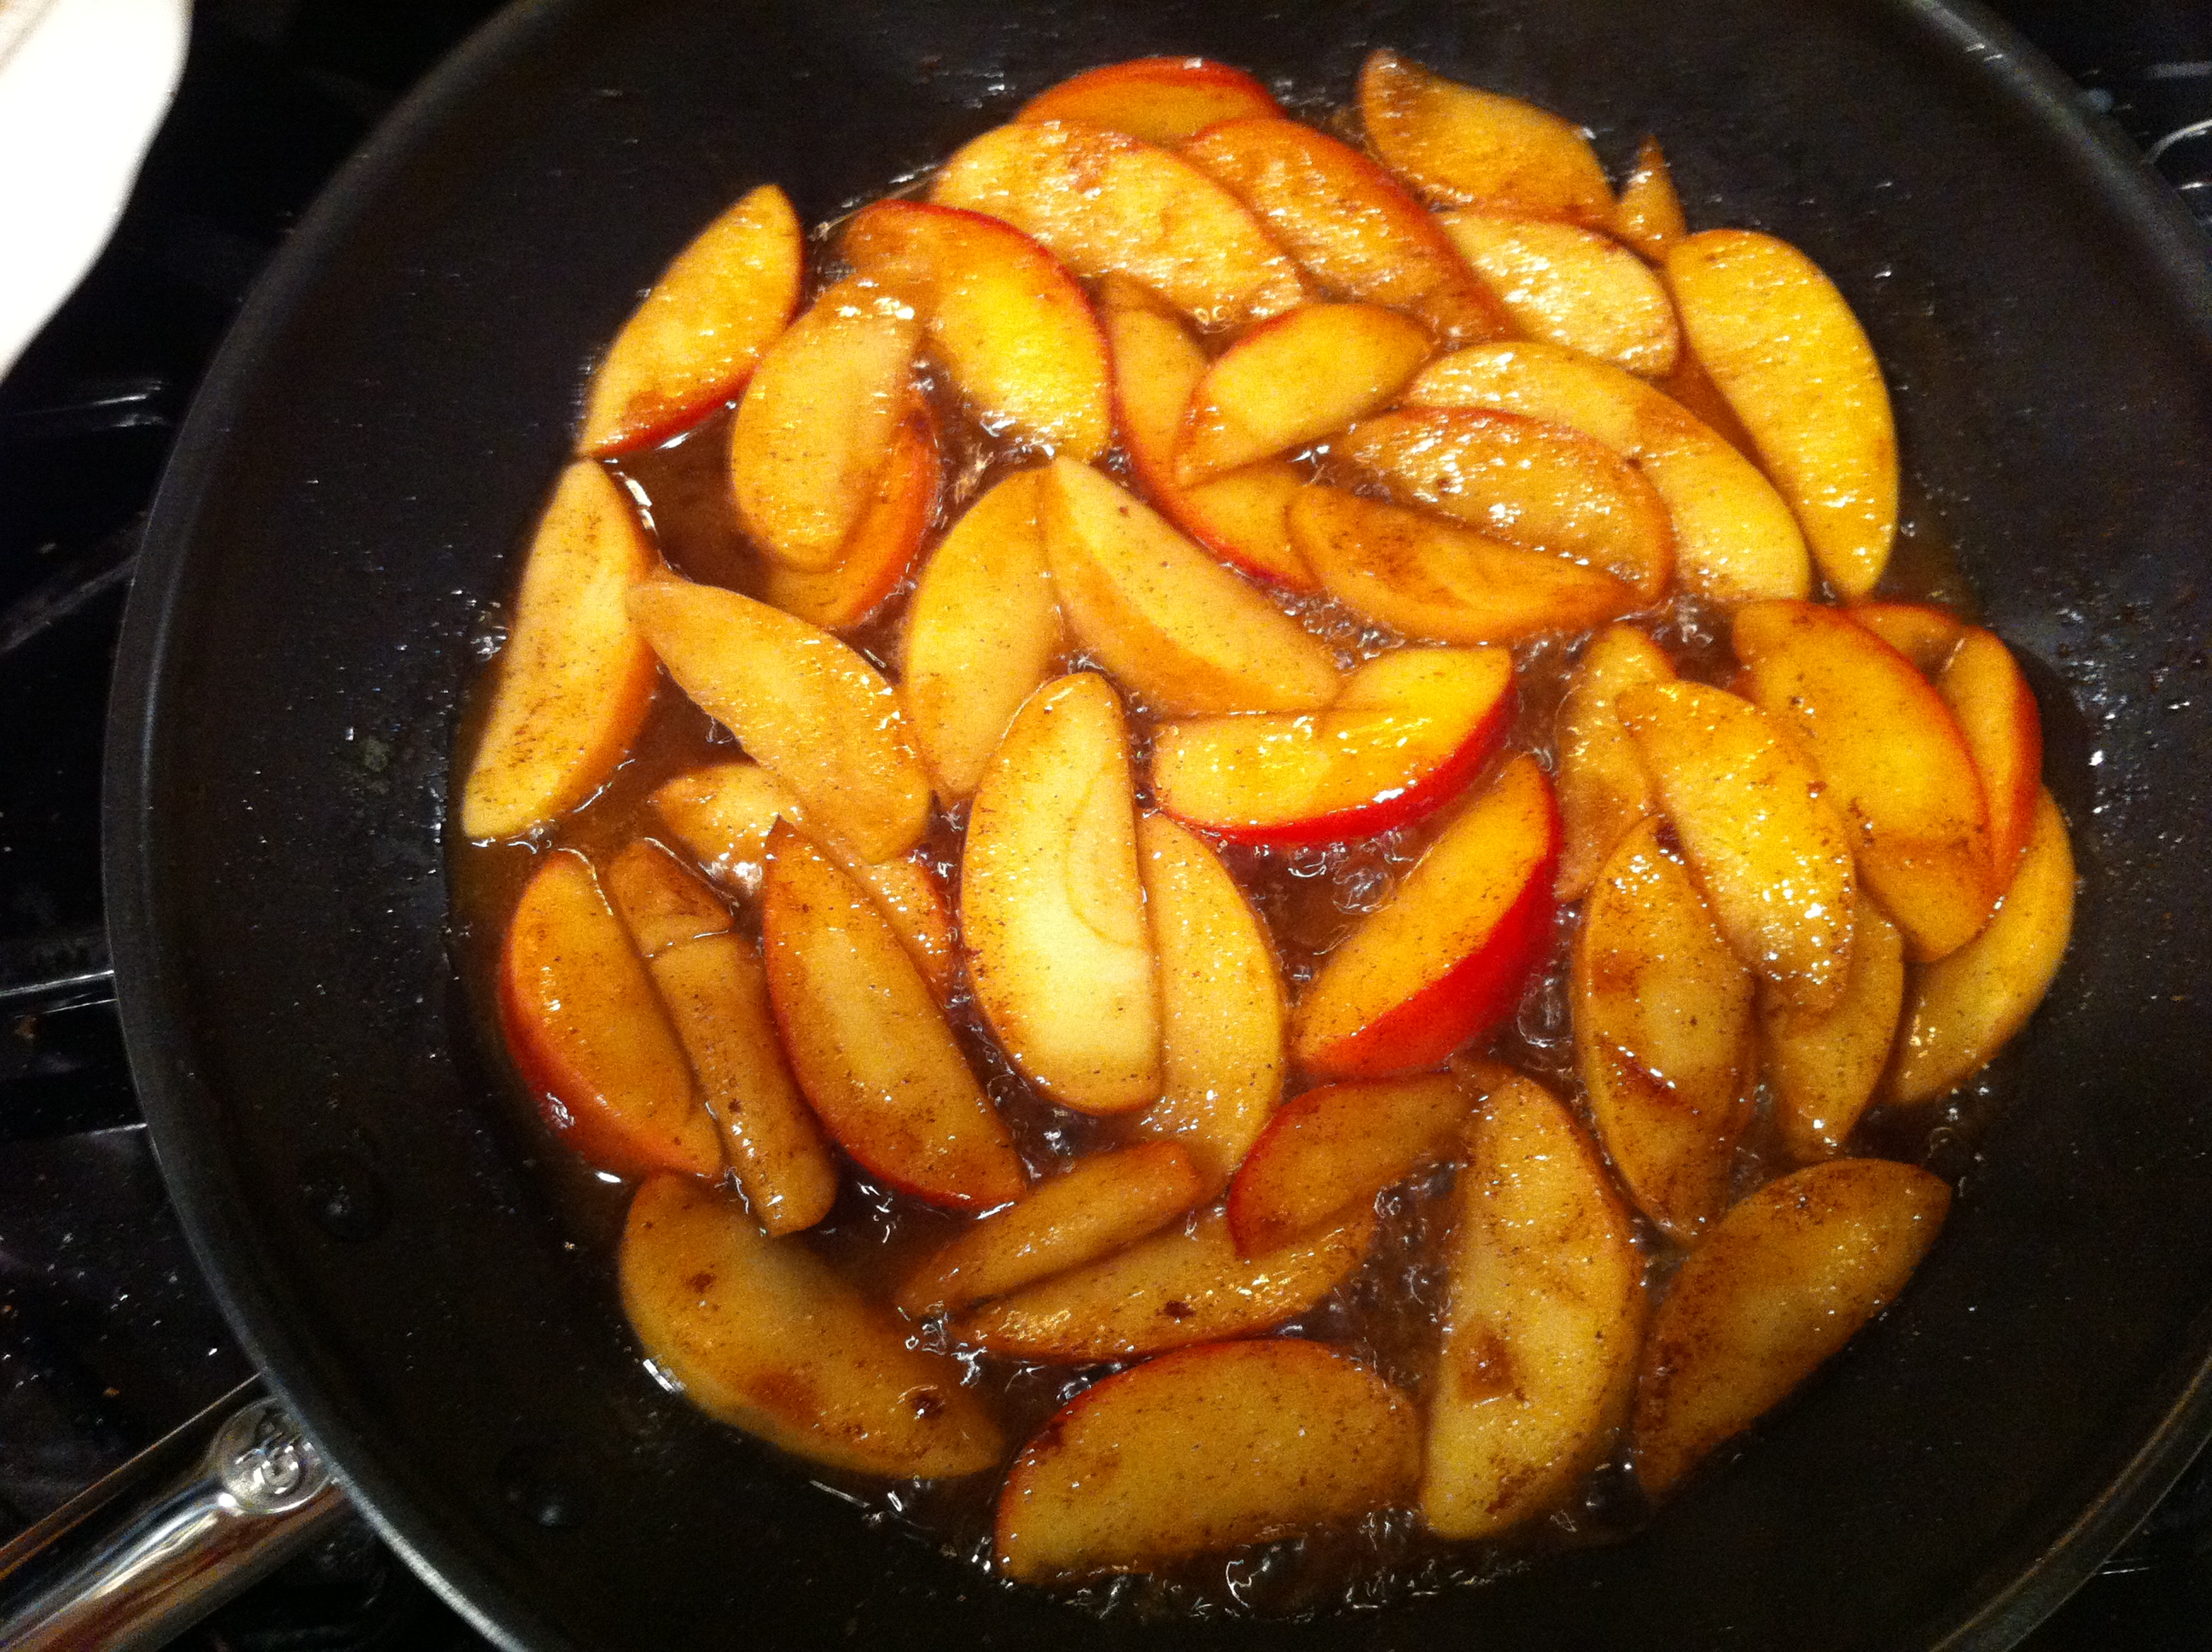
I dump them into the sausage grease and use a tiny bit of cider vinegar to deglaze the pan. You could also use water, but not too much unless you are going for mushy applesauce. You could also stir in a bit of butter. As they start to heat up and sweat, sprinkle on the brown sugar and cinnamon. I used roughly 2-4 TBS of brown sugar and just dusted the cinnamon to taste. Stir well to incorporate. You can add more water if you need to, but I try to keep it to a minimum so I can get to the glazed syrupy sauce before the apples get too mushy. Let them simmer on medium low to low for about 10-15 minutes or until at your desired apple tenderness and sauce thickness.

Brinner for the winner
Growing up my mom put the sausage back in the pan to get coated by the mixture and served it all together. Since the kids were being served this we ate it side by side with the rest of our Brinner that night. It was leftover B’s&G’s, the rest of the hash browns in the freezer, scrambled eggs and cheese, Sausage and Apples, and biscuits. No one went hungry but not everyone ate the same thing. And the kitchen was a freaking mess.
Apple, Pear, Sausage Pancake
OK first of all this was a fluke. I just kind of came up with it on the fly to use the leftover sausage for the next Brinner meal.
I diced up the remaining sausage patties and set them aside. I cut up apples and pears in a big dice and put them in the pan with enough water to cover the bottom of the pan. I was in a hurry and didn’t have 20 minutes to cut them bigger or simmer them like above. I threw in teh brown sugar and cinnamon right at the beginning, set it on medium high and kept an eye on it while I cooked batch after batch of pancakes. Near the end I tossed in the small diced sausage and let it hit in the mixture and the flavors blend. I was making the kids pancakes using Bisquick mix and I mixed up a double serving. When you do this the batter starts to thicken, because it was a double batch by the end the batter was really gooey. As the Apple, Pear, Sausage mixture got done and I neared the end of the pancake batter, I became inspired.
What if I made one big fluffy apple, pear sausage pancake??
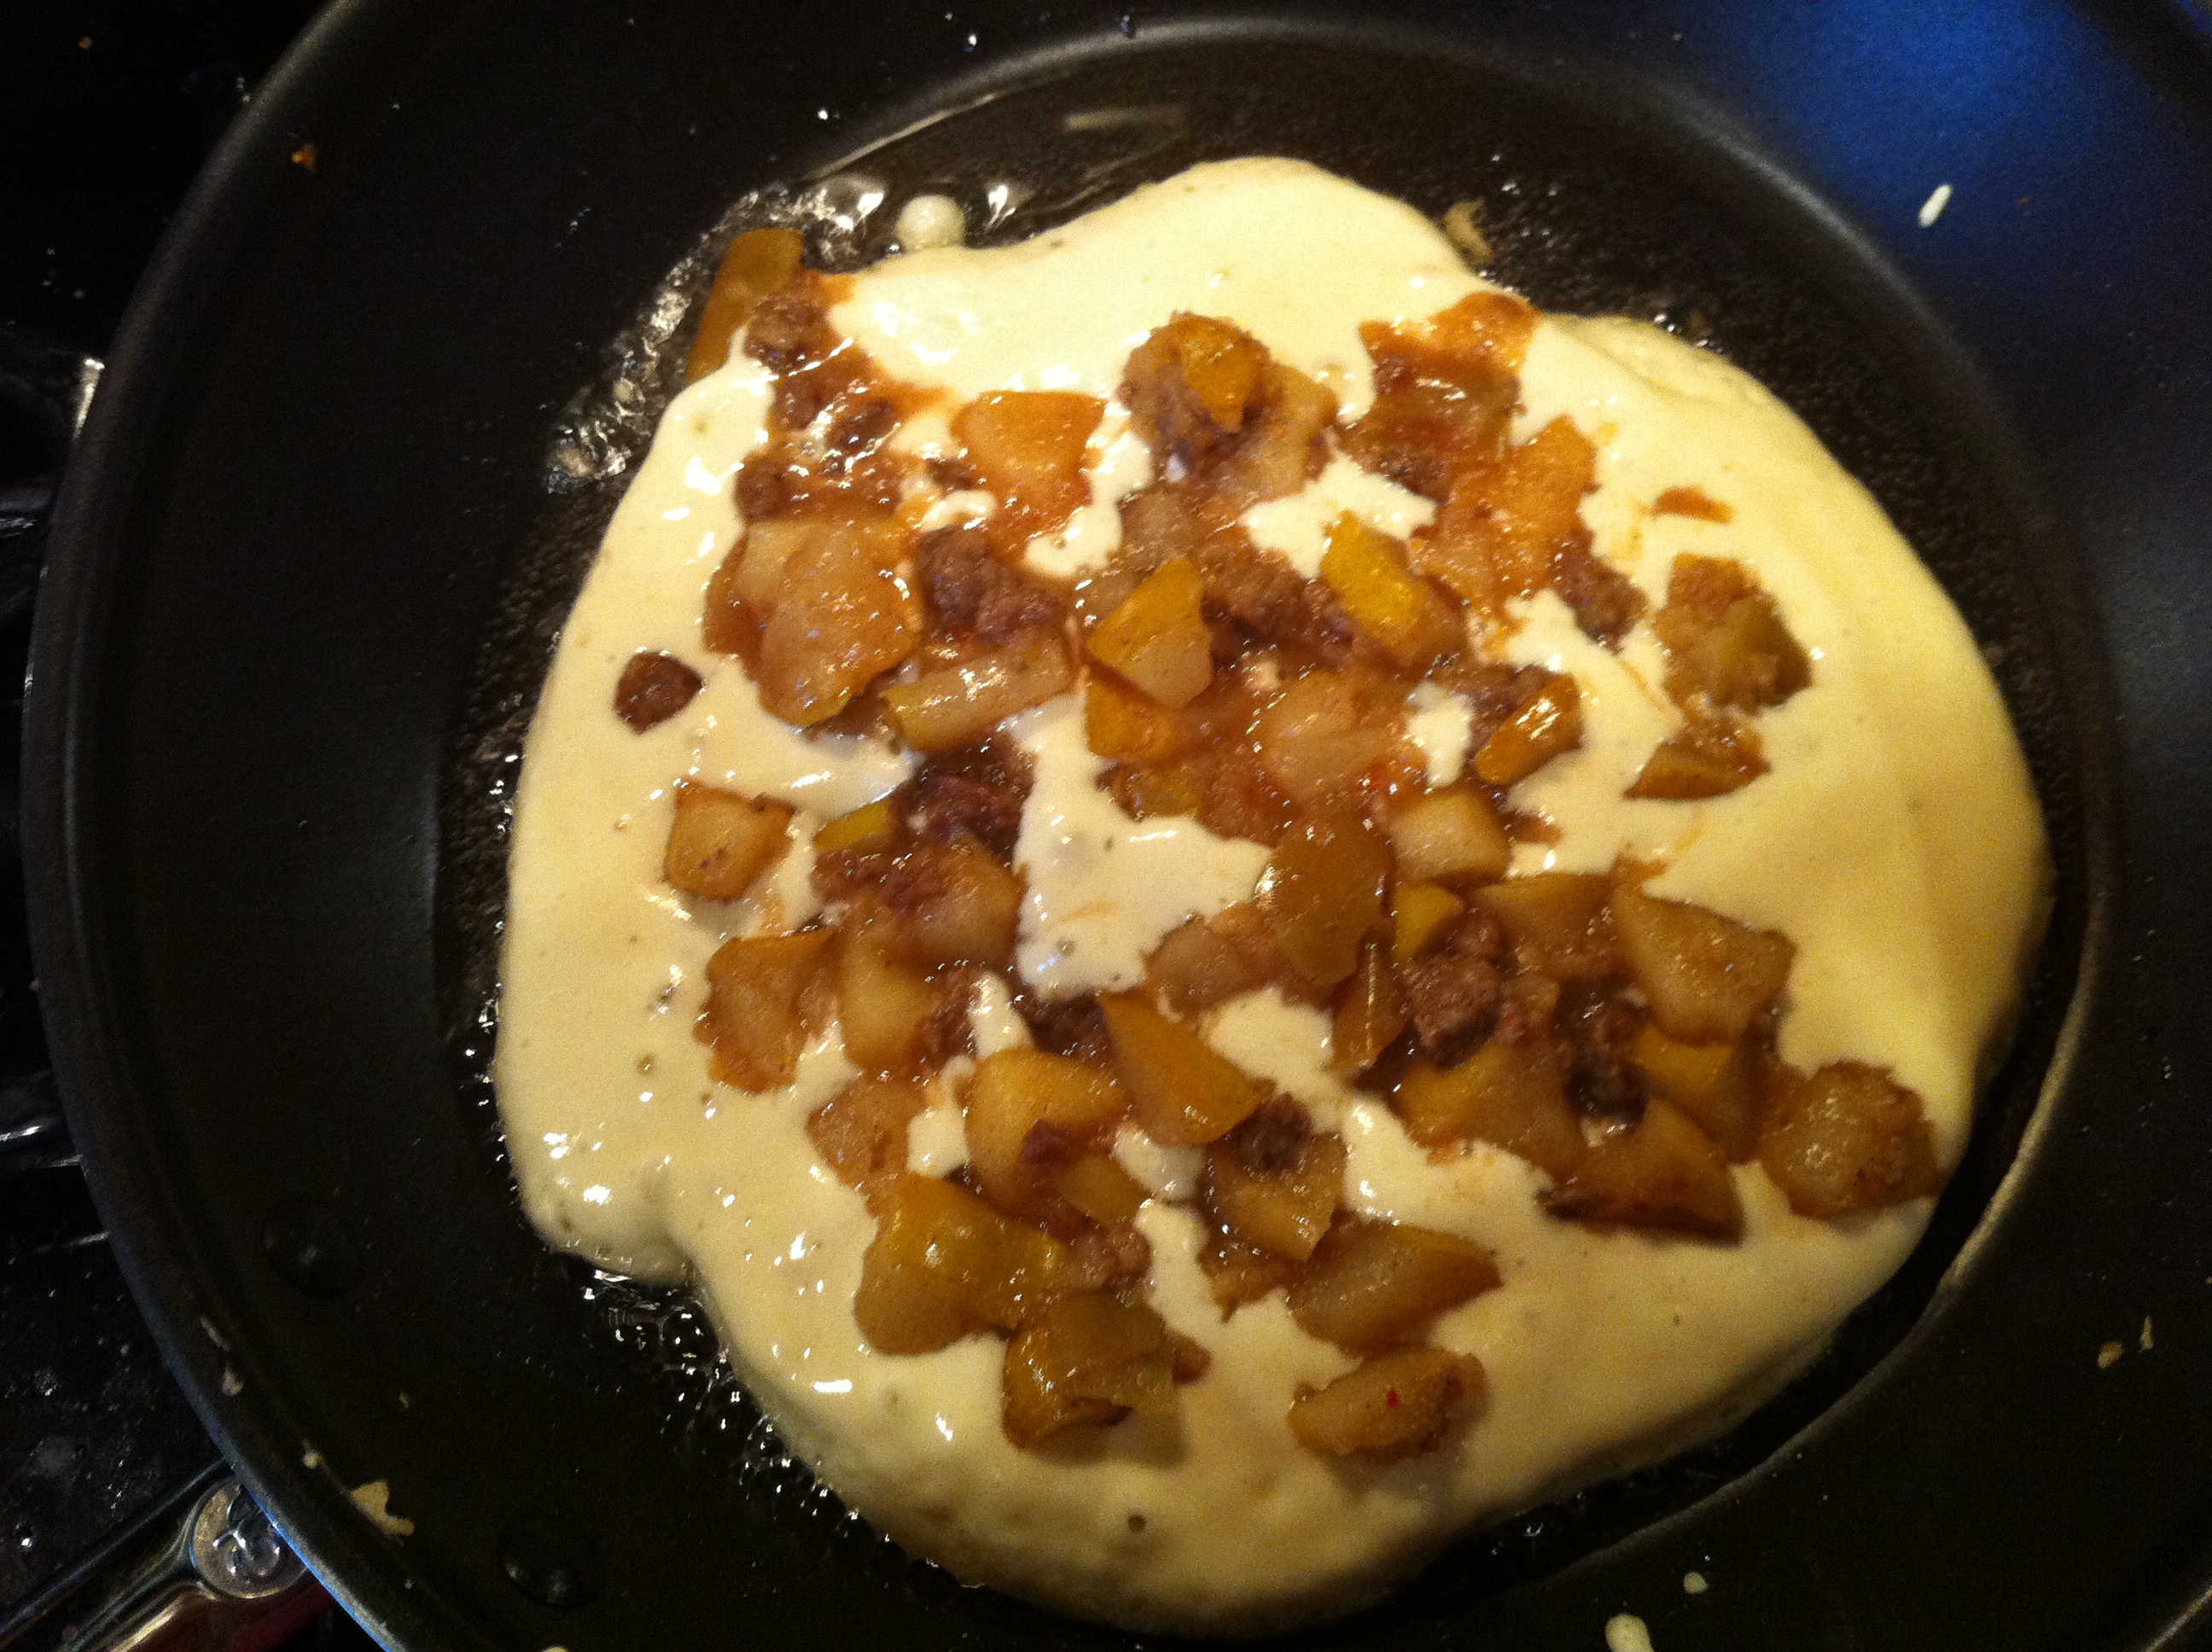
So I put a little oil in my pan and dumped the rest of the batter in to coat the whole pan. It was thick and slow moving batter…perfect! I waited a few seconds for the bottom to set up a smidge then spooned a ton of the mixture, sauce ( but not too much) and all on to the uncooked top. I then waited for the big pancake to set all the way up on the bottom and somehow managed to flip it without breaking the whole thing. hearing the sizzle on the flip side was mouth watering. I wondered if I’d get any crispy caramelly apple bits on the bottom side. It was super close to nirvana but I will have to tinker with the recipe to get it just where I’d like it.
It made a huge plate size pancake that The Husband and I split. Both kids tried it and The Destroyer even liked it.
Pics of both are below. I hope you enjoy my recipes, such as they are!
-

- Sausage patties browning

-

- Apples cut up

-

- Apples ready for spices

-
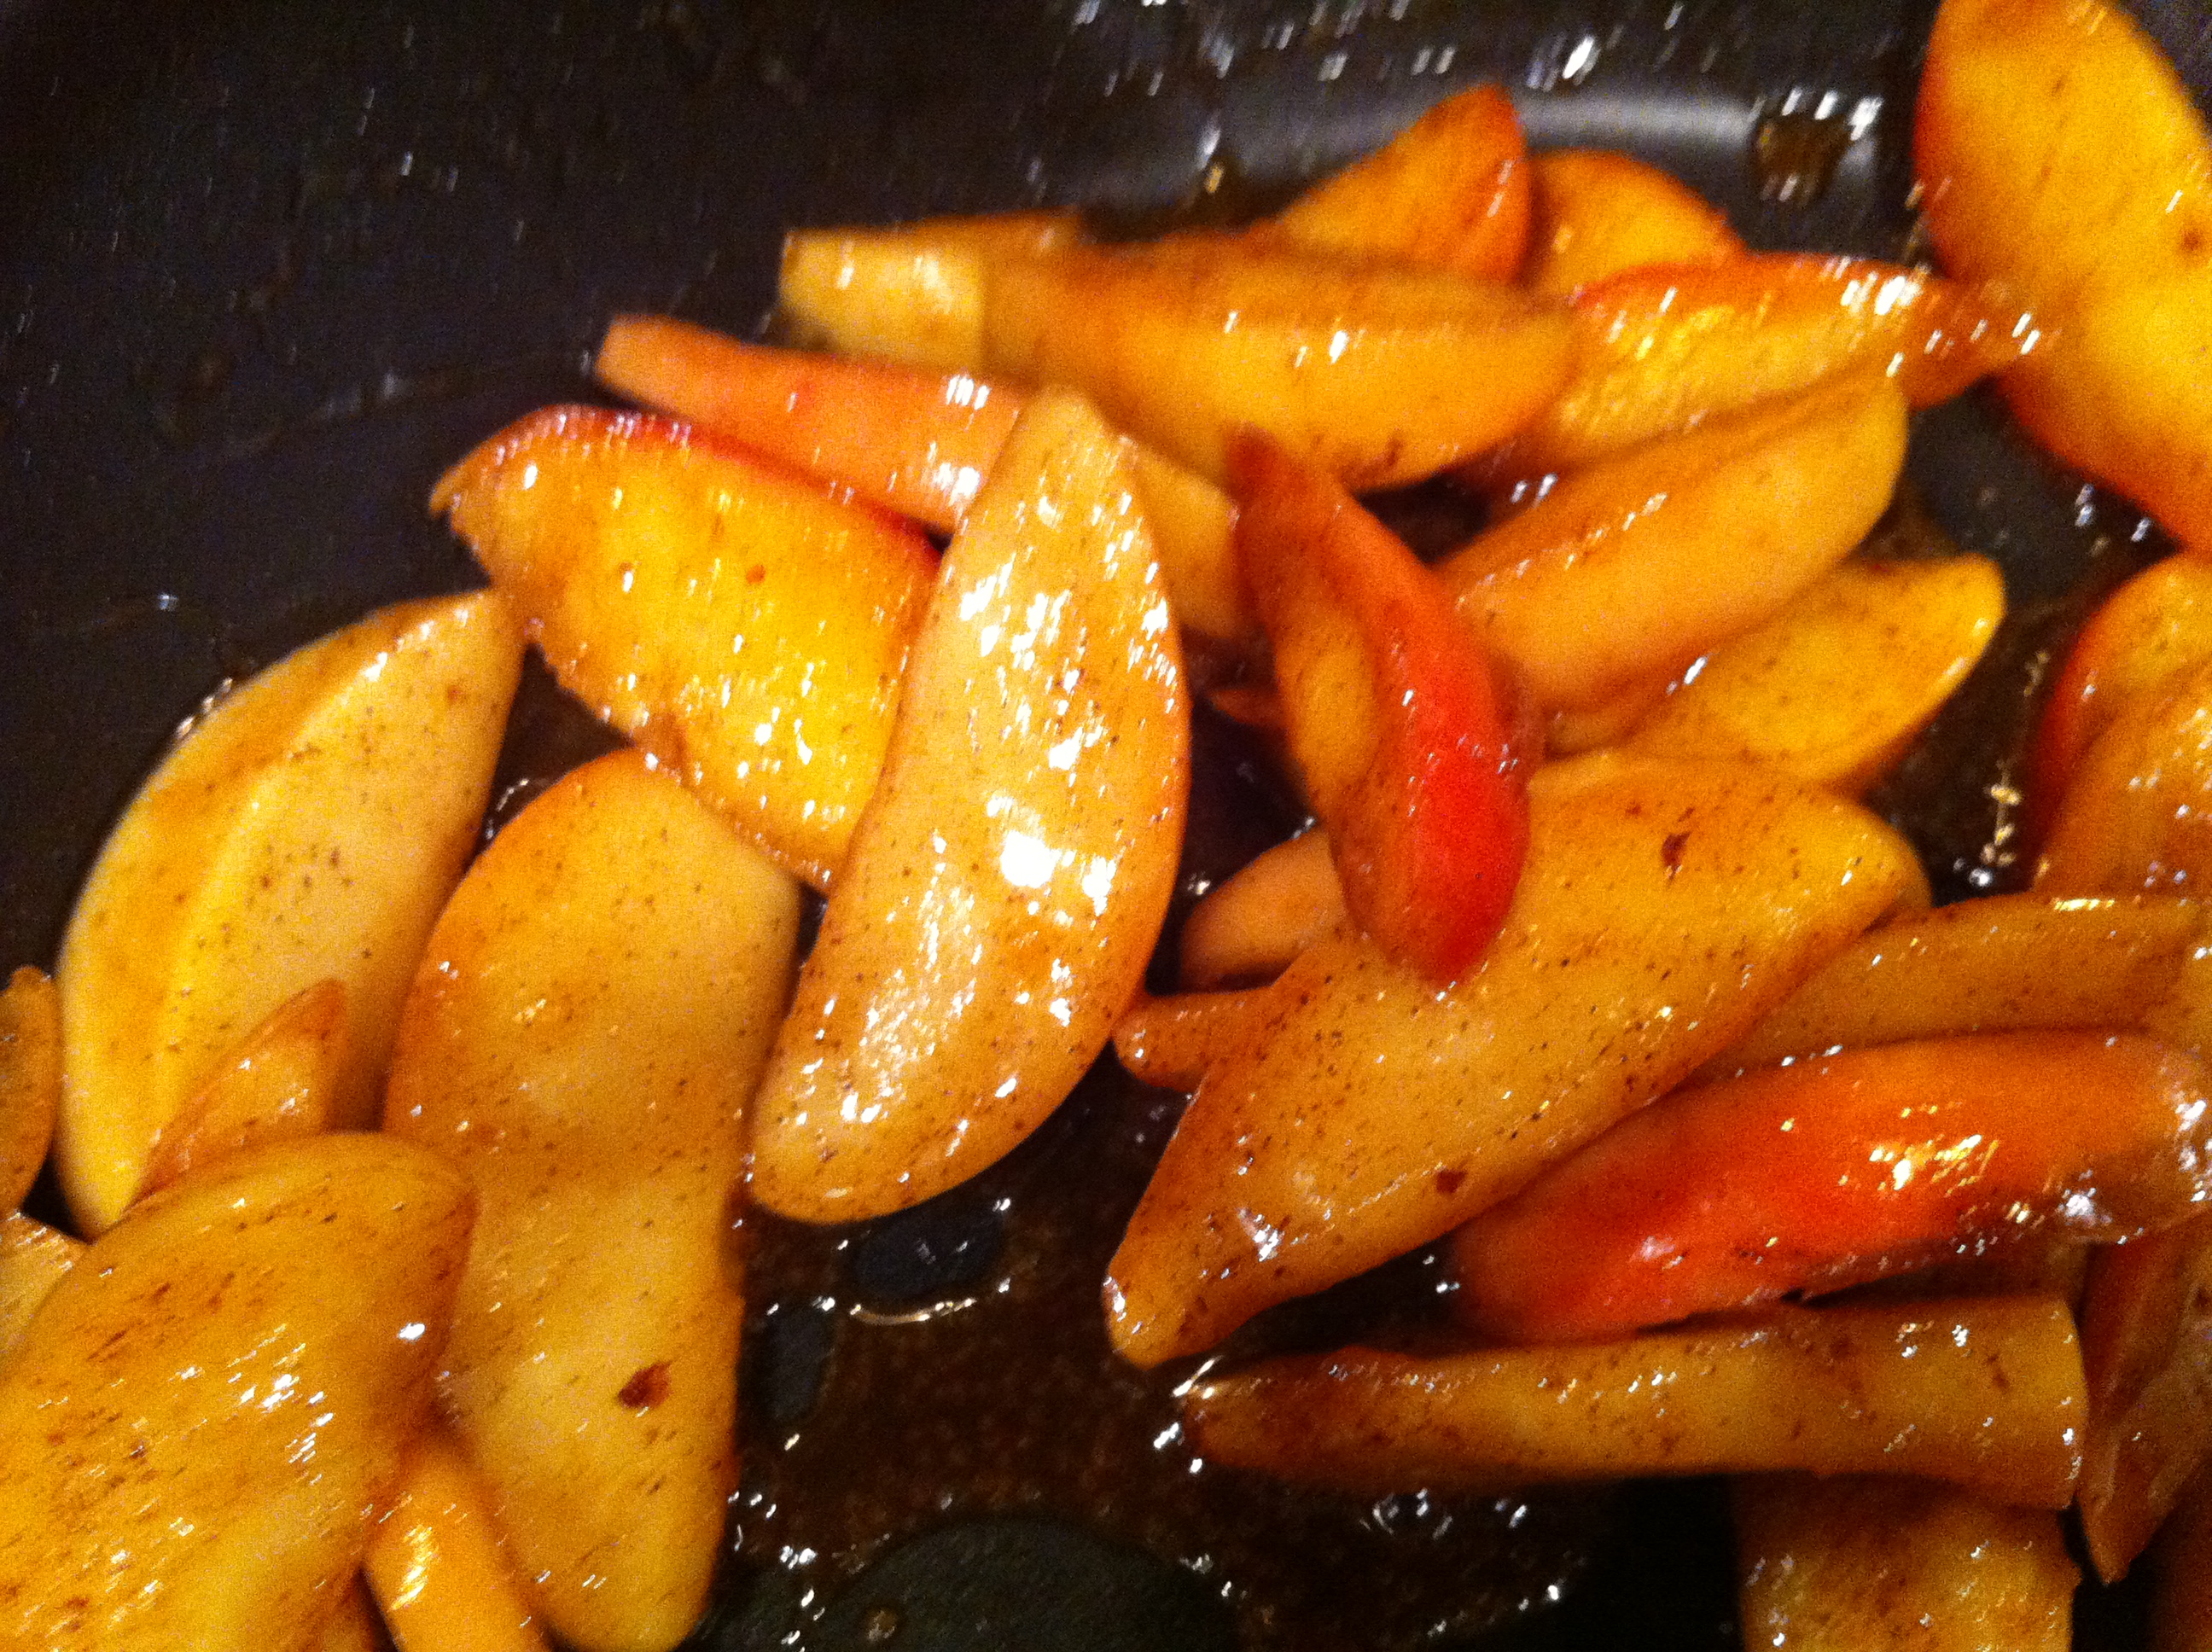
- Apples with Cinnamon and Brown Sugar

-
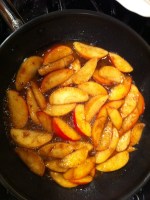
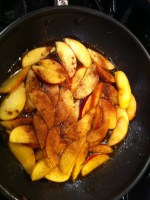
- Apples simmering
-

- Almost perfect, but could go longer if you like them really mushy
-

- Sausage patties cut in half and apples

-

- Brinner for the winner
-

- Pancake with Apple, Pear, Sausage mixture on top
-

- Apple, Pear, Sausage mixture in the pan

-

- Pancake Flipped

-

- Apple, Pear, Sausage Pancake


You must be logged in to post a comment.