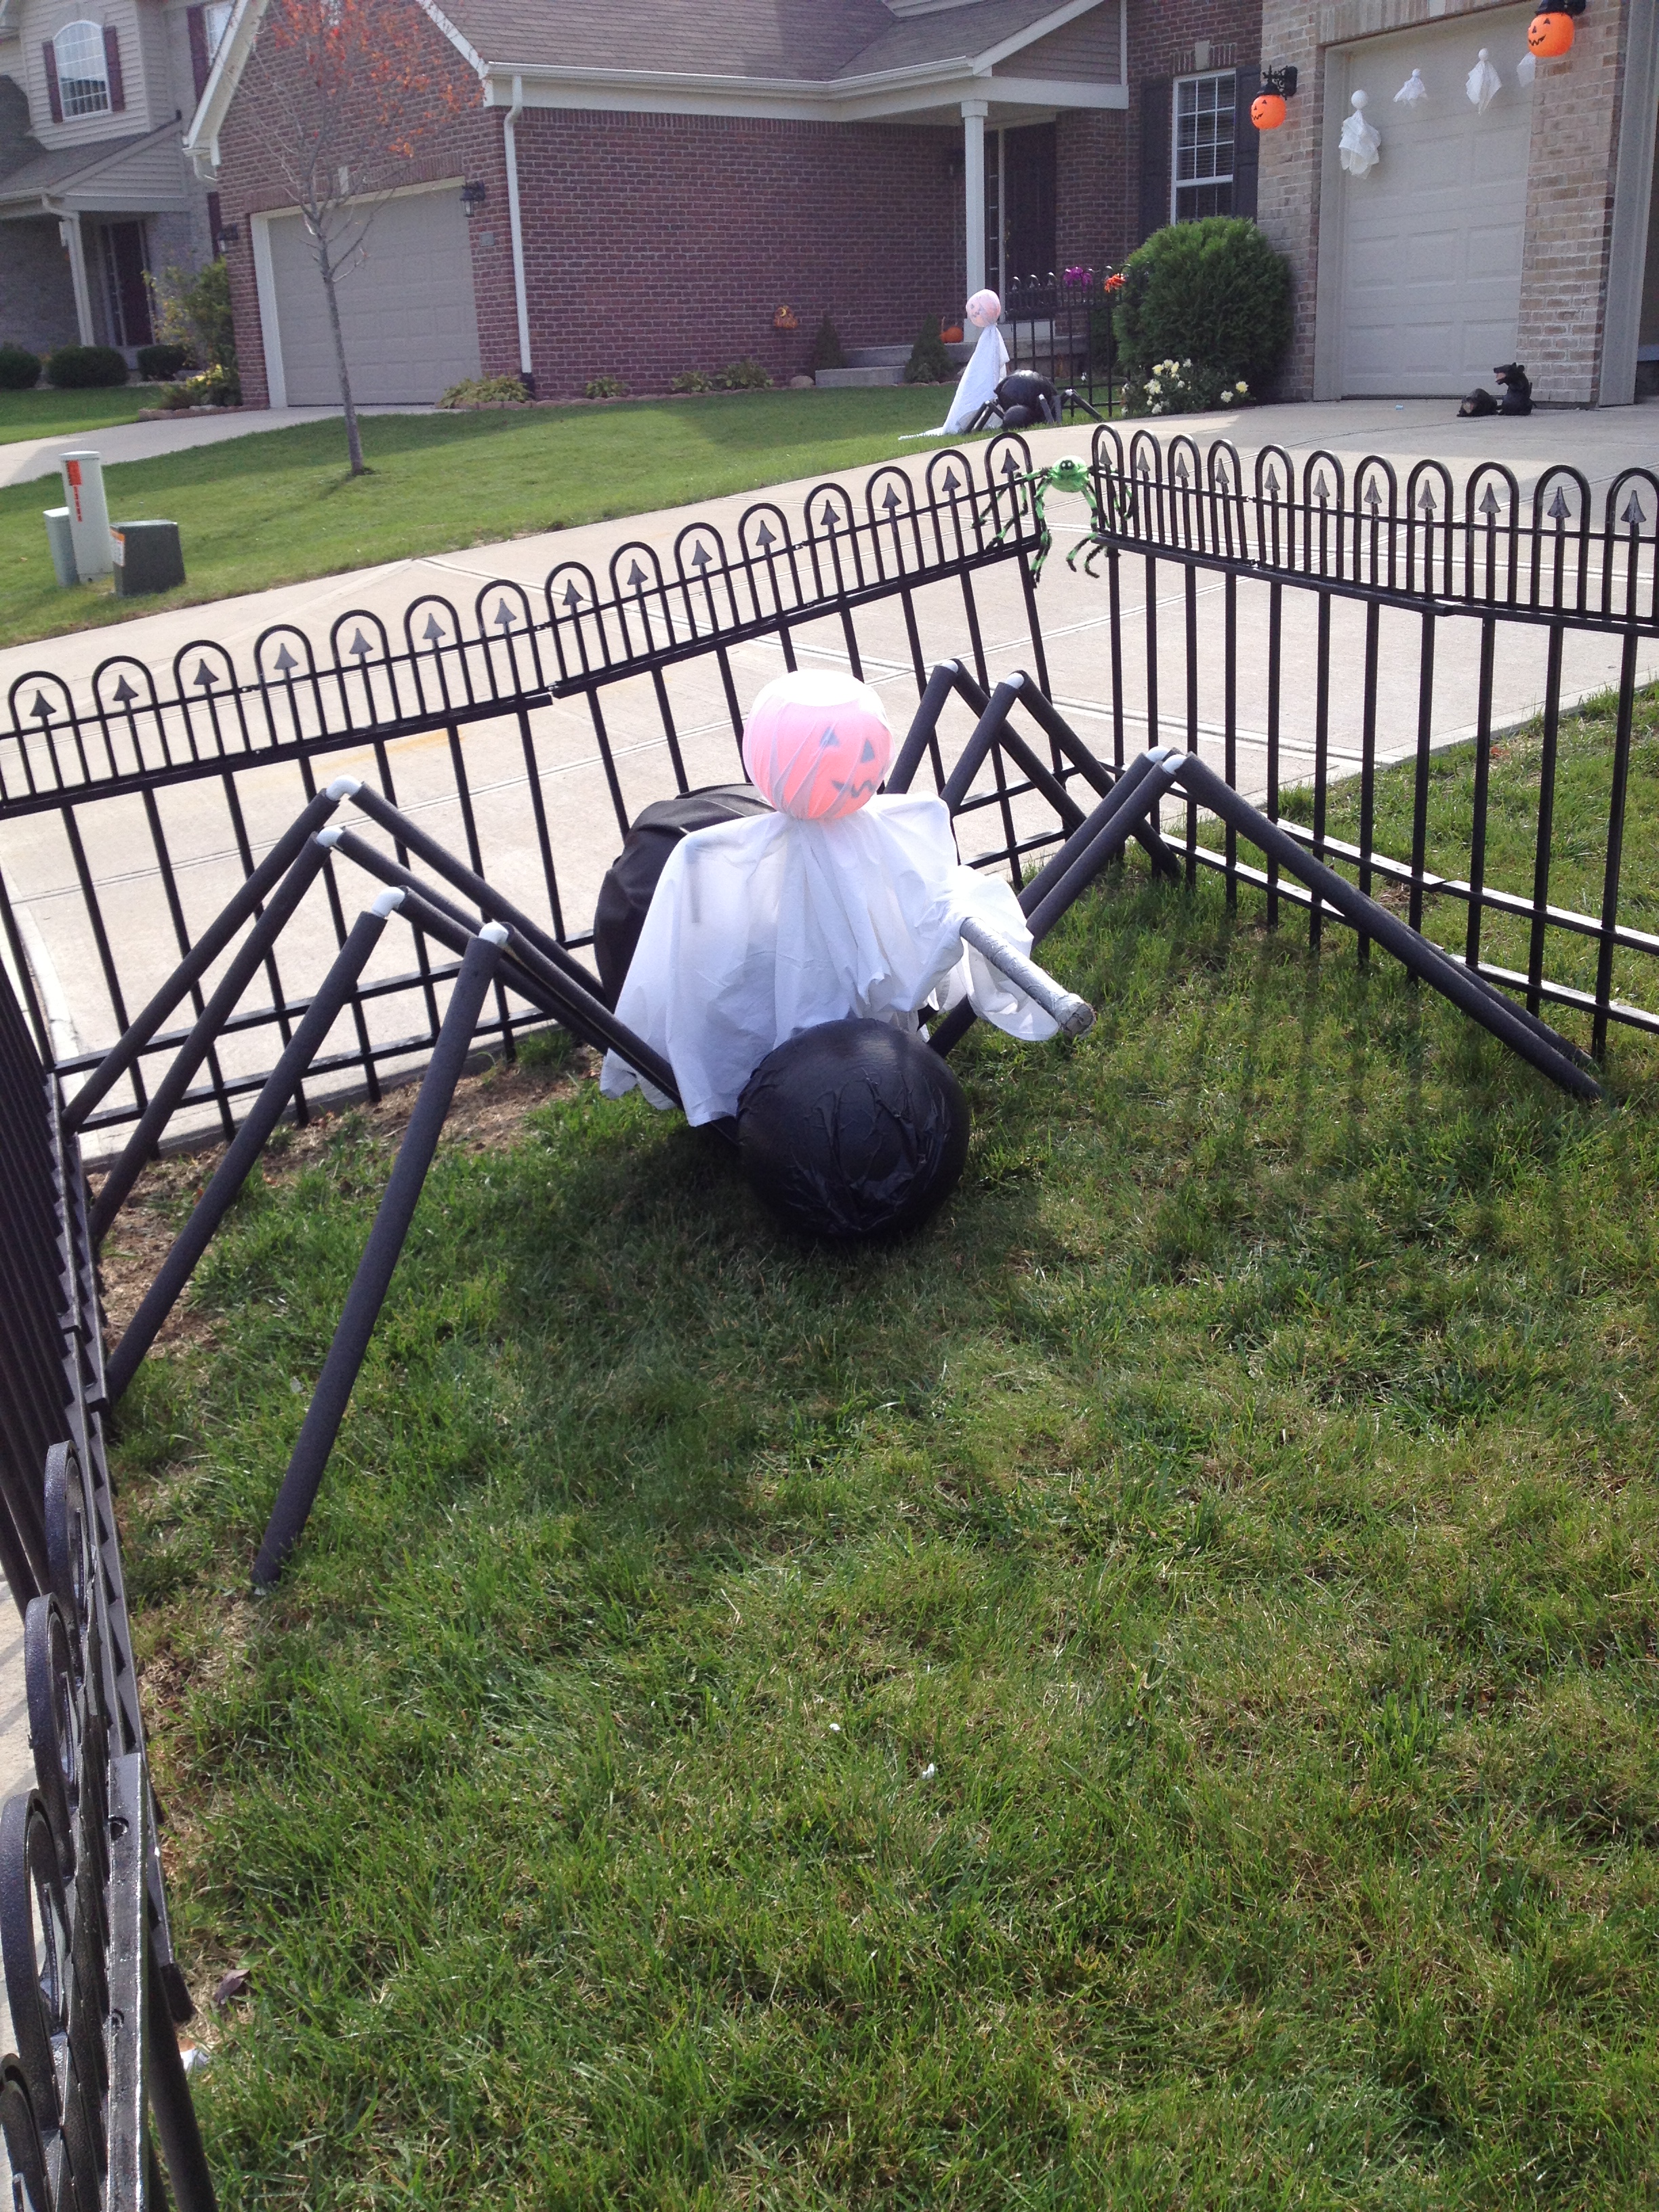
Happy Halloween, the final end result of yard decor 2012
Posted: 2012/10/31 Filed under: Decorating | Tags: DIY Grave Yard Fencing, Halloween Yard Decor, Yard Ghosts 1 Comment


The Truth about DIY Grave Yard Fencing
Posted: 2012/10/23 Filed under: Decorating | Tags: DIY Grave Yard Fencing, DIY Halloween fencing, Halloween Yard Decor, How to make halloween fencing, the truth about DIY grave yard fencing 1 Comment
DIY Grave Yard Fencing as a Jousting Ring
Oh I know why you’re here, it’s late August and you think you’re getting a head start on the Halloween Yard Contest you have going with that bitch Tammy at Bunko.
Go away and come back next year in March, unless you want to spend every blessed weekend and more than a few ‘work at home” days completing this project.
Whatever crazy lady, you say? Ok then, everything you need to know about the “bones” of the project are found in the links here >>> Haunters Hangout and here >>> Haunt Project
Now here’s the truth
I’m putting the TL:DR right here:
It took a long time to make, required too many trips to the hardware store, was messy to the point of giving my garage floor a vintage look, was exhausting physically to complete, and my yard swallowed up 17 sections very quickly. It was also not as cheap as I hoped. But it does look pretty good and the kids are enjoying it.
If you want the story along with tips and tricks keep reading, if not, go on with you bad self and make some fencing. Enjoy and don’t say I didn’t warn you. ❤ If you find a way to make it “pretty” let me know.
The Details, Lola style

This is how I feel about DIY Grave Yard Fencing. By the time we got this up ( by October 1 because it is The Destroyer’s Birthday) I was so freaking over it.
Here is the story with the tips and tricks buried inside, yes it is another way I trick you into reading my blog. Now shall I?? OK then.
This all started last year, How To’s…. Pics
Being the cheap, quirky girl that I am I planned ahead last year as I made my materials choices. The plan is to have some variation of Ghosts and Spiders every year. I Like order in so many areas of my life that I enjoy re-creating every year when I decorate for the seasons. I always planned to add to the collection of yard stuff we’ve made. Fencing has always been on my wish list, probably because I am an emotional nut about architectural details, without knowing what most of them are probably called :-). The Destroyer chose a Jousting theme this year on one of the first days of school in mid August. We began Planning aka Analysis and Design. This lasted a few weeks until we had the decisions made. Then I did all the calculating and list making. We planned to make a prototype and then some sort of assembly process, we needed 68 feet of fencing so if we ever decide to fence in along the driveway and walk we are covered.
We spent about $200 on this project which made 17 sections of fencing and left enough for 3 more sections no one could bare the thought of making, or roughly $9.52 a section. I am slightly disappointed it was that much considering I made use of donations of spray paint from neighbors and exhausted my own reserve supply. By the time we bought everything it was September 8th, but we were still pretty proud of ourselves. I don’t remember when the prototype was made, but I can tell you this we didn’t get done until October 1 and 40+ hours of work went into this. Ours will be stored upon brackets in the garage. We can take them down, patch them up and put them out pretty quickly next year. THAT’S when all the hard work will pay off, right???
Tips, Tricks and Lessons Learned
- Haunters Hangout says “A 3/4 Forstner drill bit will make quick work of drilling the holes for the fence. Forstner drill bits cut fast and leave a very smooth hole.” He is probably right, and BTW, we did NOT do this. What we did was Babu tried and changed bits about 4 times because the hole size was off , all involving trips to the hardware store, and we had 1×2’s with HUGE splintered hole bottoms in them. Babu wasn’t very good at centering the hole in spite of making a template. He was tired and sore before the work ran out.
- Once the prototype was complete, we cut all remaining pipes and boards in order to have raw materials available for assembly in case someone had a spare 10-20 minutes here or there.
- One of these guys talks about how a 10′ section of board will yield 4 29.5″ cuts. It will. but it will ALSO hold 4 30″ cuts and then you won’t have that annoying little piece of 2″ PVC leftover.
- It’s SUPPOSED to be a little janky, it is grave yard fencing. But don’t be stupid, be sure every pipe is screwed somewhere to the wood along it’s length.
- Painting the PVC pipe prior to assembly is fruitless, streaks of it peel right off as it feeds through the holes, not worth the extra time
- Painting the wood boards on all sides with latex paint and a brush or sponge prior to cutting and assembly is totally the way to go
- No one will see the undersides of the boards but the bottom strip will be closest to wet grass and ground, it is probably a good idea to protect your investment and at least paint the bottom of that one.
- Doing all of this hurts your back so finding ways to work upright or at least standing vs kneeling/sitting on the garage floor/ground/driveway is important. I made use of a small table Babu swore could not be used for assembly. Well that
assholesweet man went to an all day LAN party and out of desperation I proved him wrong. - We used pieces of green landscaping stakes , 2 per fence, to secure them. I wanted to save money on rebar but I am about to head out later this week and buy some rebar if that tells you anything.
- Latex paint is a giant PITA but seems to work best on the wood.
- Spray paint works best on the PVC and is fast, but spray paint is costly, exhausting and messy. I was using 1 can on about every 1.5 sections and that included trying to keep them stacked so the over spray would be useful. The last can chose to leak all over me, don’t ask.
- I added a few extra layers to the black. I didn’t want it rusty or mottled. To add a shiny focal point I sprayed the finials silver on the front and back letting the over spray go wherever it wanted. Then I dry brushed with latex paint to add in texture and depth. I ended by spraying glitter (Thank you Kindy 500 car leftovers) onto just the finials for bling. My front yard doesn’t get all that much sun, the silver is very visible but I don’t know that the glitter is noticeable or did much.
- Each fence section needs two coats of black, which means you are touching it two times, maybe three if you miss spots.
- The plastic garden fencing tops are pretty fragile and like to break off at the stake shoved into the PVC and screwed down. Overall it just adds to the janky-ness but now I have to go back and touch up white showing. My old nemesis black spray paint and I will meet again sooner than I’d like.
- There is one fence on there that is simply board and pipe and can be taken apart and put back together every year. If I had to do it over again I’d rather do that, even though it does not look nearly as “nice”
.
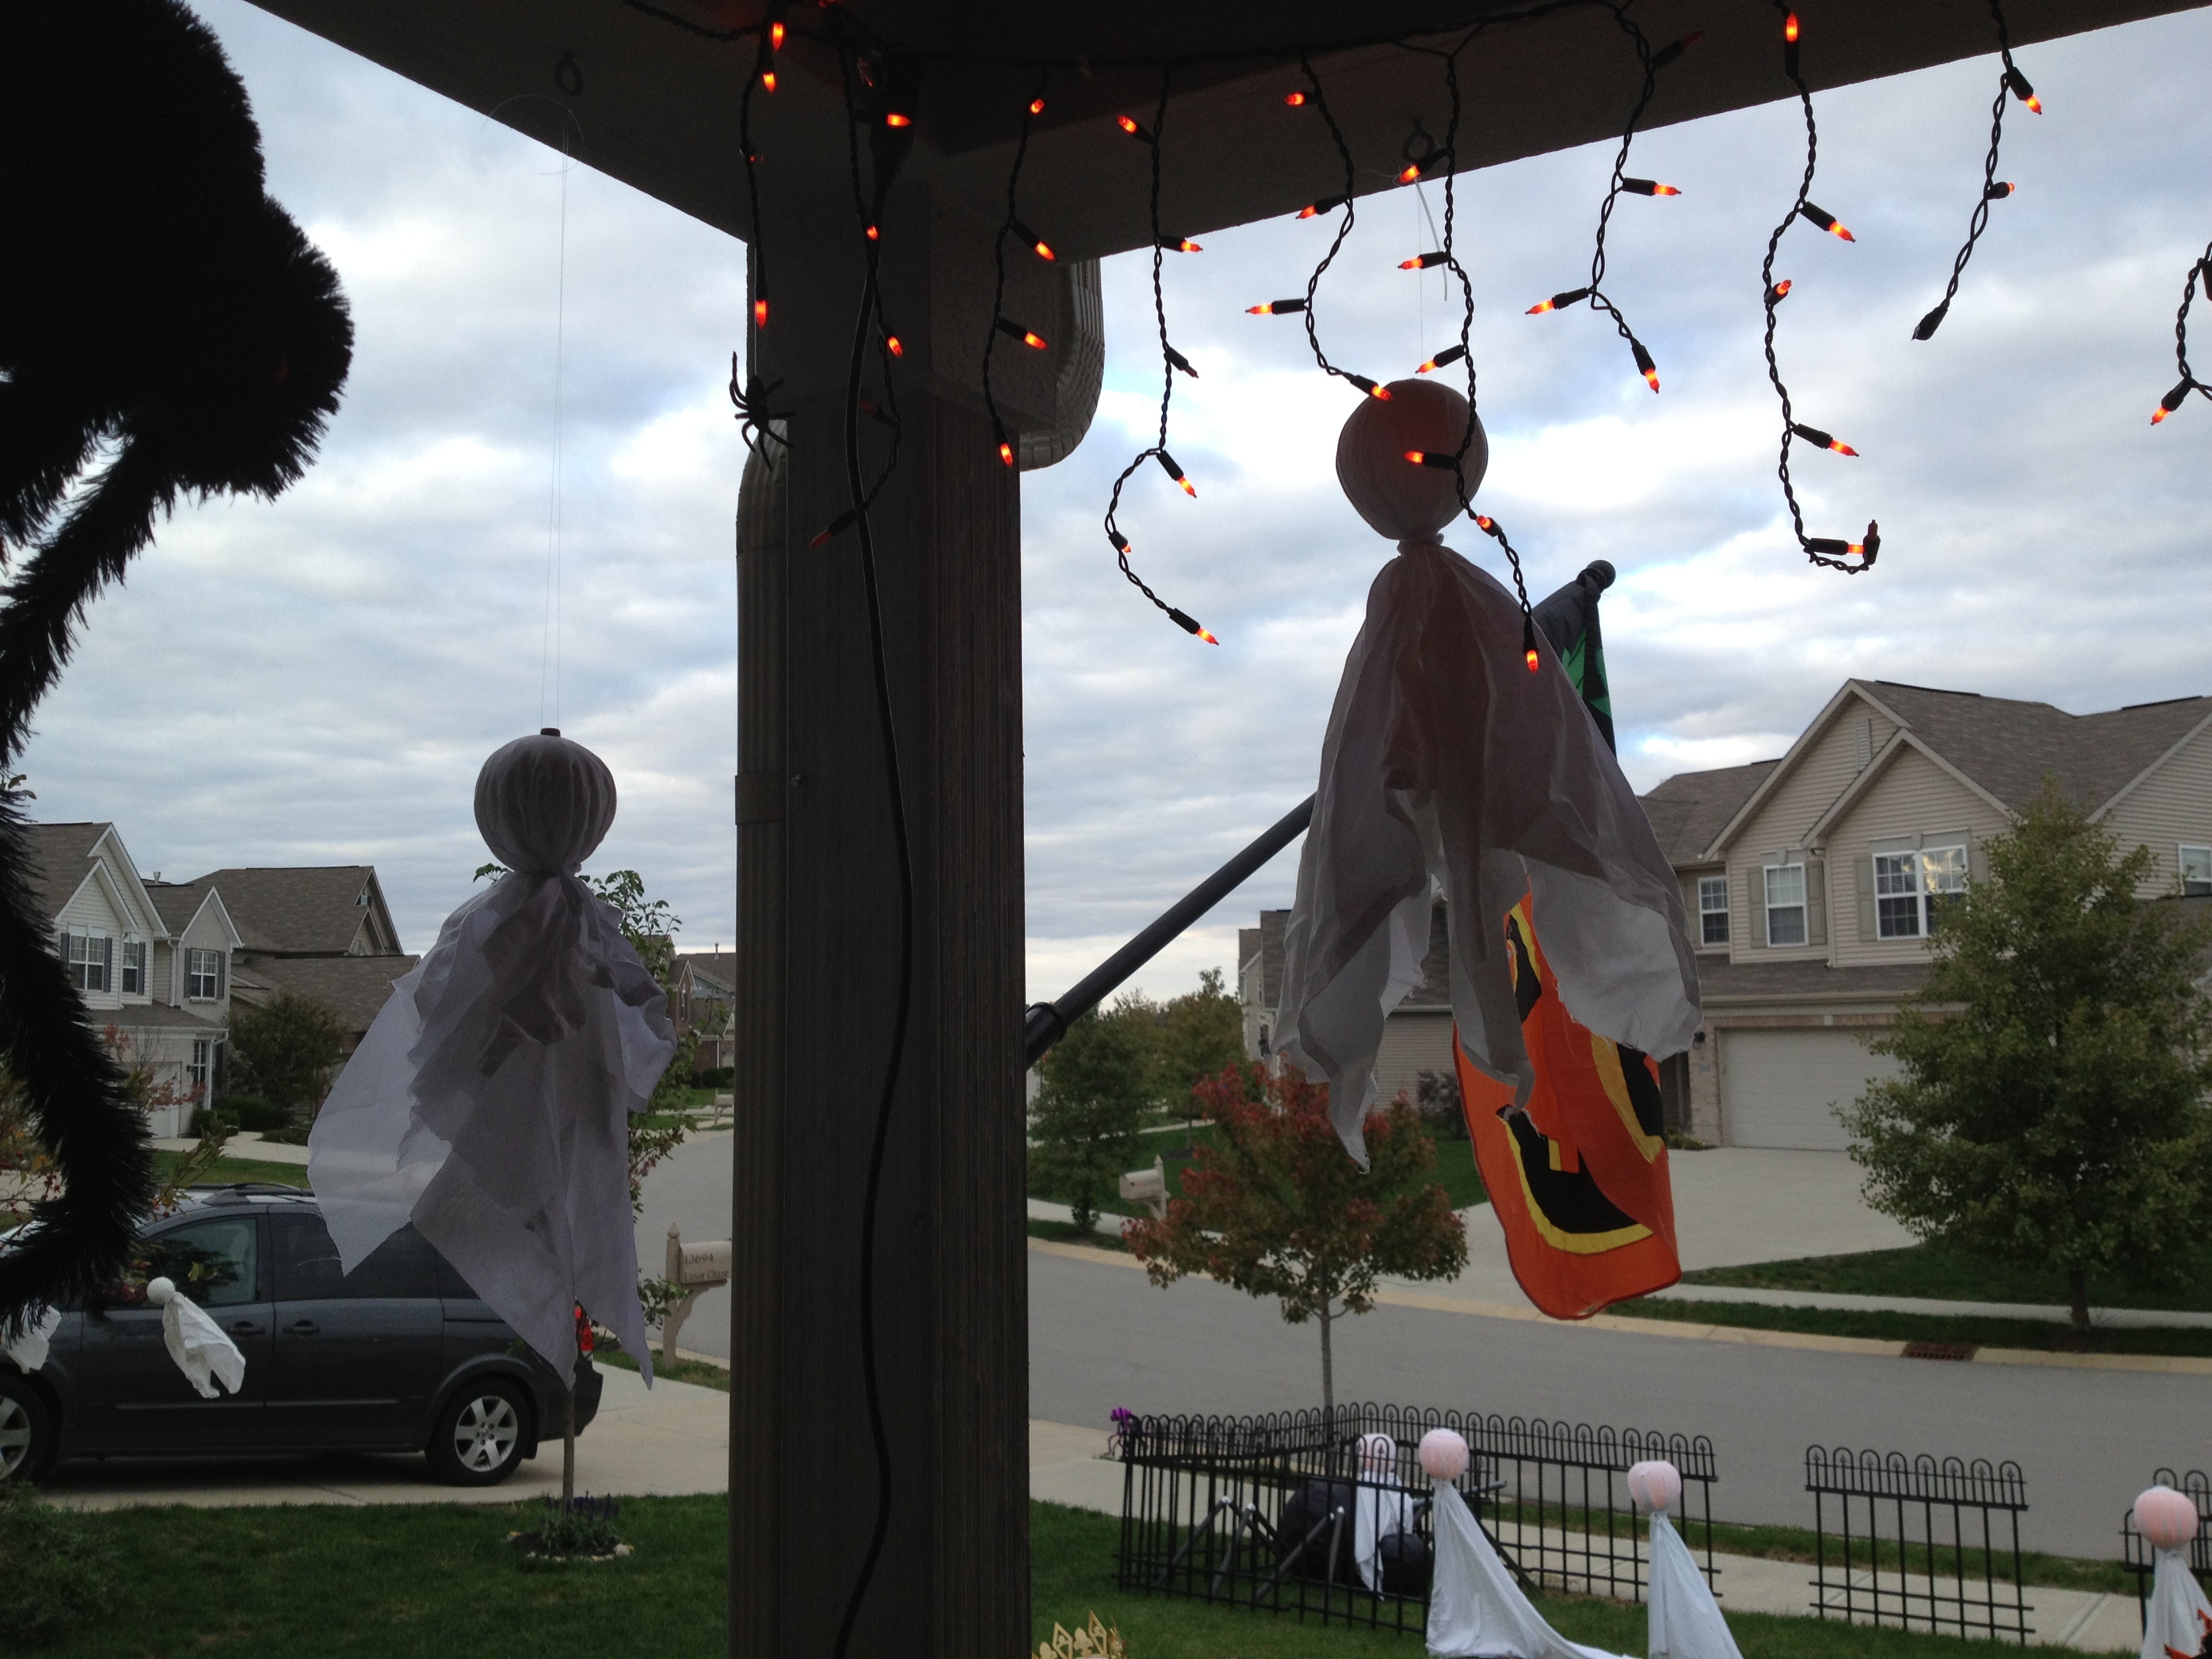
Halloween Decor 2012 Initial Pics
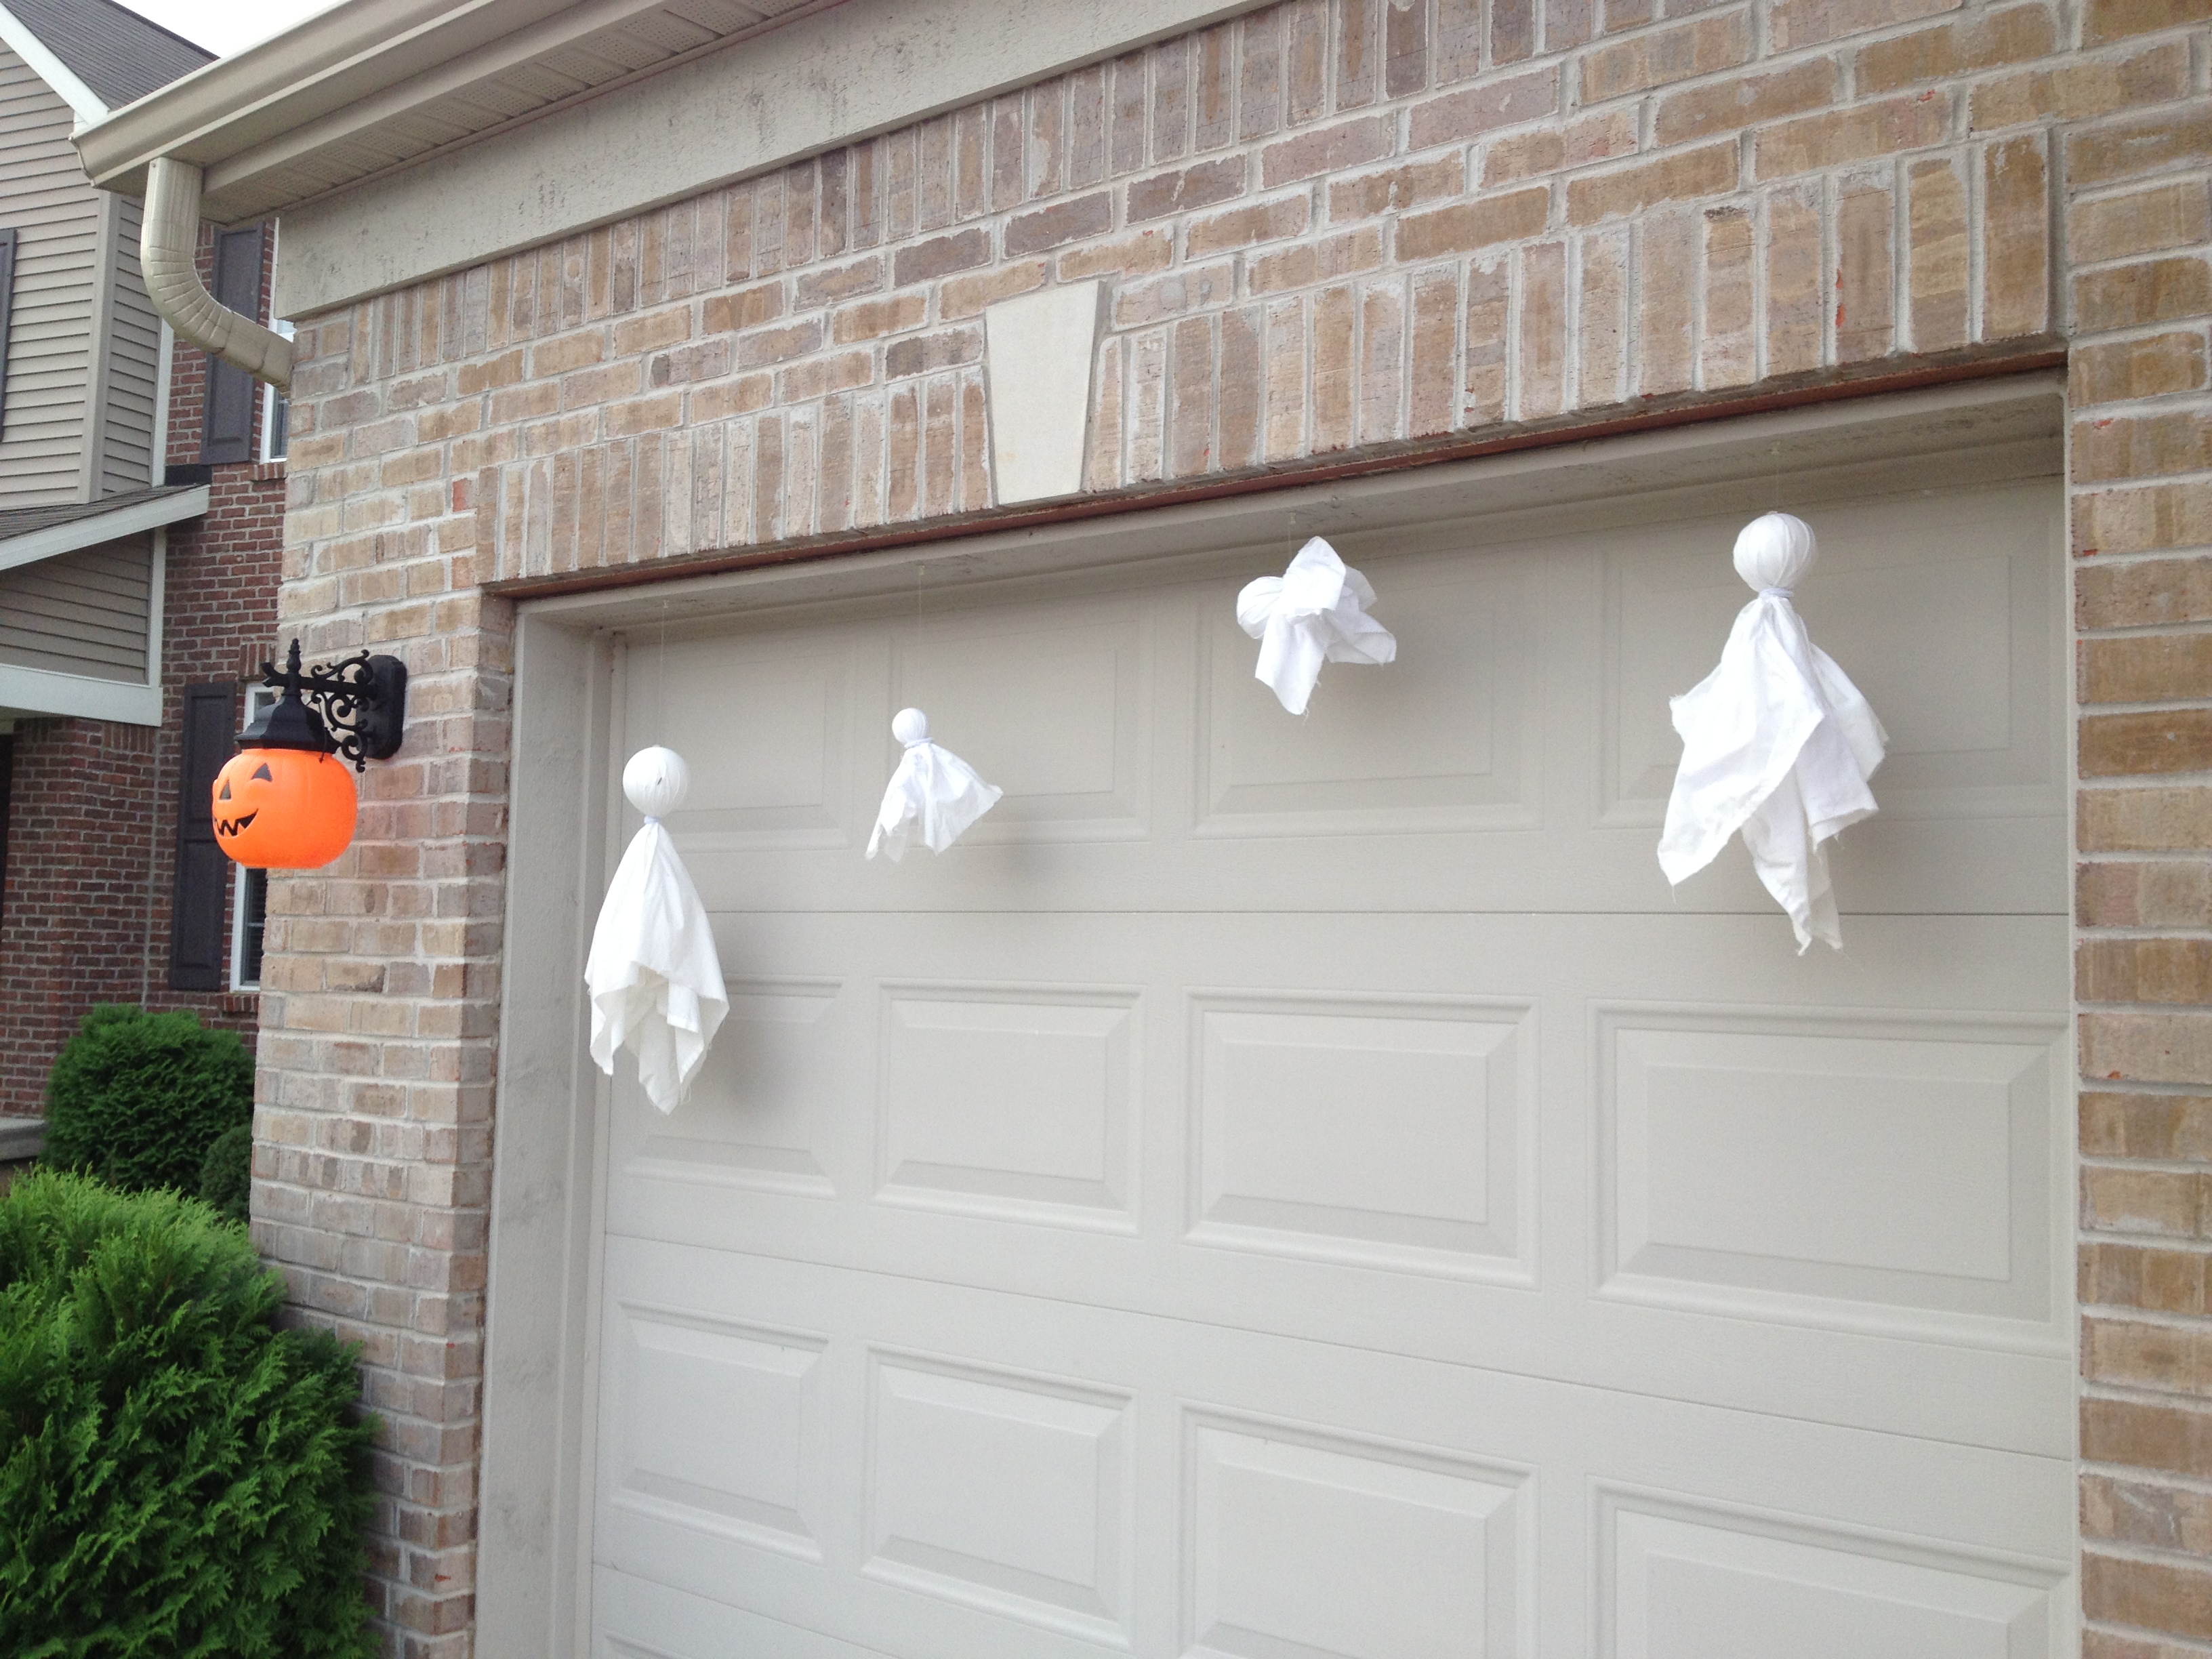
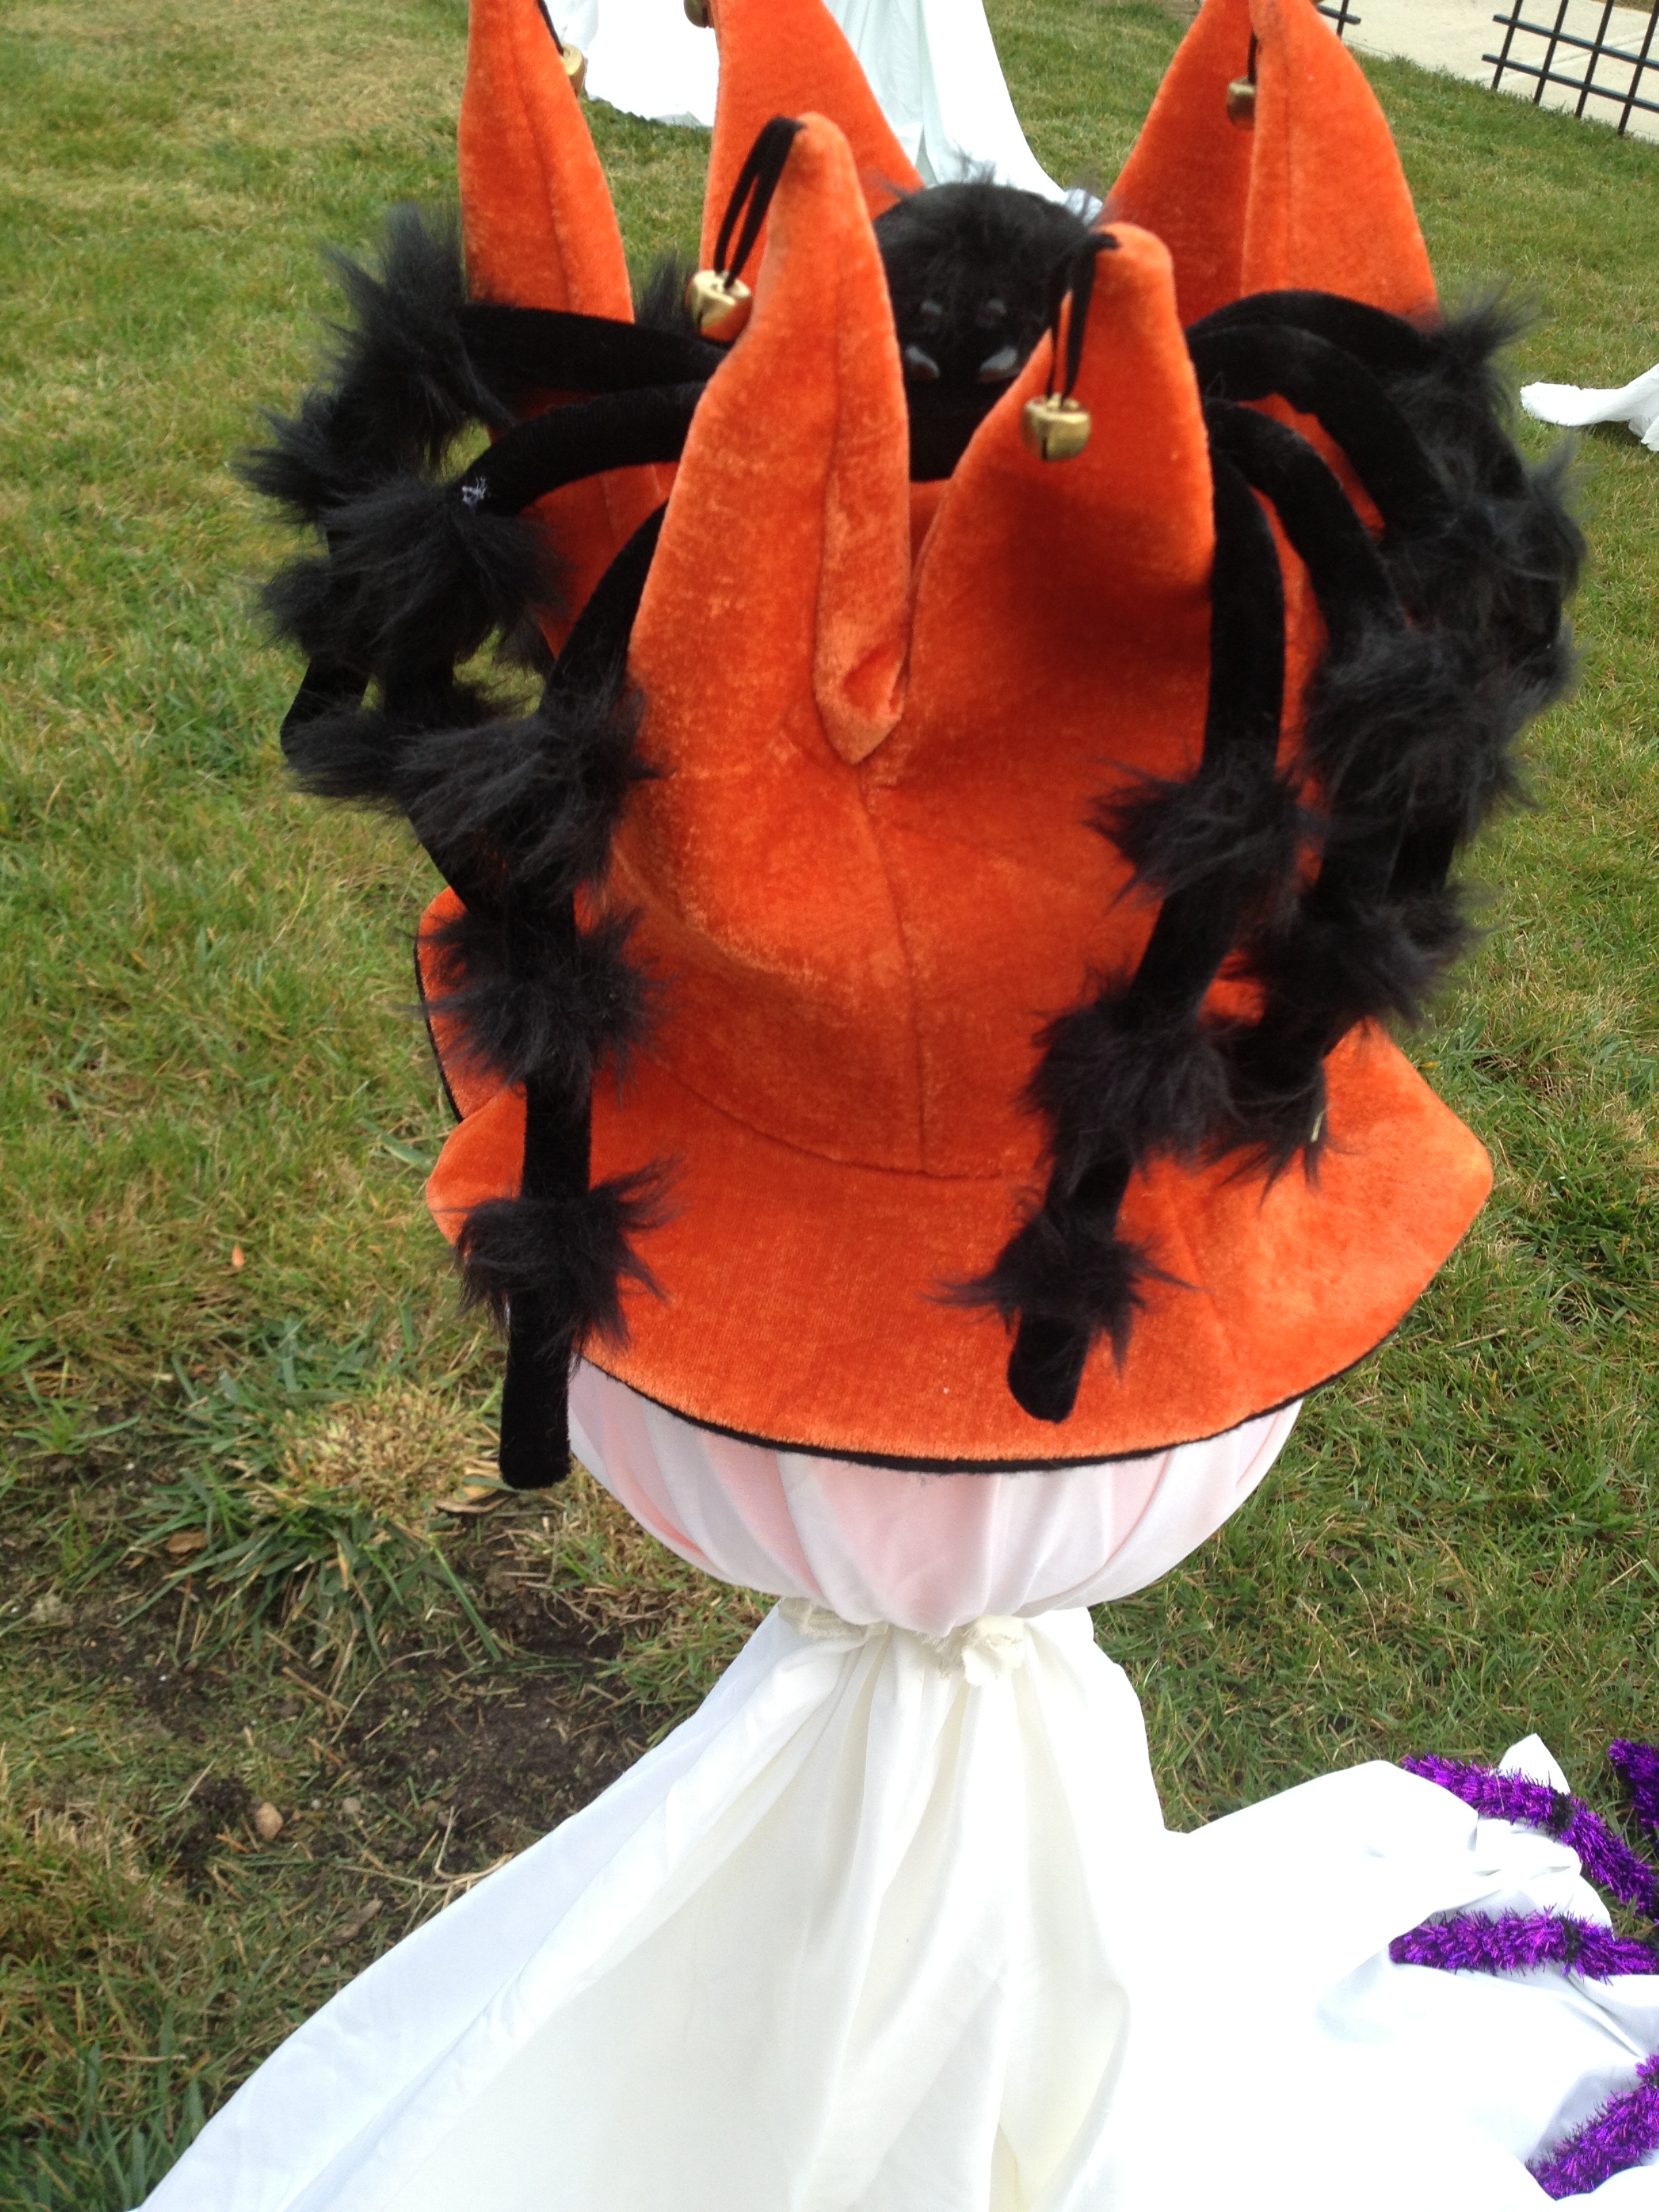
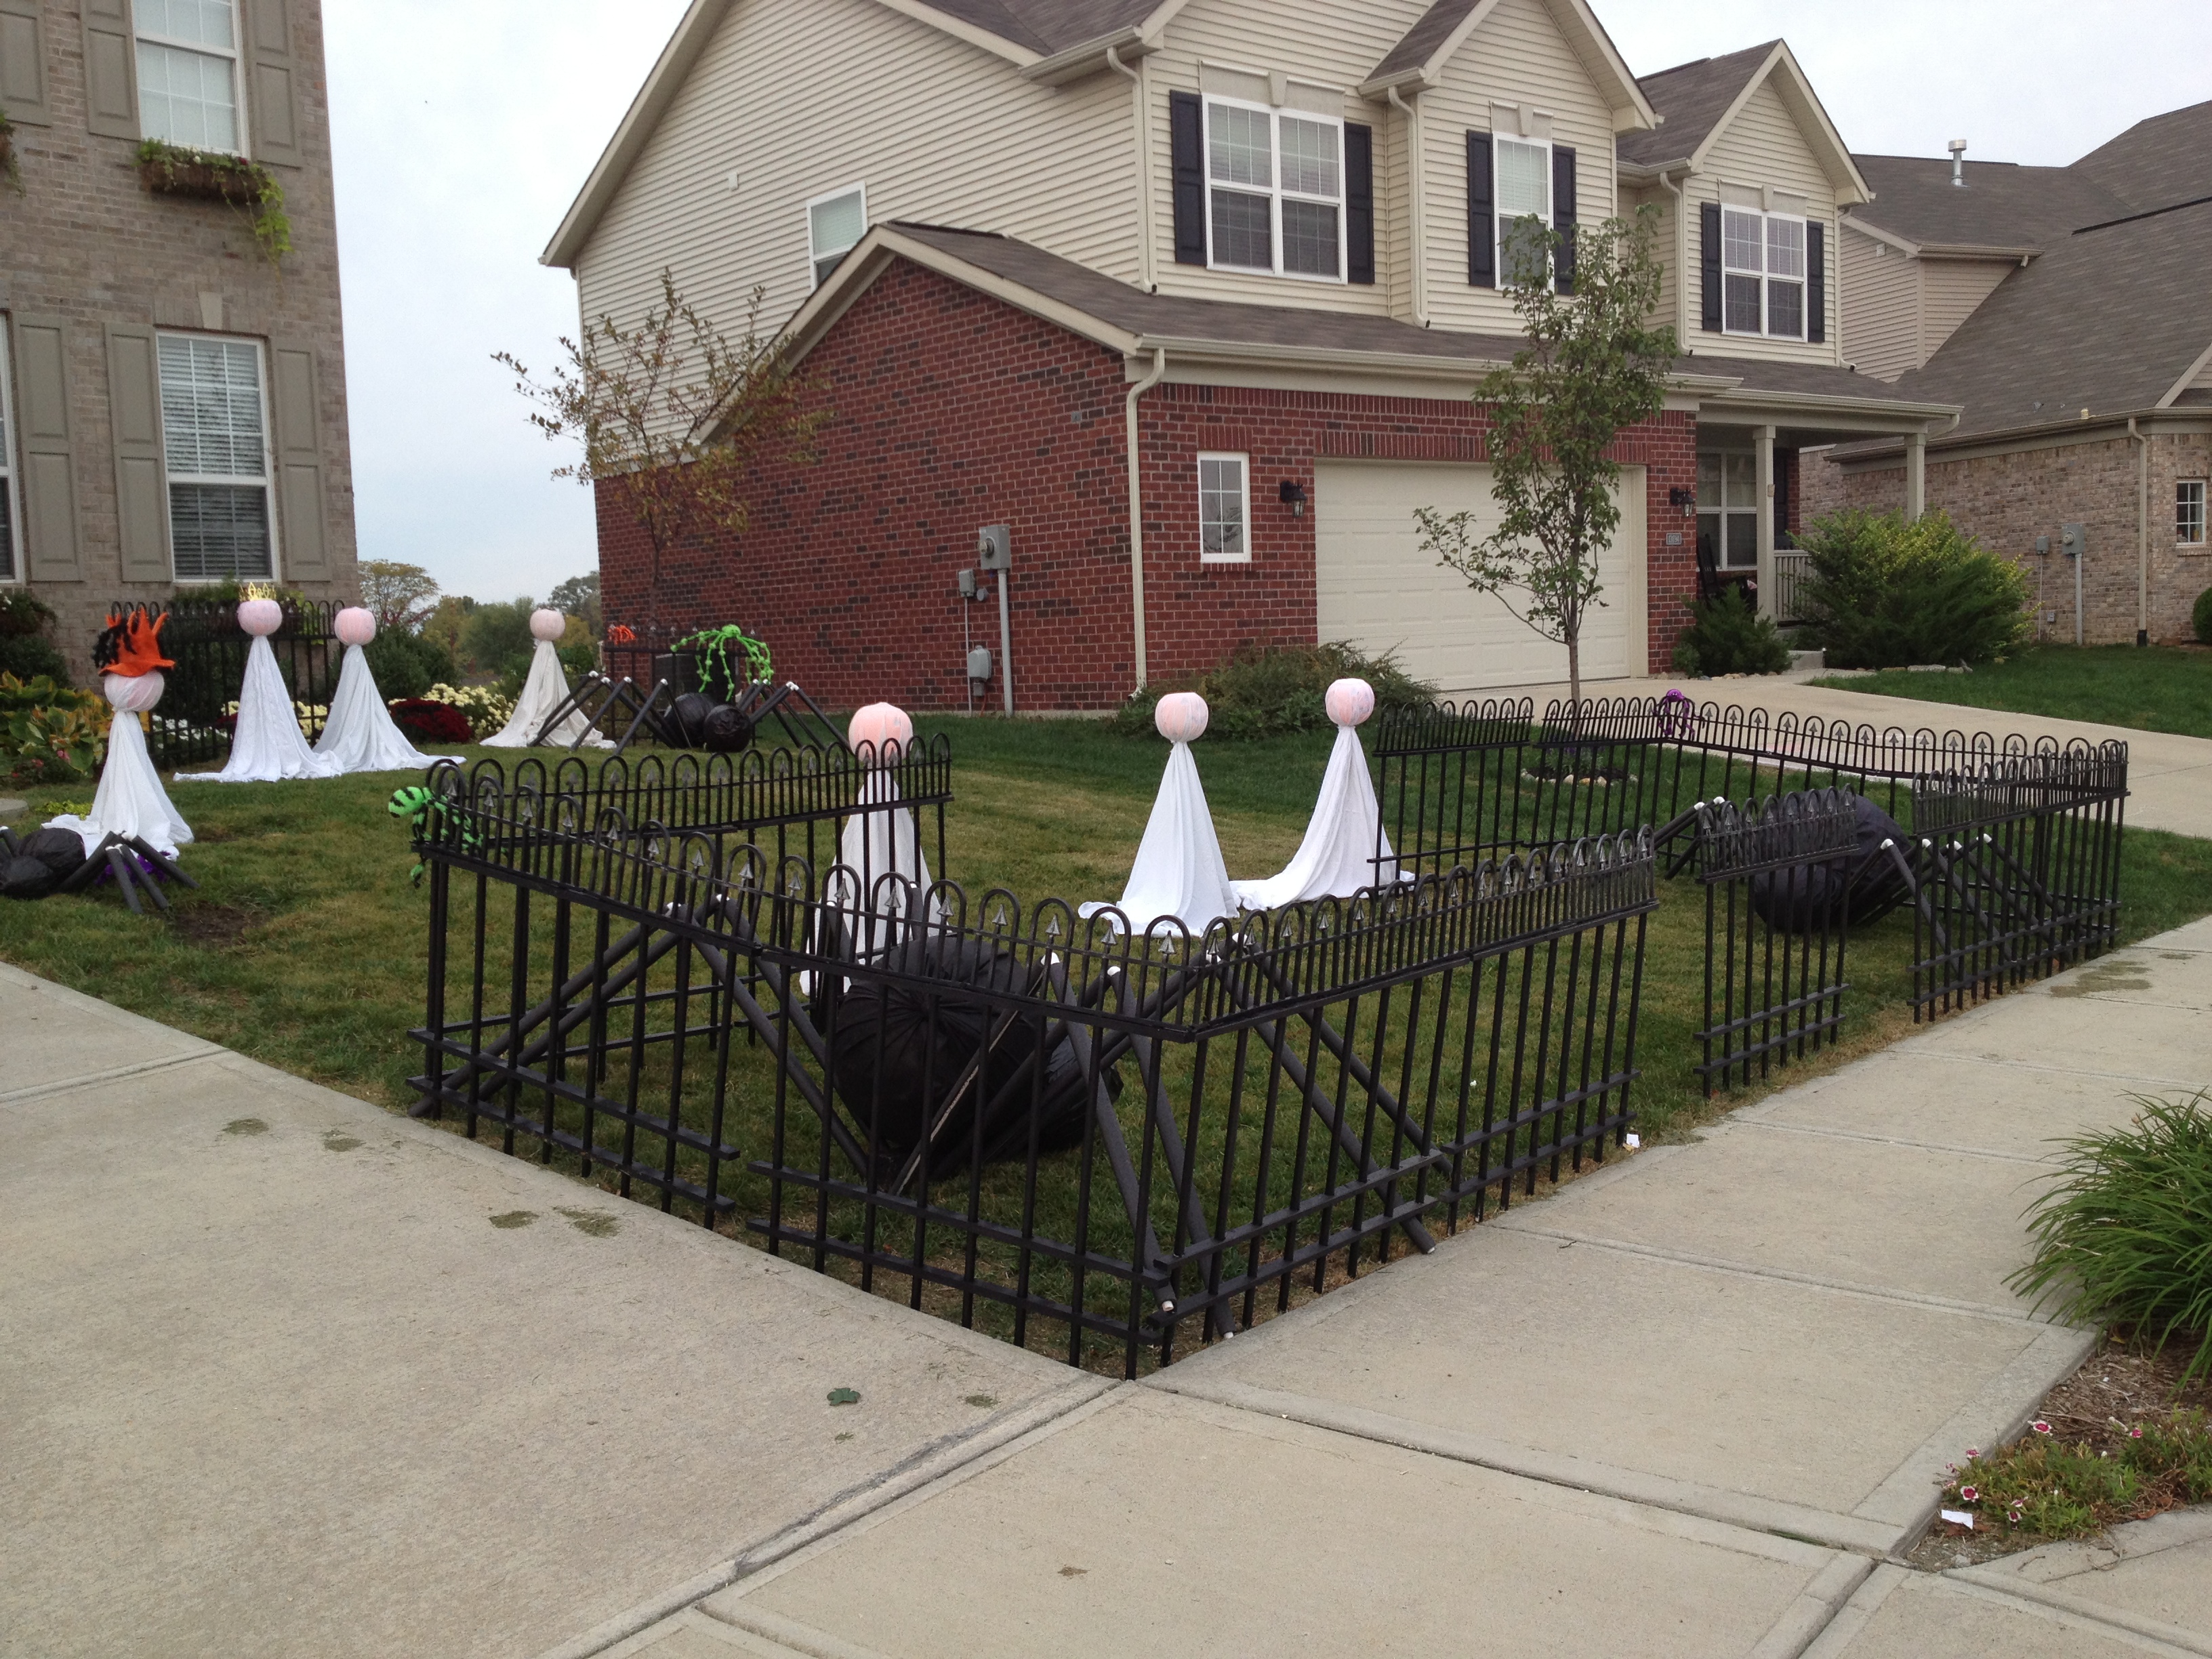
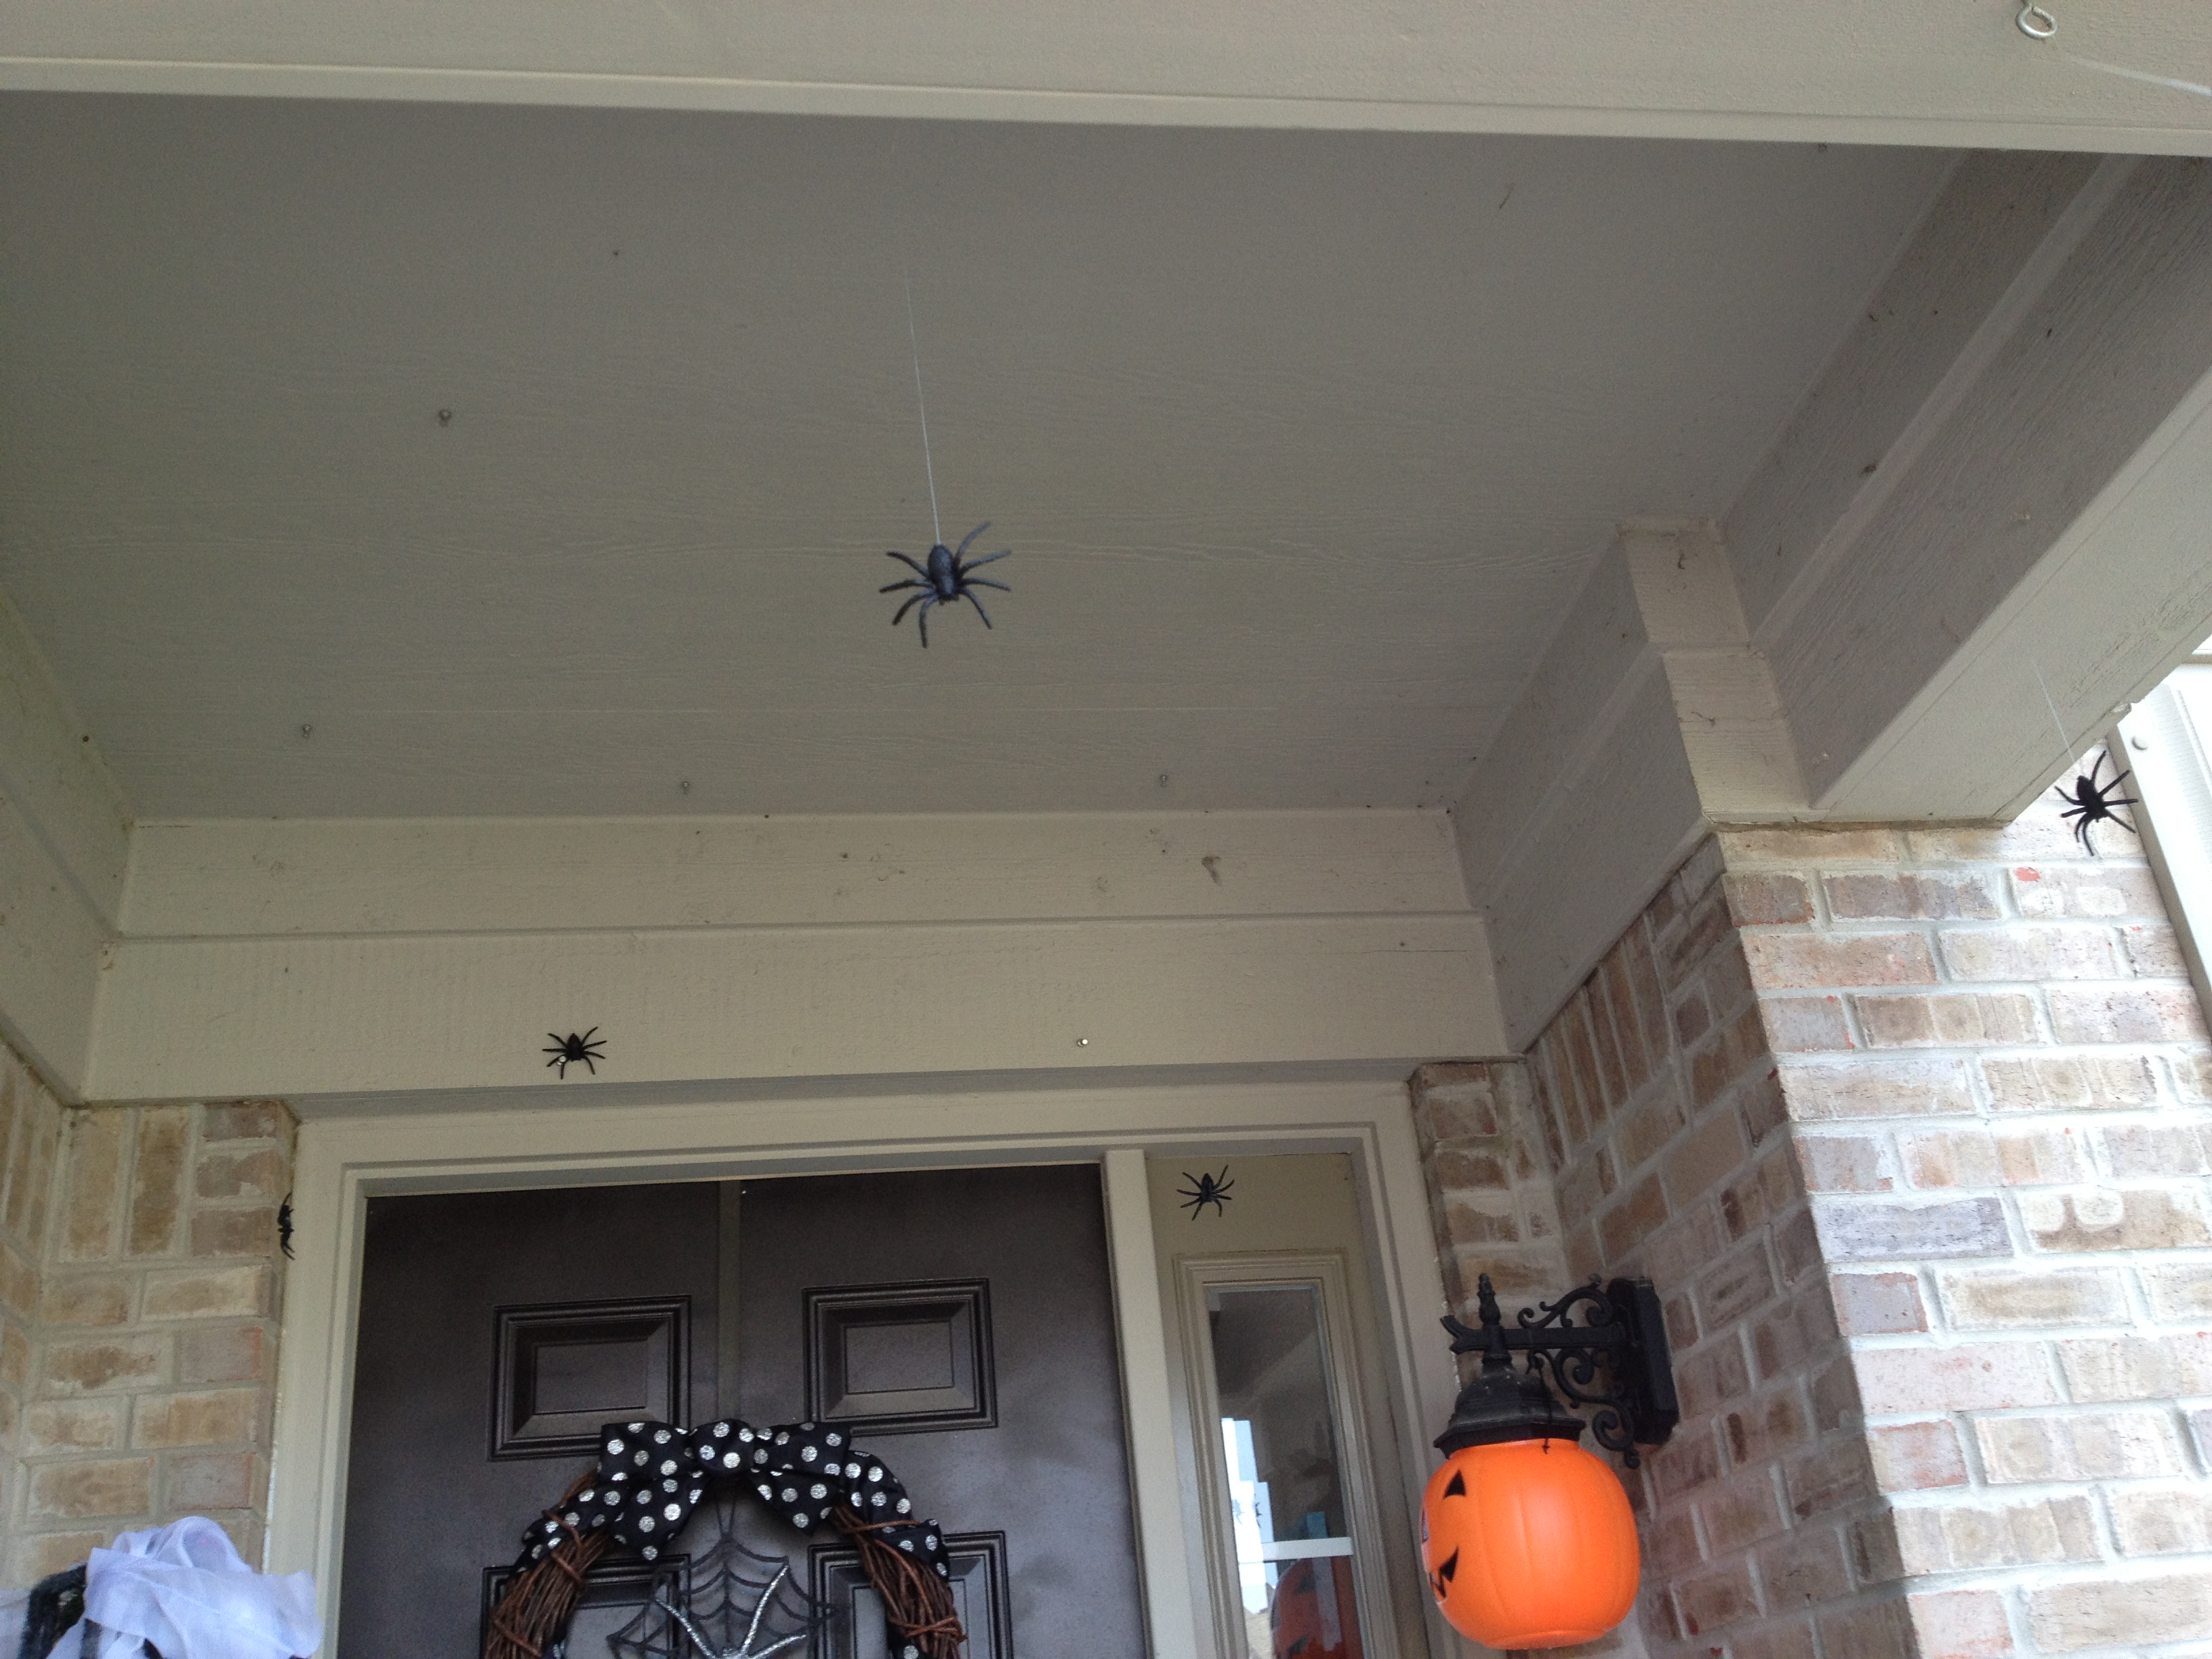
Posted: 2012/10/07 Filed under: Decorating | Tags: DIY Ghosts, DIY graveyard fencing, Halloween Yard Decor, how to make pvc spiders, PVC Spiders Leave a commentI will come back and get details up soon, here are the initial pics, we are about 90% there. Have a great week Lovies.
Oh wait, It is medieval. the ghosts are jousting, there is a king and queen and a court jester. The Fencing is all 4 foot DIY sections and the spiders are all PVC.


Dear Diary: I clearly have a problem
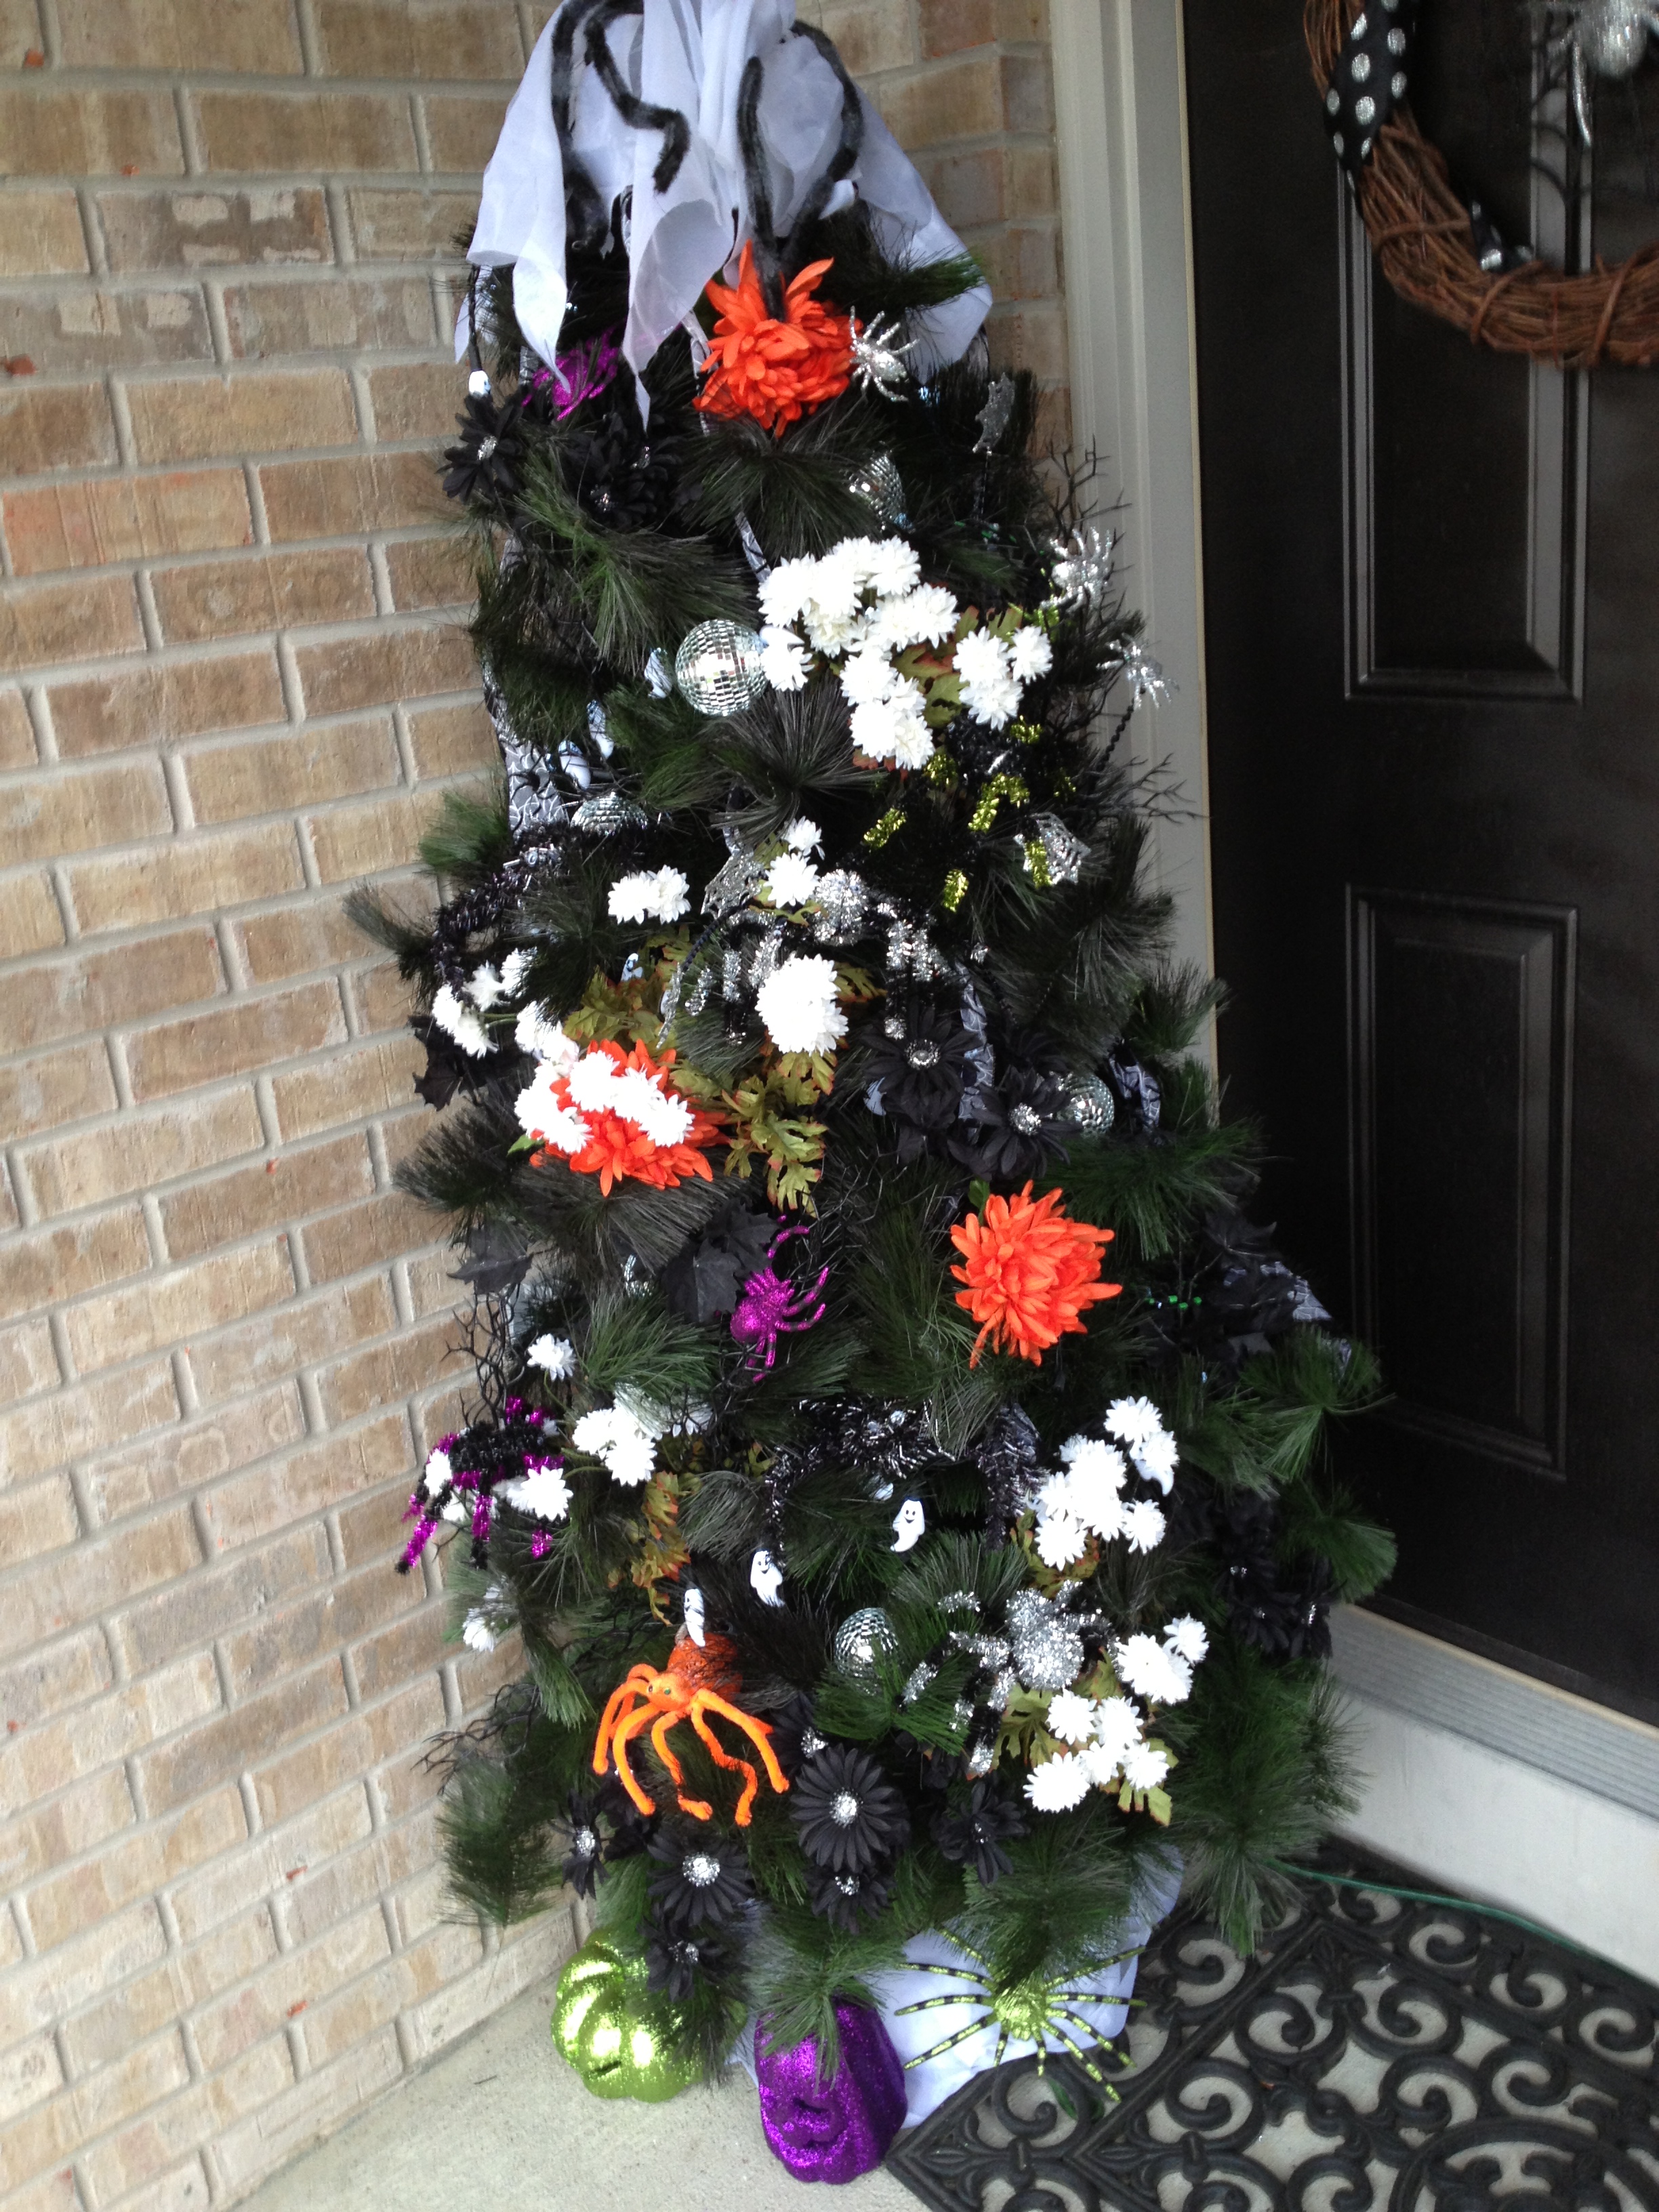
Posted: 2012/09/25 Filed under: Decorating | Tags: Halloween decorating, Halloween ribbon, spider ribbon, spider web ribbon Leave a comment
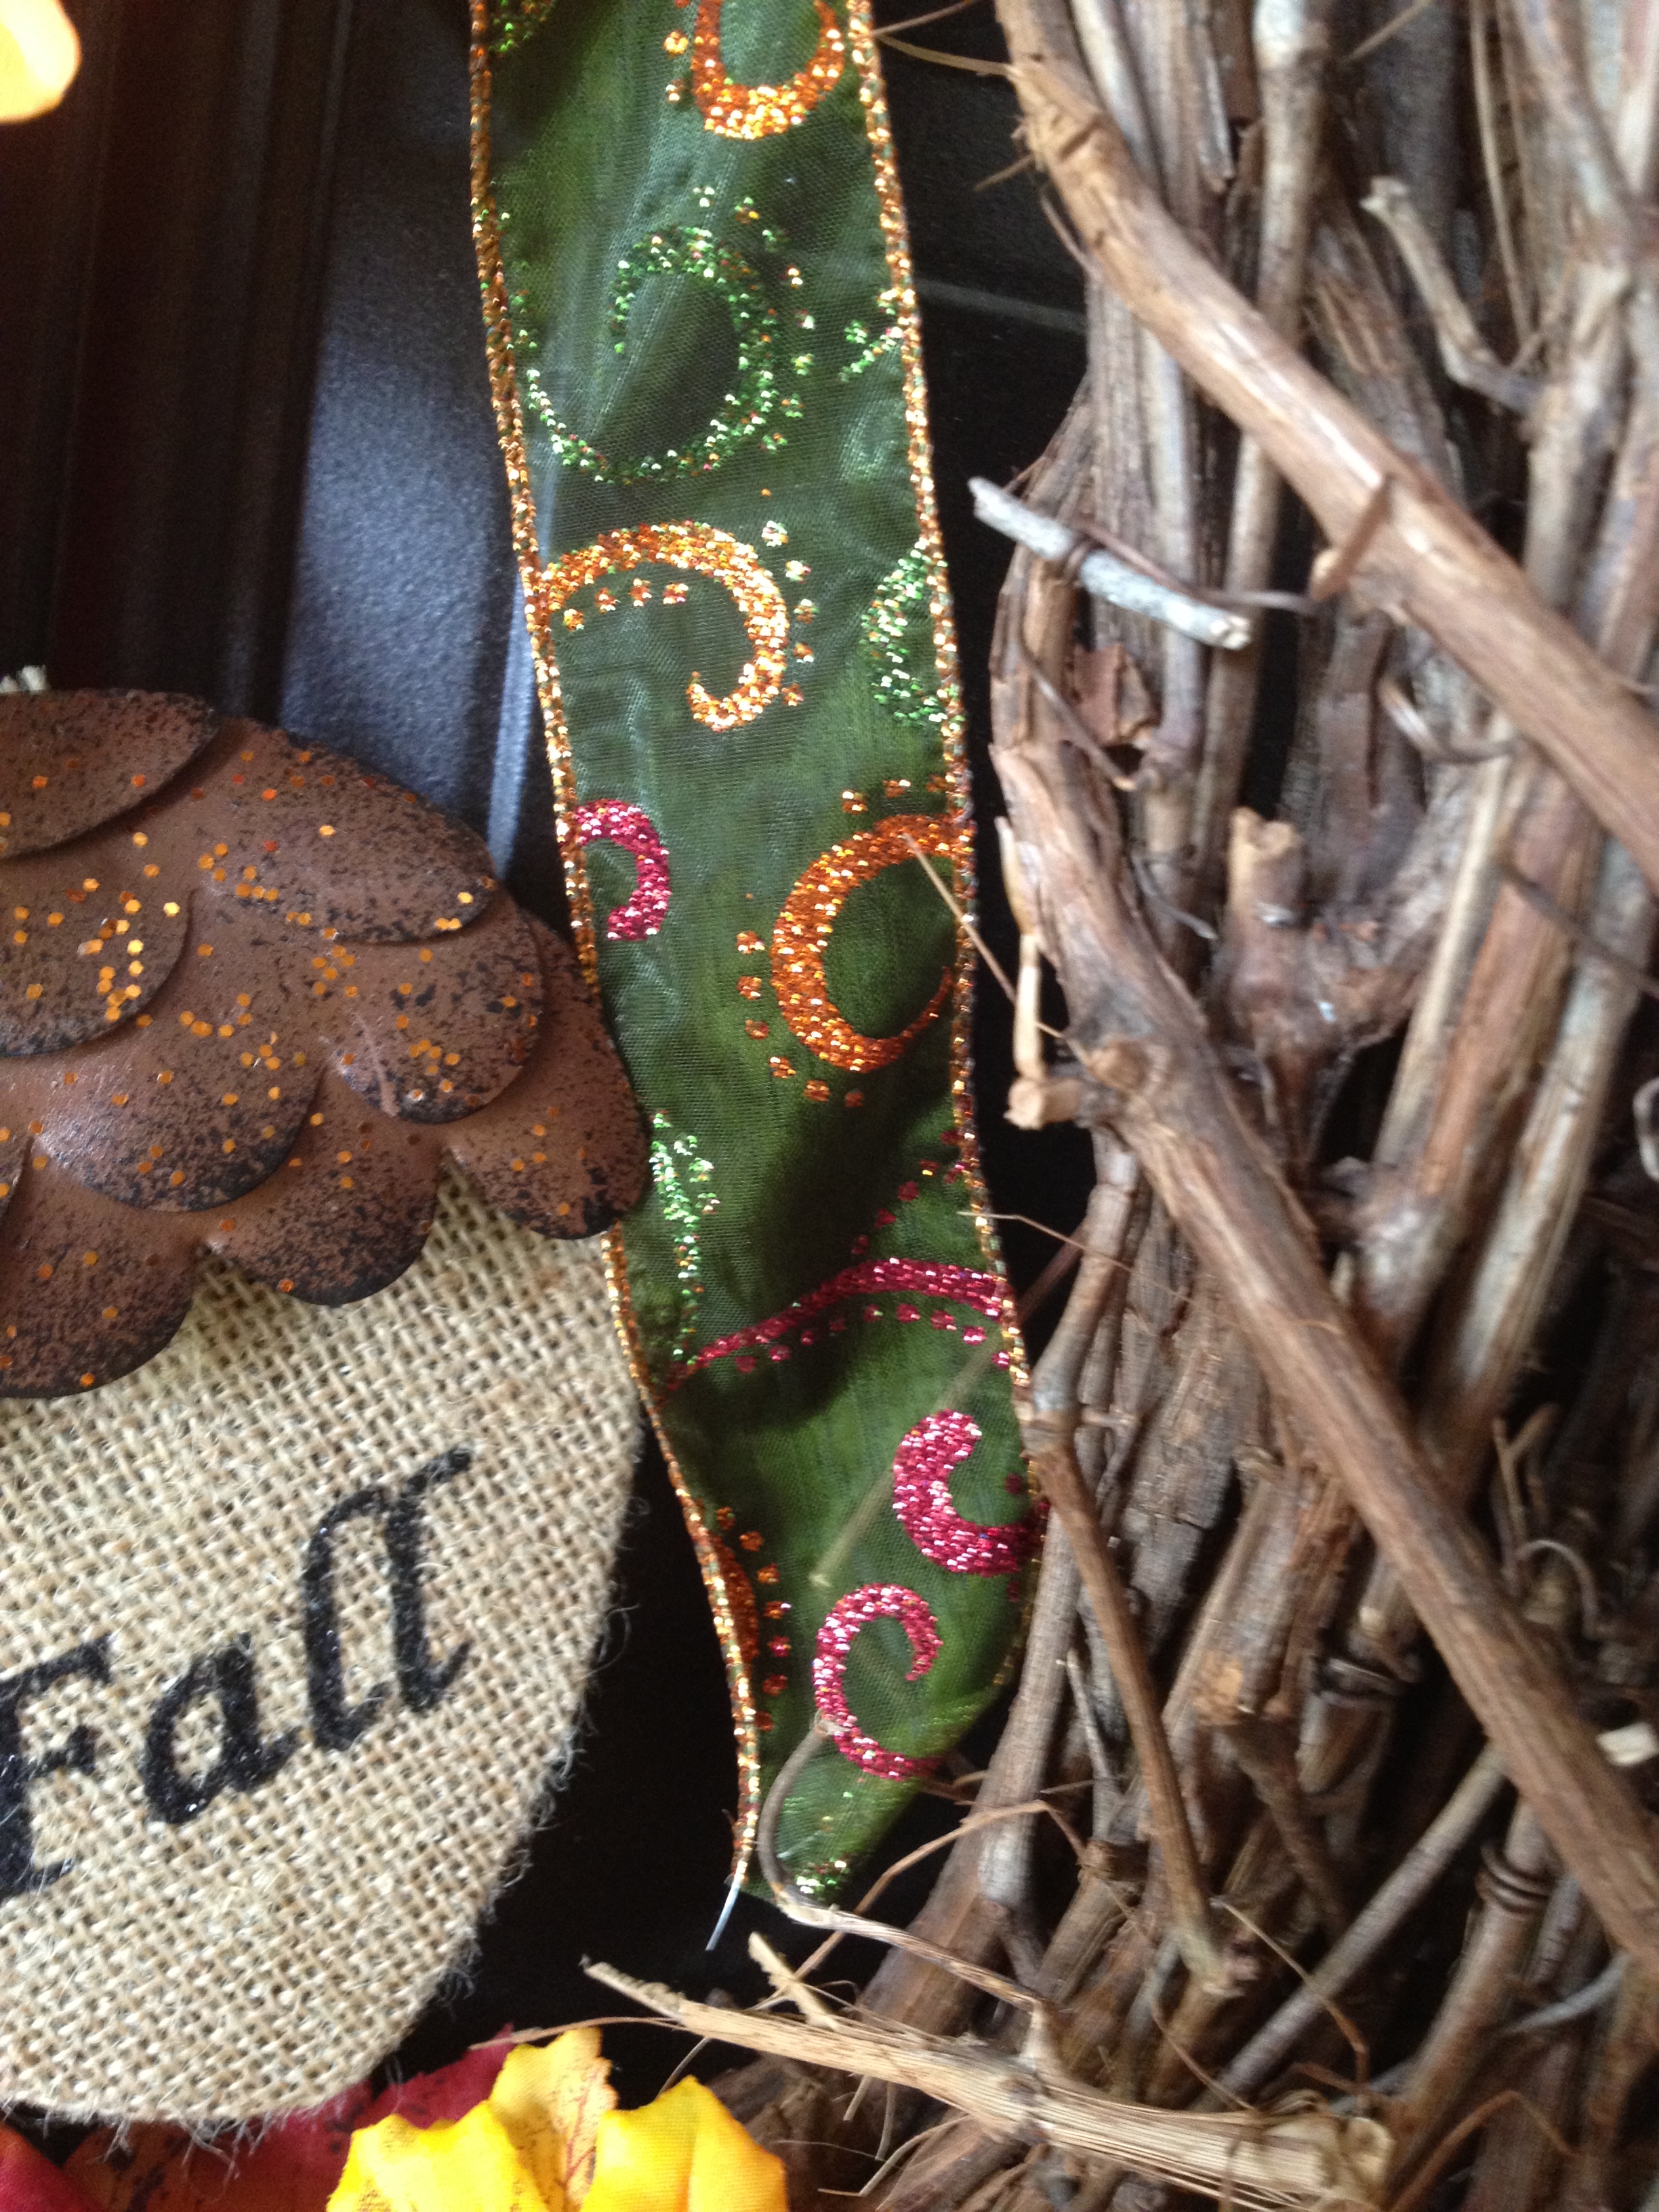
I’ve become a little ribbon obsessed. But the good news is I think I have the foundational color scheme for many years to come.
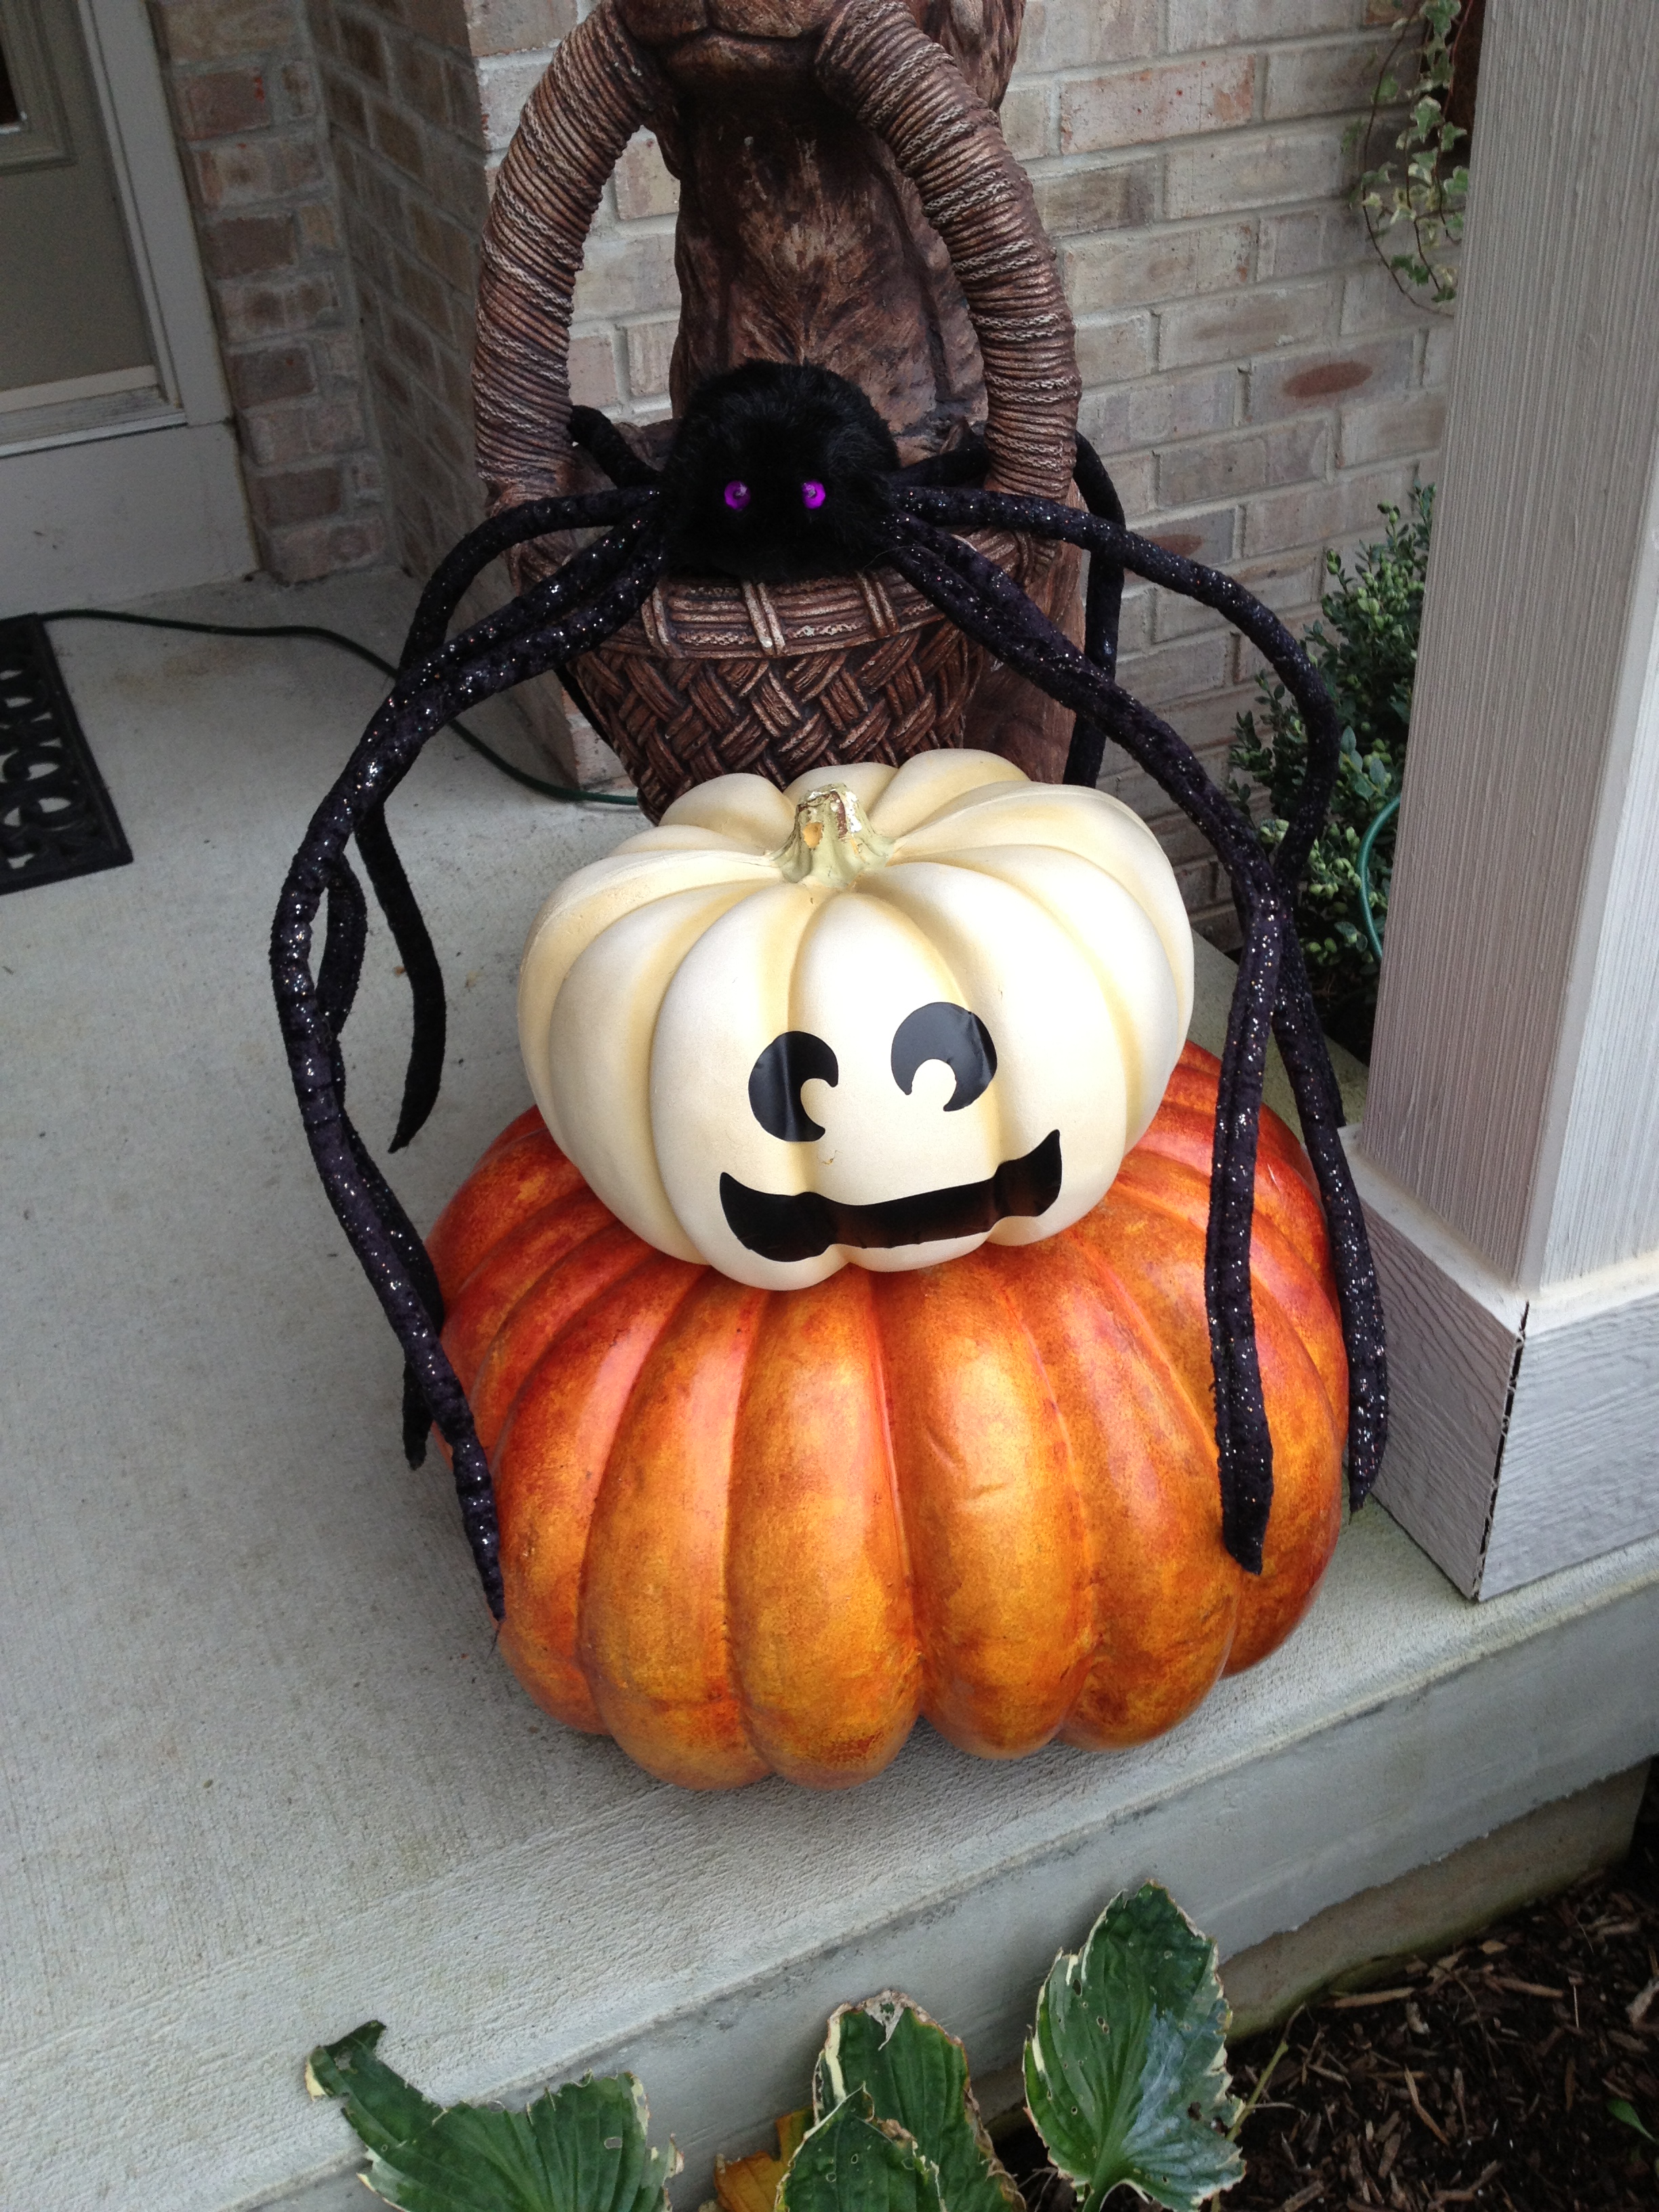
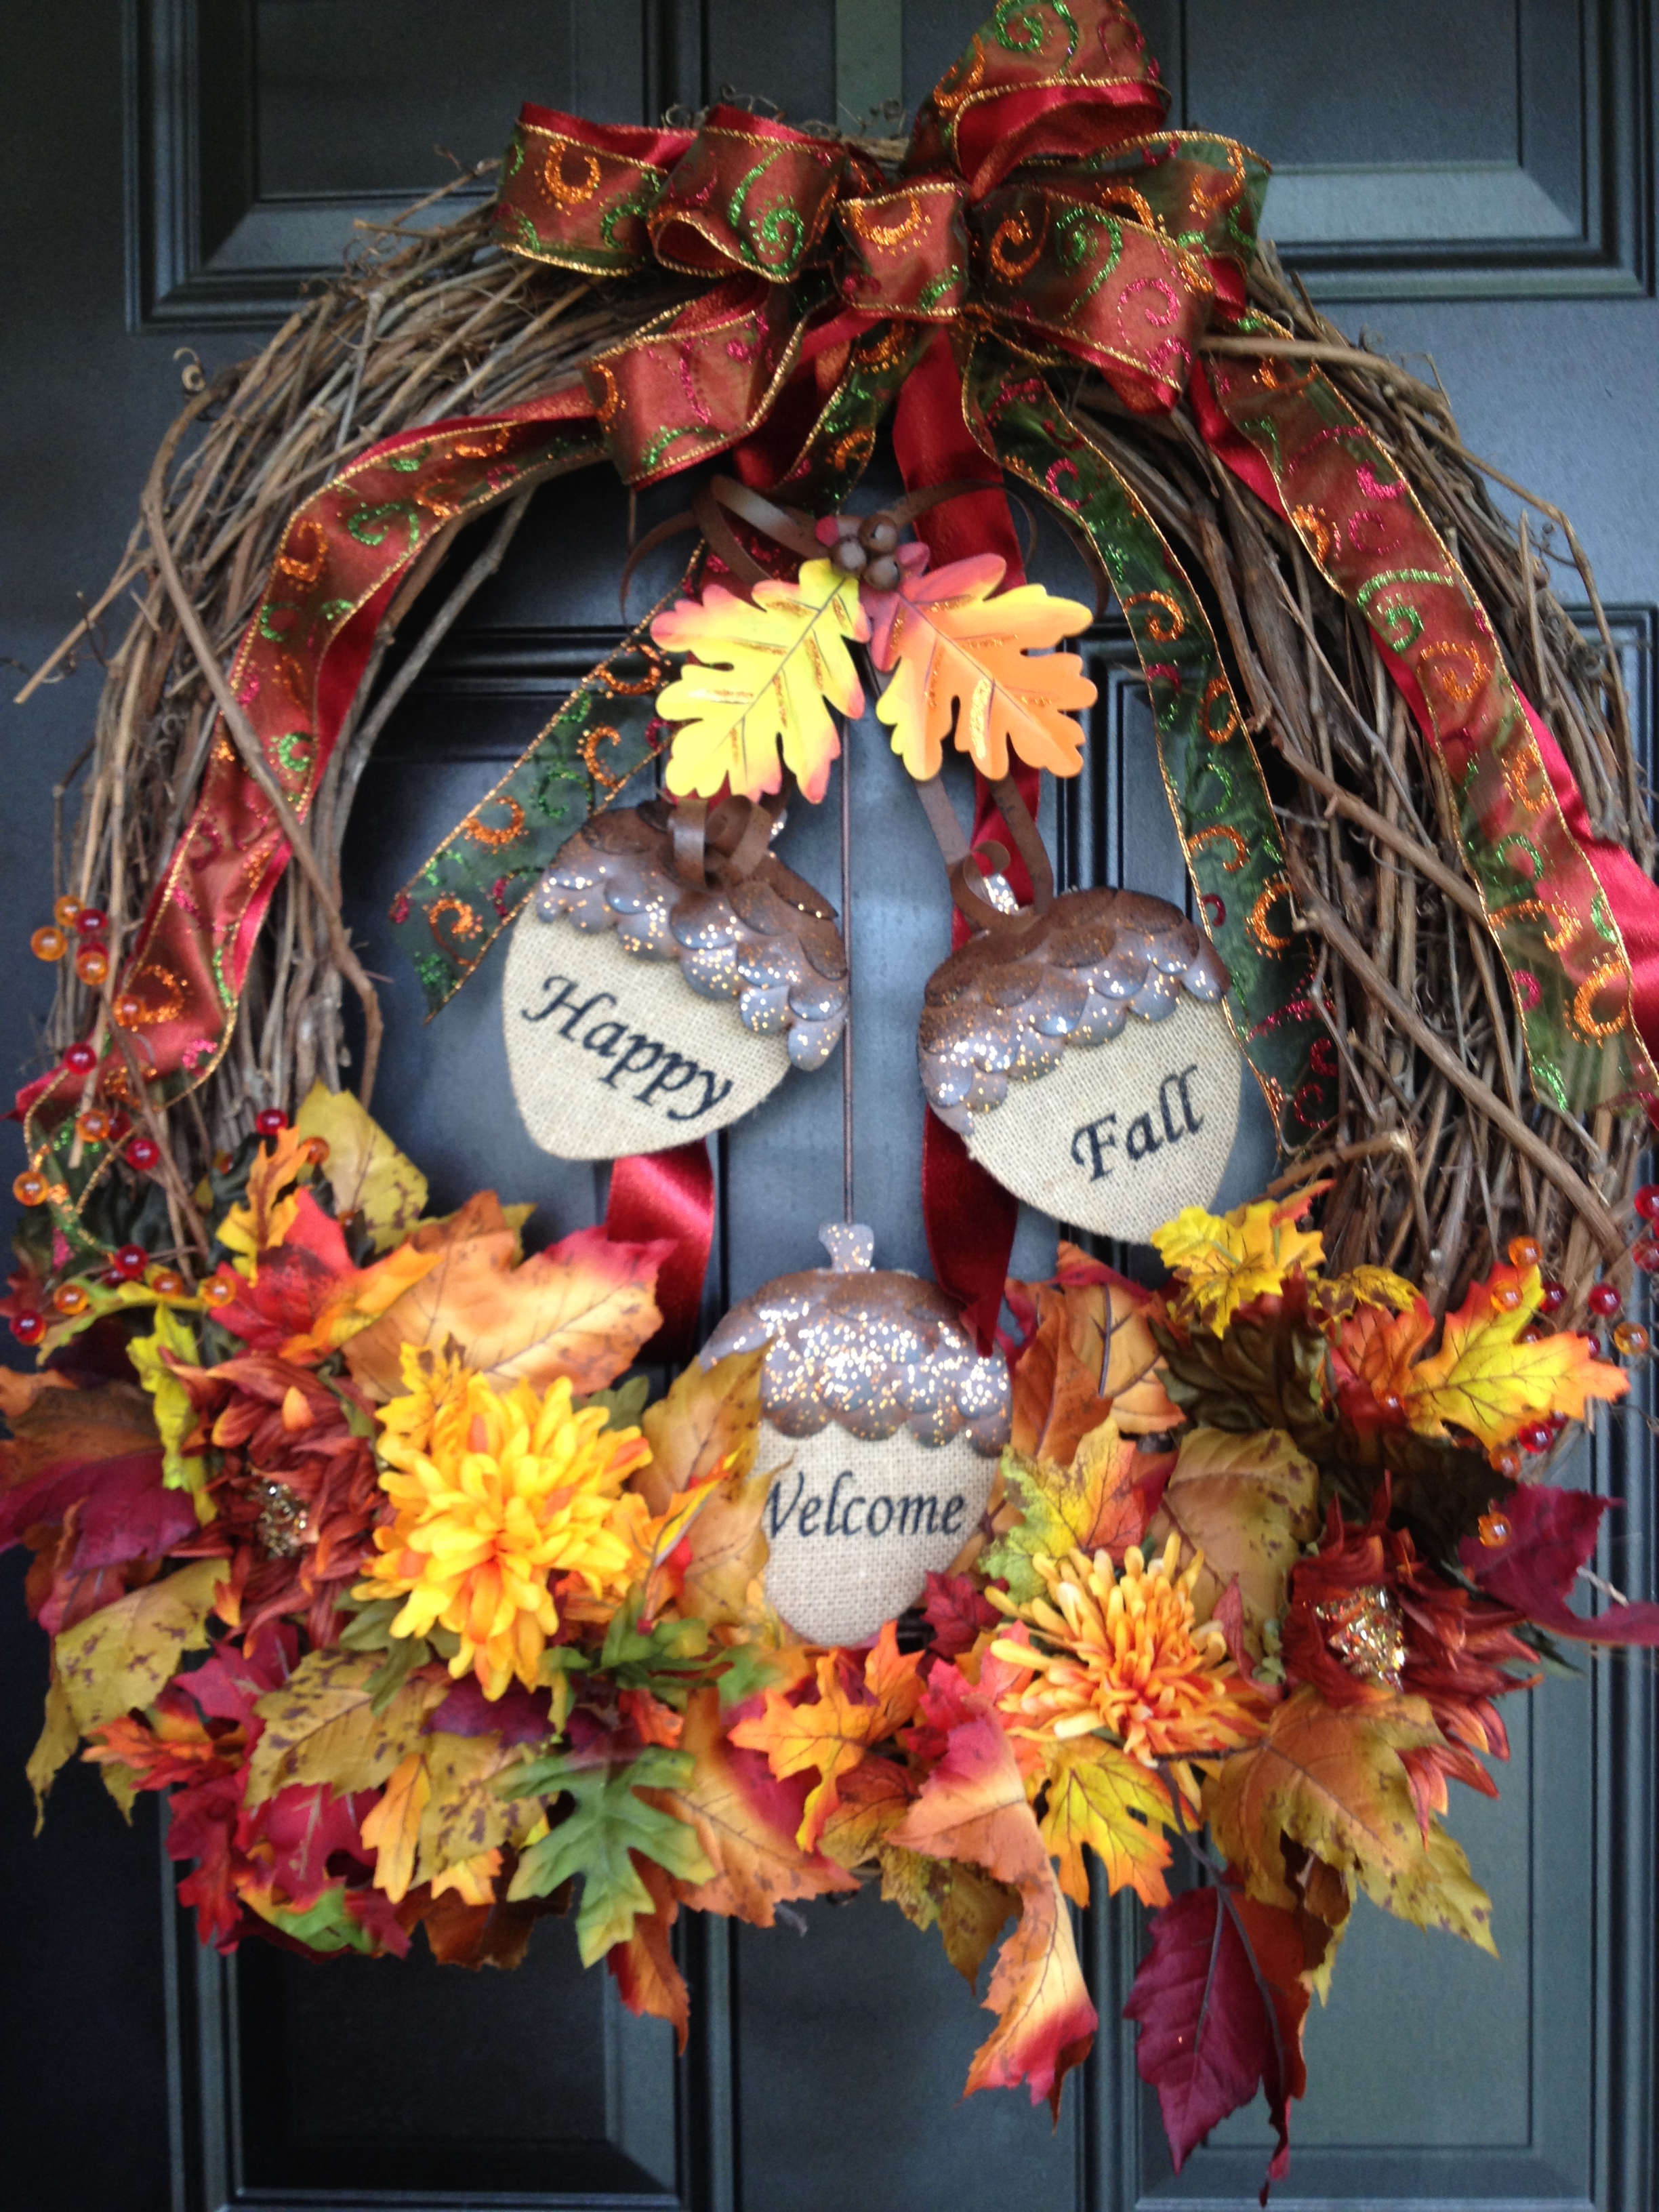
Fall 2012 Decor inside and out- tips, tricks and details
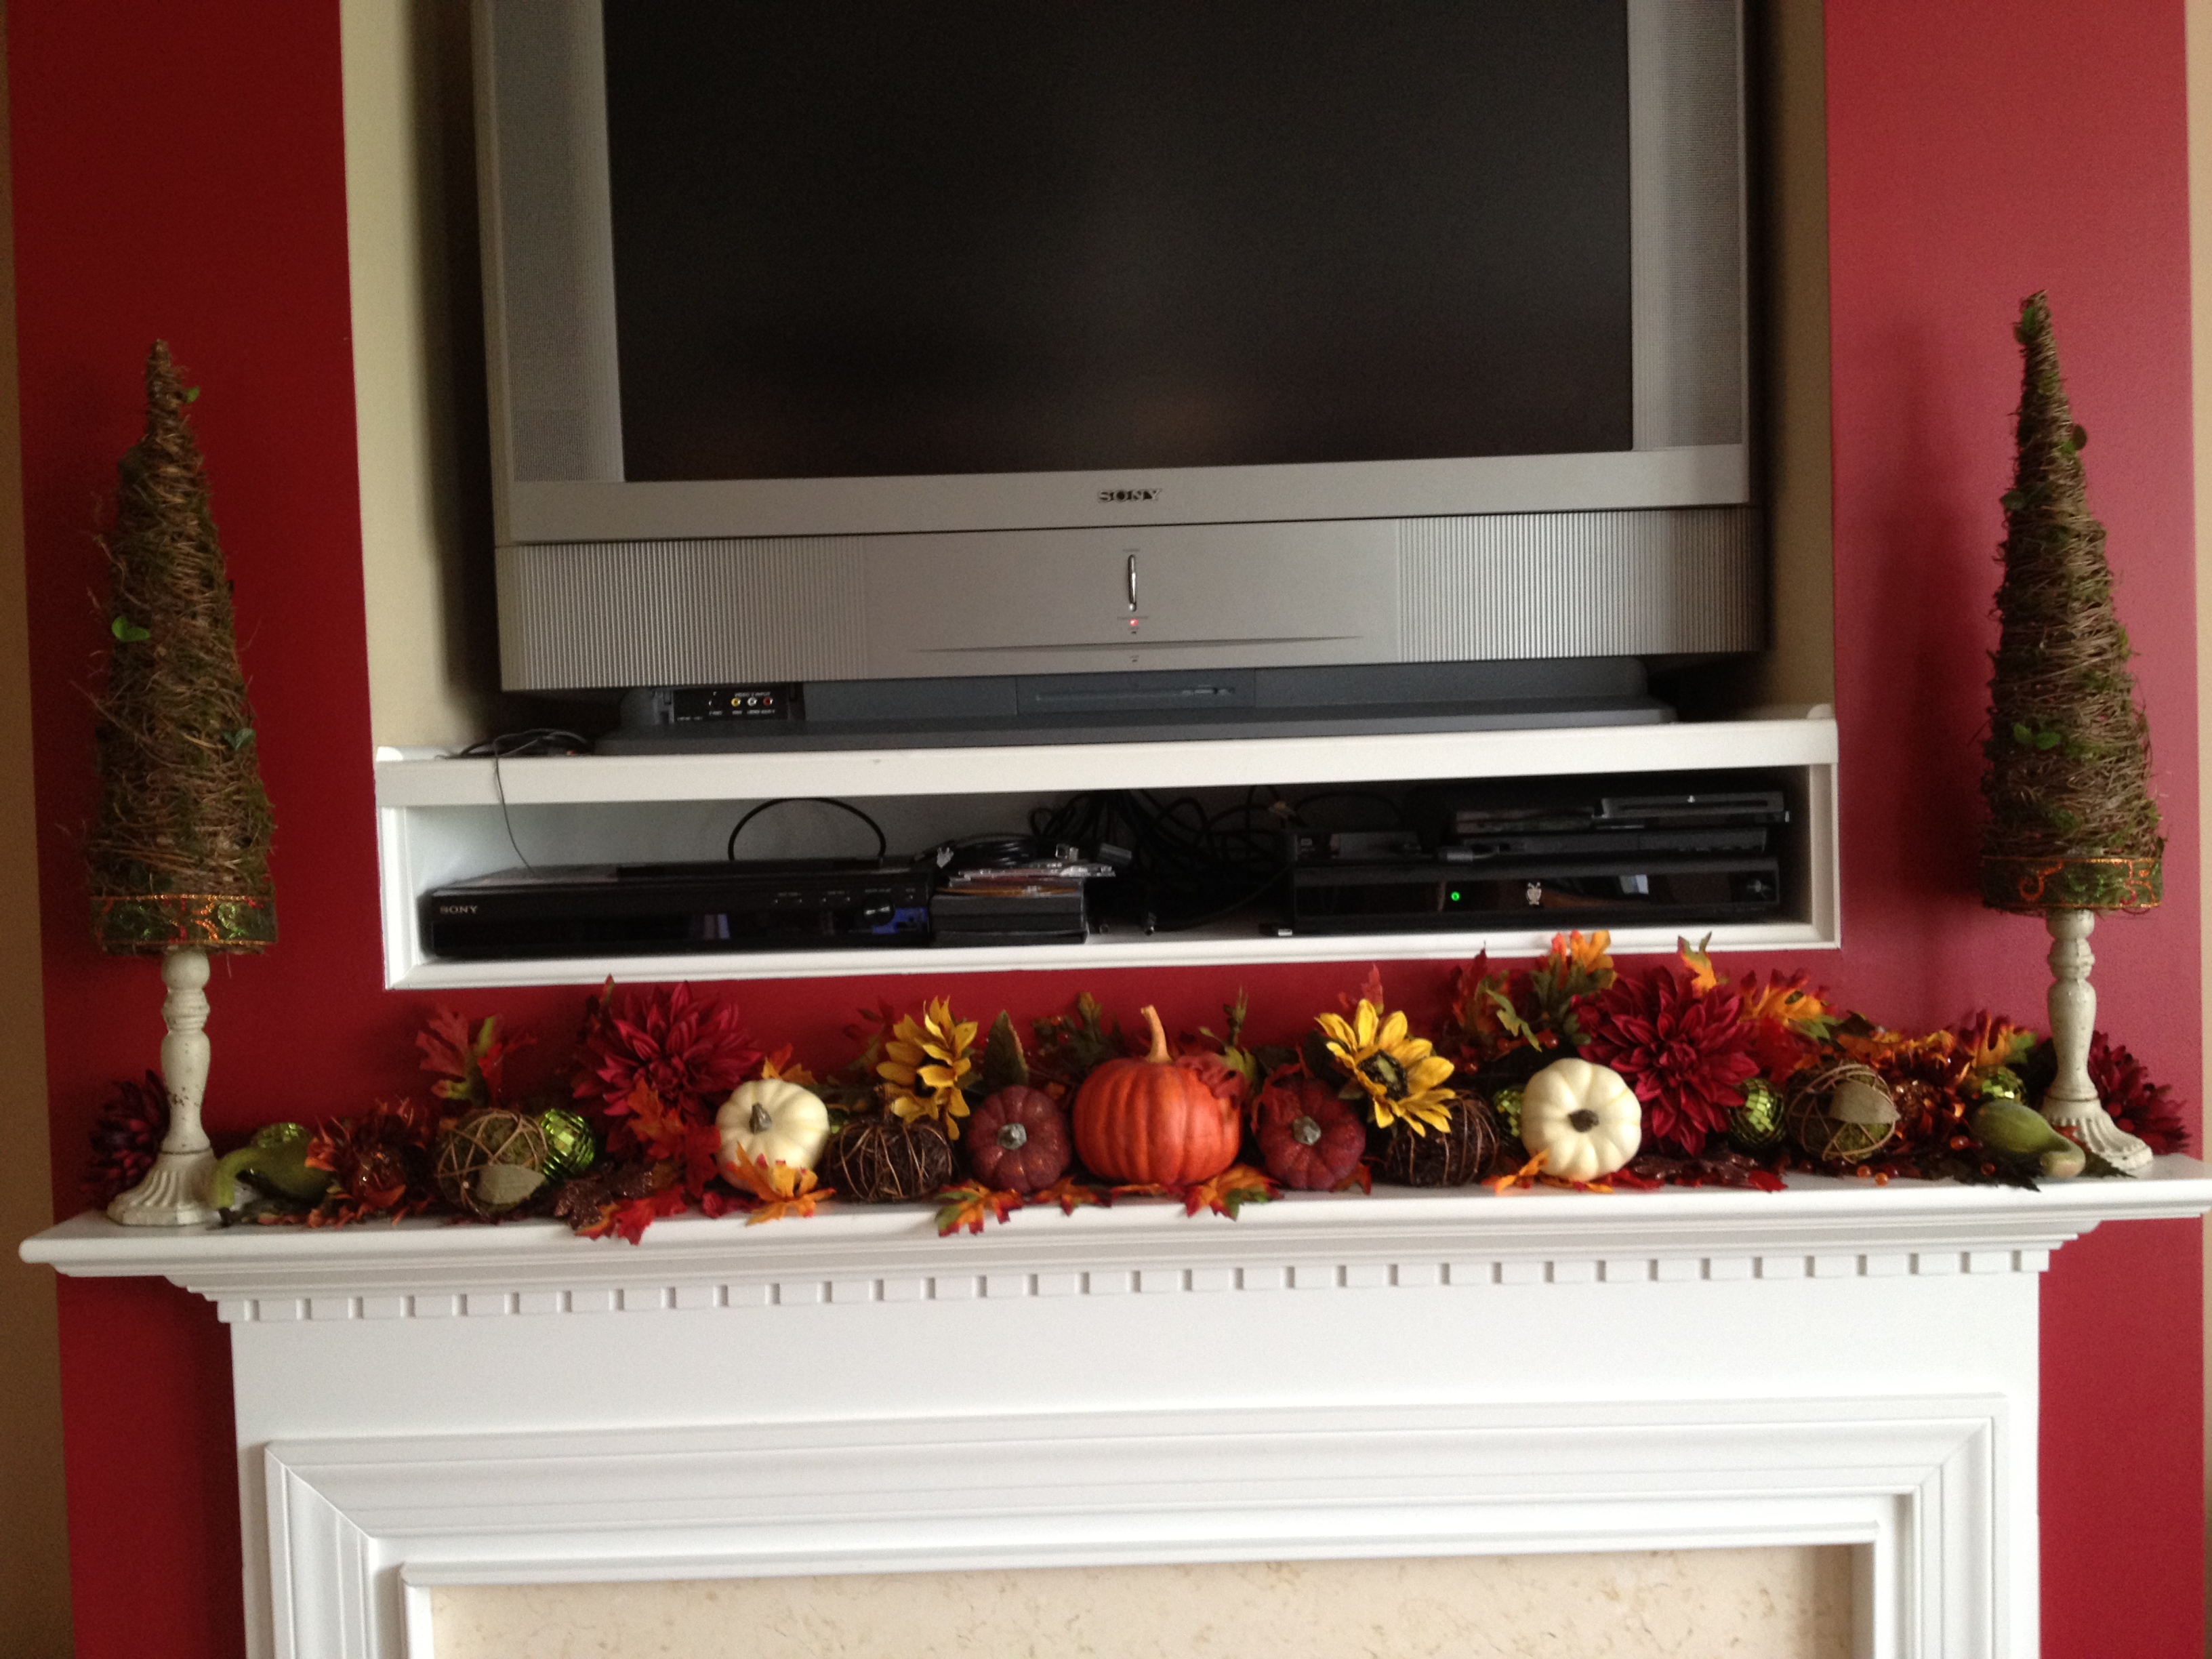
Posted: 2012/09/17 Filed under: Decorating | Tags: decorating tips, Decorating tricks, Fall Decorating, Fall outdoor tree, flower arrangements, Home Decor, how to save money decorating, pumpkins 5 CommentsWell Lovies, It isn’t quite what I hoped to have time, money and energy for this year, but it is as done as it is going to get because we are already focusing on the Halloween Decor. I wanted to do something fall-y with the four window boxes on the front of the house, and that still might get done, but It isn’t going to be a priority this year. I added more brown, green and white to the color scheme and even though I’m not personally blown away by the overall impact, I’m pretty pleased with the small details and sparkly things I was able to add.
Tips, Tricks and Details:
First you really must take inventory and plan:
I have mentioned before that I break down my stems and picks and store them away by category. This makes for more time intensive decorating, but it also allows for things to be just a little bit different every year. I really never know what I’m going to do until I start doing it. I bought a few things to add and probably would like to acquire some more, like leaves for instance. As I was unpacking it all in the basement and taking inventory I knew I wanted to change some things up so I took pics on my phone of what I had and took those along with me as I went shopping. This came in handy more than a few times. I salvaged an old lidless tall kitchen trash can we were done with and am now using it to store my taller stems, it’s perfect for the job! I got the idea when I got tired of using my tall Rubbermaid wrapping container and noticed the trash can was sitting in the garage and almost the exact same size and shape.
Then there is the shopping:
Why does every place I go take 90 minutes and cost $100. I don’t know maybe it is just me and my need to be able to think and process while I shop, but I usually end up hitting all the home stores in my area. Michael’s, Hobby Lobby, Garden Ridge ( I hate this place) and Jo Ann Etc.
I try to browse first and then make my choices. The Michael’s and Hobby Lobby are across the street from each other in the next town over so I concentrated my efforts there. I always shop when things are on sale, because it seems ALL stores these days like to place ridiculous prices on everything then put it on sale for 40%-60% off. They seriously must think we are all just that stupid. Like I’m really going to pay $50 for a plain black table runner with some crystal spiders on it from Jo Ann? In what universe do they think anyone believes that product is worth what they are trying to charge? In reality is in just plain annoying, but if you want to save money you have to figure out how to play the game. So never ever ever ever buy anything that isn’t marked down, if you want to save gas and time stalk the ads and plan ahead before you go.
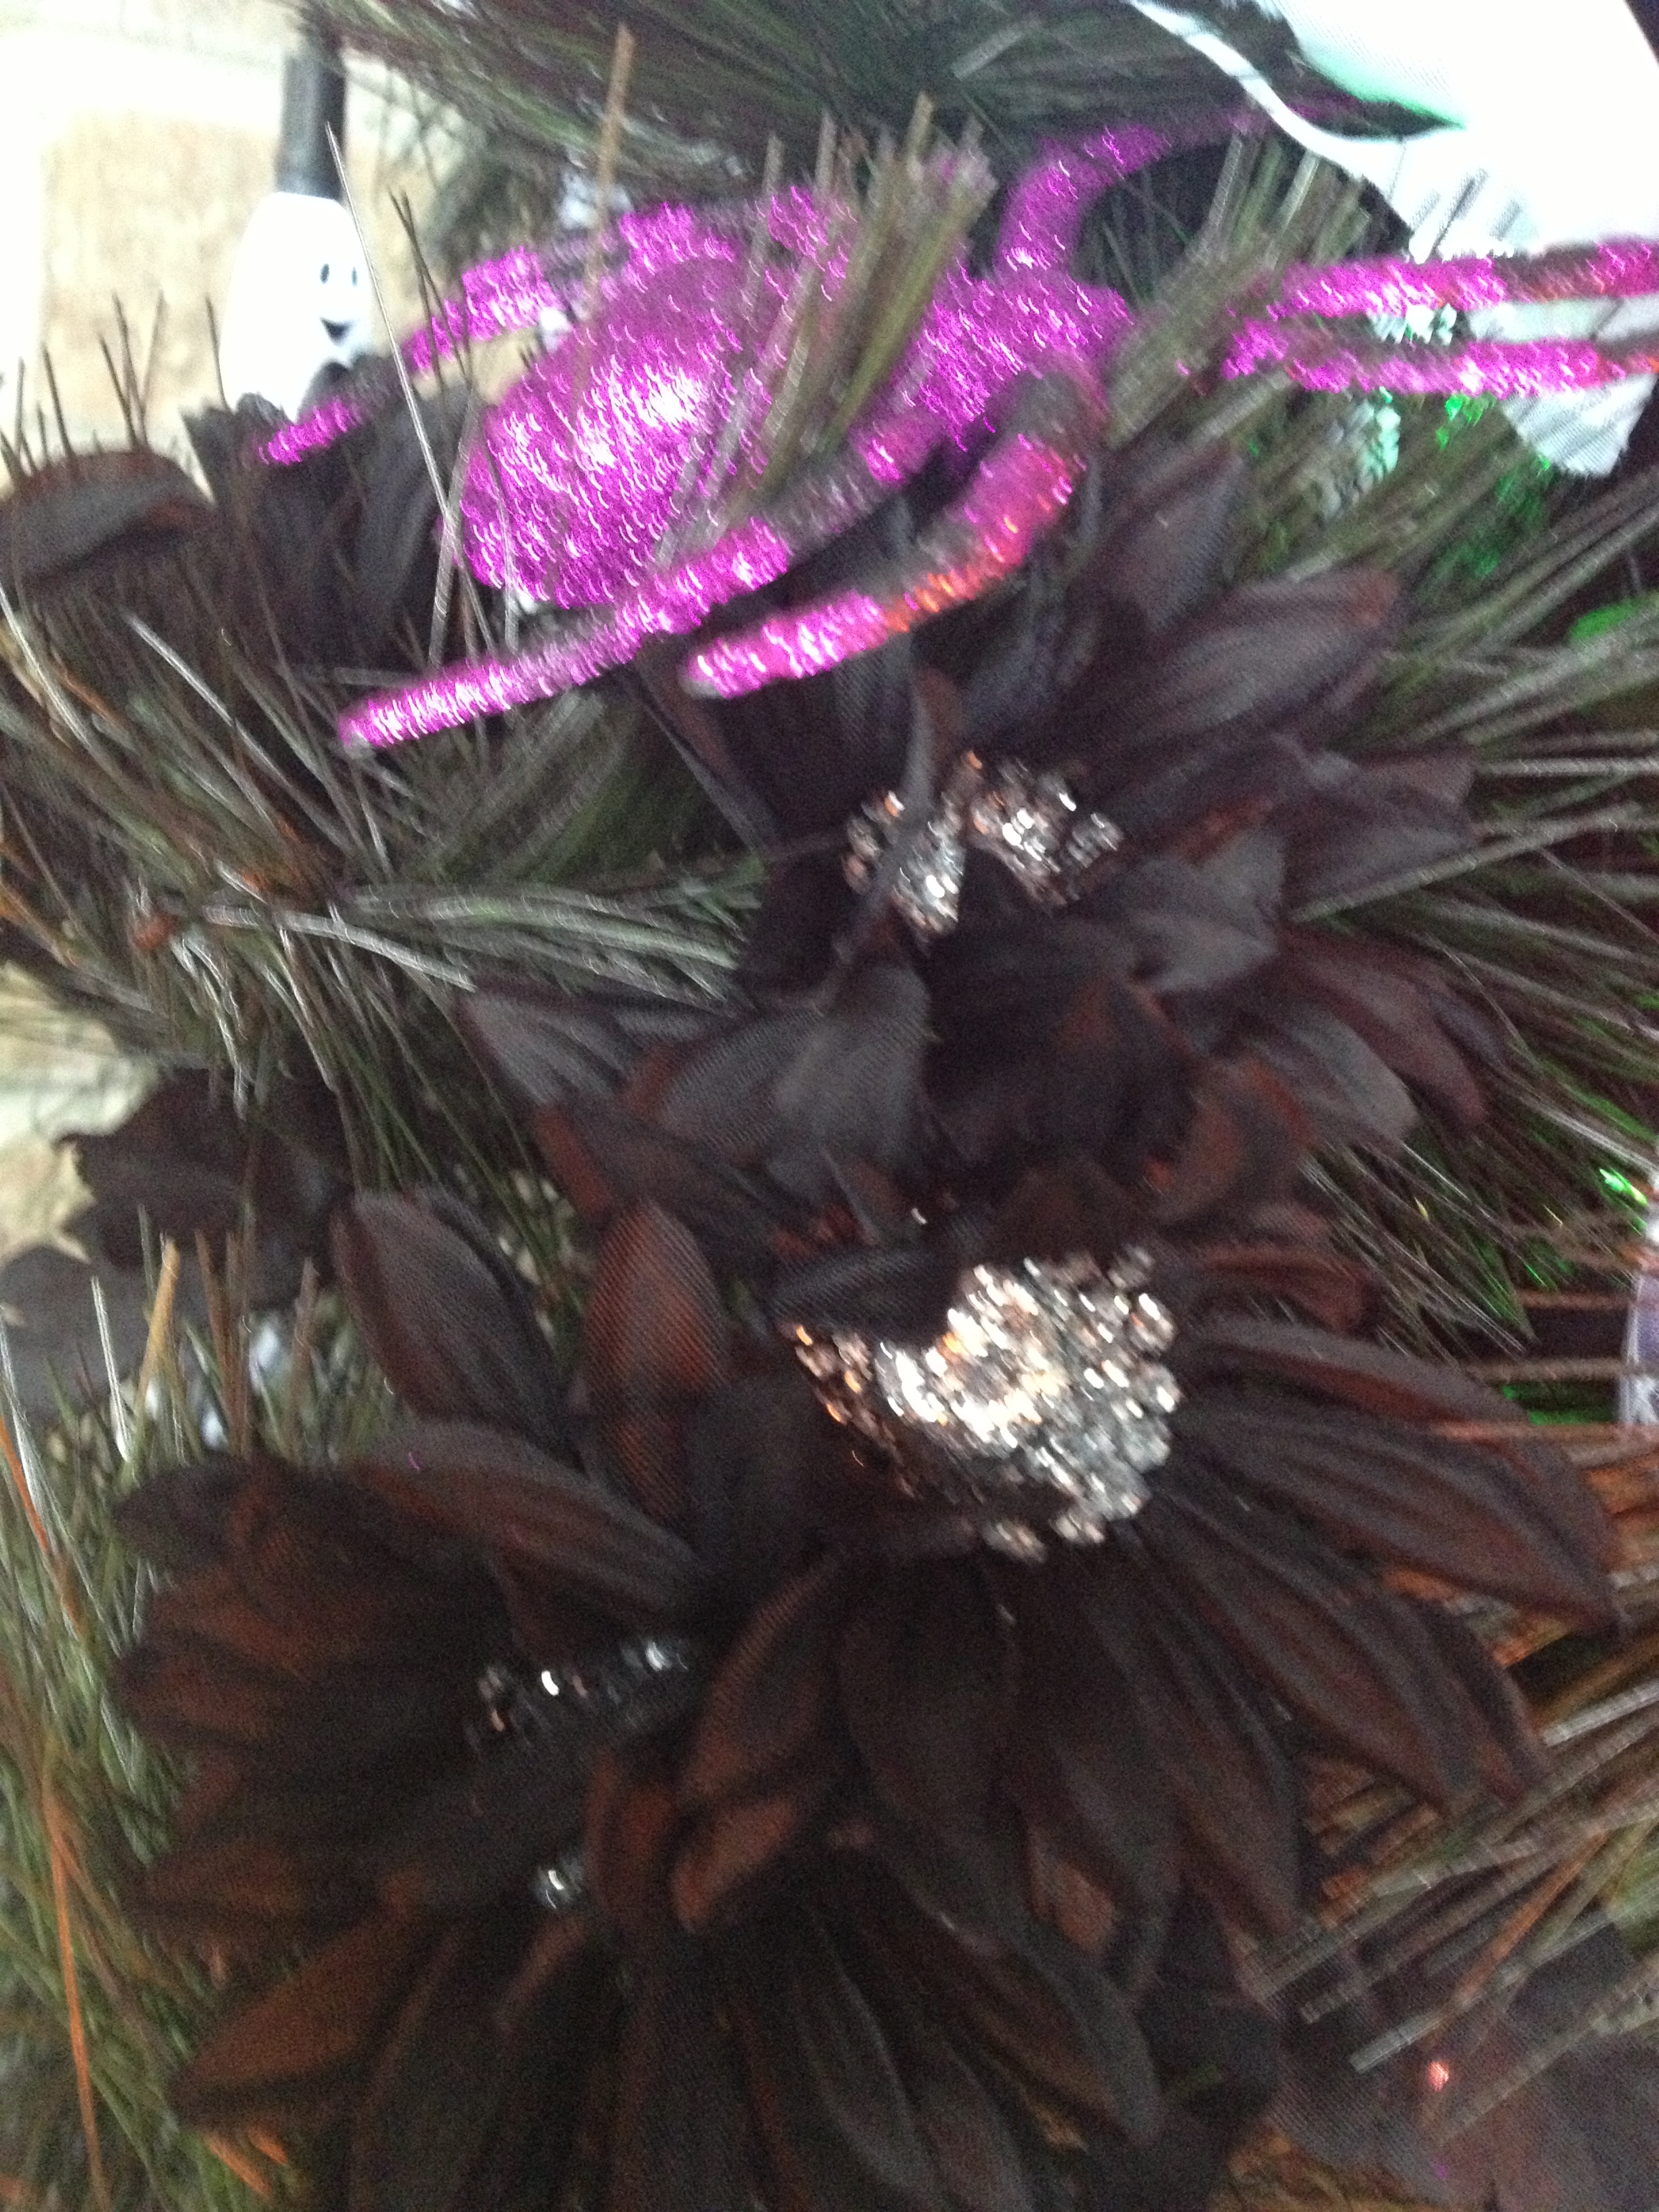
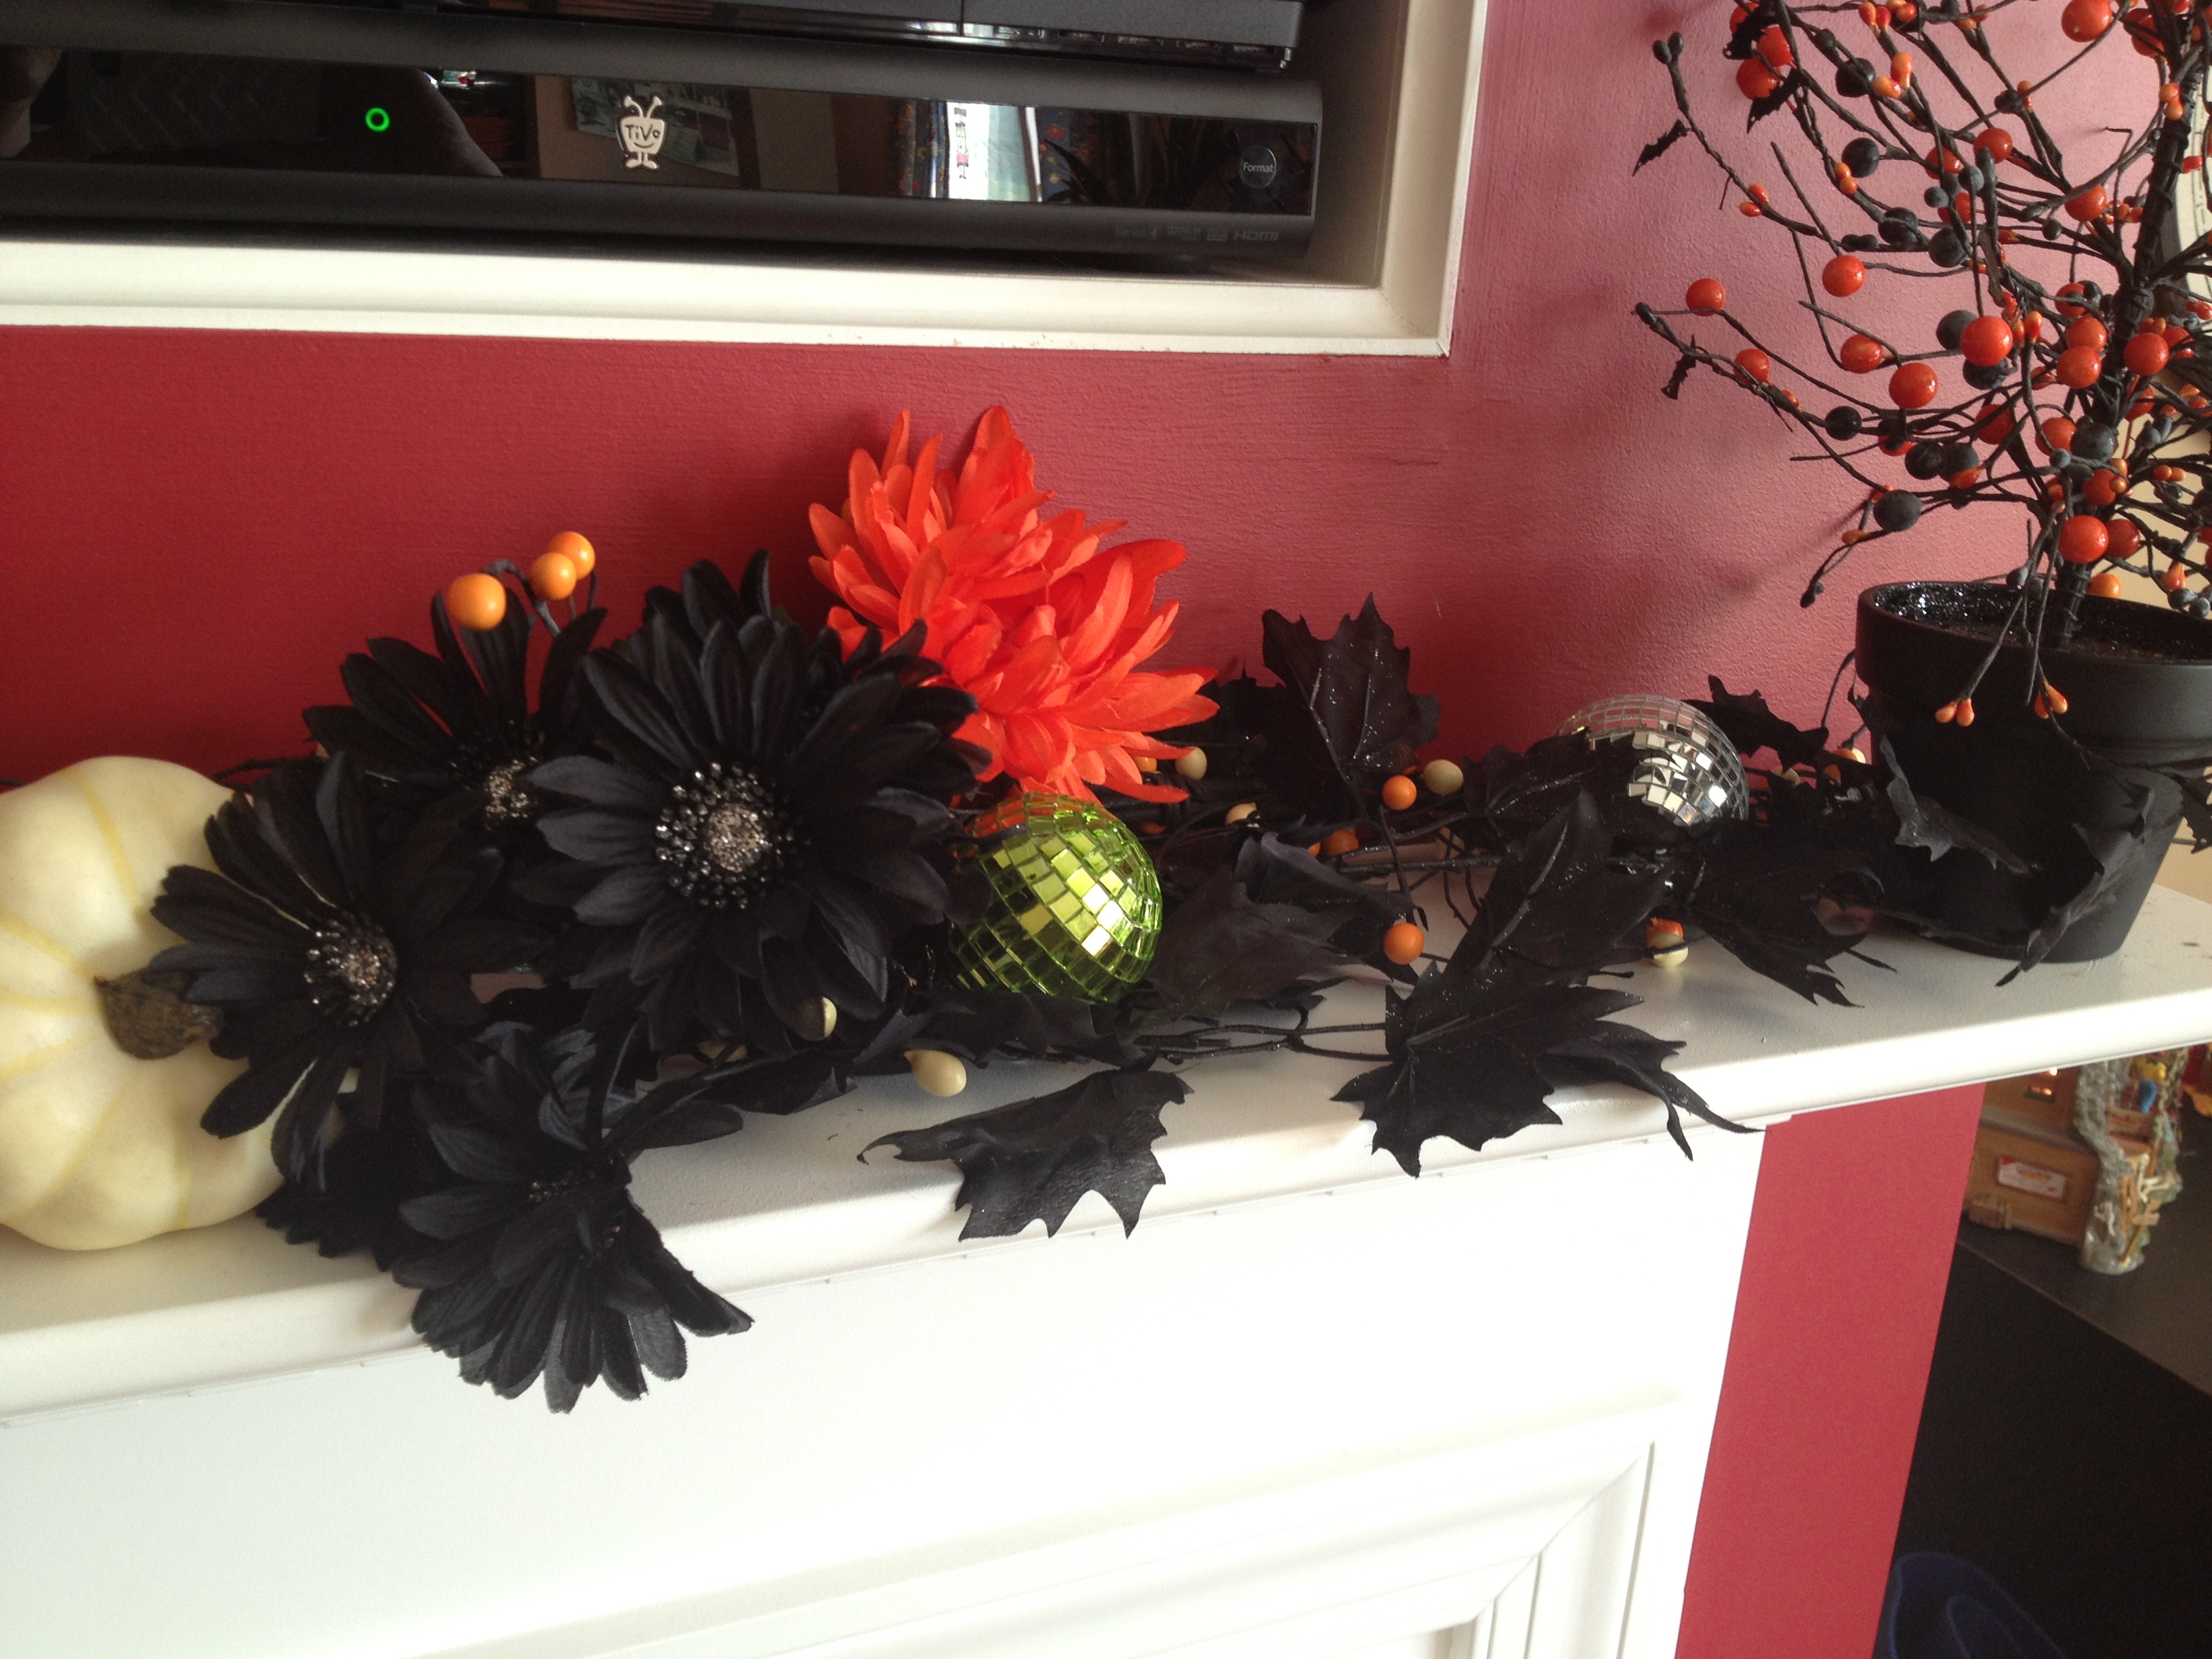
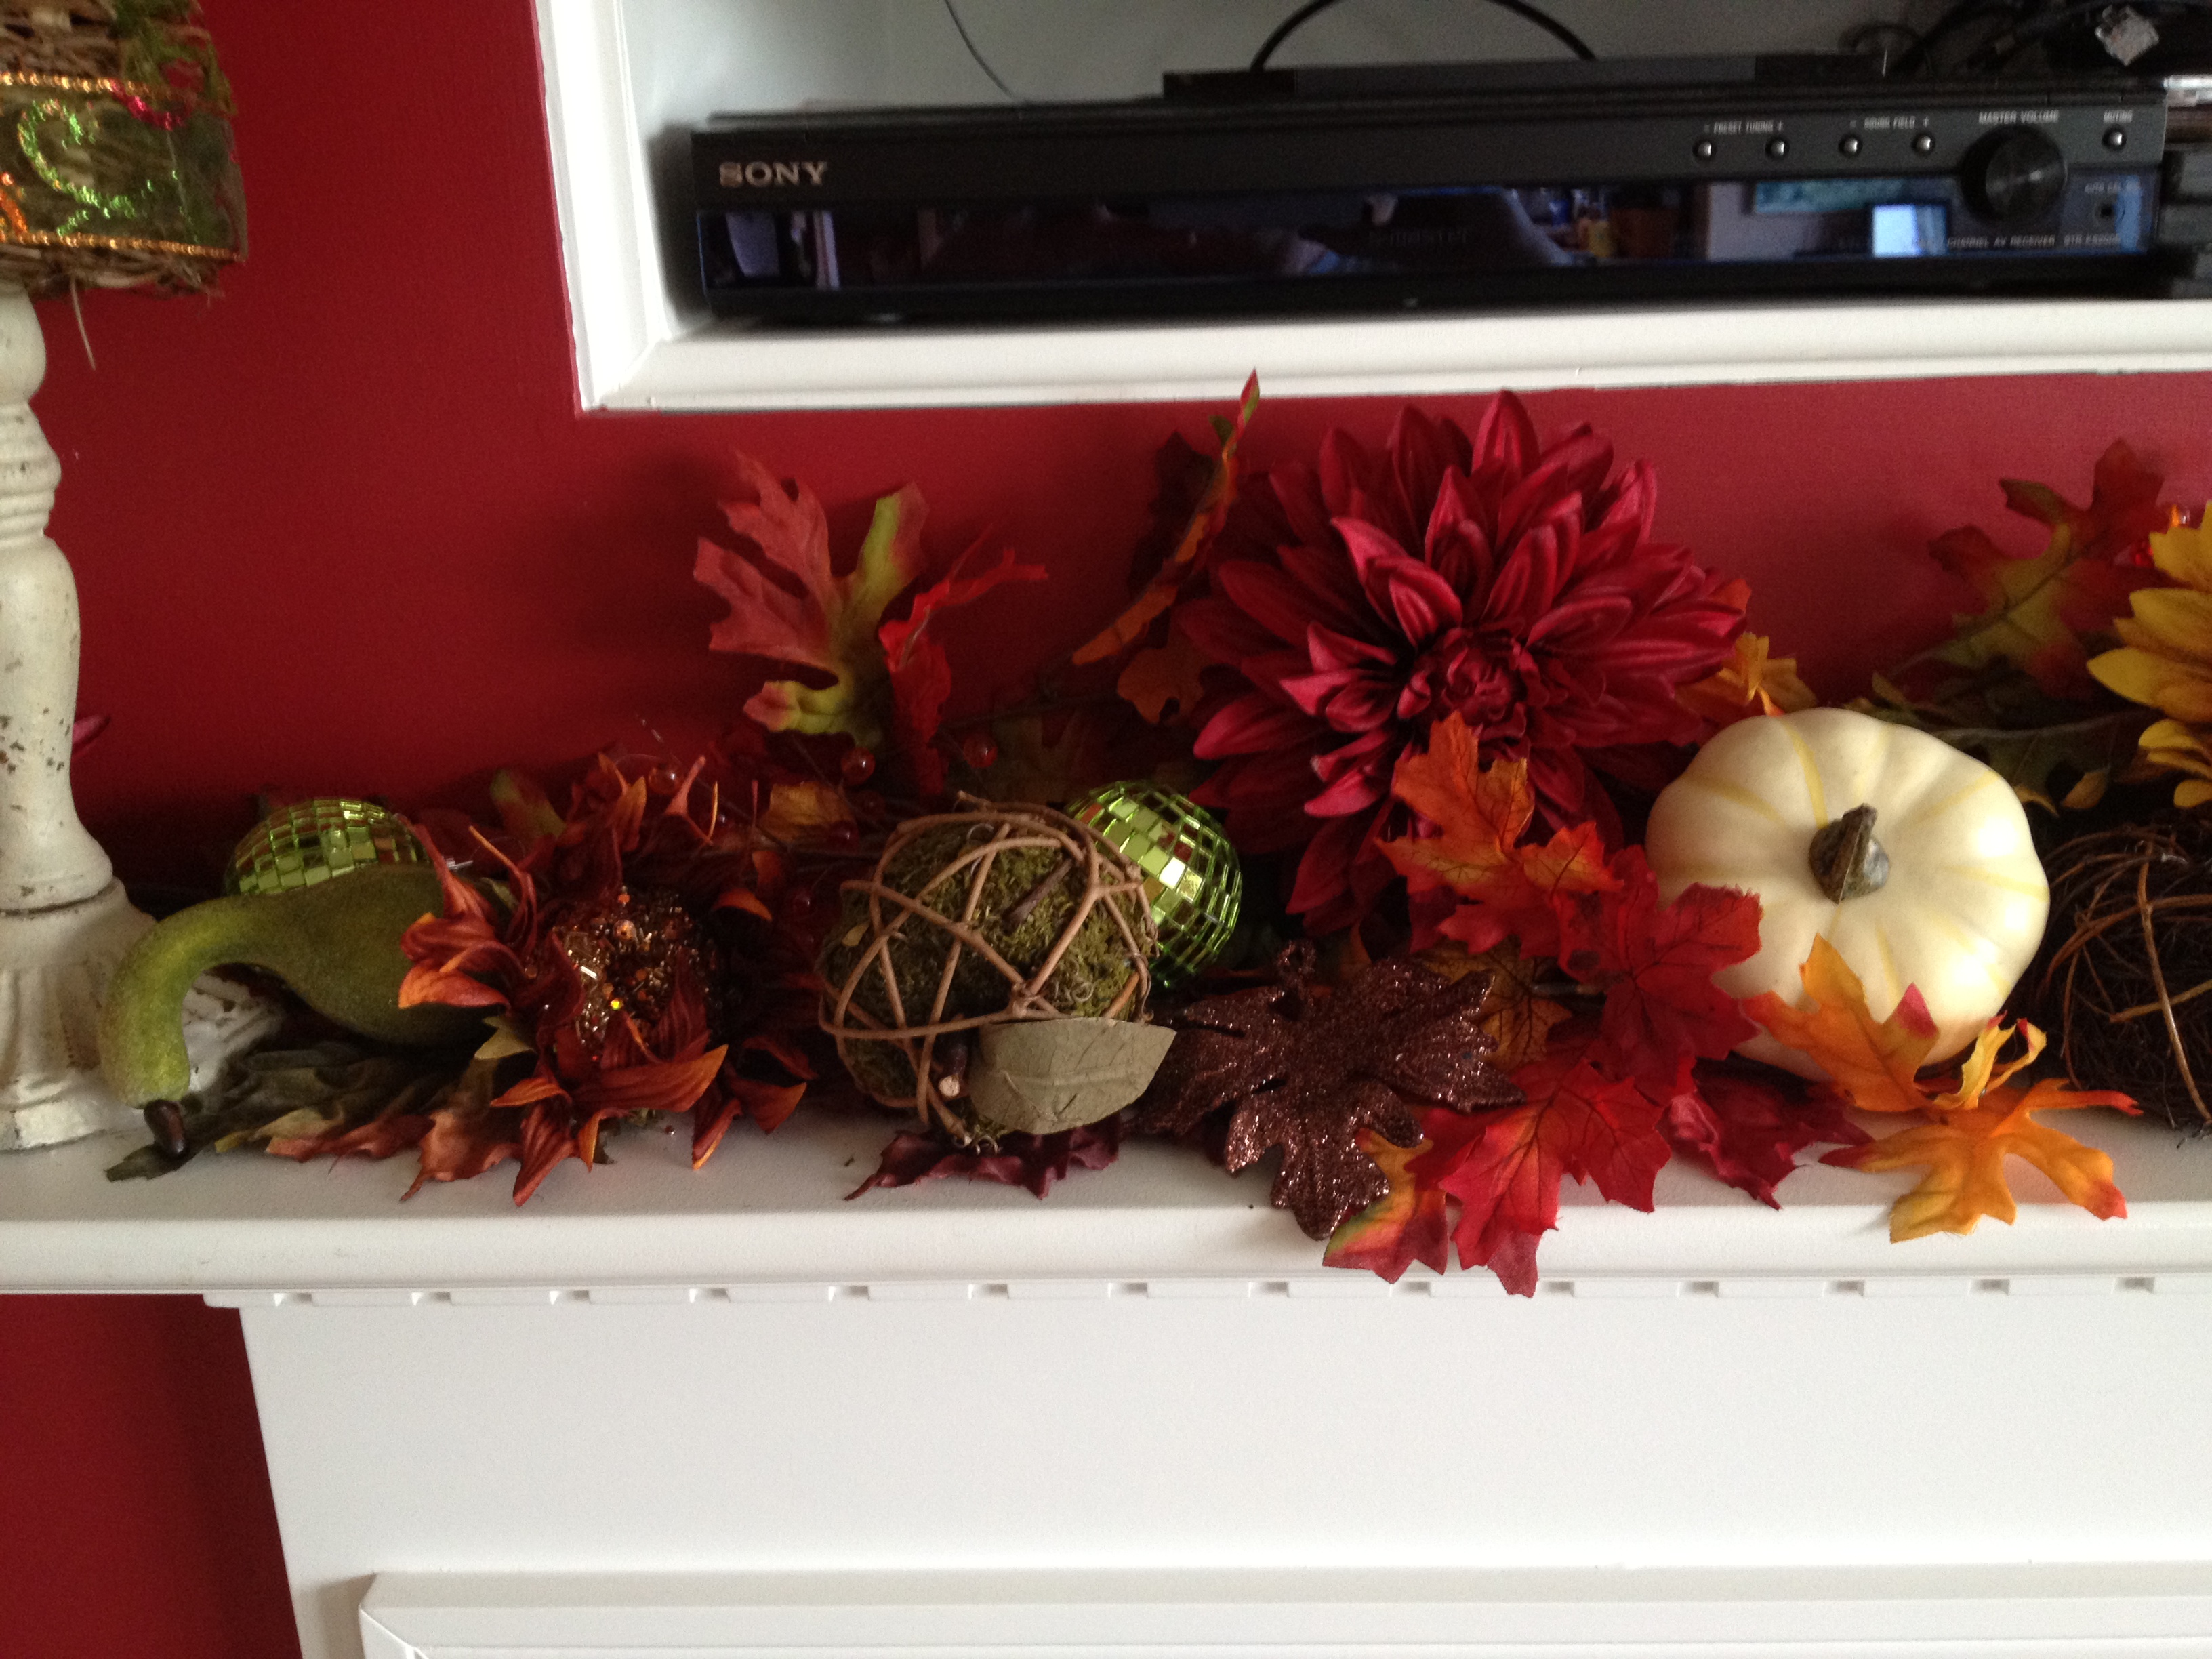
Do not underestimate the fact that spending some extra time looking around can save you some cash. One of my favorite acquisitions this year was the sunflower pics with the sparkly centers. I first found them in bush form at $25 a bush, there were 5 of them on each bush and some leaves, bringing the price to $5 per sunflower (before % off discount). They were are gorgeous brown and I had them in my cart as a maybe. This was after I stalked every last inch of floral to see if they had bigger ones on single stems for about the same price or cheaper, which they often do. I then headed to the seasonal aisles and spent time looking very carefully at the single pick type floral. While there I found the exact same thing, in a slightly different color, but still more brown-y bronz-y with no leaves at for $2.47 a pick (before % off discount) SCORE!!!! I put my overpriced $25 bushes back and grabbed at least 10 of those suckers.
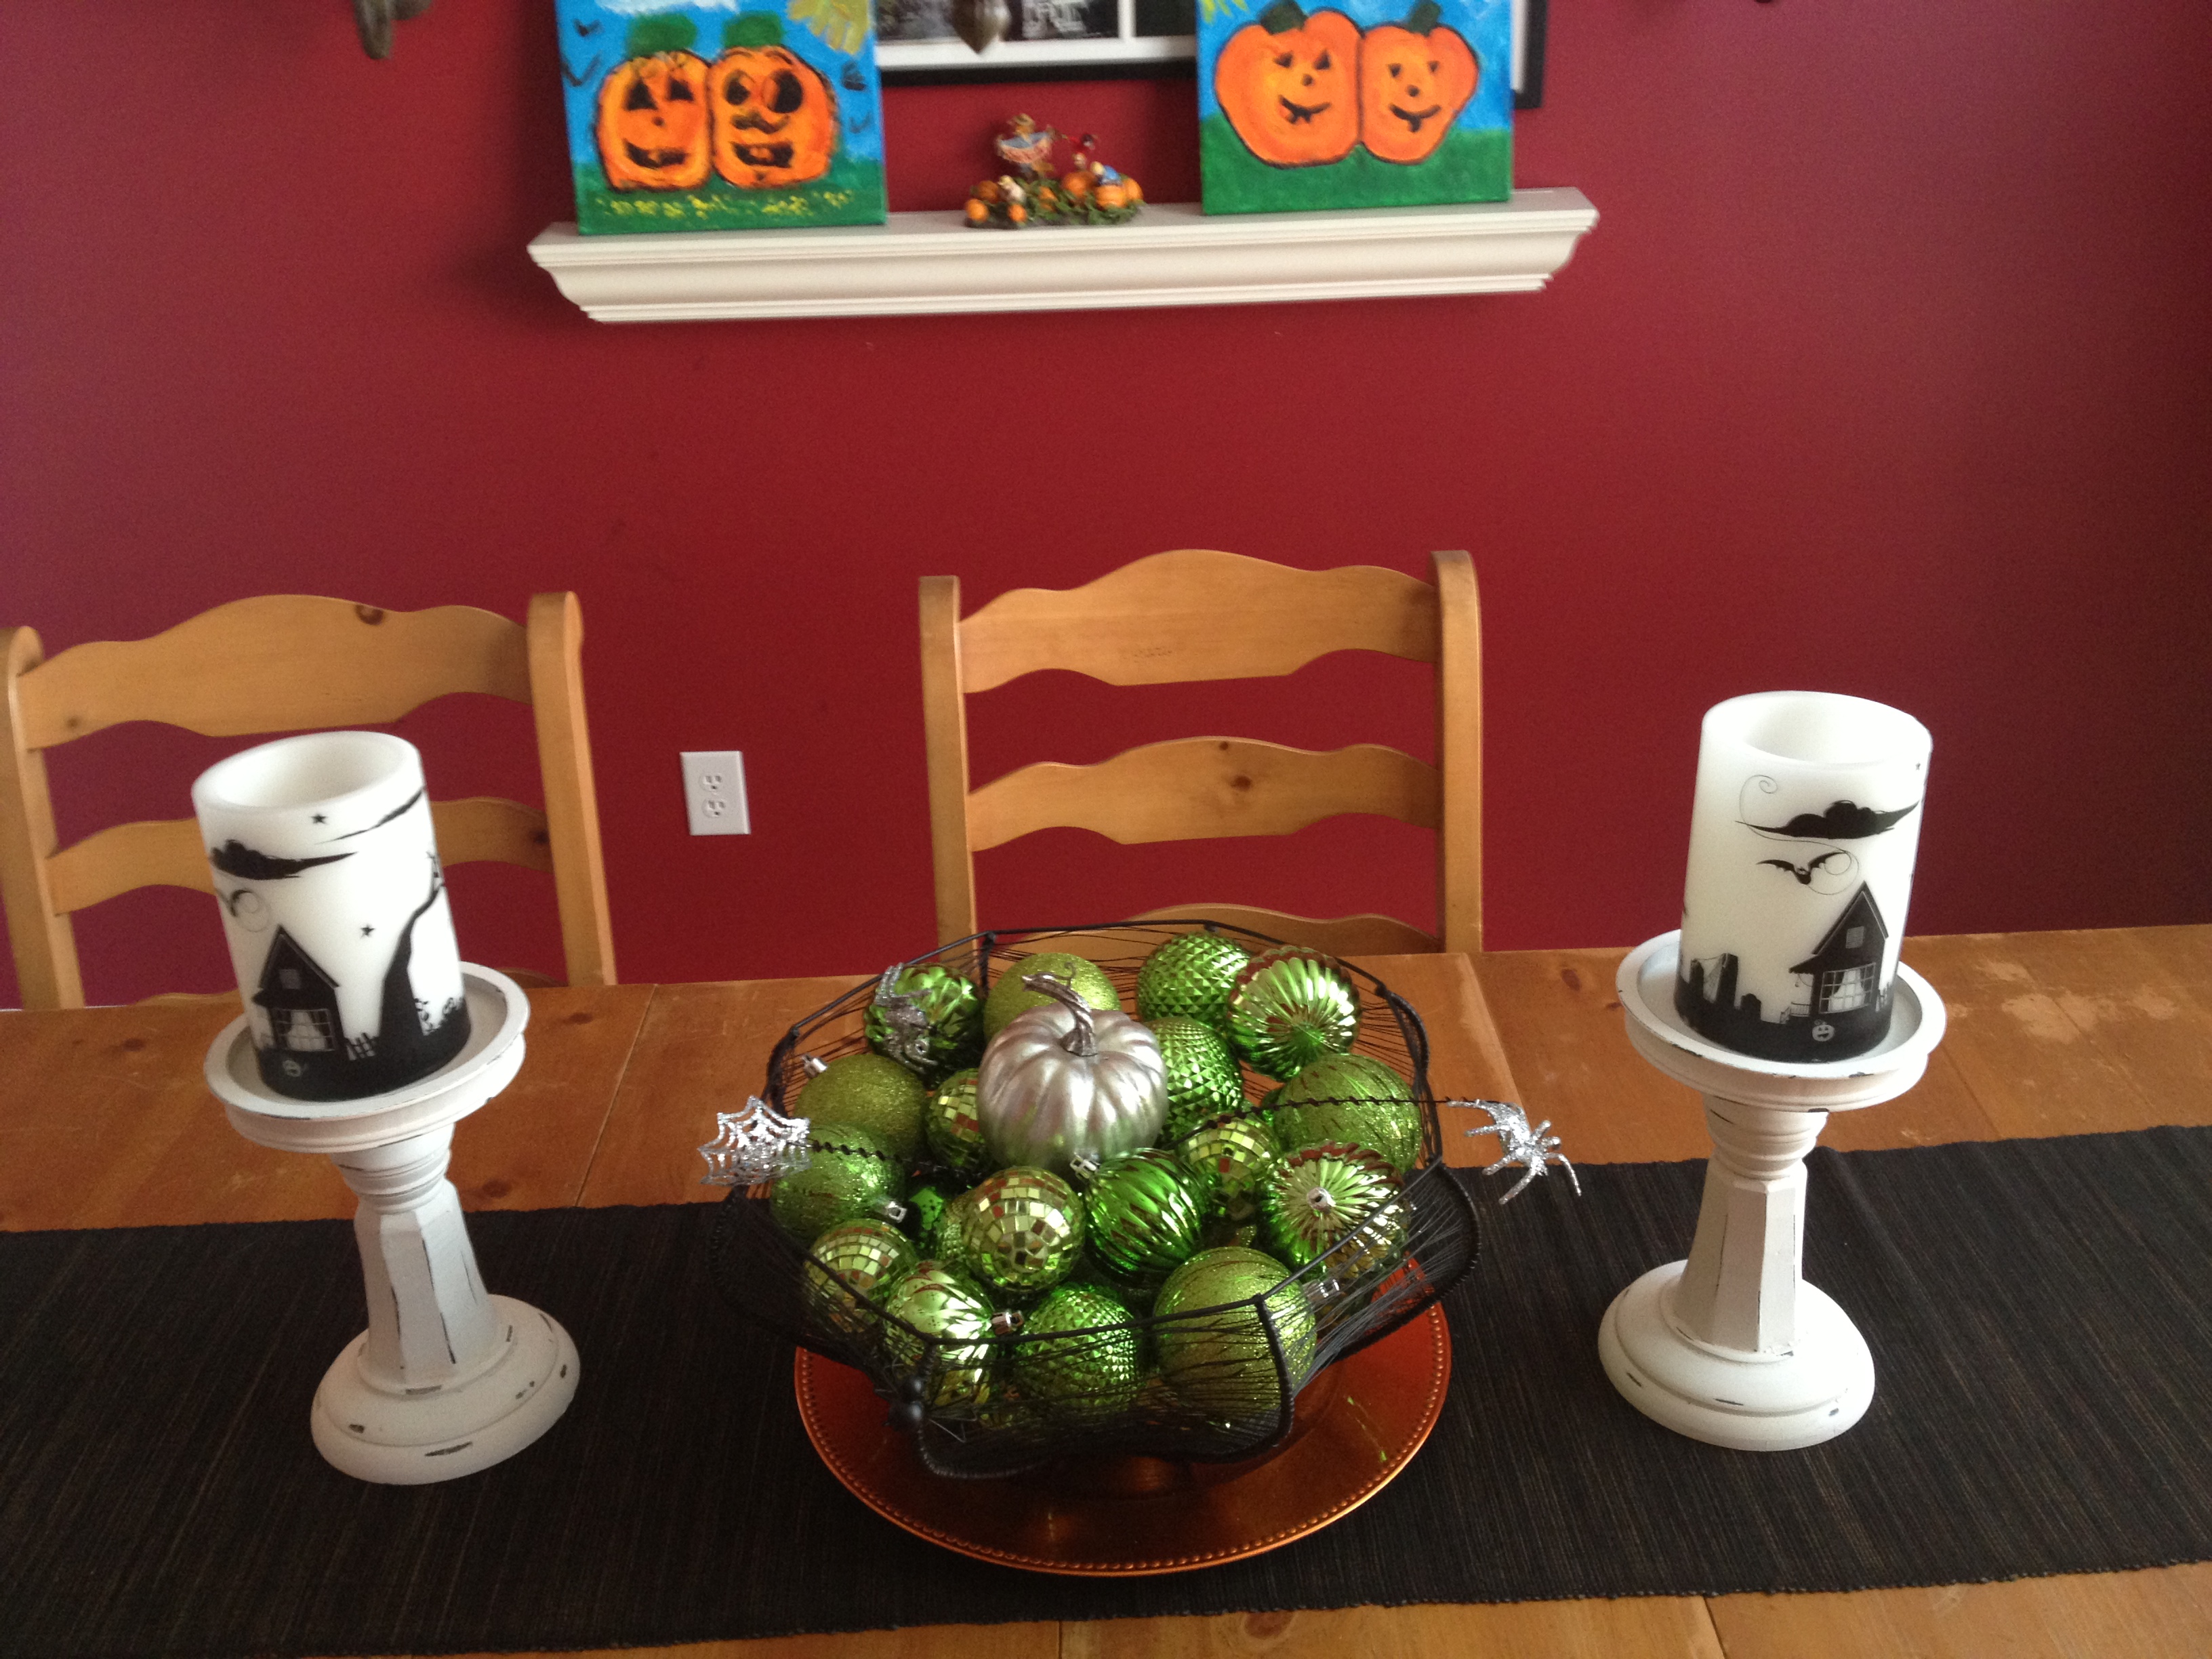
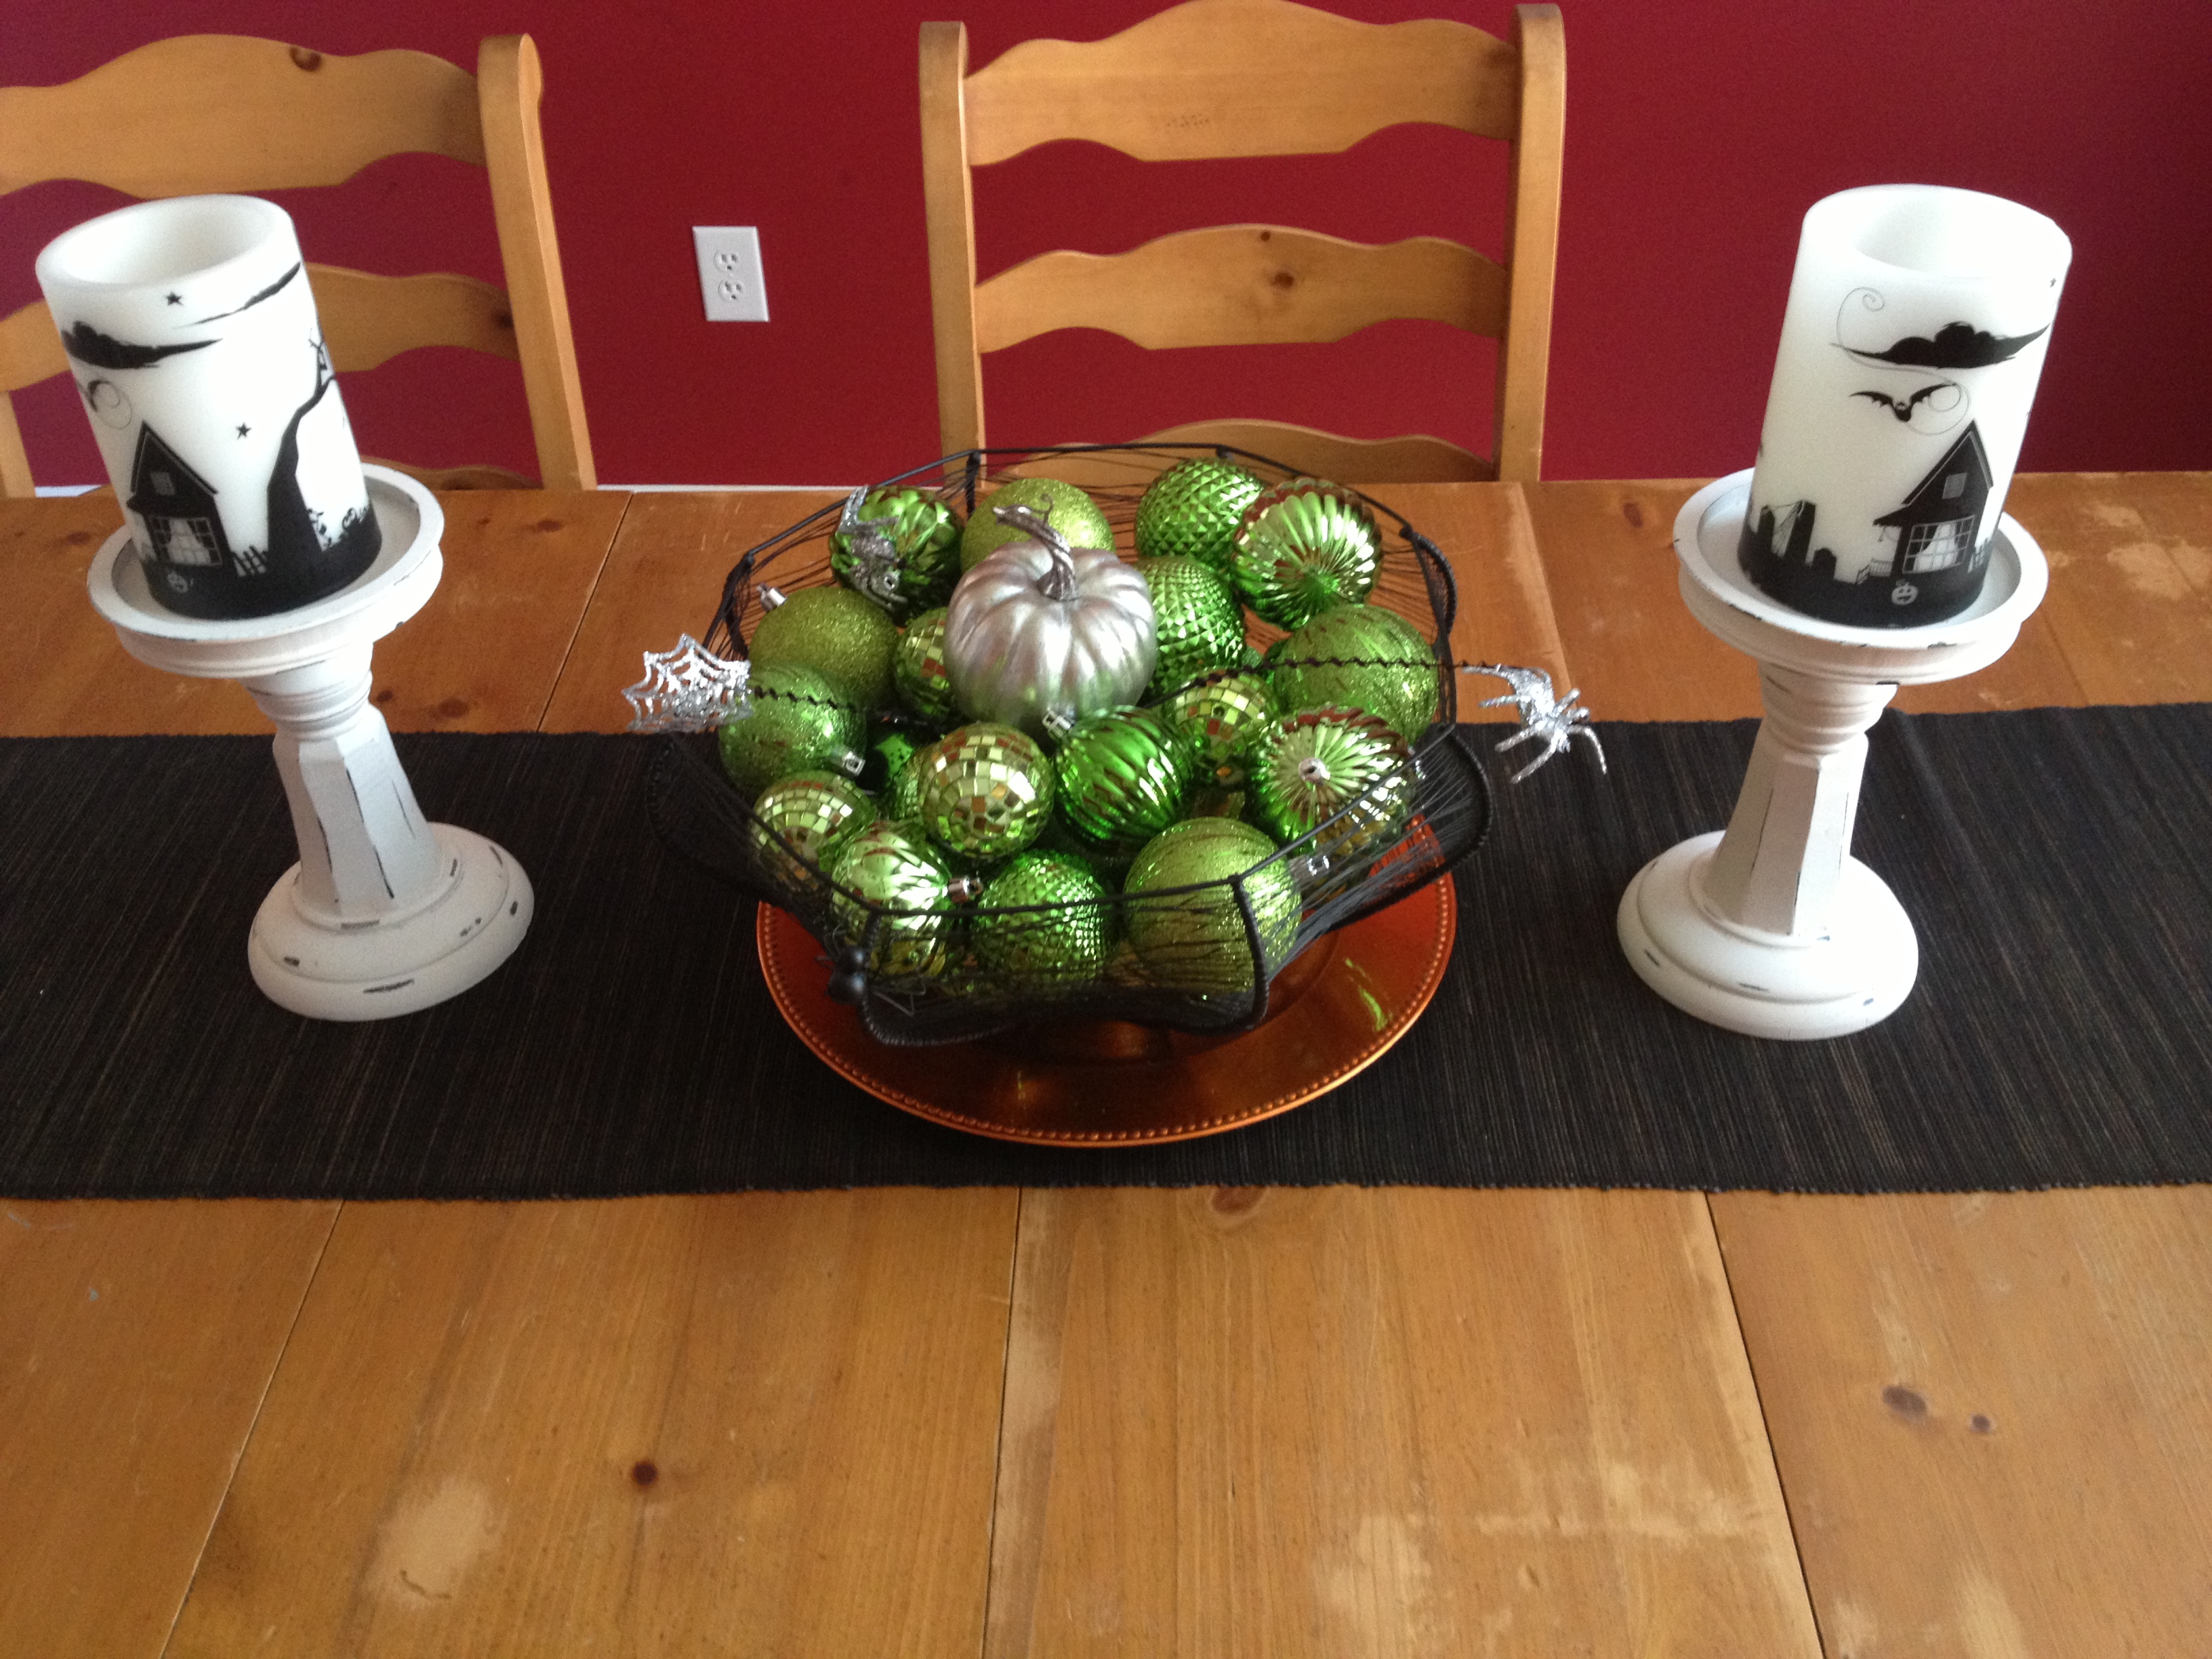
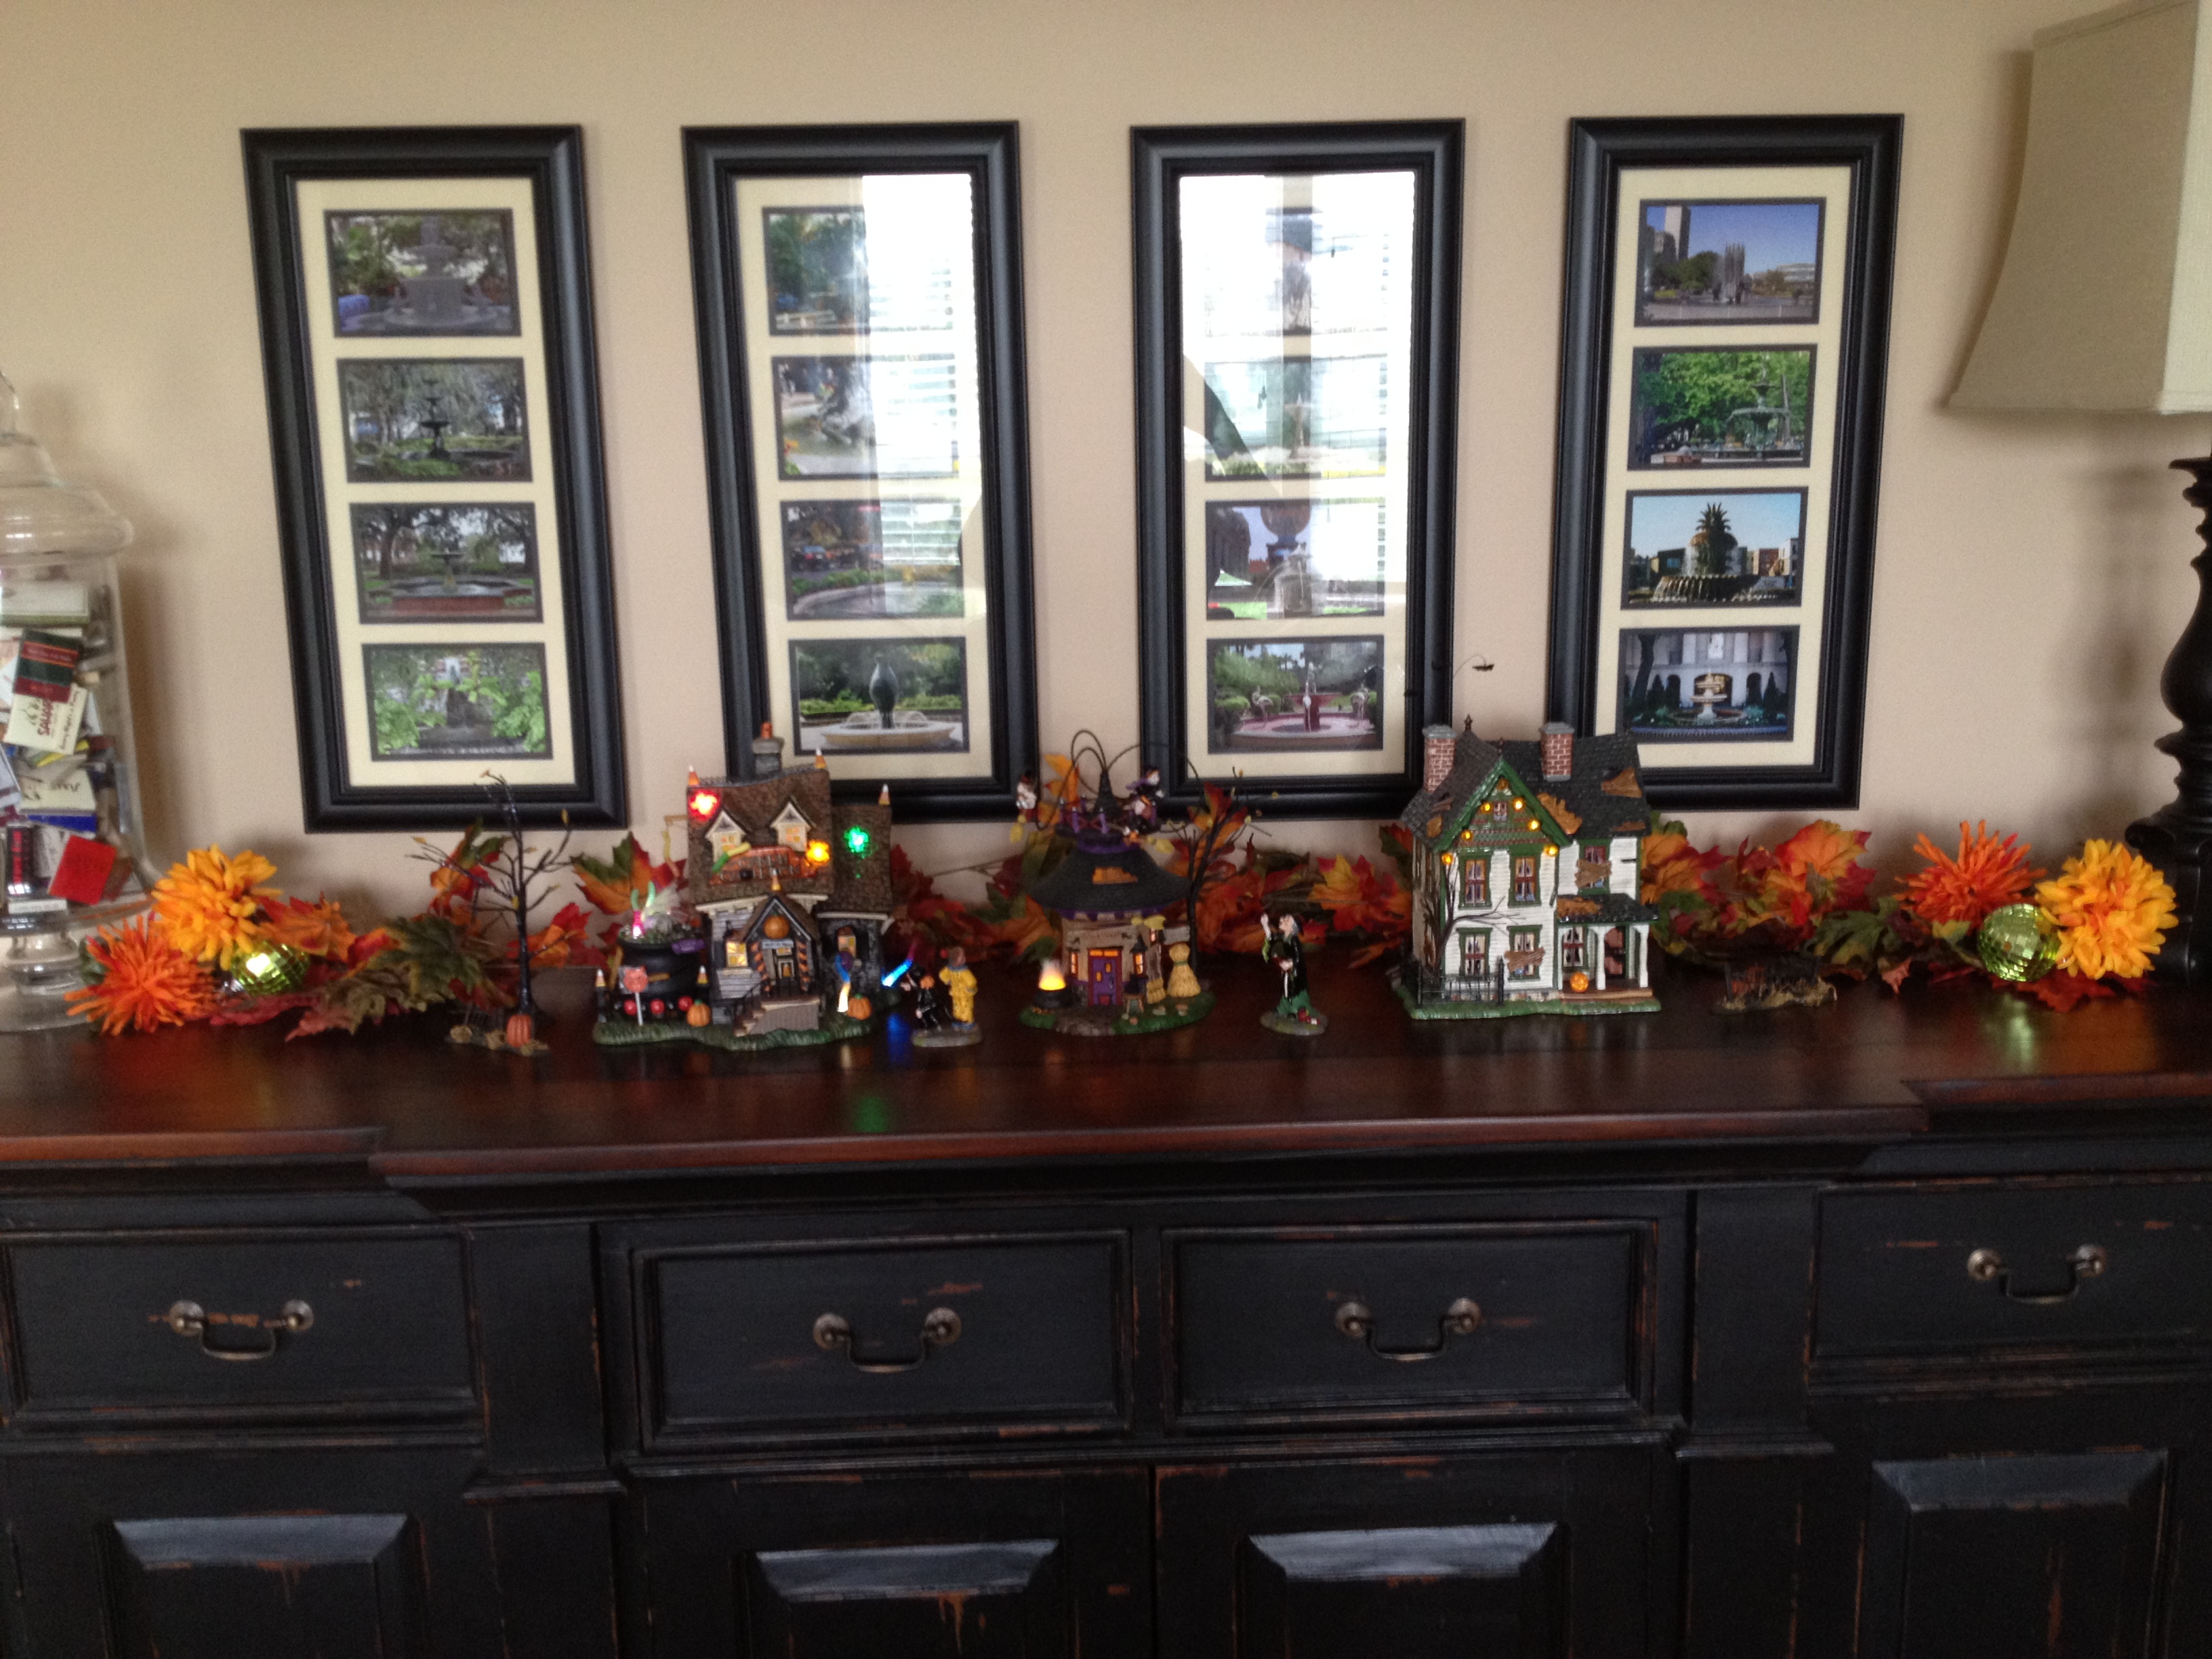
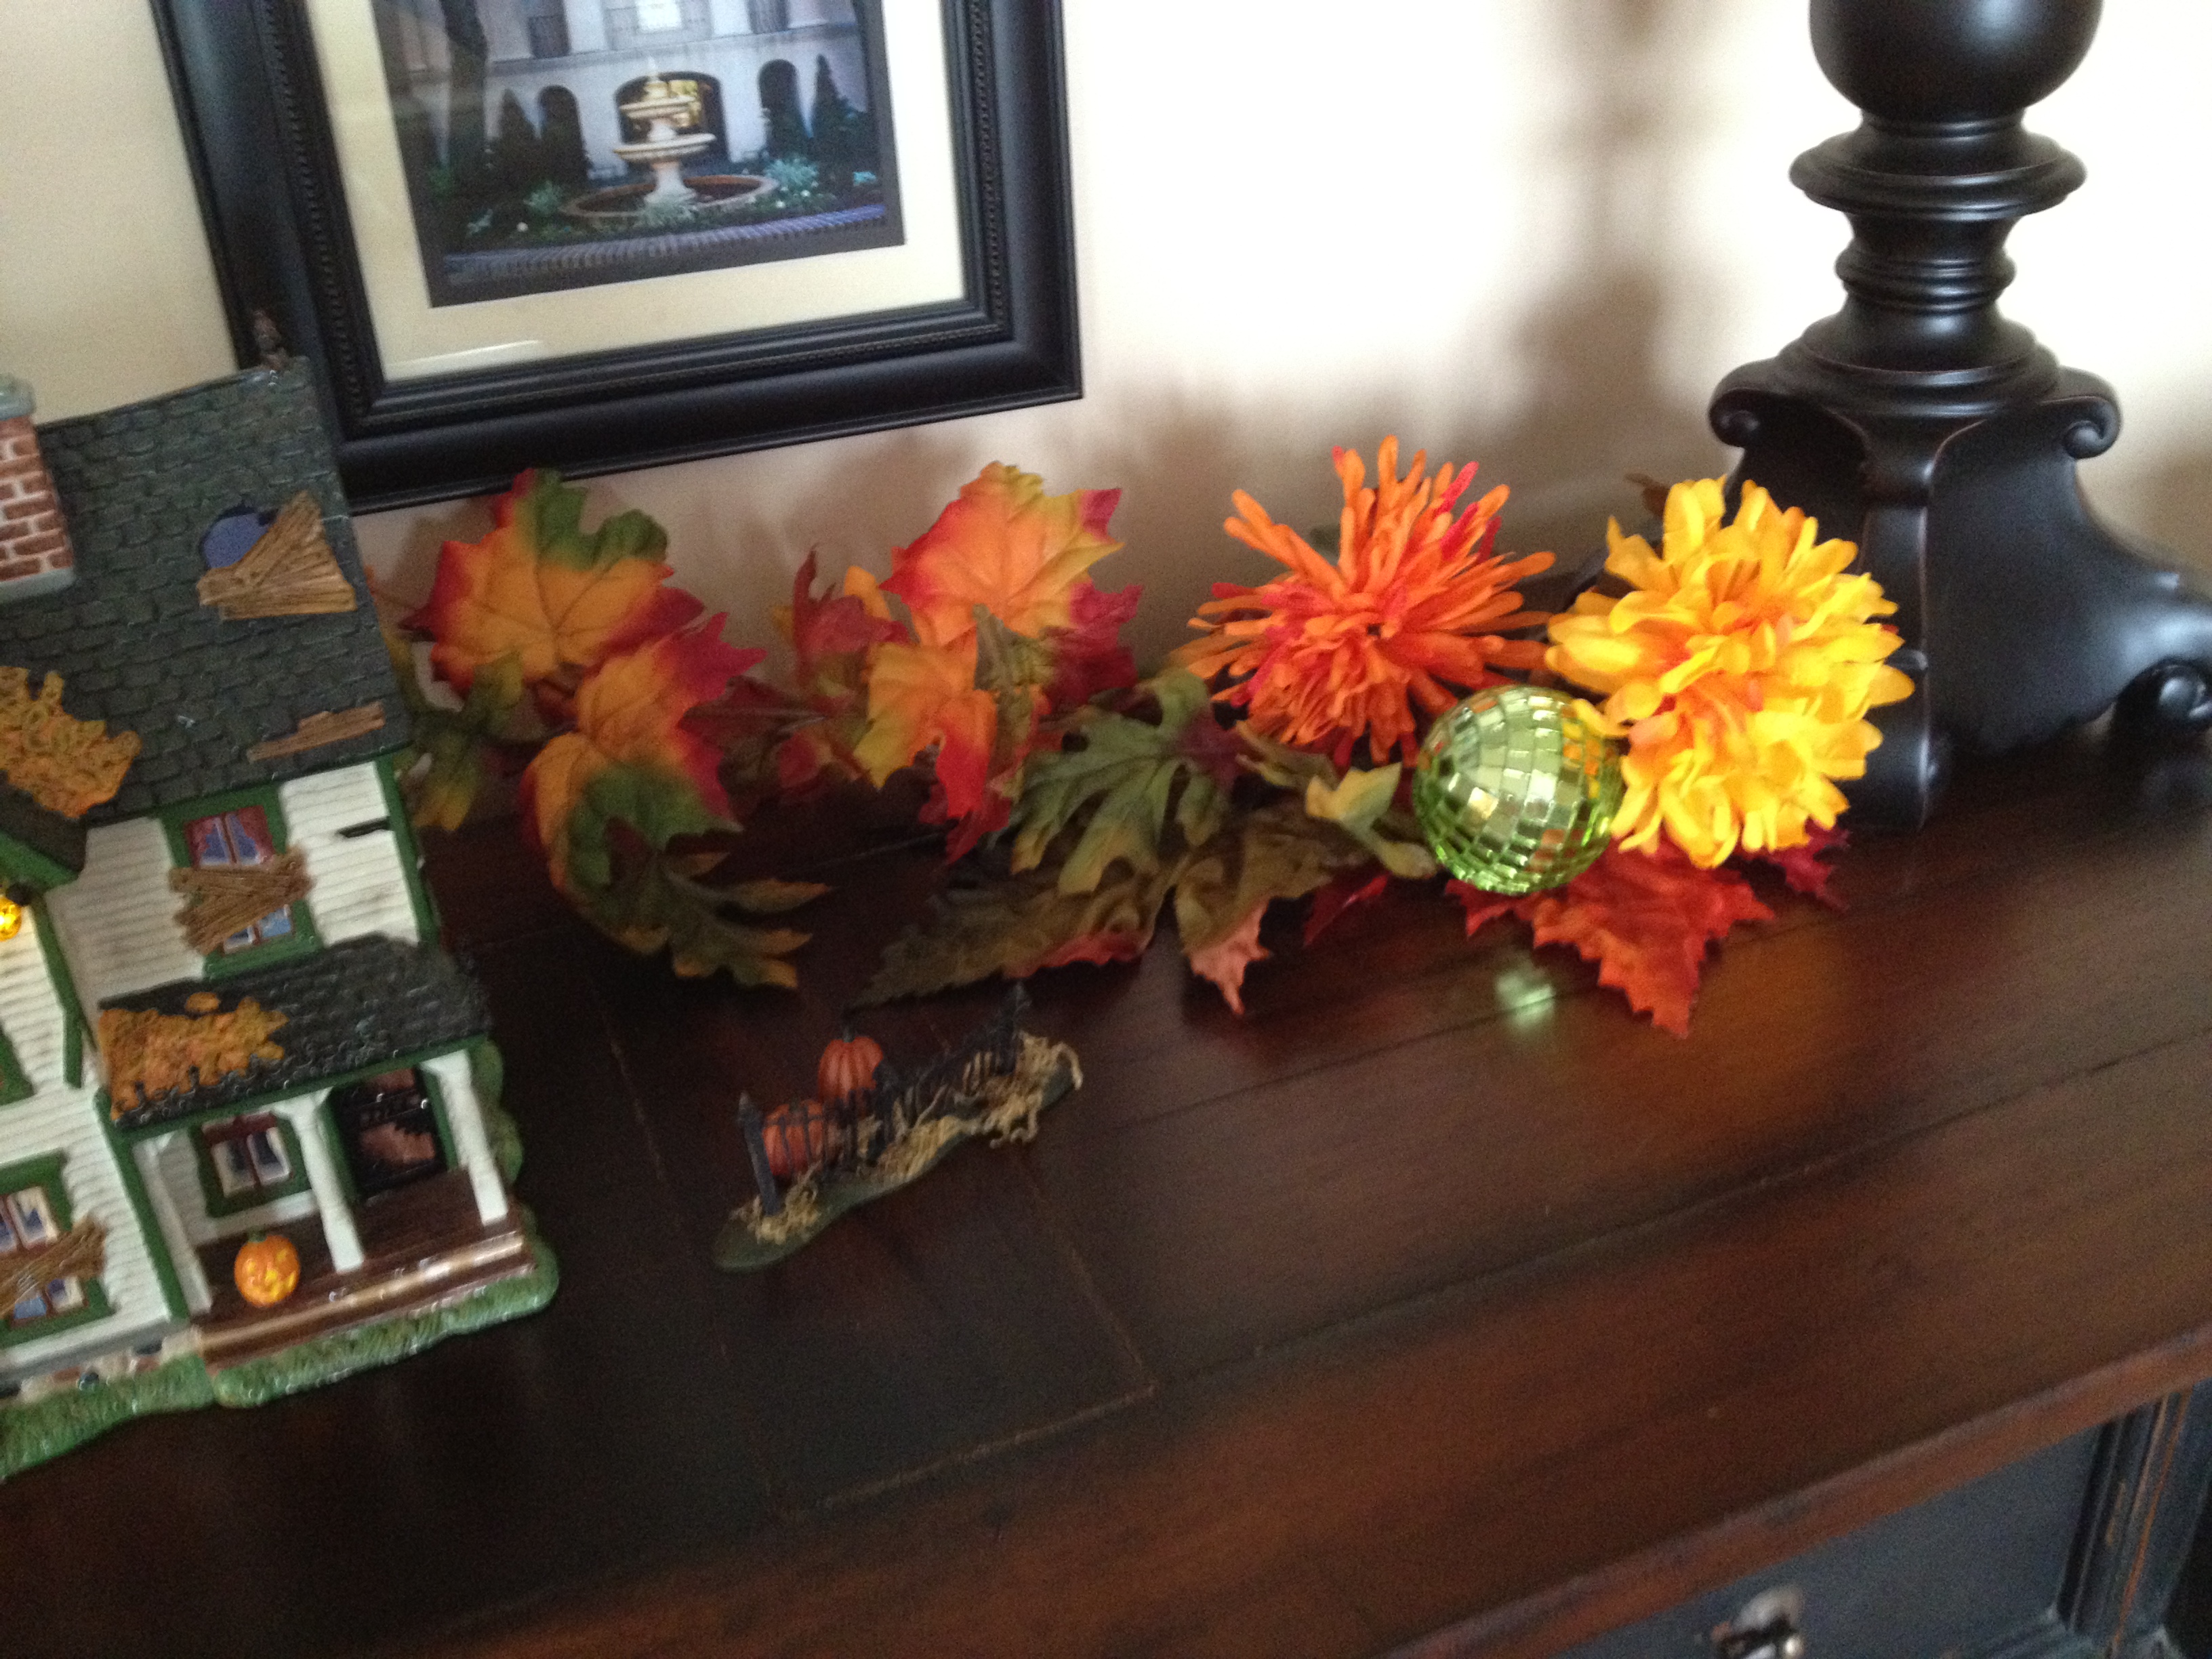
Check the Christmas section for things that will work in your Fall or Halloween decor. I found the green mirror ball ornaments and glittery brown leaves in the Christmas aisles of Hobby Lobby ( this store has the best and biggest selection of Christmas stuff). My Christmas color scheme last year switched to red and more of a lime green, so when choosing items for the green I wanted to add for Fall and Halloween I picked the same lime green. Reusing things from season to season is another way to save money and also create a more fluid transition from one staging to the next.
If you aren’t sure what goes with what just do what I do, I use my cart seat as a staging area of sorts. I shove the stems down in the wire and then add it the other things I find to see what it all looks like en mass together. By doing that and referring back to my phone pics of my inventory at home I was able to save myself from a few unfortunate ( ugly together) or excessive ( you already have enough orange/yellow crazy lady) choices.
I like layers, depth and texture in my decorating. I also like sparkly and shiny things but I want the overall look to be more classy and elegant. The sparkle and glitter is to catch the light, not to scream BLING VOMIT. A little bling goes a long way. I try to also stick to only about 3-5 kinds of flowers and leaves ( odd numbers, always odd, except in cases where symmetry is needed) or choose flowers that compliment each other and would be blooming at the time I am decorating. If you mix too many kinds of flowers and leaves once you start adding all the other things (various pumpkins, squash, acorns etc) it can get too busy. I’m no interior designer, this is just what appeals to me.
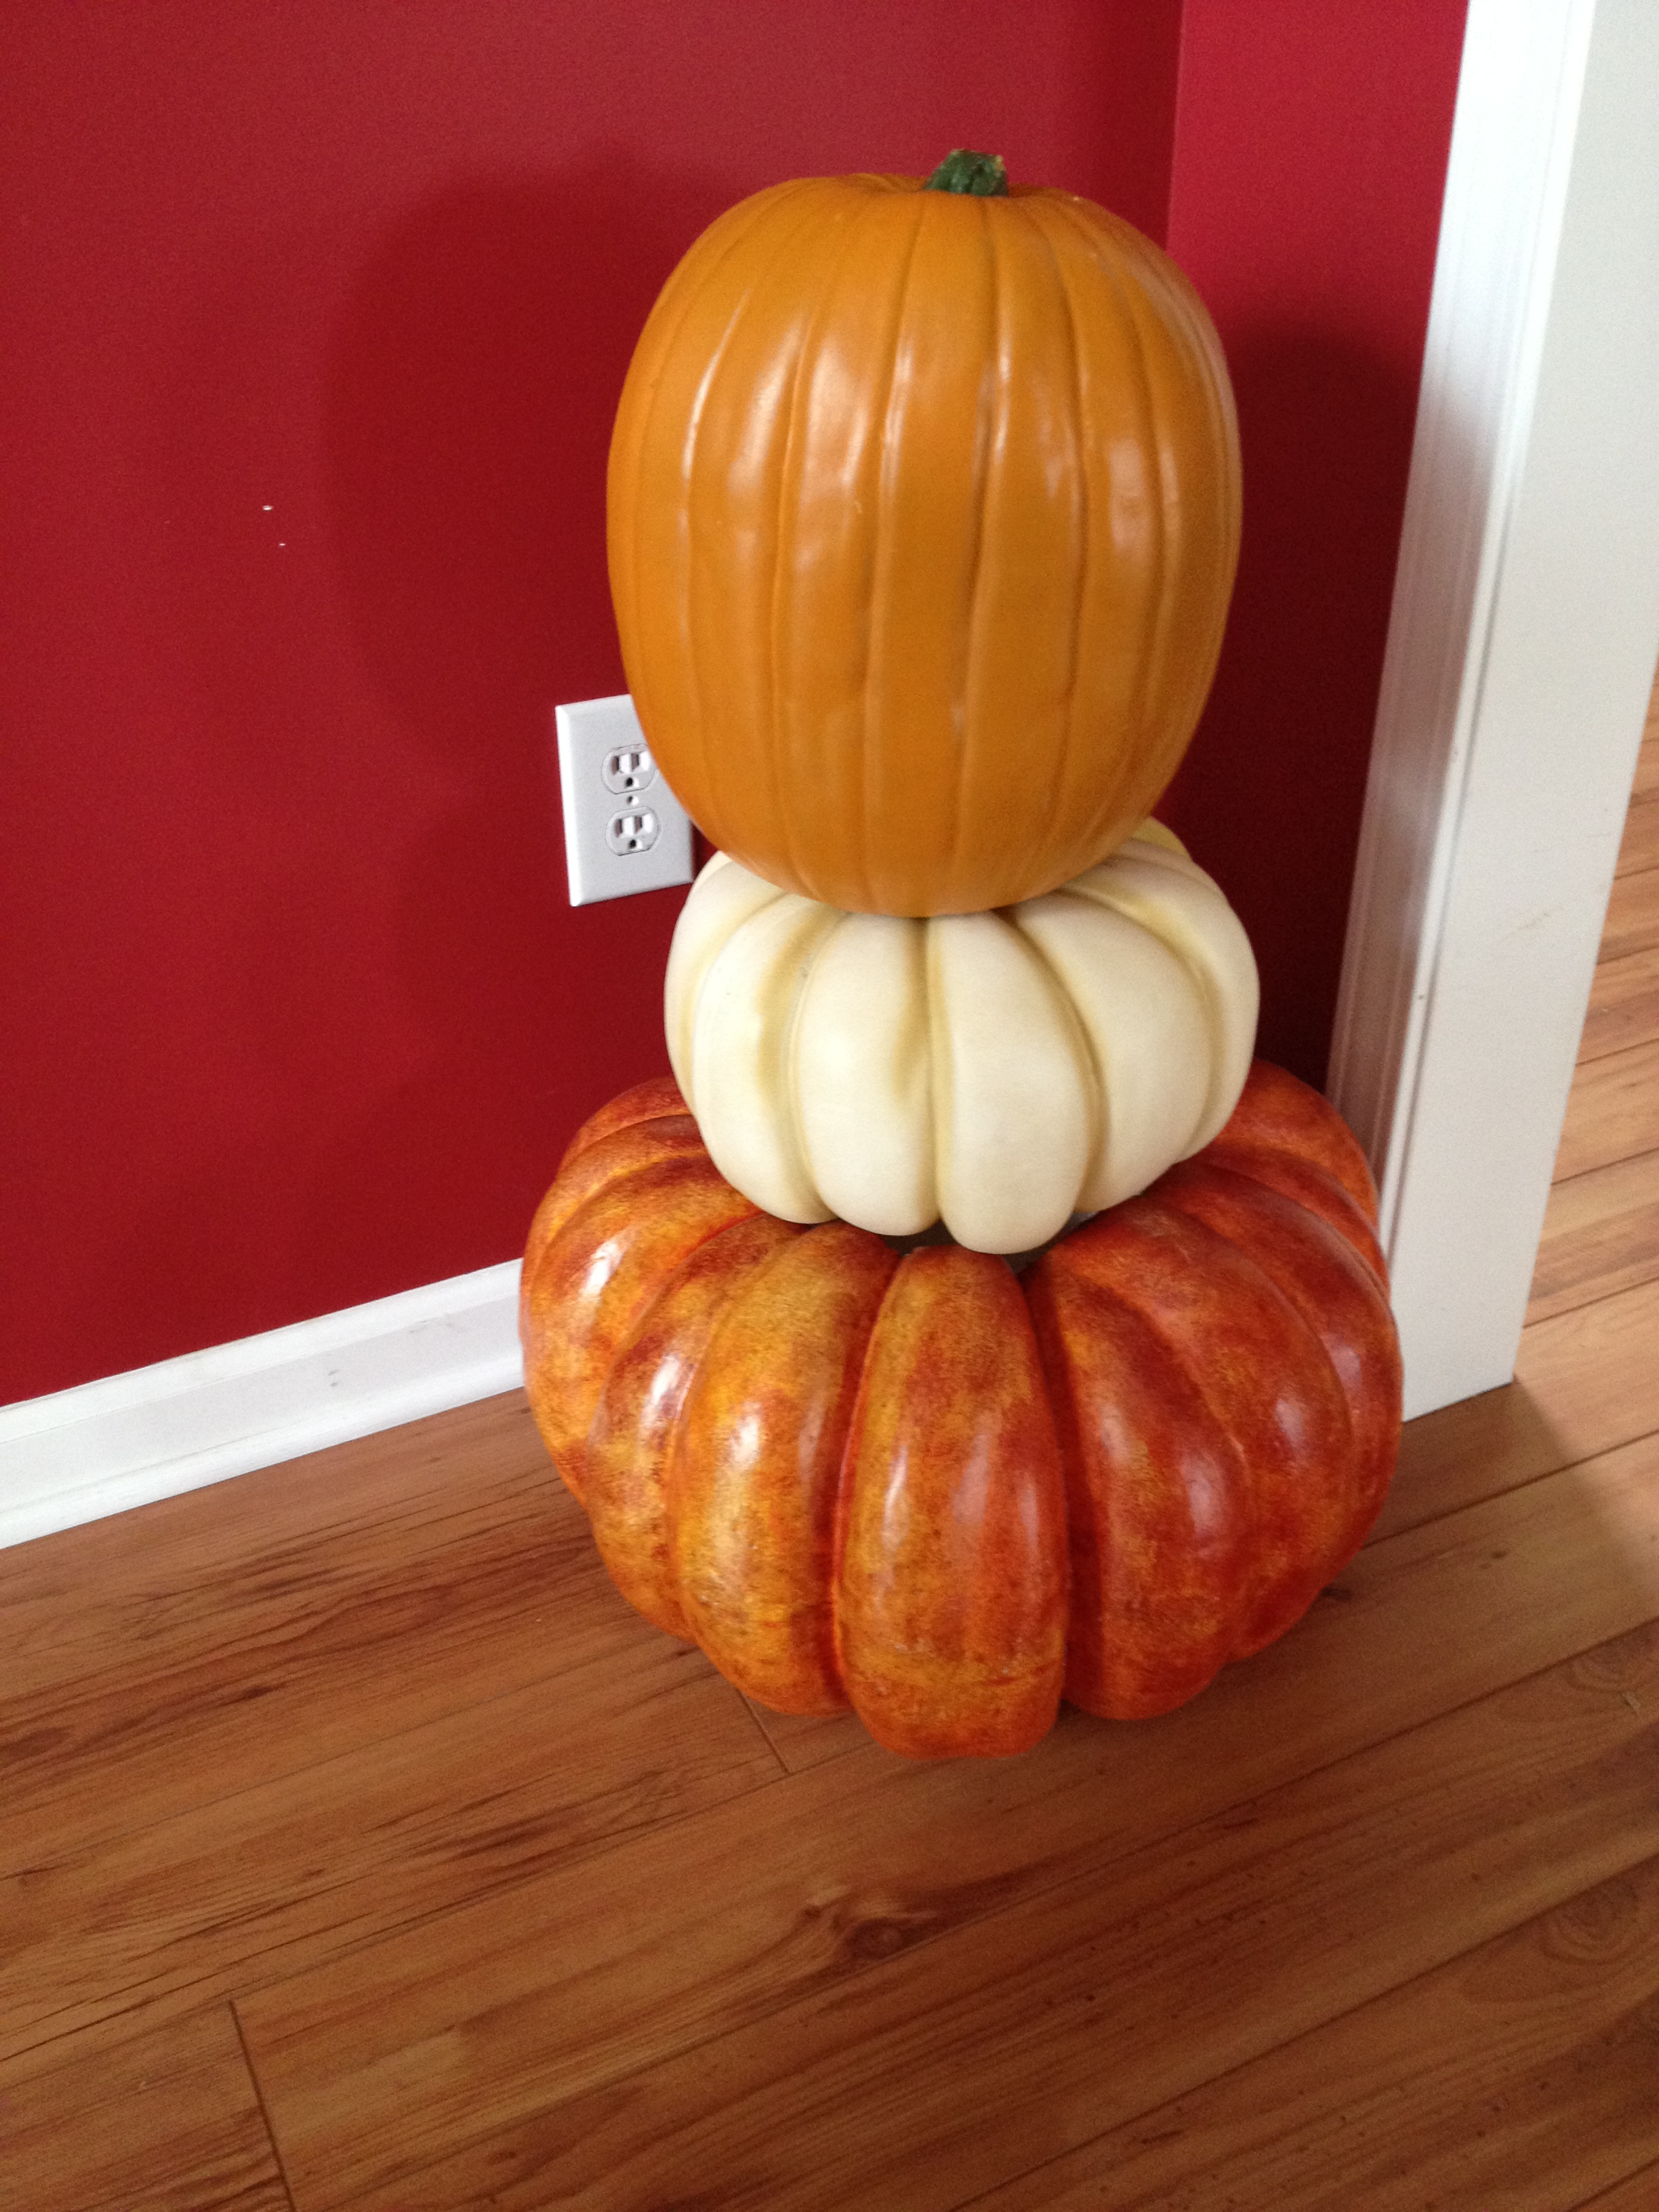
Speaking of catching the light don’t overlook adding cream or white items to the mix to play off the darker colors and give some contrast. I cleaned Hobby Lobby out of the white pumpkins ( and I want more), I knew I could use them for Halloween or even Christmas.
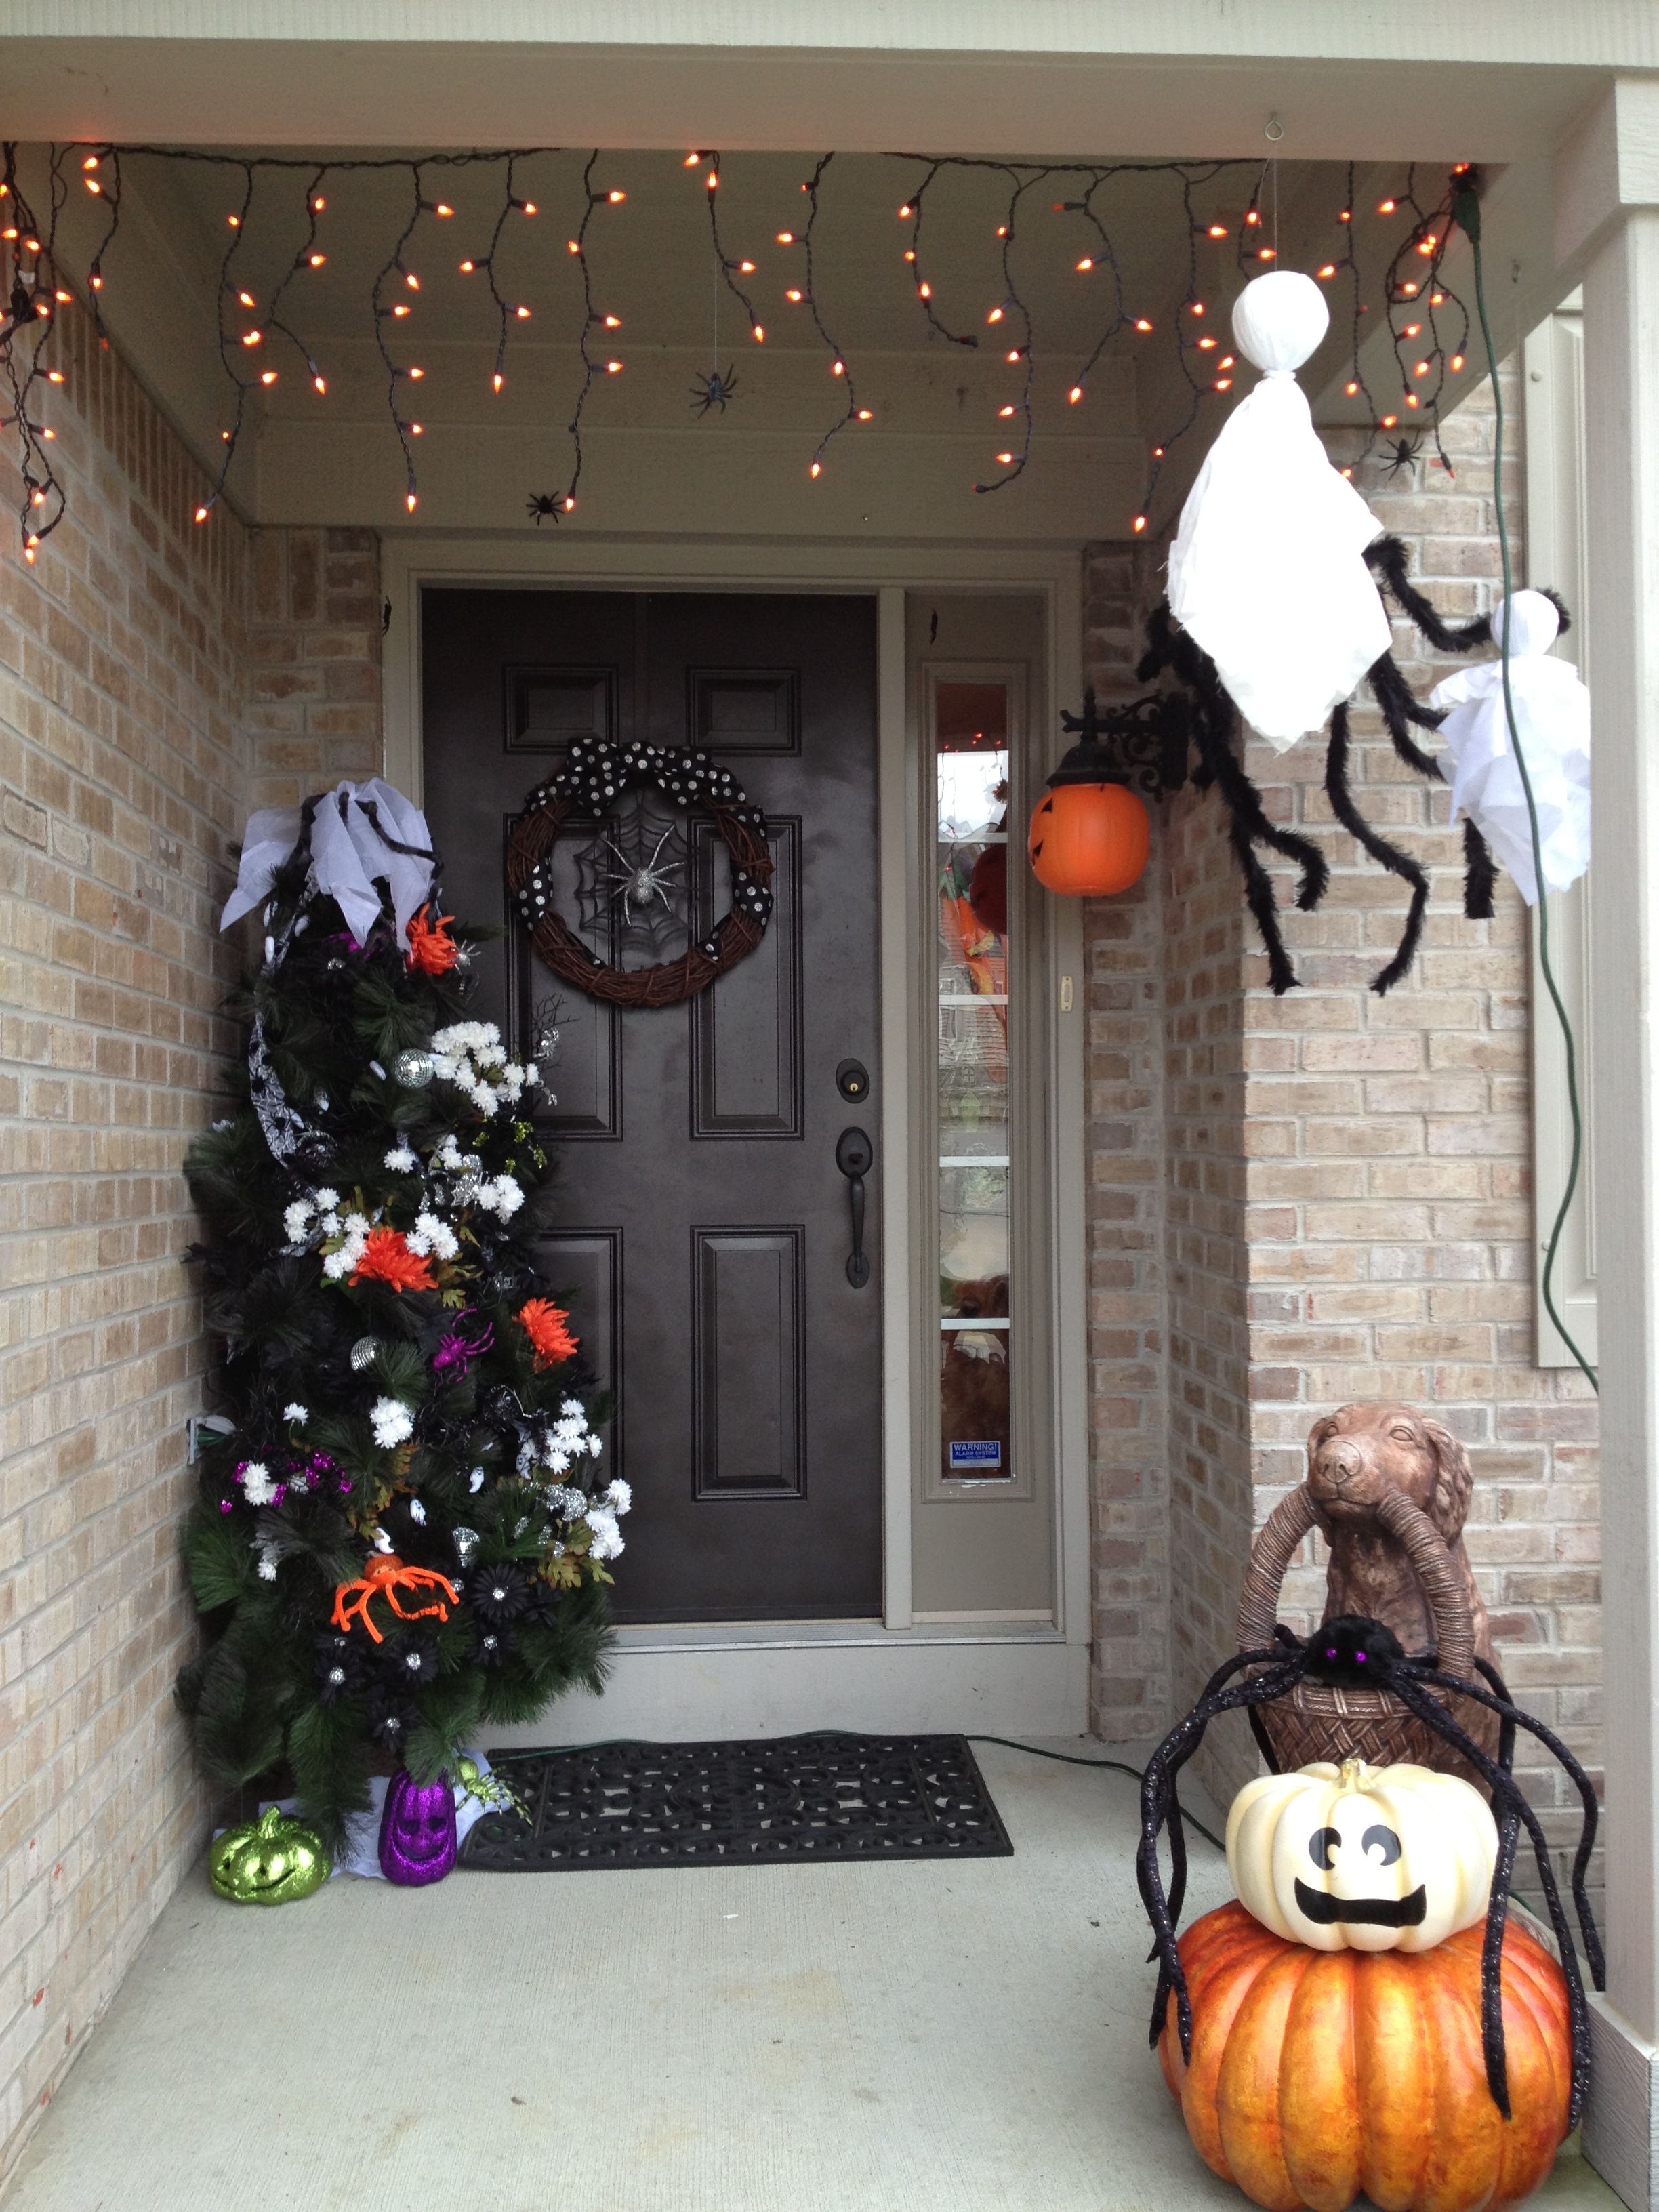
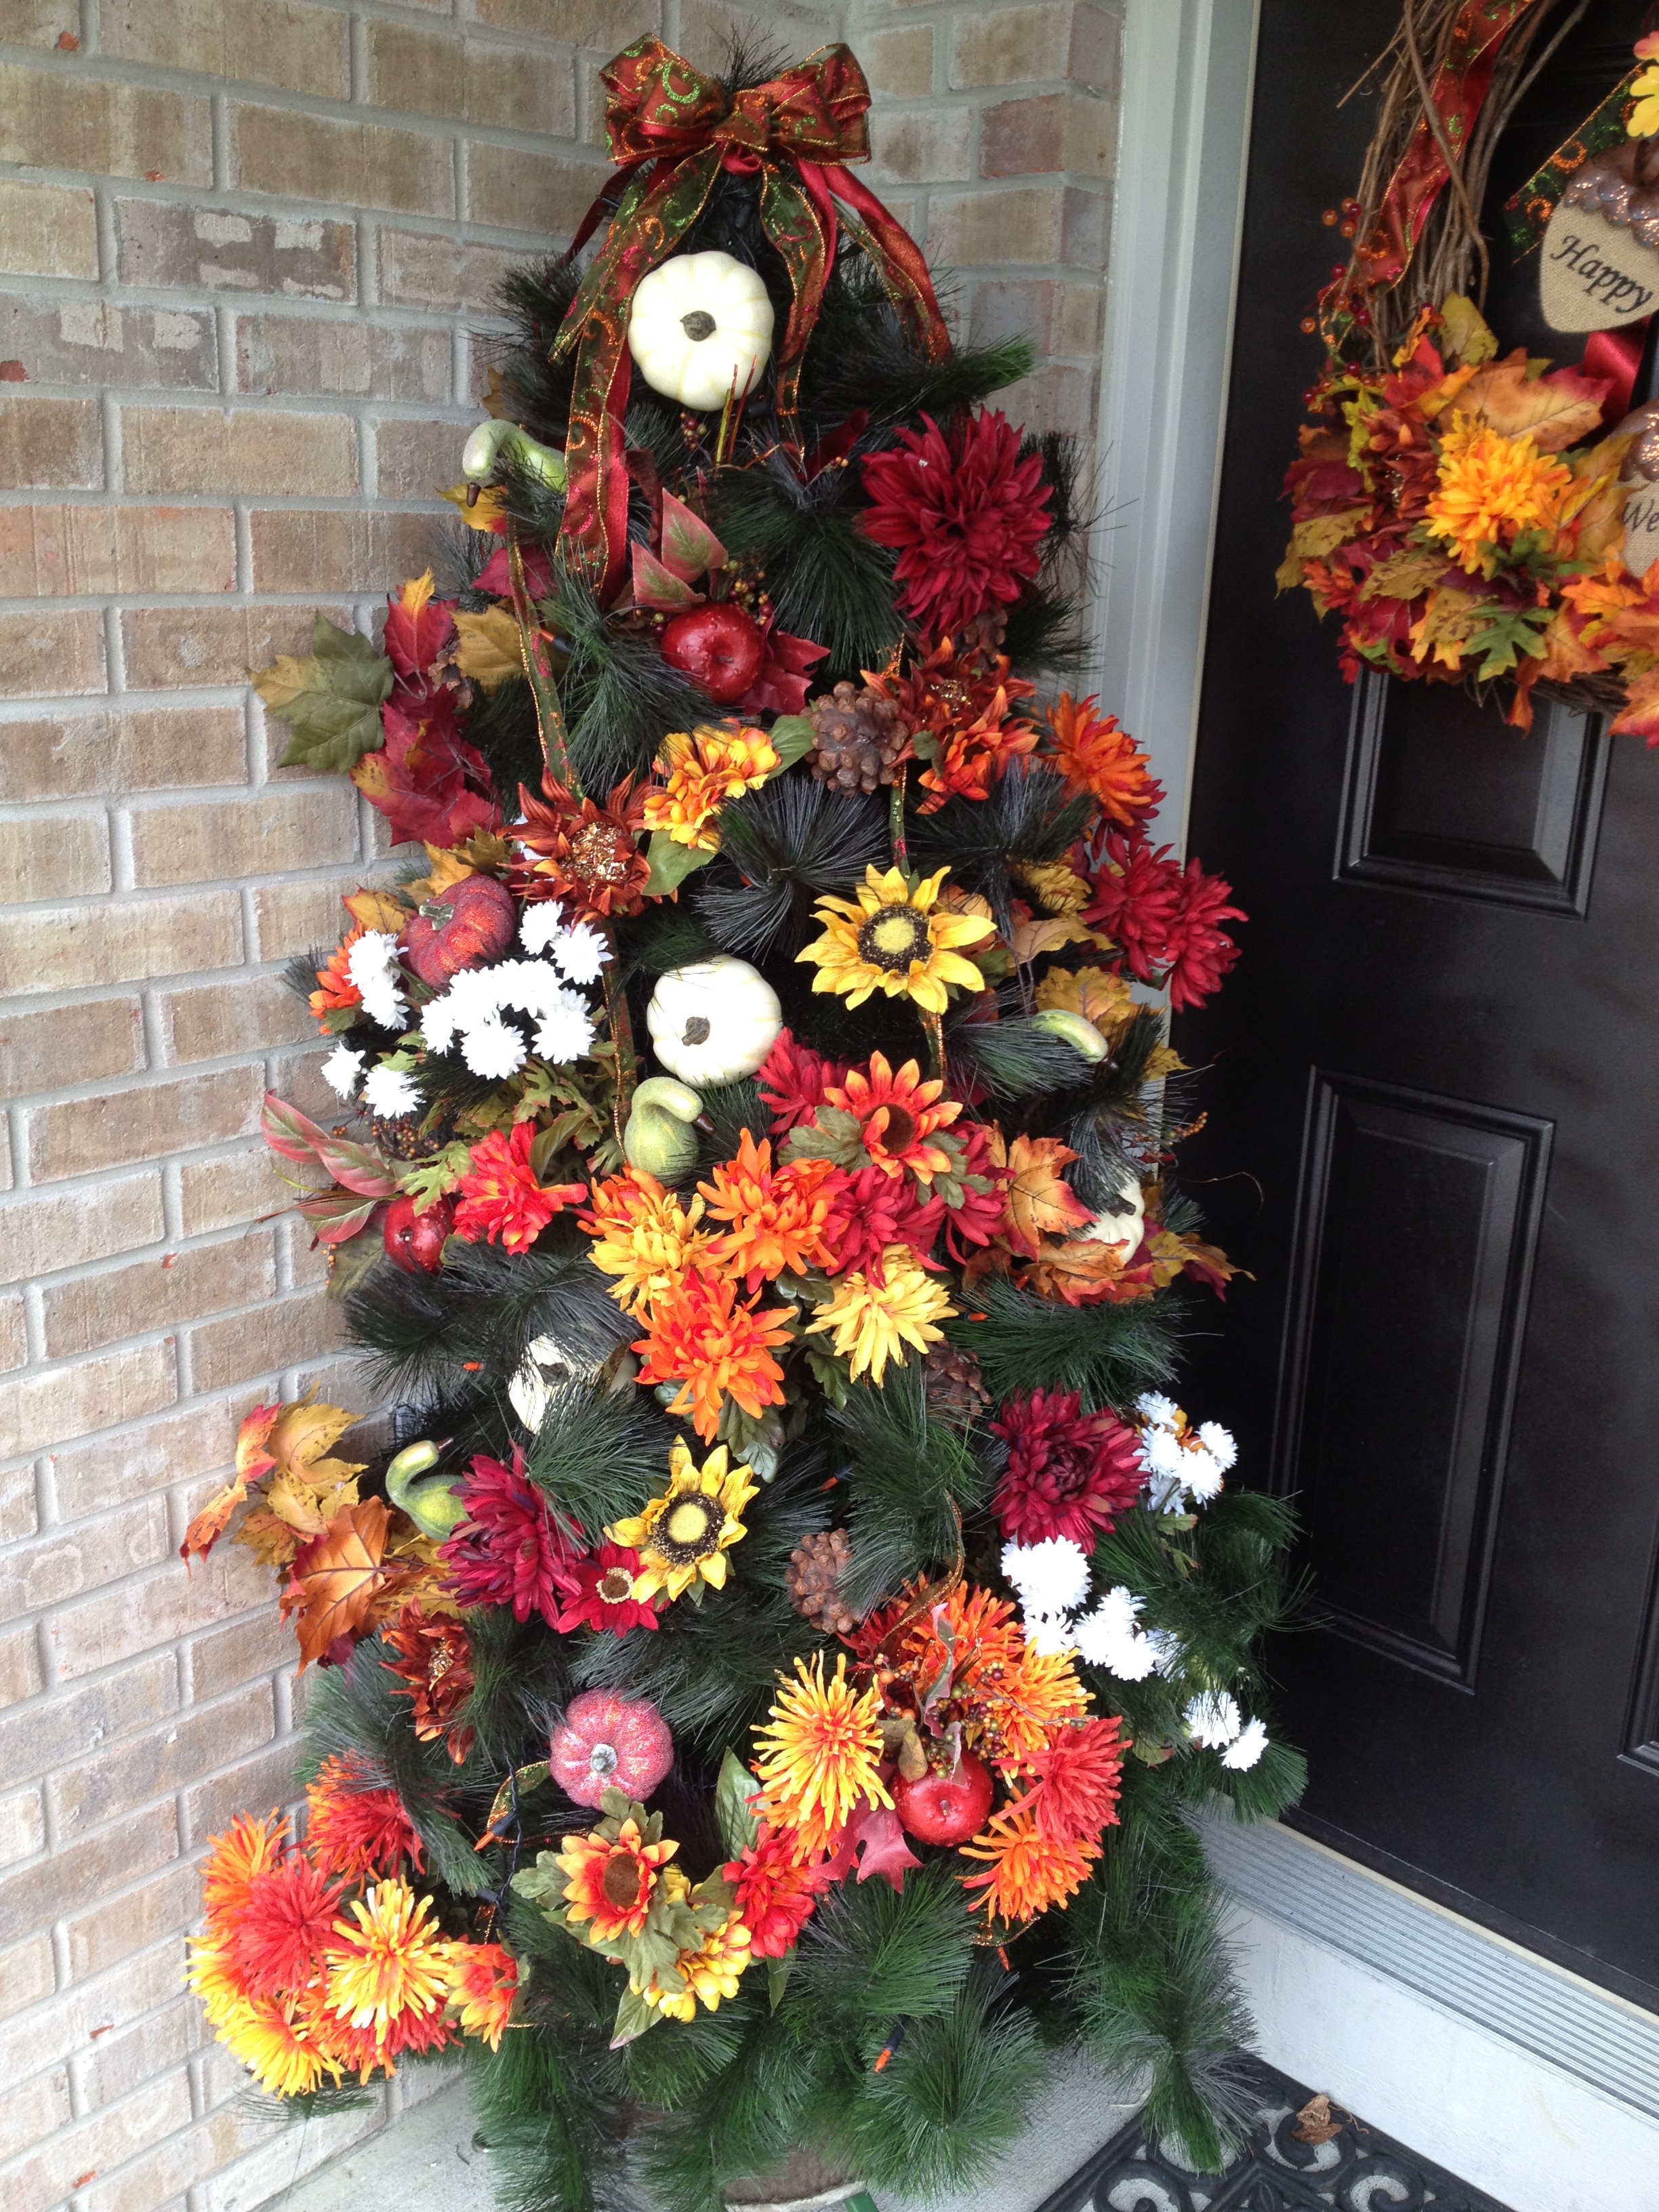
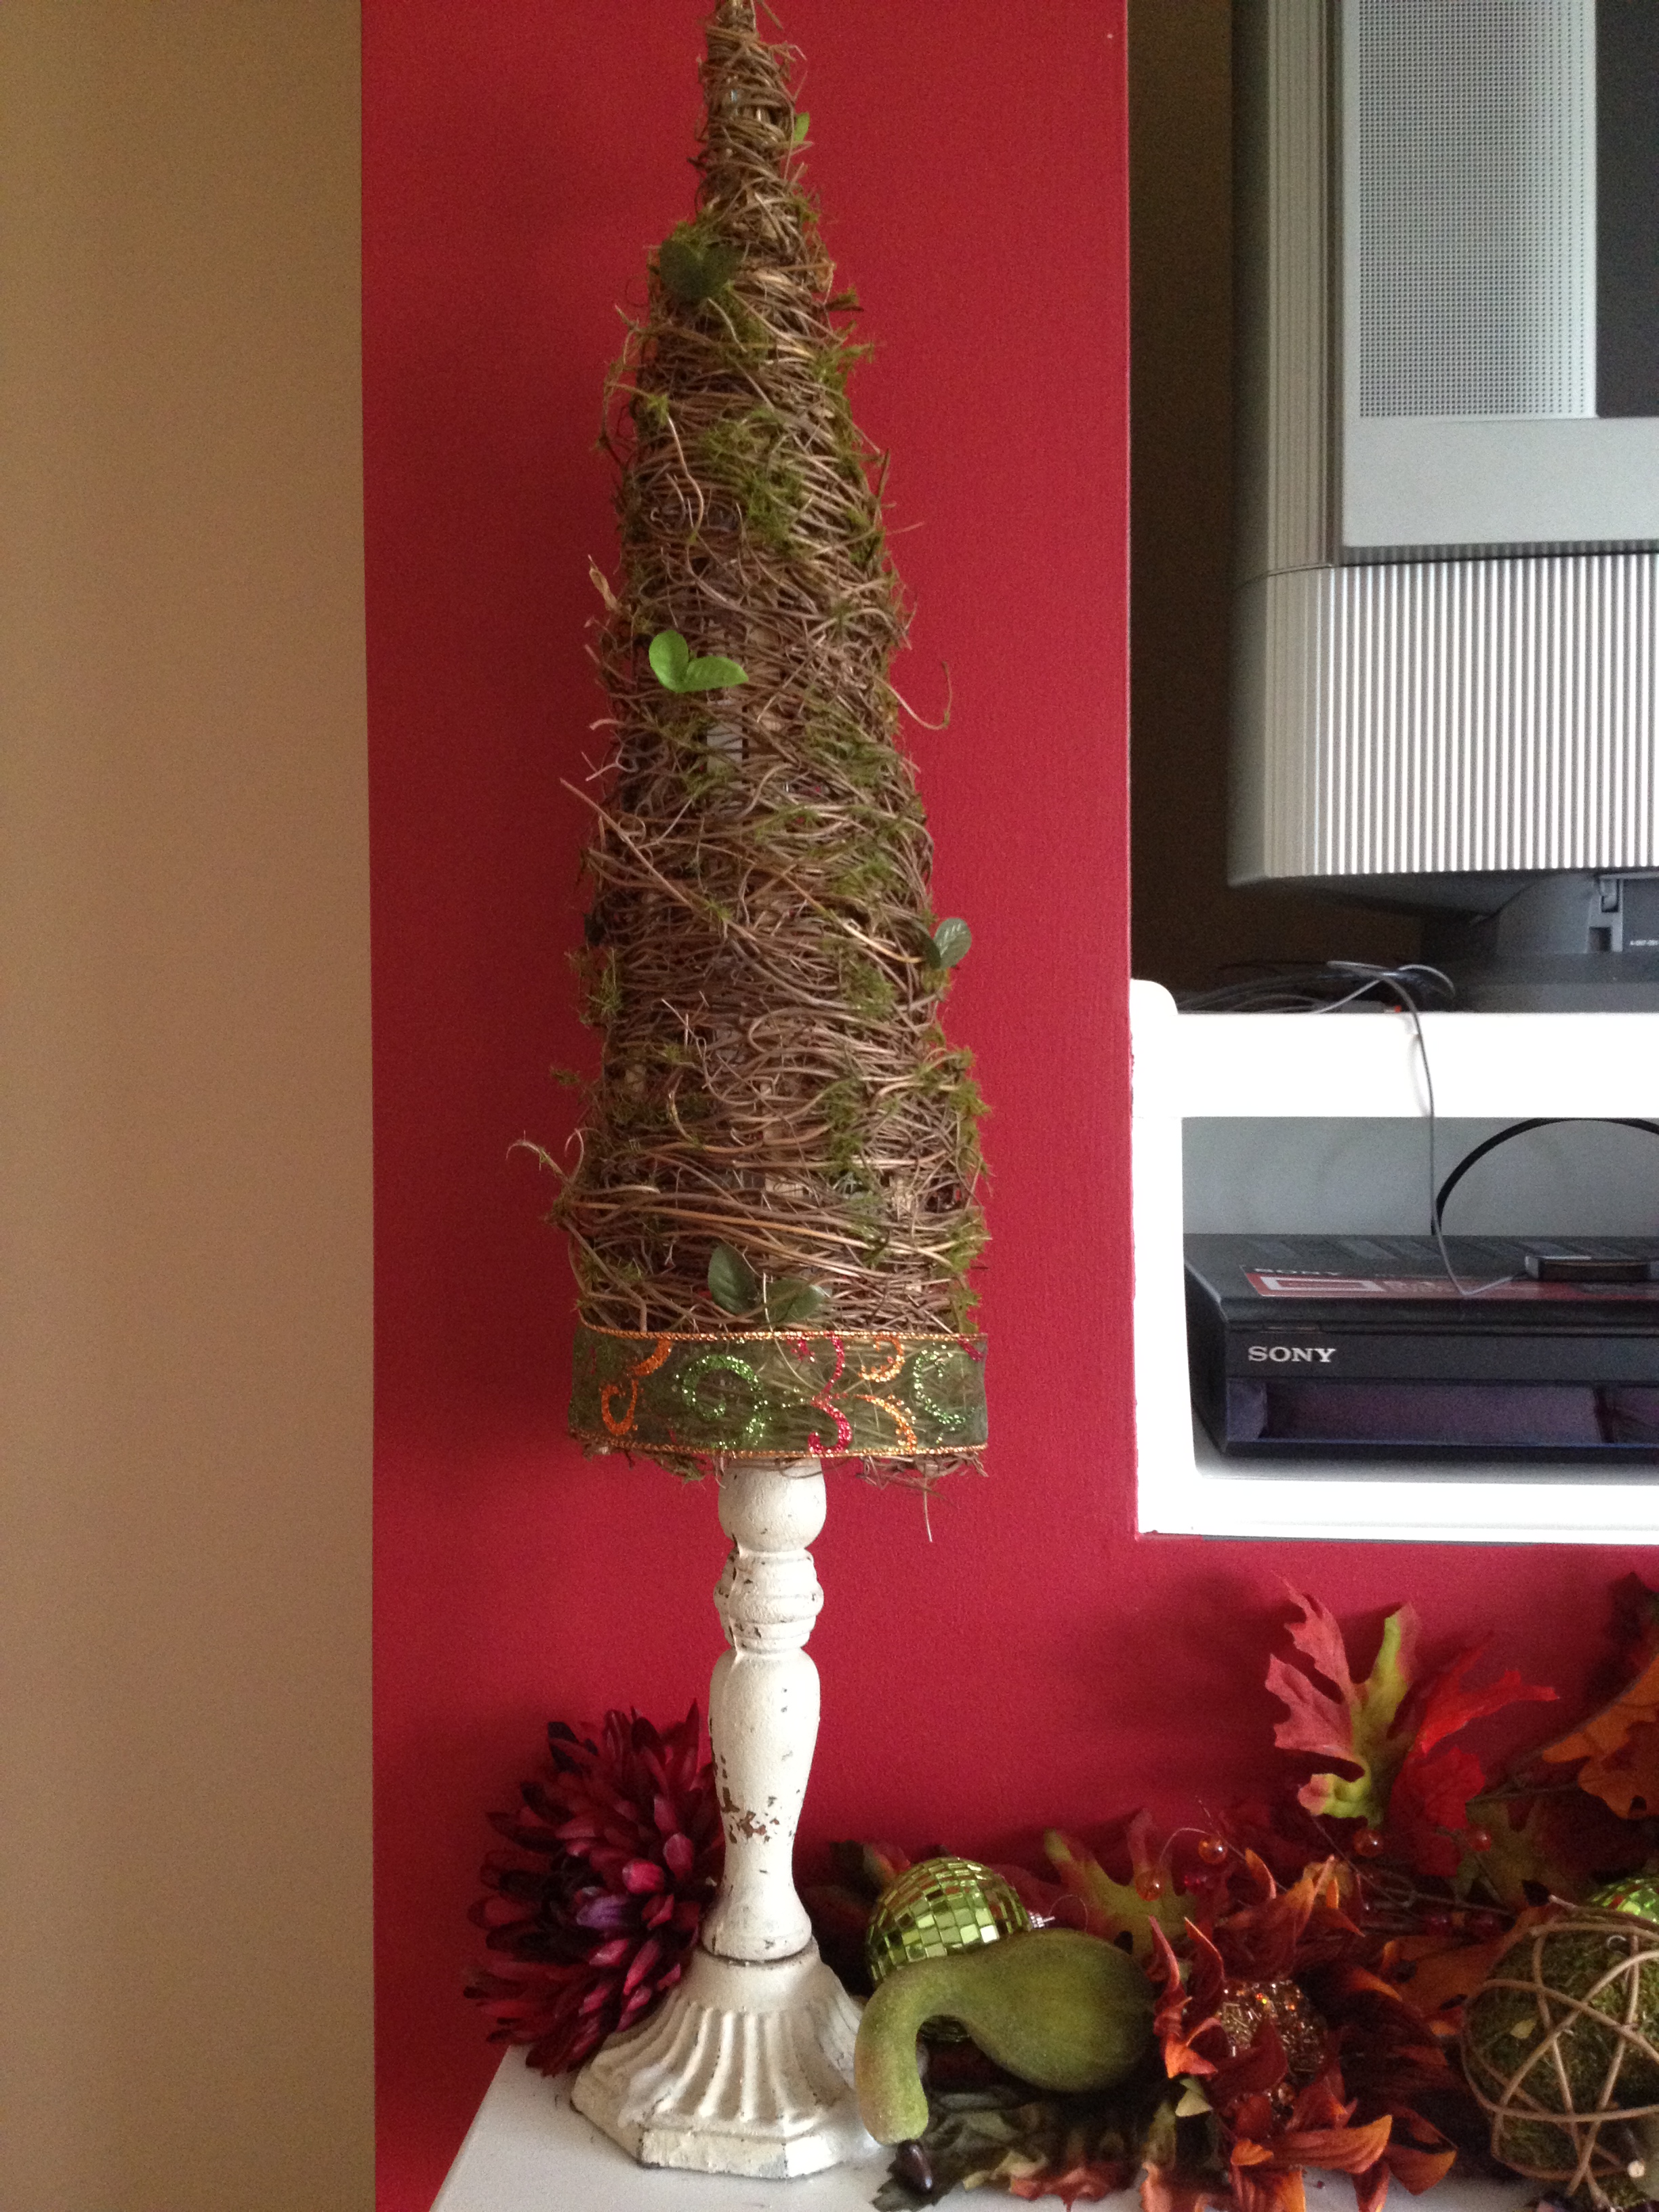
Finally put it all together:
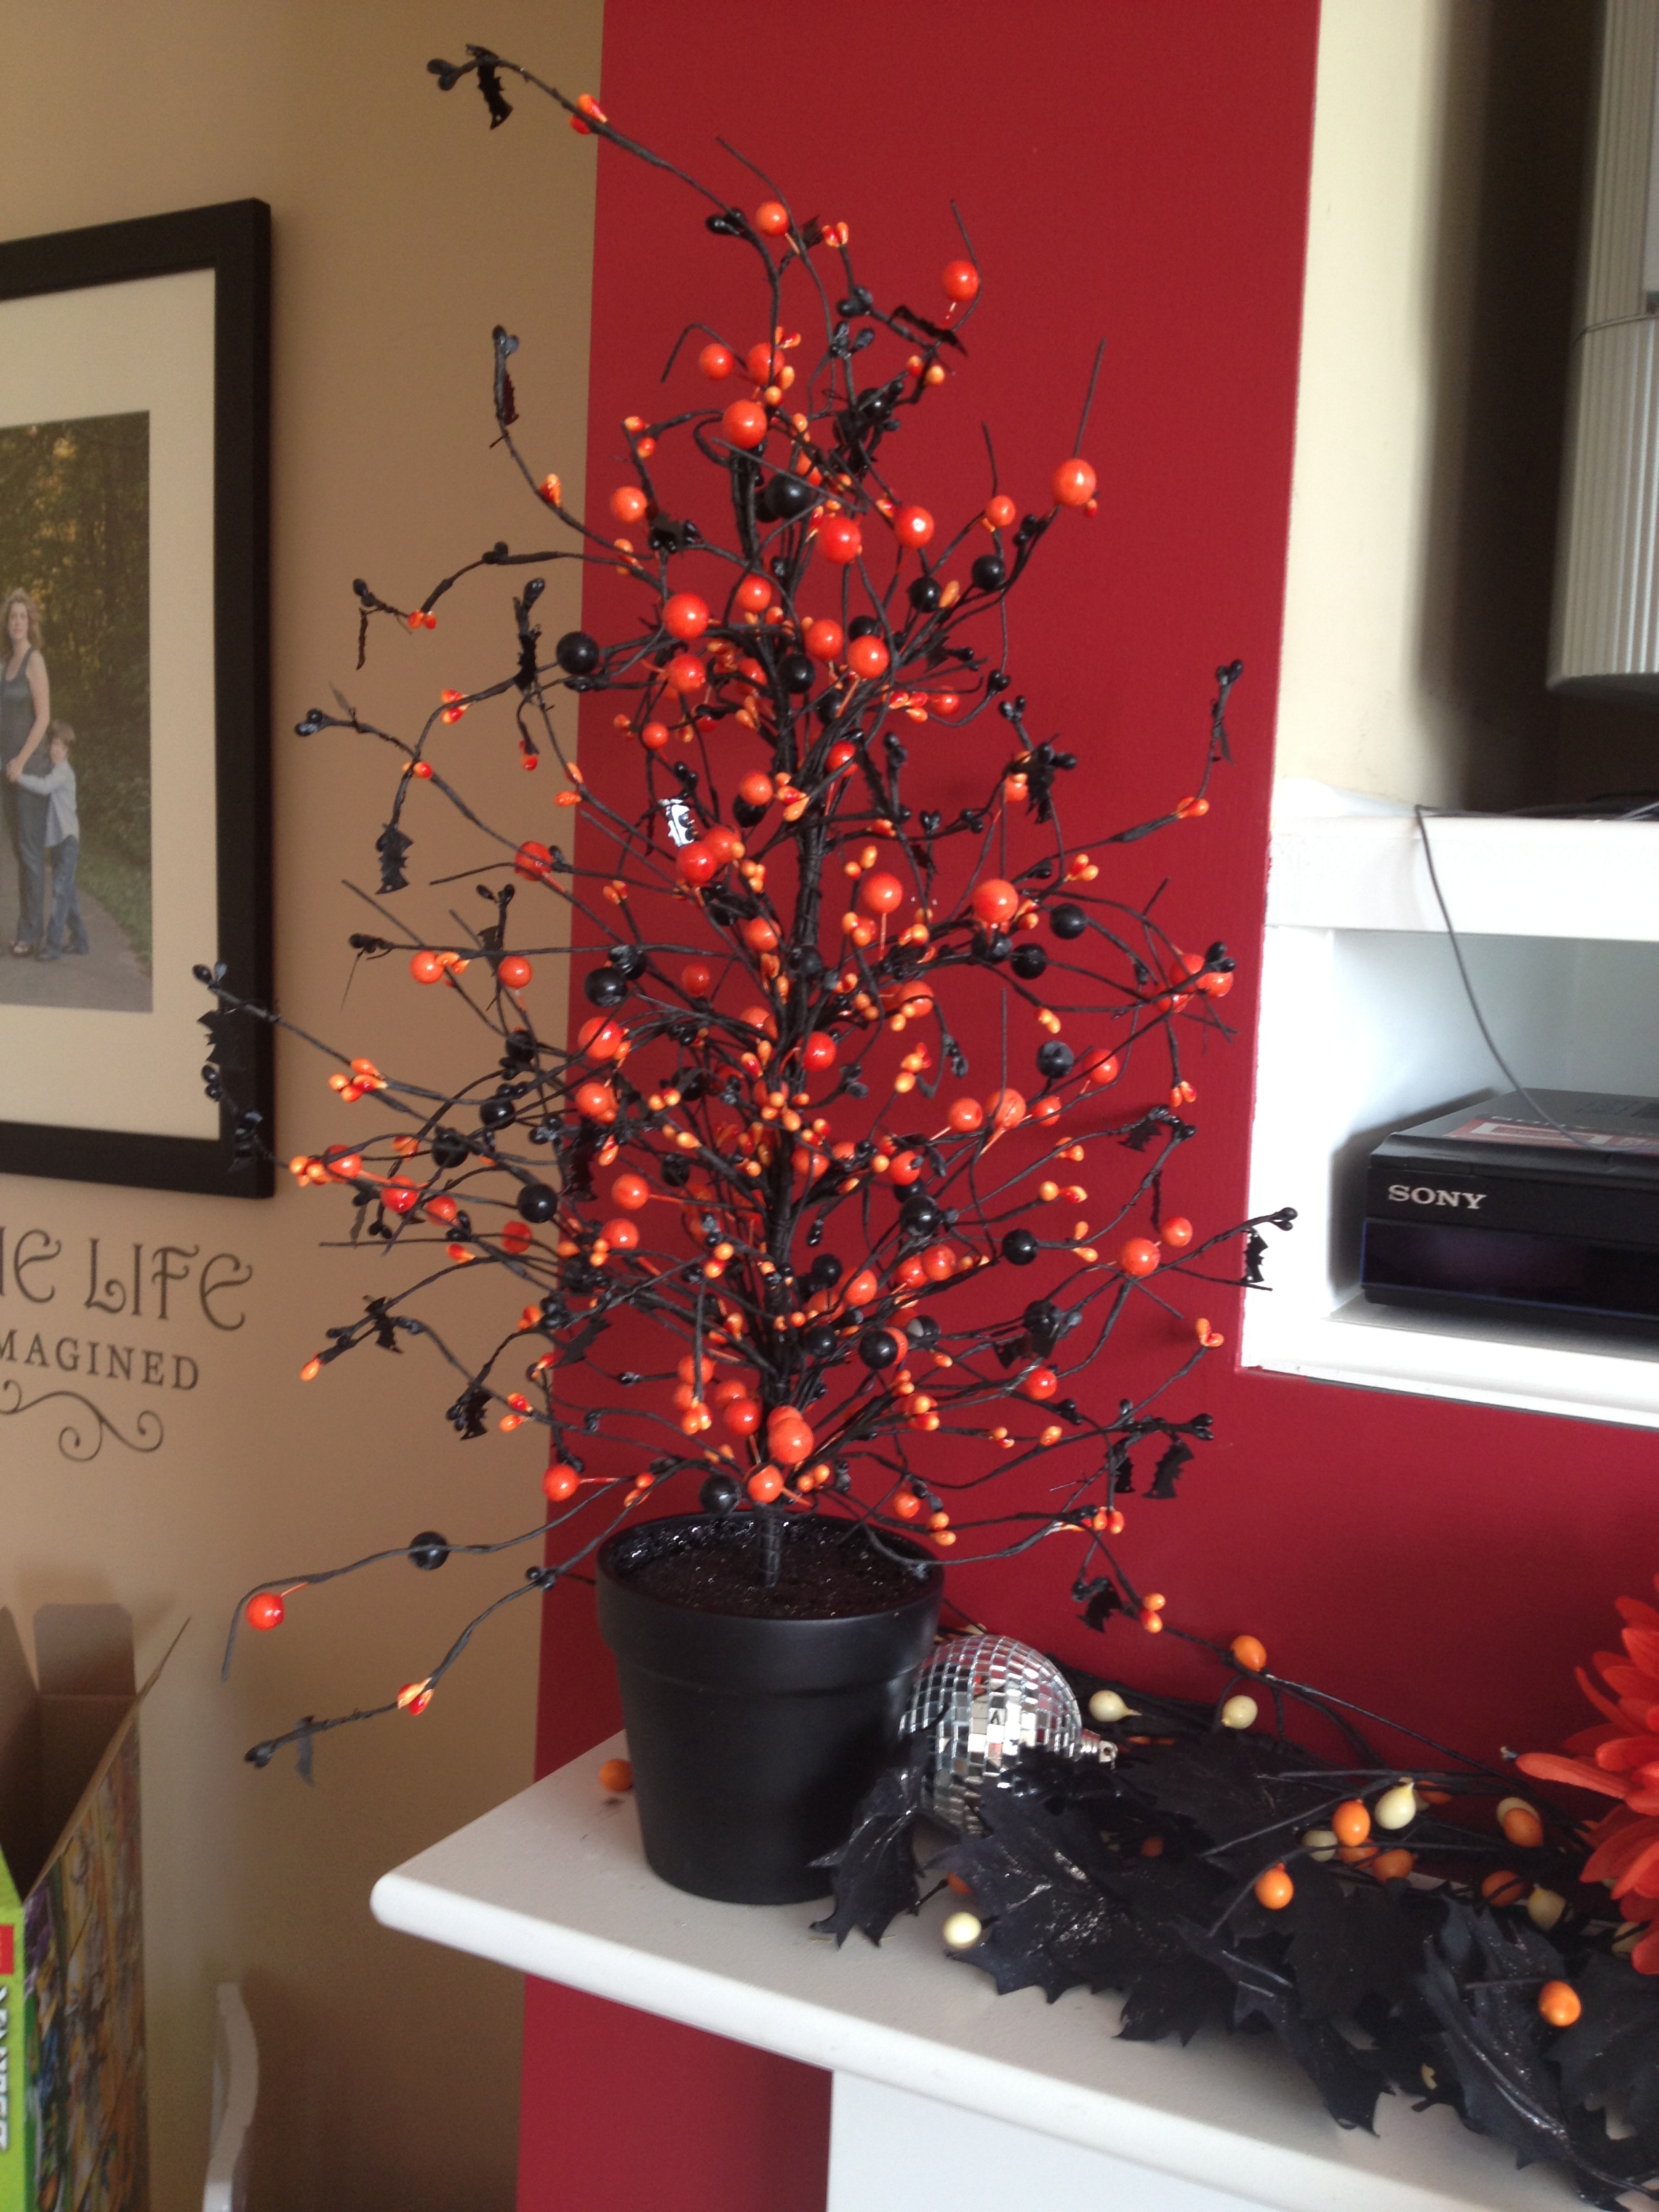
I made a few changes to the traditional Fall porch tree in that I scored a free used artificial Christmas tree from our local Facebook Marketplace, and proceeded to spray dark bronze paint on most of it. I had one can of the same paint I used to change up our front door earlier this year so total cost outlay for the tree and paint was gas and time only. Gotta love free! I strung most of the lights I am using as part of the Halloween theme on it before I put the fall stuff on, this way when I go to switch it out I won’t have to fiddle with lights and if I want to leave some of it on there and just add more it will be easier. Then I just kind of start puttering and placing. This can take hours, not only because I am picky, but also because I have ADD and I tend to move a bit aimlessly from one project to another as I get a vision in my head. This is why I call it puttering AND why I spend so much time getting inventory and organized.
I try to place things in odd numbers. I try to use some of the same things in each arrangement so it all goes together and yields a fluid and cohesive look through out my house. I try to make sure each room on the main floor has something and feels complete. I have been in this house for roughly 5 years now and I still end up feeling like it should have more or not being 100% satisfied with the end result. I’m sure it could be super duper fantastic if I only had more money, energy, searching on Pinterest and no full time job.


You must be logged in to post a comment.