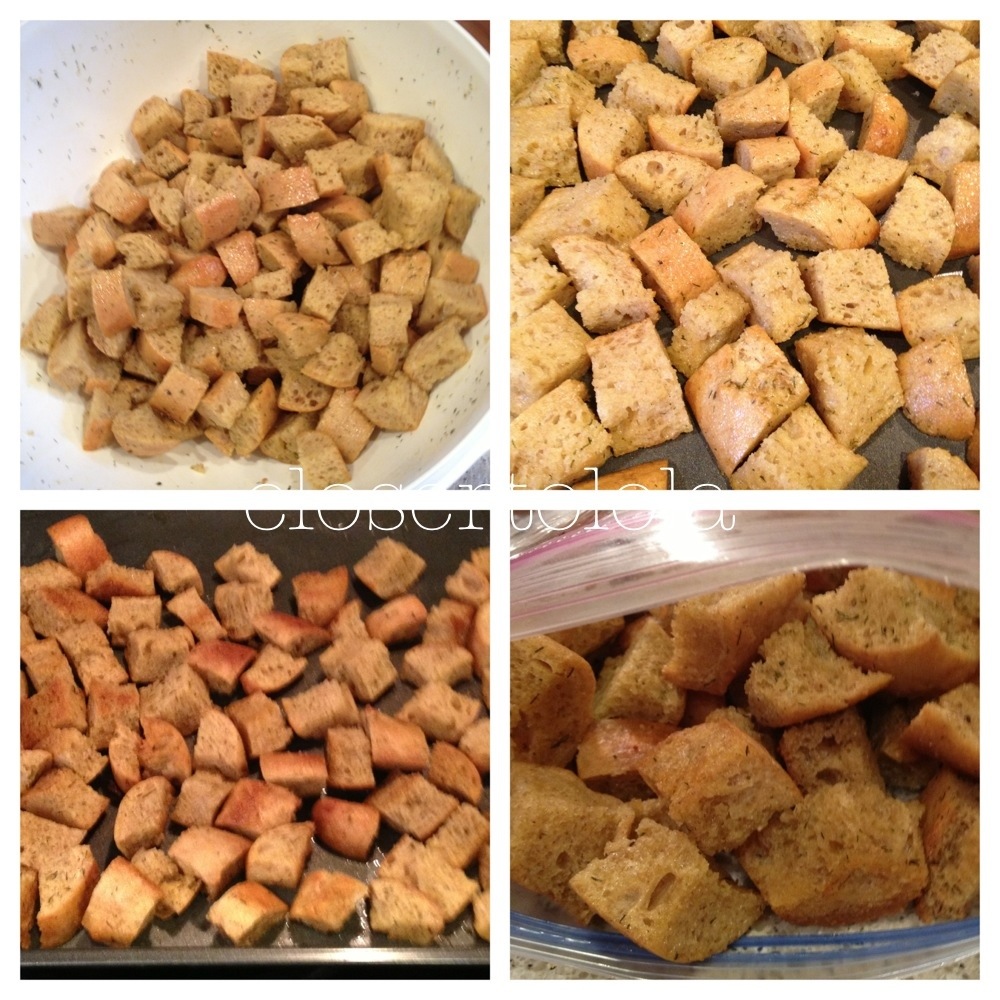
My annual crouton labor of love is complete
Posted: 2012/12/24 Filed under: Cooking | Tags: Homemade Croutons Leave a commentTomorrow’s spinach salad will have fresh chewy crunchy salty garlicky dilly croutons.

Strawberry Double Chocolate Fudge Recipe
Posted: 2012/10/22 Filed under: Cooking | Tags: food, how to make pretty fudge, milk chocolate chips, Strawberry Chocolate Fudge 1 Comment
So several weeks ago I made two batches of Strawberry Chocolate fudge. I started out last Christmas making this for my boss and the recipe has evolved. The first batch I made (try #3 and not pictured) was a different ratio and turned out really ugly ( not shiny) but tasted fine. This batch turned out pretty and tasted really good. Upon first inspection I declared it the best fudge I’ve ever made. I’ve eaten far more pieces now than I am going to admit and I think it could use further tweaks before being “perfect”. I think it could still be a tad firmer. I’d like to try adding in another bag of the dark chocolate chips. I still think it needs more strawberry flavor. I tried to solve this problem in a few ways as I tweak the recipe. At first I used the dried strawberries but they made parts of the fudge kinda crunchy, it was no bueno on the mouth feel. I still think the dried berries have more flavor though. In the cherry fudge I use cherry icing and it is perfect. The closest thing I have found to strawberry icing is the new mix your own flavor stuff. I am considering buying just the flavor packet and using it next time. I am terribly critical of my cooking. I promise it’s good fudge 🙂
All the ingredients are above. This time I used:
1 can Dark Chocolate frosting
I can Milk Chocolate Frosting
1 big (23 oz) bag milk chocolate chips
1 bag 13oz Ghiradelli Dark Chocolate chips 60% cocoa
1.5 Tbs Strawberry extract
.5 Tbs Vanilla Extract
1 14 oz can Sweetened condensed milk
2.5-3 bags dried (chewy) strawberries ( I want to say these are 2-3 ounces each and have about 3/4 cup of fruit in them)
How to Make:
So in order to experiment further with getting the berry flavor in I dumped all the dried berries into a big non stick skillet and added in just enough water to get them a little wet. I simmered this mix until almost all of the water evaporated. I was attempting to soften up the fruit a little further and perhaps release some of the flavor into liquid form. I have to be very careful here because too much water will screw with the consistency and look of your fudge. raise your hand if you’ve ever had a water + chocolate cooking disaster. It’s no bueno. Also be careful not to cook the berries to hot or too quickly for several reasons. 1. You are not trying to boil them, if they get too soft and mushy it isn’t good 2. If you get your pan too hot it can scorch your chips and make your fudge ugly, it has to cool before you add the chocolate chips in. If you forget this cool down step, like I did, there will be many minutes of fretting that you’ve ruined the look of the whole batch. IF YOU GET ANY OF THE CHOCOLATE IN THE RECIPE TOO HOT IT WILL TURN INTO A LUMPY, UGLY , but still good tasting, MESS!!!! The key to making this fudge “well”, it all comes from a bag or can for God’s sake but it can still be effed up, is to watch the heat, stir often and work with it as little as possible.
Ok, now that I am off that soap box, you should have a nice warm but not hot pan of soft but not gooshy, syrupy but not too wet dried strawberries. If reading all this nonsense about strawberry prep has you tired never fear. If you were smart enough to read the recipe before starting you can say. “ Lola, that’s cray” ,and dump the 2.5-3 bags of berries into the pan, turn it on low and try to break up any clumps with a wooden spoon or spatula.
Dump the chocolate chips bags in and let them melt slowly while stirring so none of it gets burned on the bottom.
Dump in the two can of frosting and stir them in you want the concoction smooth and easy to mix around.
Add in the strawberry and vanilla extracts and stir in the can of sweetened condensed milk.
The addition of the milk is what gives the fudge the slightly creamier texture and the nice pretty shine. Sometimes I add in the milk before I put in the frosting, but you don’t want to do it too early or you can lose the benefits of the texture and shine by cooking it too much or too hot.
At this point I turn off the pan and begin to use a pampered chef scoop to dole it out into cupcake liners. If if started to get too cool I turned the heat on low and gently stirred for a few minutes until I got the creamy texture I needed for scooping. Freeze fudge for a few hours and then bag up as you like. Works best kept in freezer or fridge until just before serving. Obviously thaw a bit if frozen before eating for best flavor, I can never seem to wait that long.
This batch easily makes 100+ mini muffin size baking cups worth of fudge.
A note on presentation options. This time I ran out of leftover mini cups, it was just a batch for teachers and friends so no elaborate matching liner and bag color scheme needed, I used normal sized cupcake liners. In the past I have also dumped it in a pan and cut it later on a cutting board with a knife while it is still frozen. All methods suck at some level, I’m pretty sure I said that in the cherry recipe. So pick your poison.
ENJOY!
Finally Perfected the Strawberry Chocolate Fudge Recipe
Posted: 2012/10/12 Filed under: Cooking | Tags: Fudge, Strawberry Chocolate Fudge Leave a comment
Last night i made my 4th attempt at Strawberry Chocolate Fudge. The others batches have all been OK, but not superb this time I think I nailed it. Recipe and instructions to come. Meanwhile I will leave you this little lesson learned, do not put fudge in your mini muffin tin with no liners, even a pampered chef non stick mini muffin pan would not let go of that stuff! At least the kids enjoyed eating the “leftovers” after I finally got the fudge out. Also using larger cupcake liners allows for huge pieces of fudge and gave me some ideas for layering options I might try for Christmas. The teachers got the fudge this morning and the emails indicate it’s great fudge.
So what did you do today??
Posted: 2012/08/19 Filed under: Cooking, Gardening | Tags: fire roasted tomato purée, pappadews, Pickled jalepenos, roasted peppers, tomato purée Leave a comment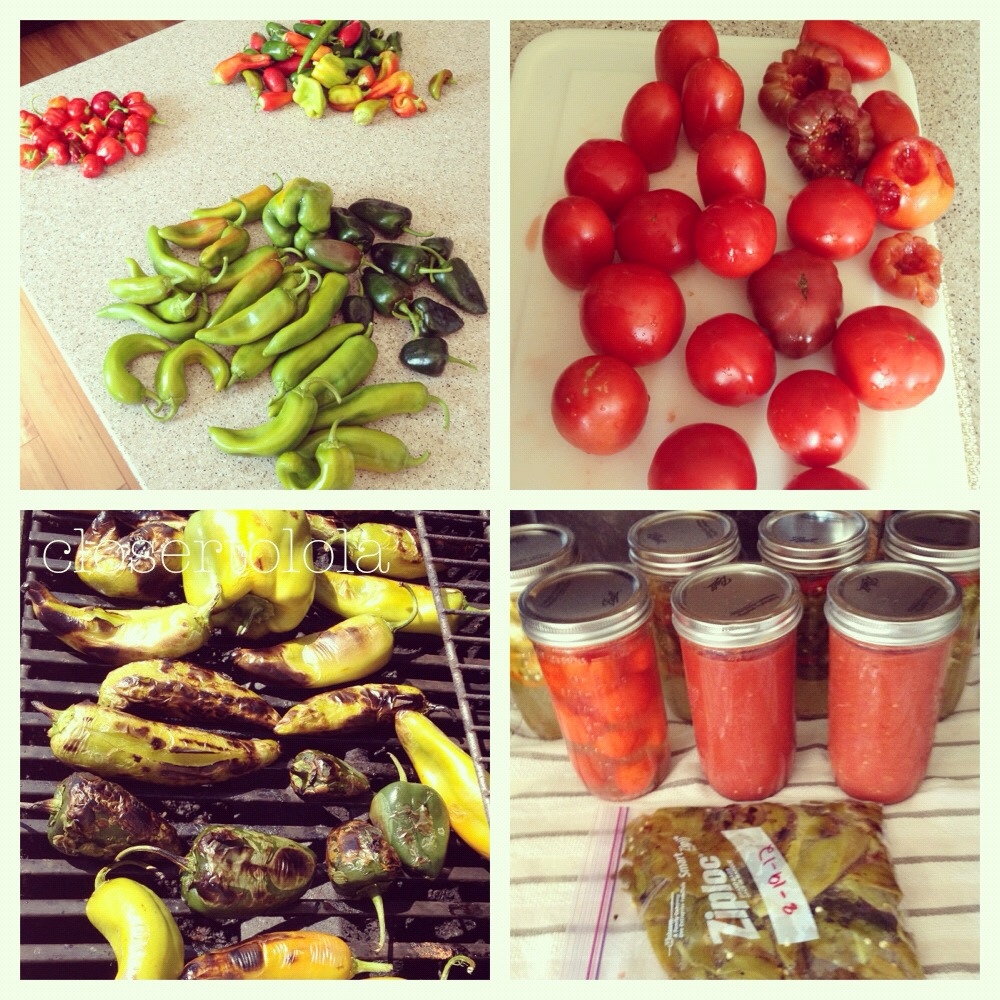
This was my afternoon.
Babu’s Basil Pesto
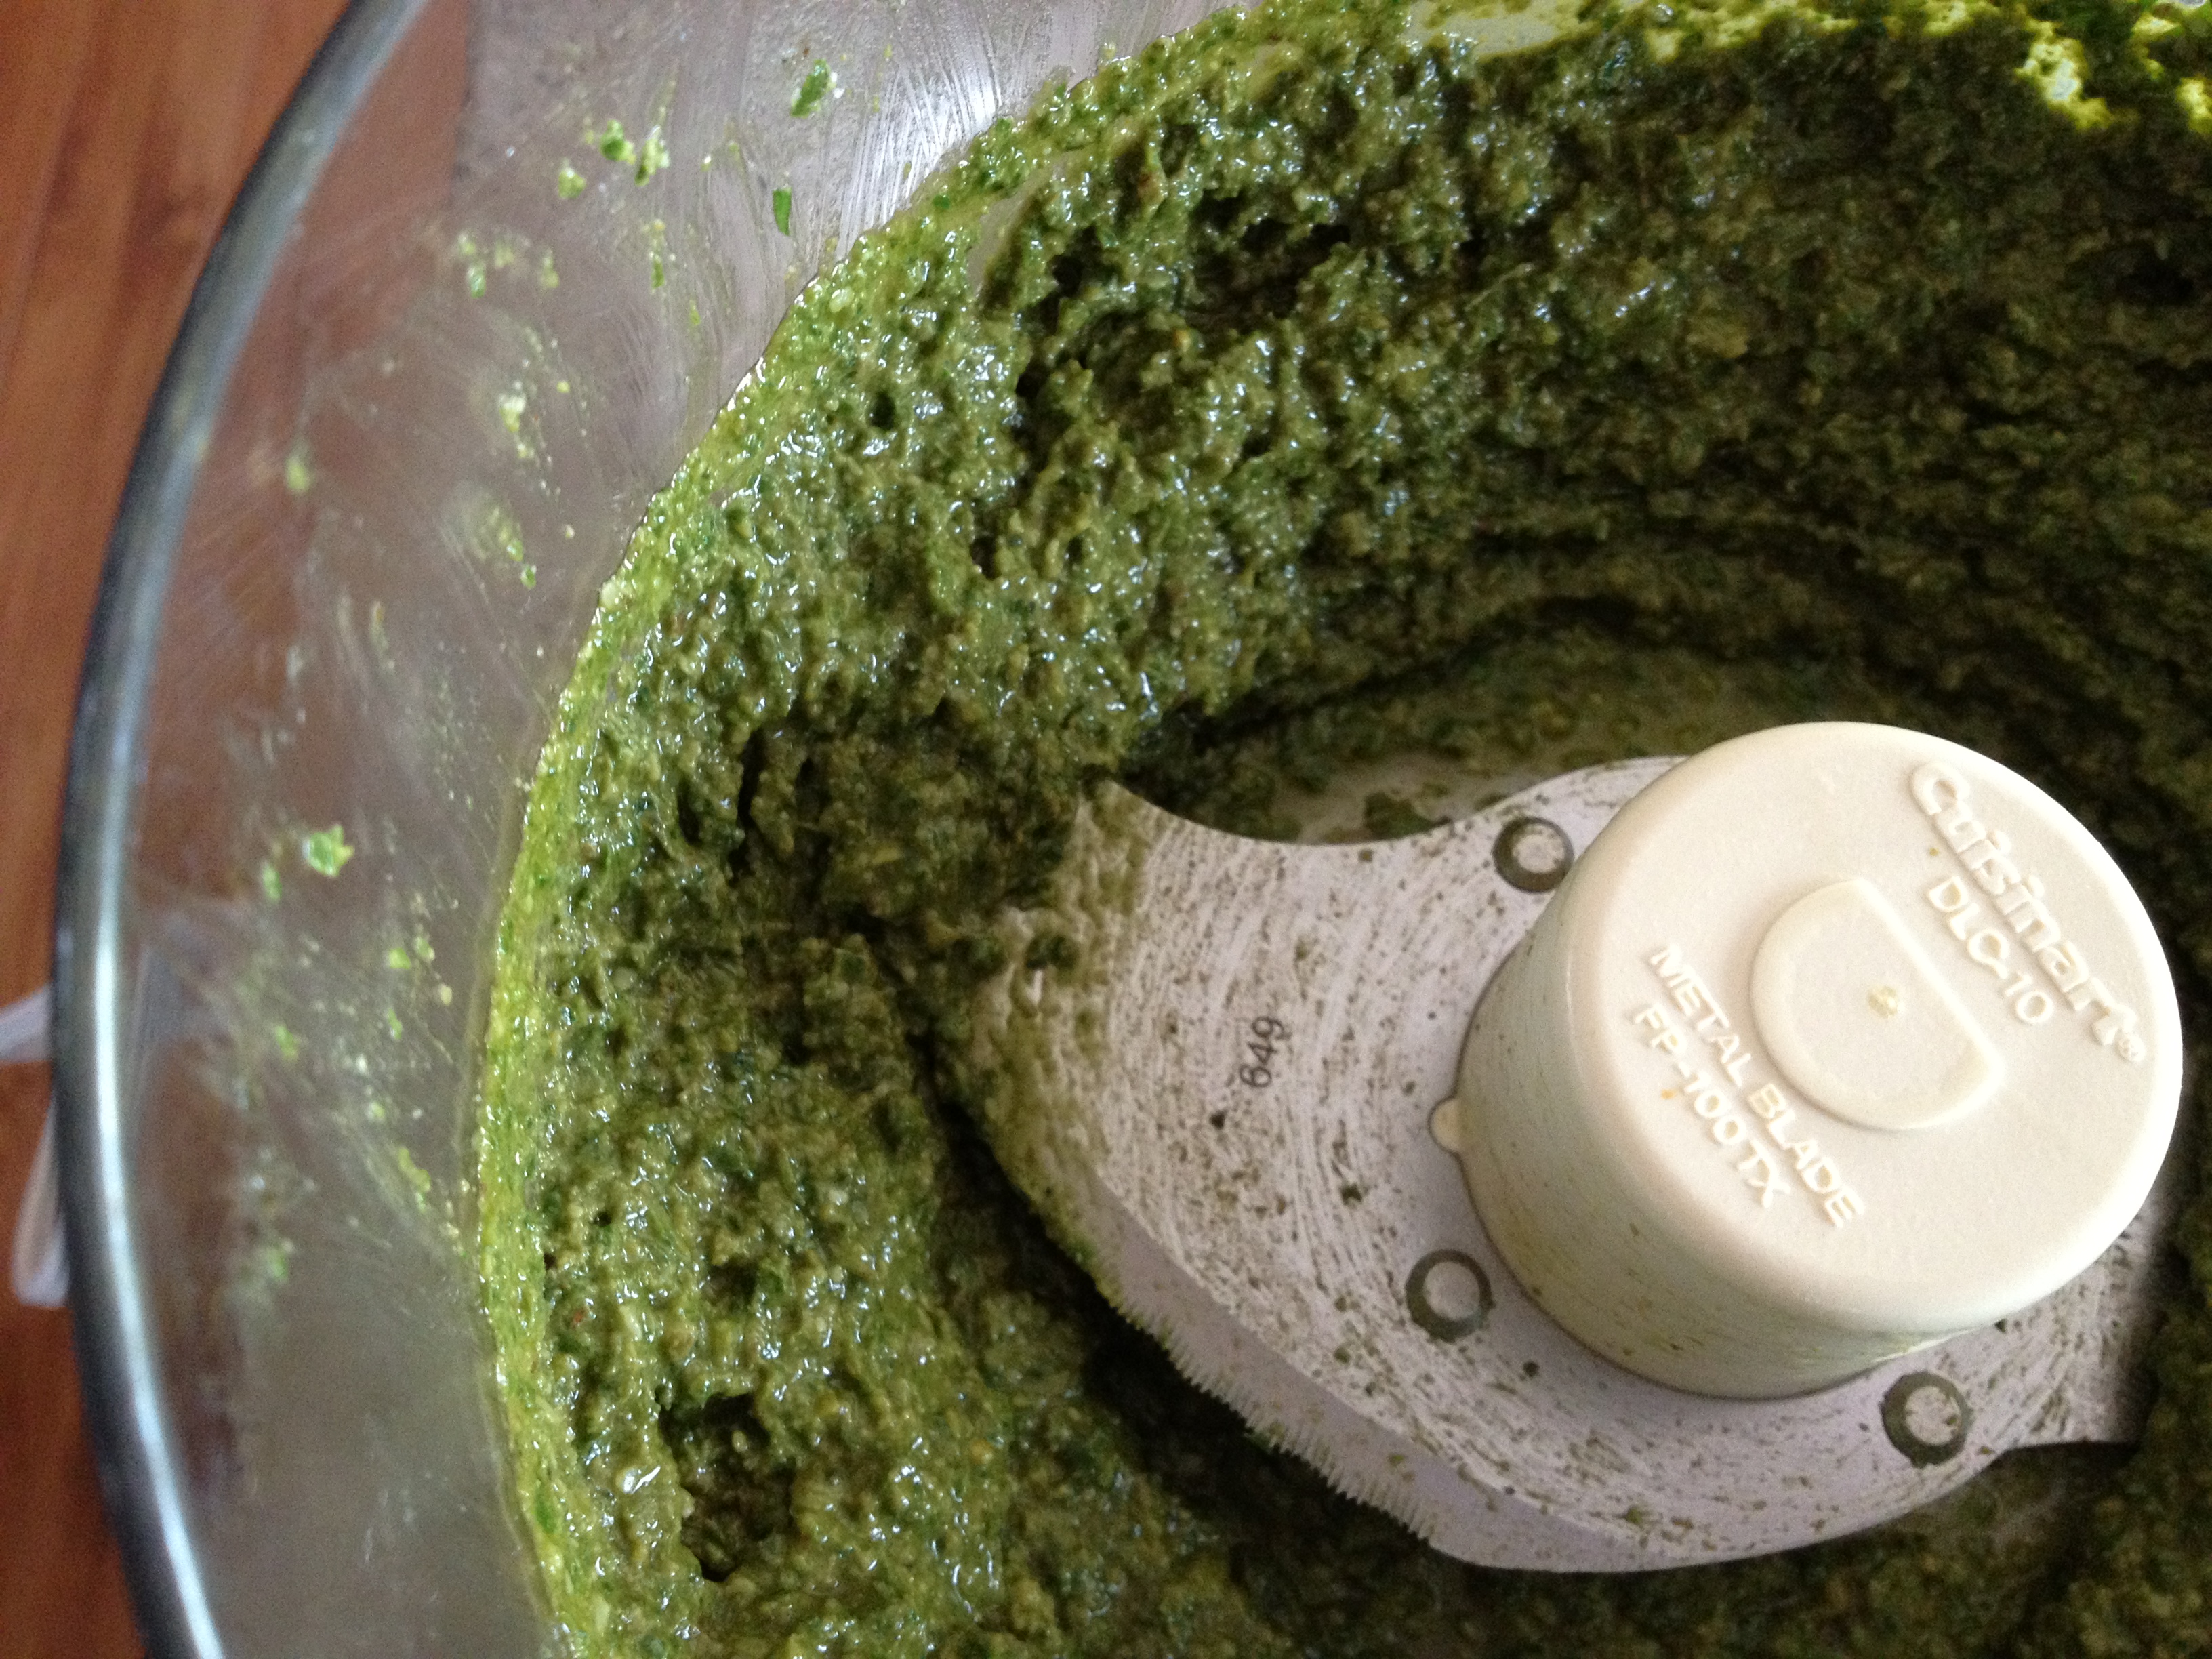
Posted: 2012/07/30 Filed under: Cooking | Tags: Basil Pesto Recipe, How to make Basil Pesto, Purple Basil, spicy globe basil, Sweet Italian basil, Thai basil 1 CommentFor the last several years we have grown a few kinds of basil and Babu makes batches of Pesto. Sometimes we give cubes or jars away as gifts, but mostly we cook with it throughout the year. This year we grew parsley and made chimichurri as well, but today’s post is about Pesto. Here is the recipe he uses. Our pesto is on the dry side of pesto’s. I don’t really like lots of oil and you can always add more when you cook with it if you think it needs it.
3 packed cups basil
4-5 gloves garlic
1/3 cup walnuts or pine nuts or a mix of both if you prefer
3/4 cup grated or shredded Parmesan
1/4 t salt and pepper ( I disagree with this, but I don’t make it so who am I to complain)
3/4 cup olive oil
We use the food processor, cram all the crap in there except for the oil, then turn it on and give a bit to start blending, then add the oil through the top until it gets to the consistency we prefer and starts to come together. We then dole this mixture out into ice-cube trays or small, no more than 2 cup, glass or plastic freezer safe containers and freeze. The cubes get busted out of the trays and put into Ziploc freezer bags, the jars go straight into the freezer. Pesto is a bit like Guacamole in that the Basil oxidizes when exposed to air in the fridge and the top layer of it will turn darker than the pretty green underneath. So you don’t want to have more in the fridge that you can use within a weekish. I’m the one who lets thing go much further than him, so it’s kind of up to your own personal feelings about foods and their use by dates. I’ll eat the same leftovers for 5 lunch and dinners straight if they are good enough because that is how I cooked when I was poor and single in my 20’s. I’d make a batch of something and proceed to eat it every night for dinner and/or day for lunch until it was gone. I’m the girl who will sniff yogurt 10+ days past it’s sell by date and if it stands up to the test, go ahead and eat it. I still remember having a grocery budget of $50 a trip ( about twice a month) and going with a list, a calculator and my coupons. If I had enough left over I got a case of Diet Coke, if not decisions had to be made. But as usual I am digressing. ❤
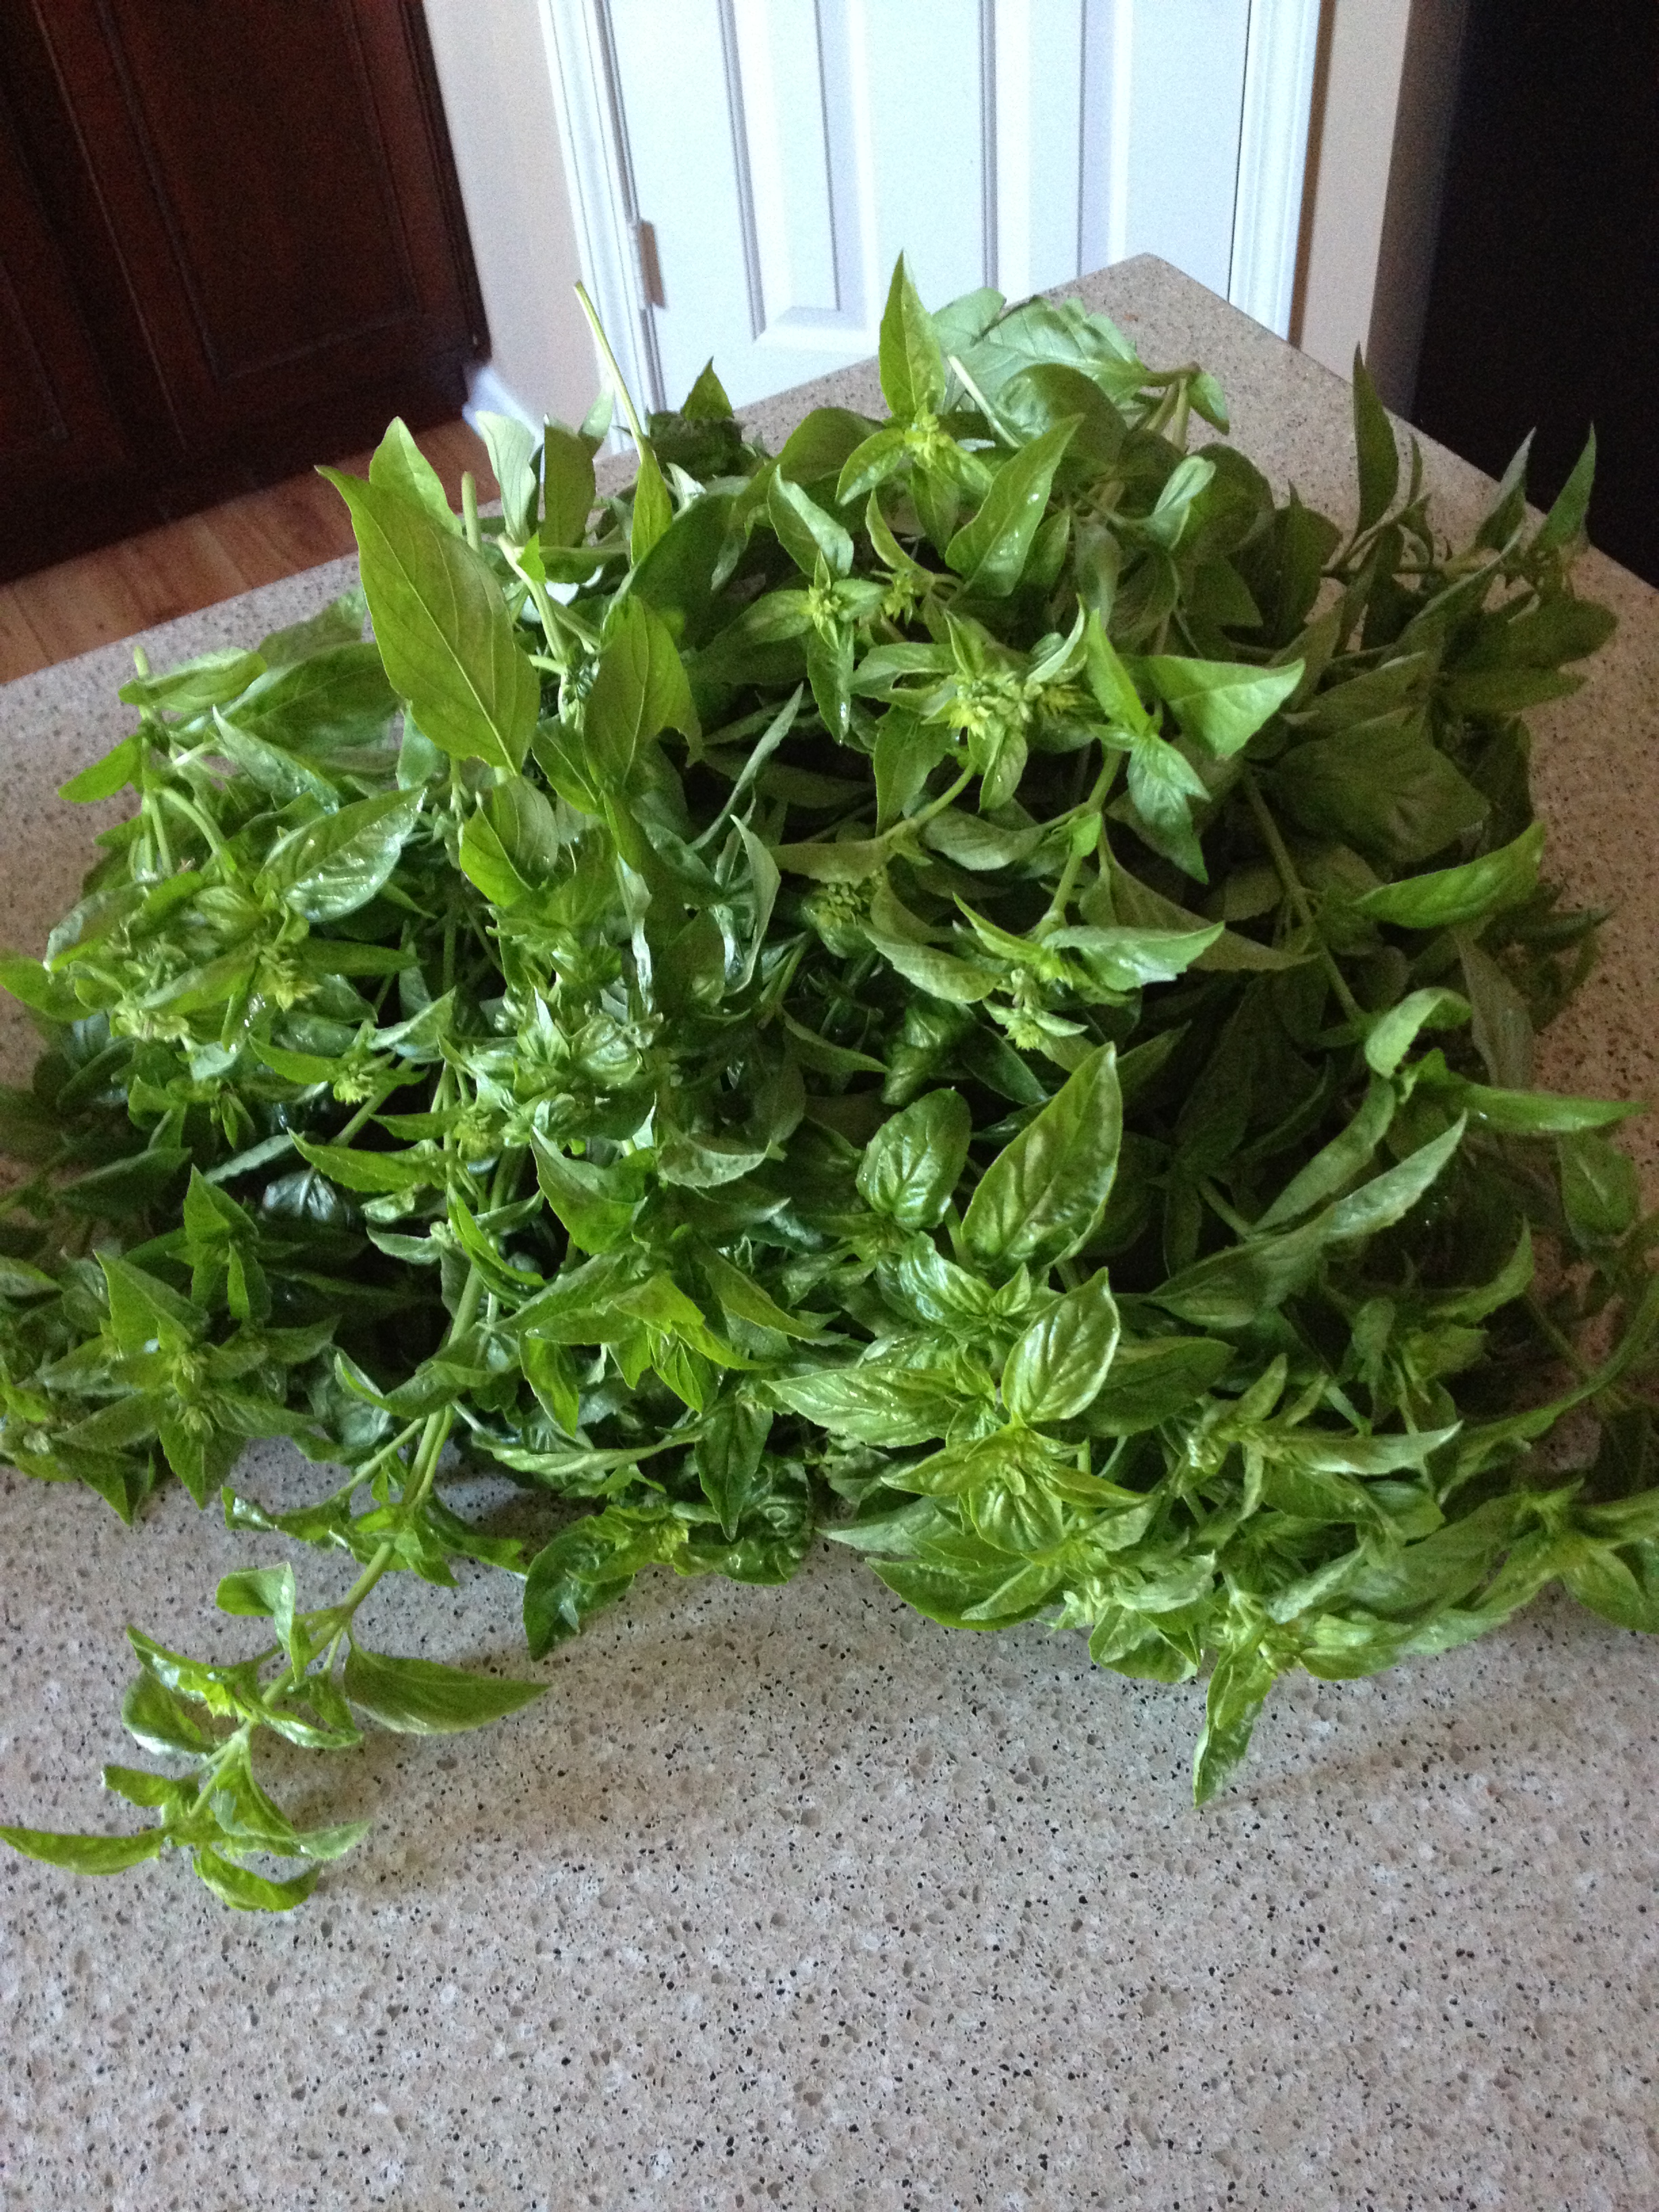
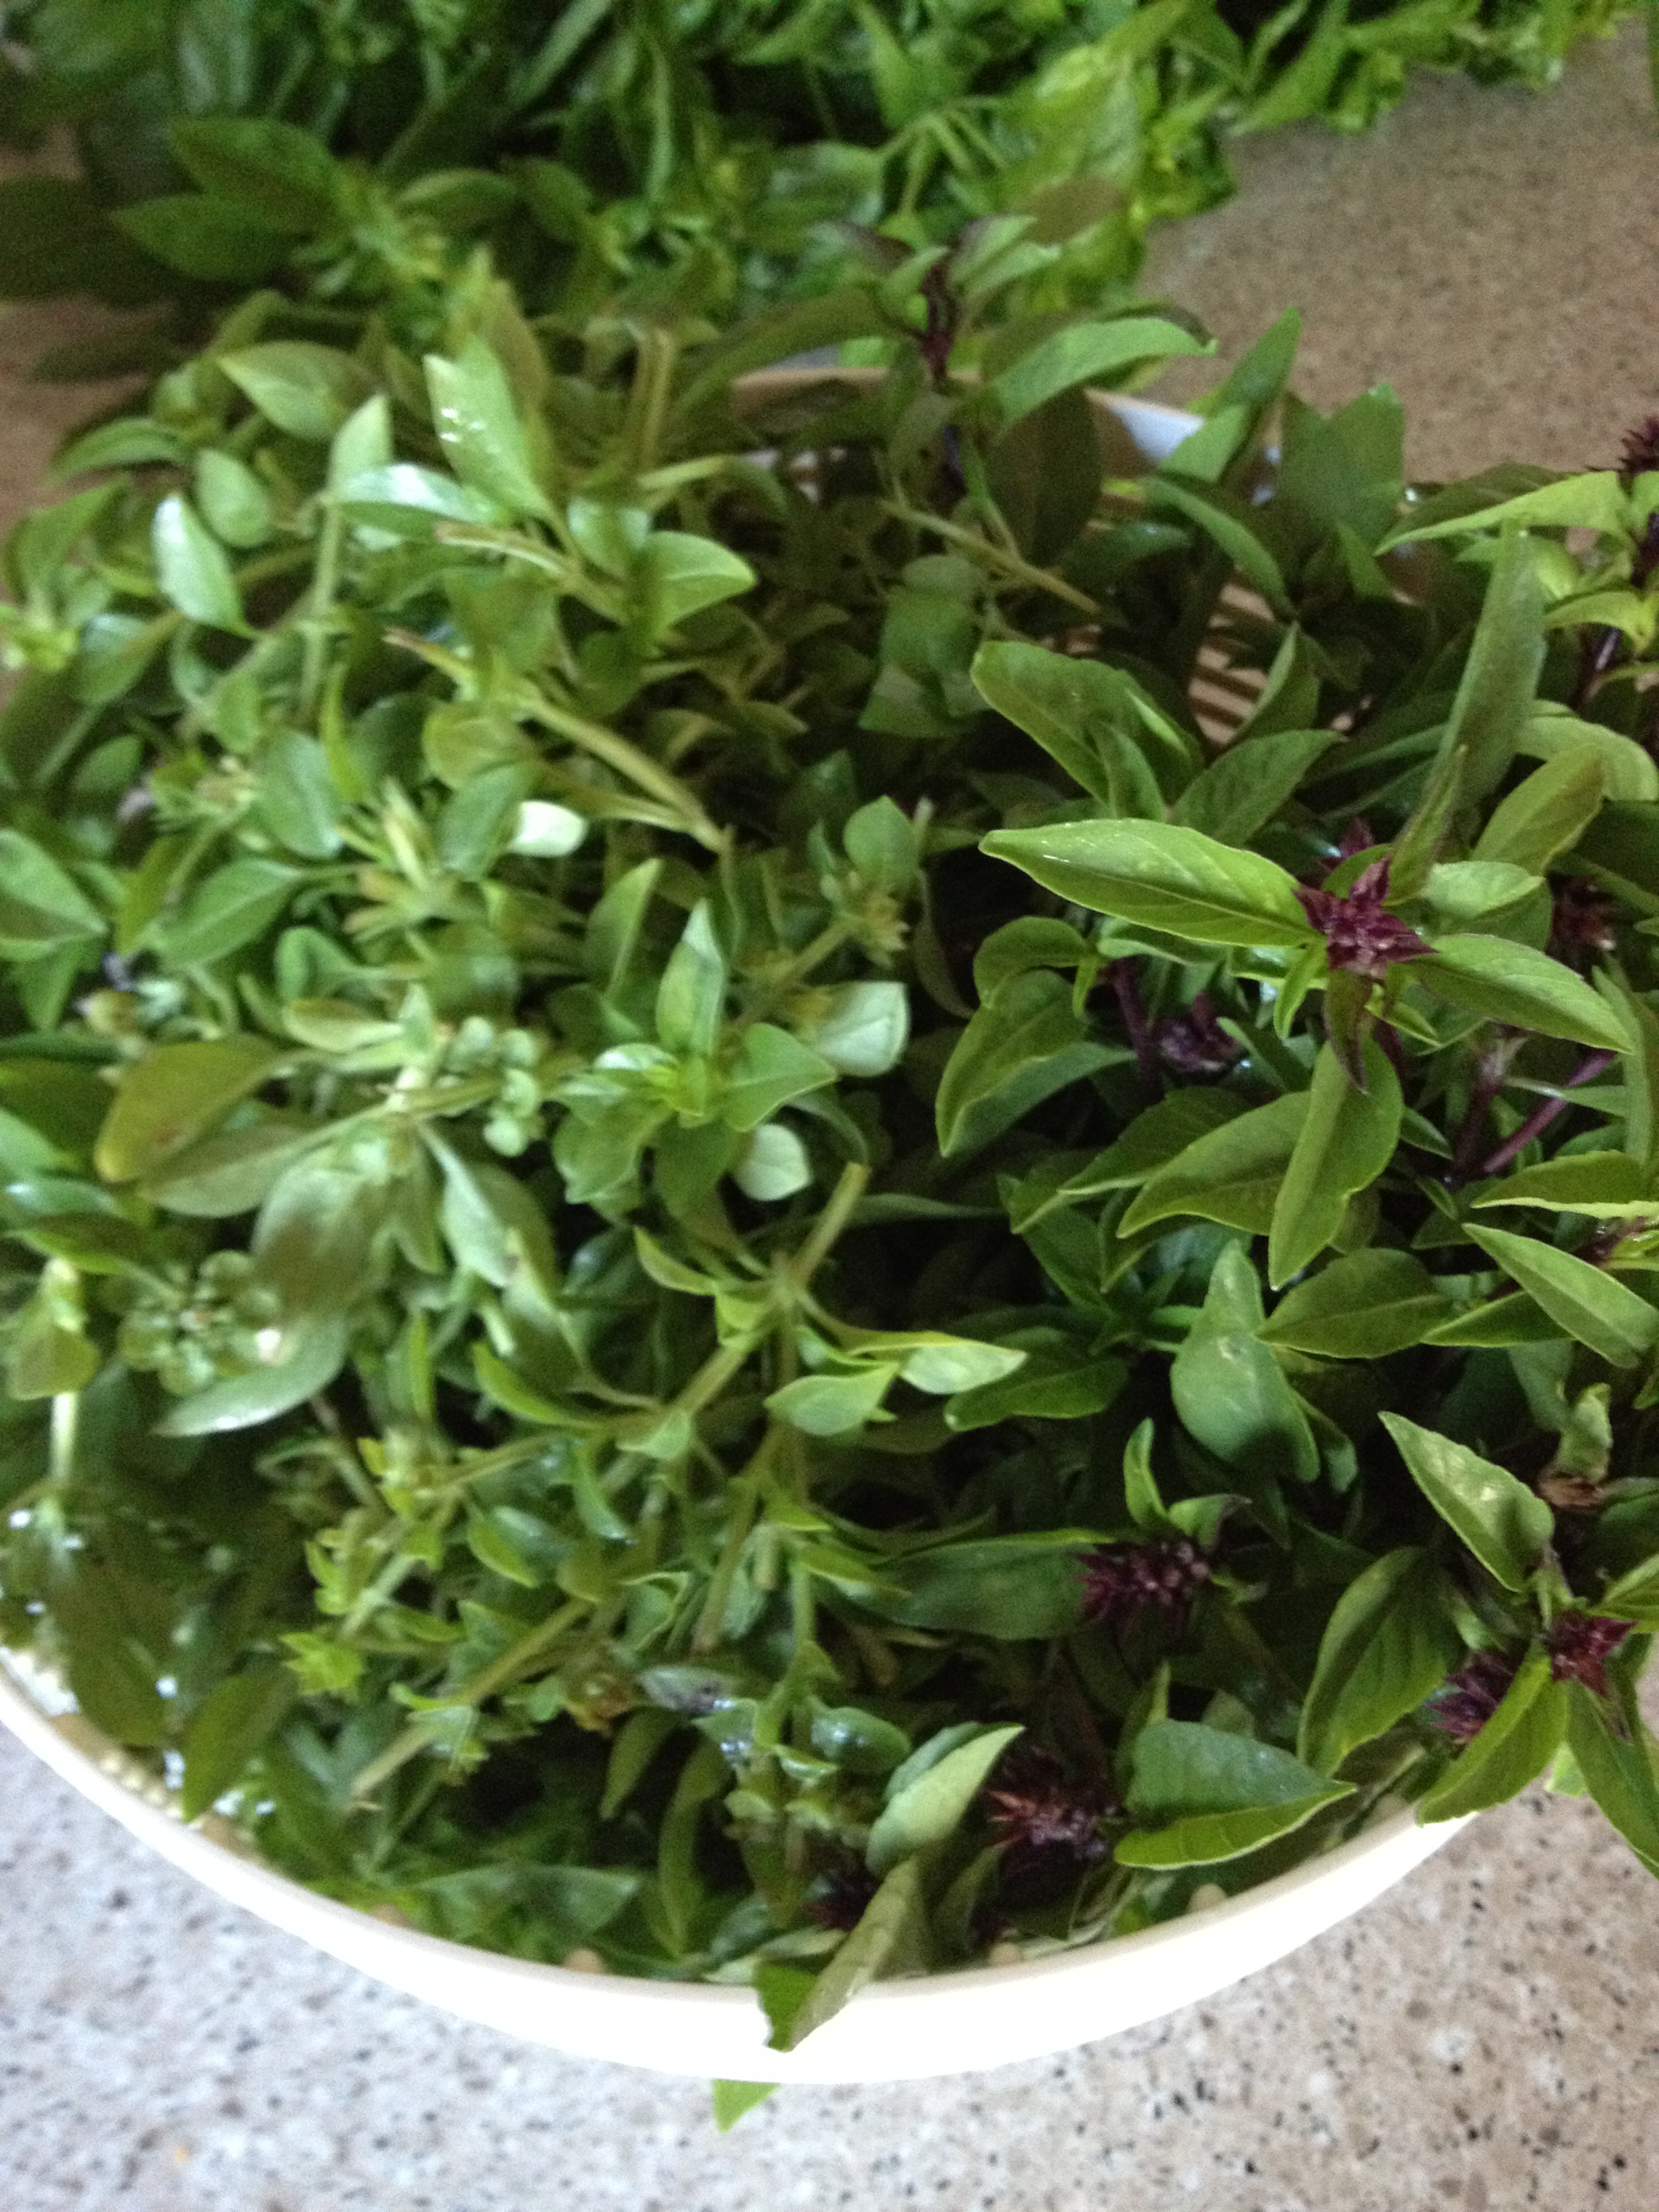
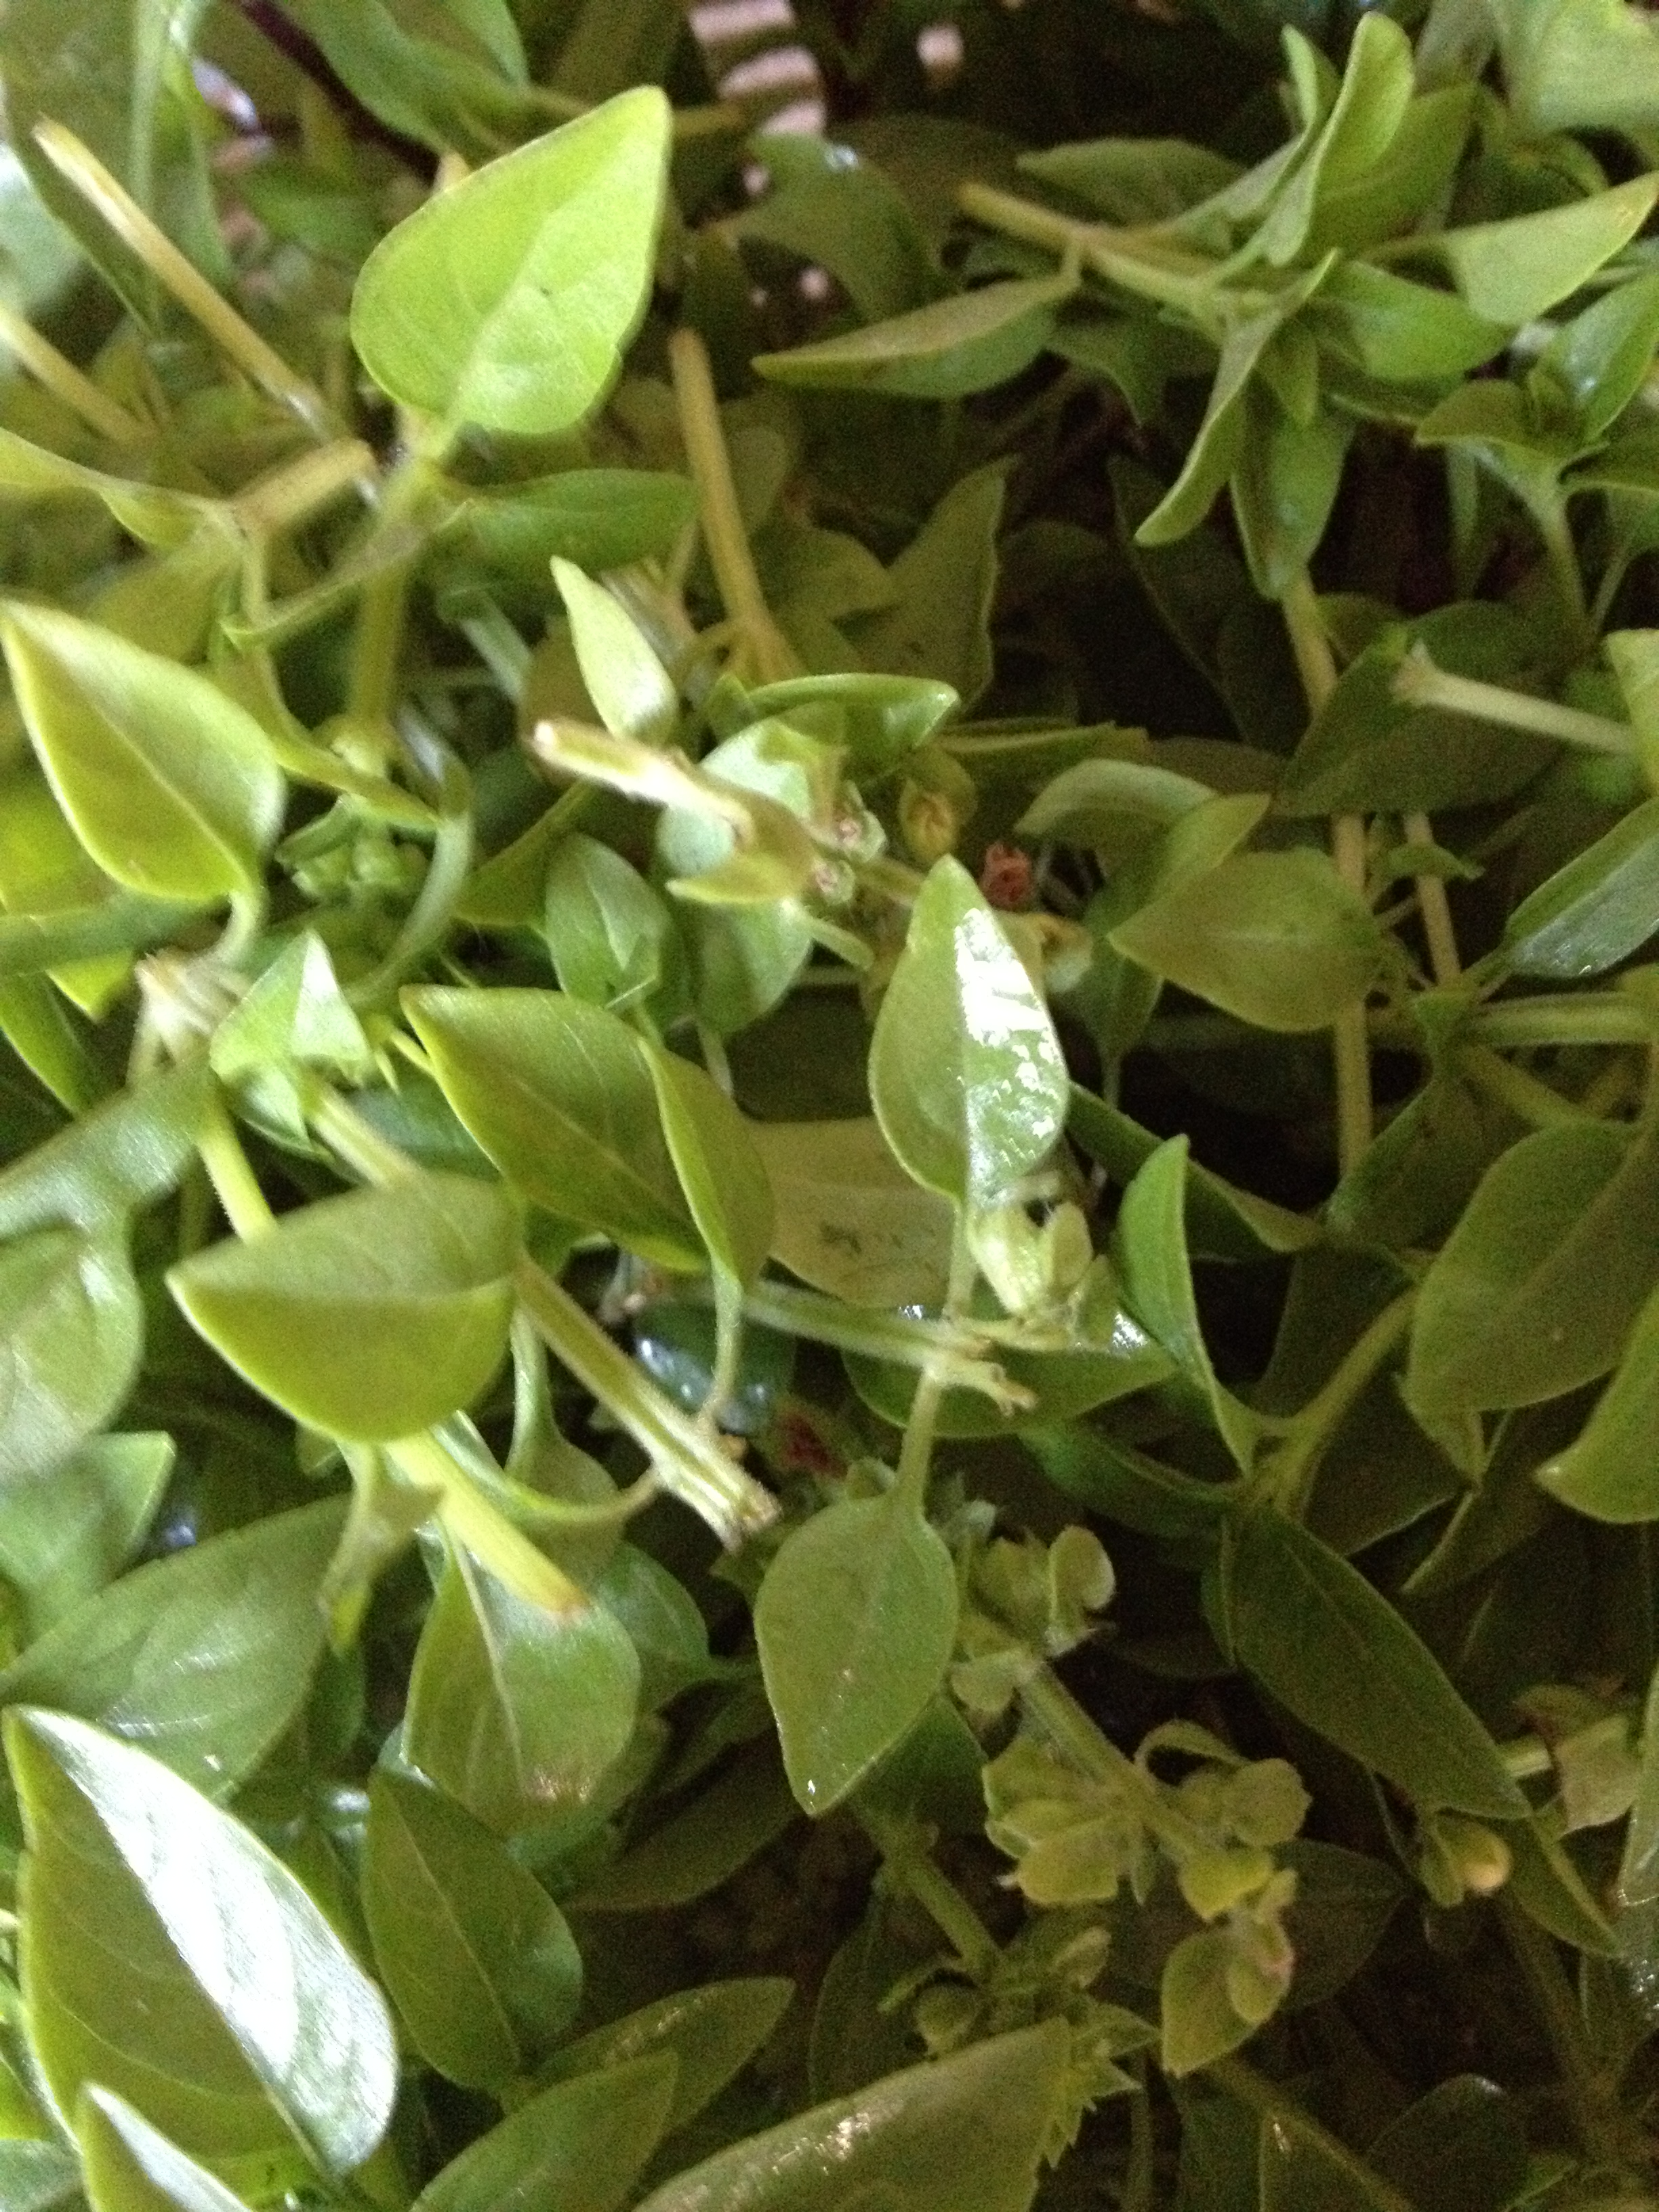
OK so this year we are growing four kinds of basil and they all taste and smell a bit different. I have pics below so you can see how the varieties differ in looks.
Sweet Italian Basil
Spicy Globe Basil
Thai Basil
Purple Basil
Some years we mix the Basil’s into a sort of special pesto but for this batch we kept them fairly separate. Given the long hot summer we are having we should get at least one more batch out of the garden. But we are not the greatest at harvesting the plants before they flower, so I have to pick off flowers and then give them a haircut. It probably isn’t THAT big a deal to use the flowers but it will likely change the texture and taste of the batch if there are too many of them. Also we stripped the leaves off the stems so our batches are mostly leaves and not that many stems. Again, we do this because we have a bad habit of not harvesting enough. Shrugs, it’s a suburban kitchen garden, it is what it is so we adapt. If the stems are too thick or the plants are too leggy they can be fibrous and that can result in hairy pesto, BLEH! After we strip we give them a cold water bath wash and then I use my OXO Salad Spinner; BEST invention EVER, NO HOME should be without one of these, to spin the excess water from the leaves. Be sure to smash and peel your garlic. You can play with amounts of any of the ingredients to suit your personal tastes, I am a tweaker of ratios’s in almost all dishes. This is why I don’t bake and why I’m really good at sauces. OK, enough rambling It is late and I am tired from my run and staying up late last night so not all of these are labeled. Have a great week Lovies!
-

- Sweet Italian Basil
-

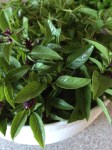
- Spicy Globe Basil-left Thai Basil-right
-

- Spicy Globe Basil
-
- Thai Basil

-

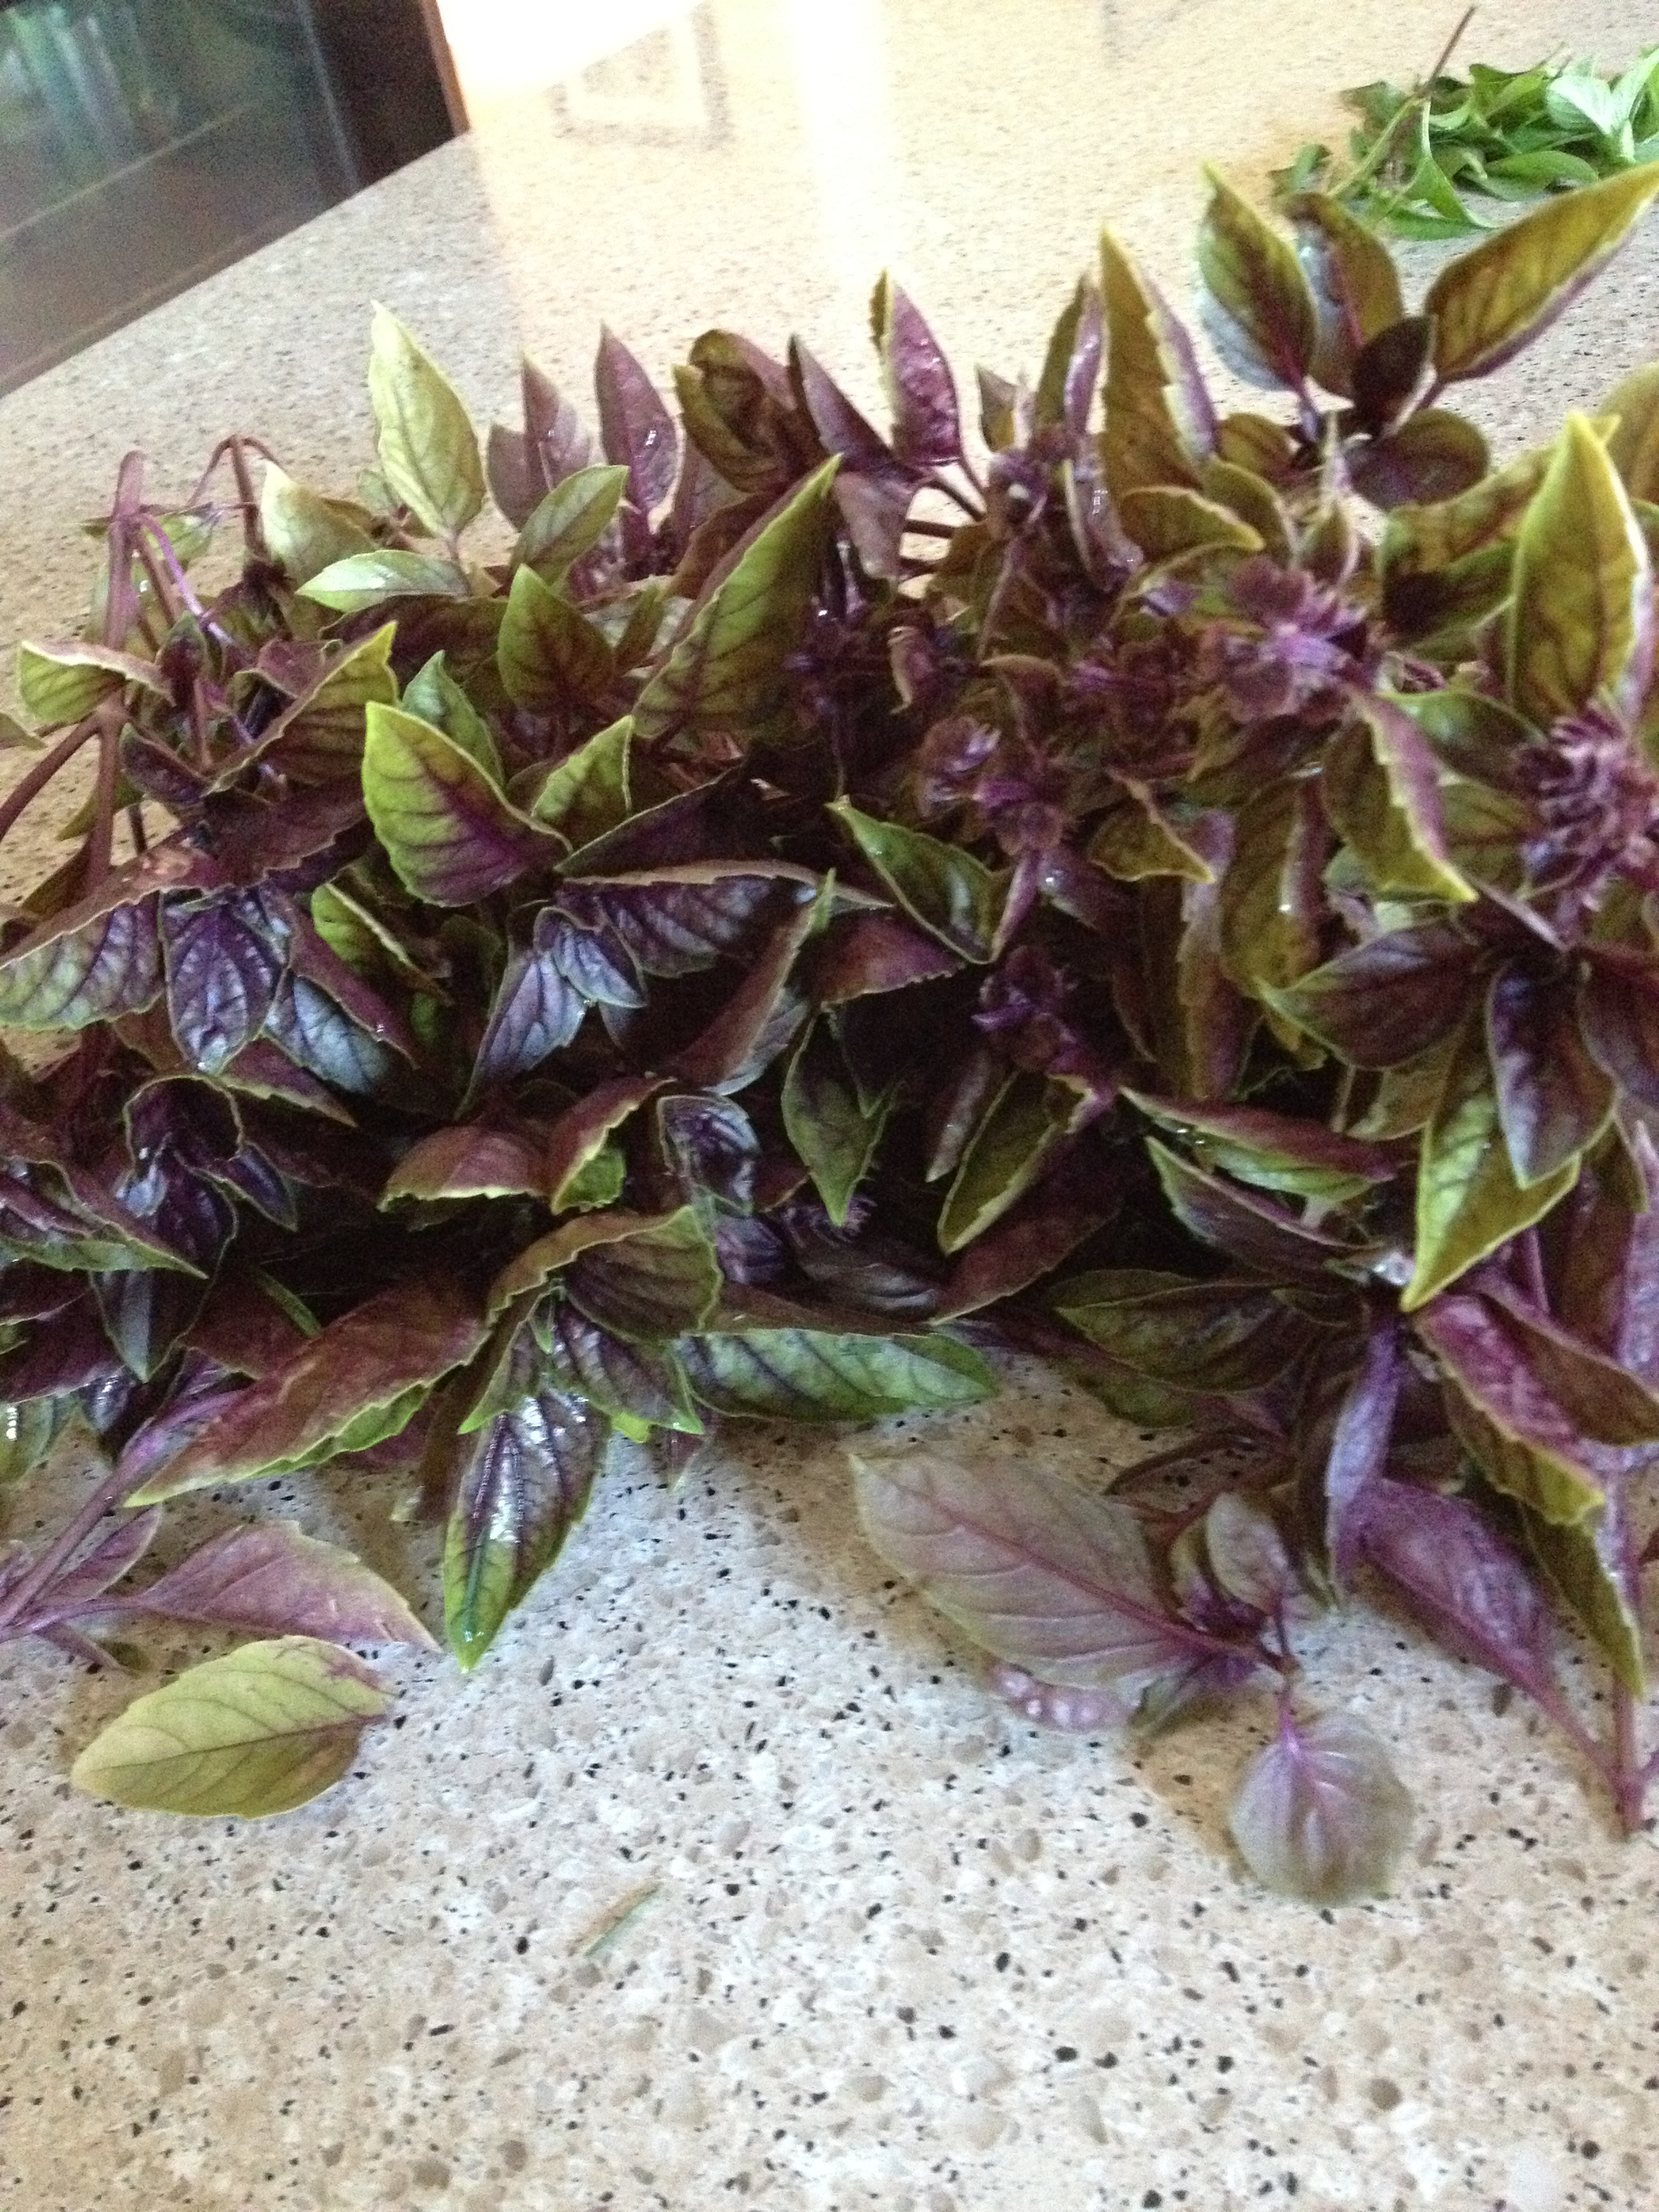
- Crapton of Basil, and this was before I remembered the purple in the other bed.

-

- Purple Basil


You must be logged in to post a comment.